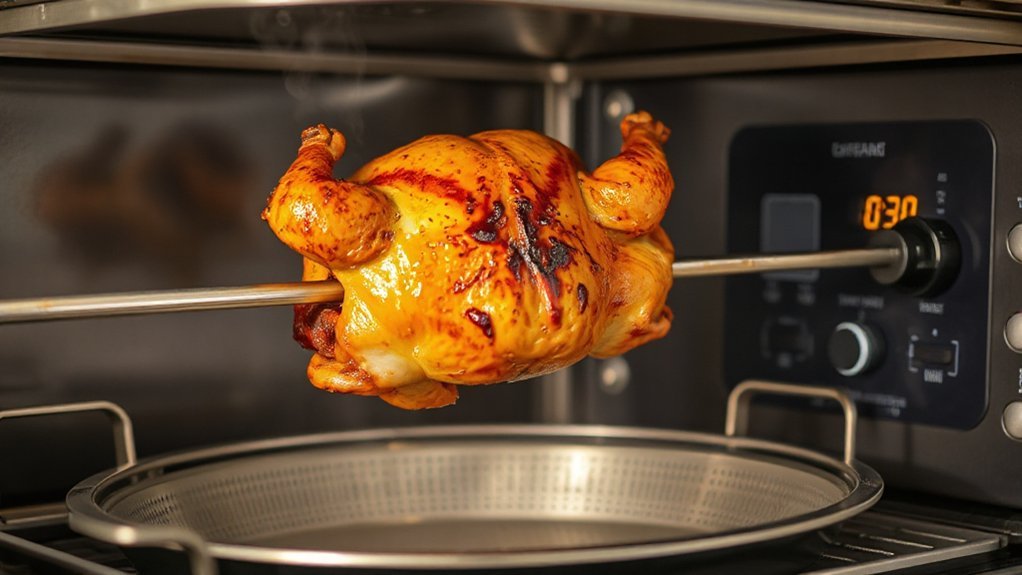
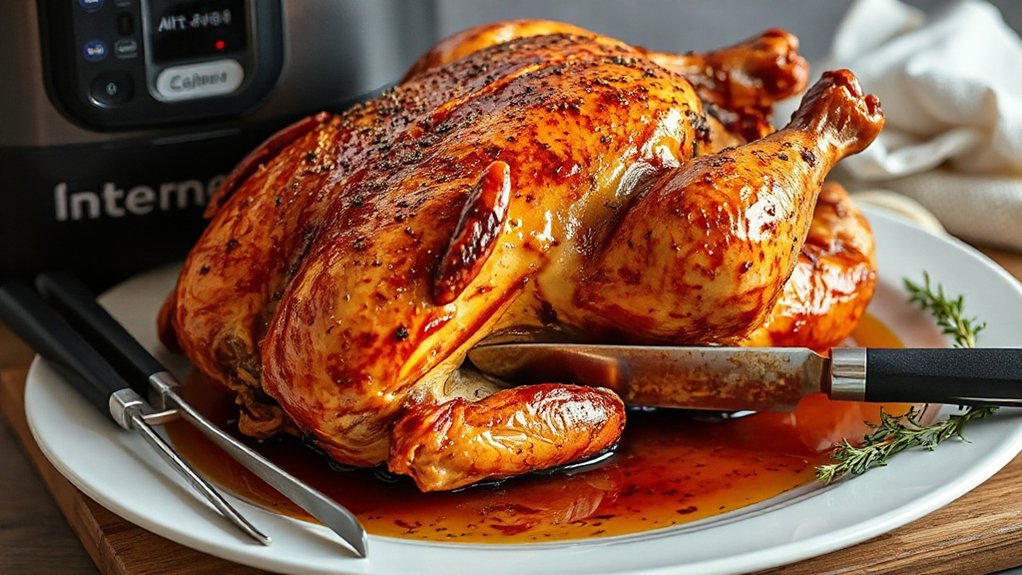
You’ll get a juicy chicken with crackling skin in half the time of an oven when you use your air fryer. Pick a 3 to 4 pound bird, dry-brine or wet-brine, pat and chill skin uncovered, then rub with oil or herb butter. Start moderate to cook through, finish hot to crisp, and use a probe for 165°F breast and 175–180°F thigh. Rest 10 to 15 minutes, keep going for tips on tweaks and timing.
Why an Air Fryer Is Great for Whole Chicken
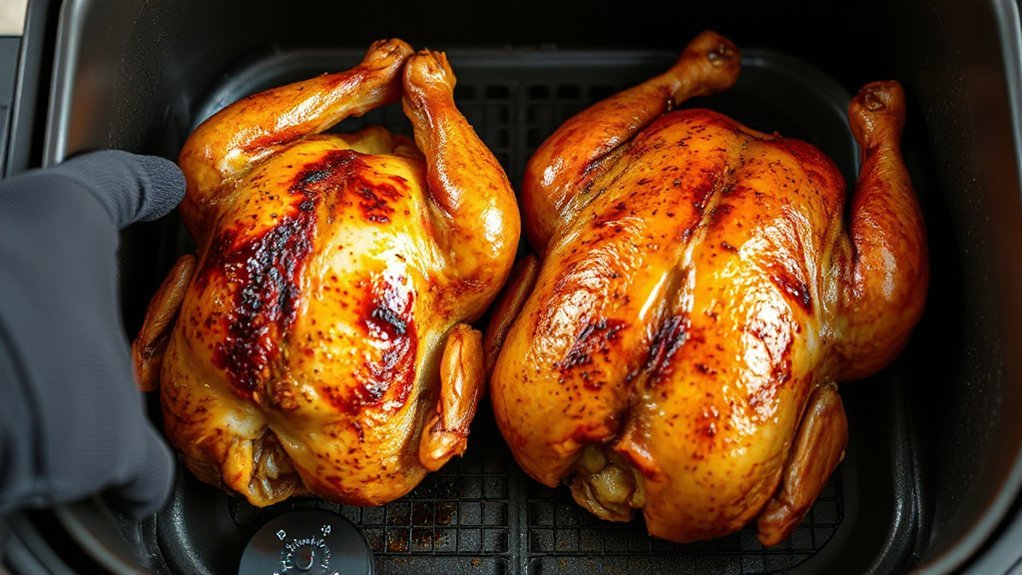
Crisping a whole rotisserie chicken in an air fryer gives you juicy meat and golden, crackling skin in about half the time of an oven, and you don’t have to babysit it. You’ll love how the appliance circulates hot air to brown skin evenly while sealing juices, so dinner feels effortless. Because it uses less power and heats faster than a full-sized oven, it’s energy efficient and trims cooking time without sacrificing flavor. The countertop convenience means you can tuck it into a kitchen corner, free up your oven for sides, and still serve a showstopping roast. You can season simply, set temperature and timer, and check once toward the end for perfect crispness. Cleaning’s straightforward too—many baskets are dishwasher-safe, and reduced splatter keeps your workspace tidy. If you’re after weekday ease or weekend flair, the air fryer delivers letting you focus on sides rather than temperature tweaks.
Choosing the Right Chicken Size and Type
Which chicken should you pick? You’ll want a bird that fits your air fryer cavity and your appetite — typically 3 to 4 pounds works best for most home units. Read labels carefully: Label Meanings like “whole,” “young,” or “fresh” tell you age and processing; “organic” or “free‑range” indicate diet and space, which affect flavor and fat. Choose a plump, evenly shaped chicken so it cooks uniformly. Think about Breed Differences too: heritage breeds offer more flavor and firmer texture but can be pricier and sometimes leaner; standard broilers give tender meat and predictable cooking times. If you’re feeding a crowd, go bigger but check your fryer’s capacity. For first attempts, pick a mid‑size standard bird — it’s forgiving and easier to time. Trust your hands: the bird should feel firm, cold, and not slimy. That simple check prevents surprises and gives you a juicy, crispy rotisserie every time.
Essential Tools and Air Fryer Features to Look For
Once you’ve picked the right bird, you’ll want the right tools and air fryer features to turn it into a perfectly browned rotisserie. You’ll need a sturdy rotisserie spit or basket sized for your fryer and heatproof tongs for safe handling. An oven-safe meat thermometer that clips in lets you track internal temp without guessing. Look for air fryers with clear Capacity indicators so you know your model can hold a whole chicken comfortably; this avoids overcrowding and uneven crisping. Choose units with consistent airflow and a rotisserie function or spit motor to guarantee even browning. Check for easy-to-clean nonstick baskets and removable drip trays to manage grease. Don’t overlook Safety features like cool-touch handles, auto-shutoff, and secure lid locks—these keep you safe when dealing with hot fat and rotating parts. With these tools and features, you’ll roast confidently and get that crispy exterior every time—enjoy cooking.
Brining and Drying Techniques for Maximum Juiciness

You’ll choose between a quick wet brine—water, kosher salt, a bit of sugar and aromatics—for even seasoning and moisture, or a simple dry brine with salt rubbed under the skin to boost flavor and crispness. Wet brines amp up juiciness, while dry brines concentrate taste and promote browning. Don’t skip an overnight chill uncovered in the fridge to dry the skin so your air fryer delivers perfect crackling.
Wet Brine Essentials
Think of a wet brine as a simple shortcut to reliably juicy meat: dissolve about 1/4 cup kosher salt per quart of water (add a bit of sugar if you like), toss in aromatics if you want, and submerge the chicken for 8–12 hours in the fridge. Use a nonreactive container, weigh the bird so the brine fully covers it, and keep temperatures low. Pay attention to brine microbiology — cool, clean conditions limit bacterial growth — and consider pH monitoring if you add acidic components like citrus or vinegar. Rinse and pat dry thoroughly before air frying to avoid excess surface moisture. That drying step helps skin crisp while the interior stays moist. You’ll get predictable, juicy results without fuss. Enjoy every flavorful bite.
Dry Brine Advantages
While it’s simple, a dry brine does a lot: salt draws out a little moisture, then that liquid dissolves the salt and gets reabsorbed, seasoning the meat deeply and helping proteins retain more juice during cooking. You’ll find dry brining is low-effort: sprinkle kosher salt (plus optional aromatics), tuck the bird uncovered in the fridge for 12–48 hours, and let time do the work. Beyond flavor, dry brines promote Protein Tenderization by loosening muscle fibers, so your chicken stays juicy even after high-heat air frying. It’s also smart for your wallet—Cost Efficiency comes from minimal ingredients and no special equipment. Follow simple timing and you’ll get reliably seasoned, tender meat with crisp results. You can tweak salt levels to suit taste without risking dryness.
Effective Skin Drying
Drying the skin is the single most reliable trick to get super-crisp results without drying out the meat. You’ll pat the bird dry, then air-dry it on rack in the fridge for 12–24 hours; this reduces surface moisture and combats high ambient humidity. A light dry-brine before chilling boosts flavor and pulls moisture out to crisp the skin while preserving juiciness. Keep the fridge temp safe and don’t cross-contaminate—microbial safety matters. Before cooking, re-pat any condensation. If short on time, use a fan or oven to speed drying. Practical steps beat guesswork: salt early, chill uncovered, and verify dryness.
| Step | Purpose |
|---|---|
| Pat dry | Remove surface moisture |
| Salt | Encourage moisture migration |
| Chill uncovered | Crisp skin formation |
| Monitor temp | Safeguard microbial safety |
| Final pat | Remove condensation |
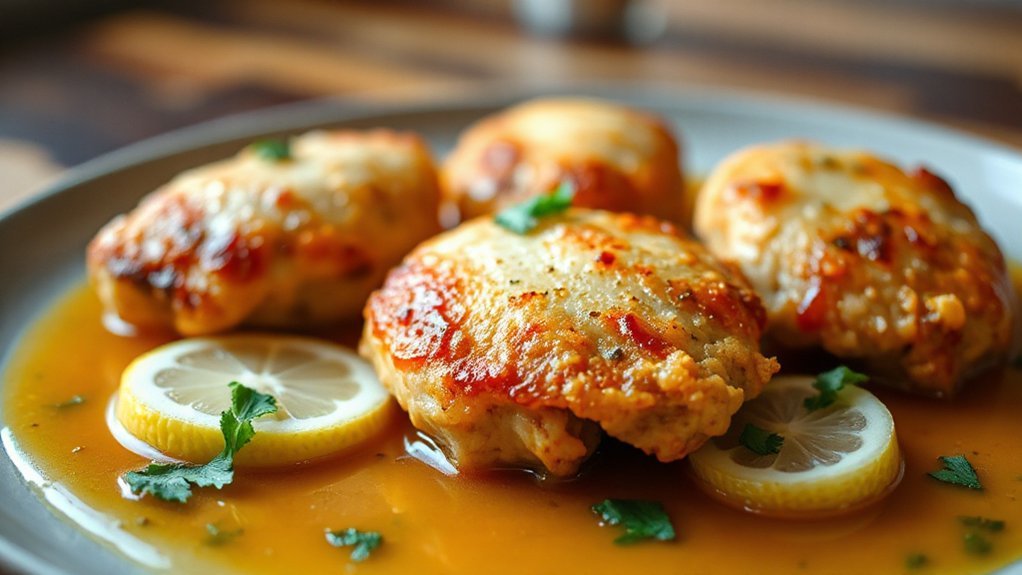
Flavorful Seasoning and Marinade Ideas
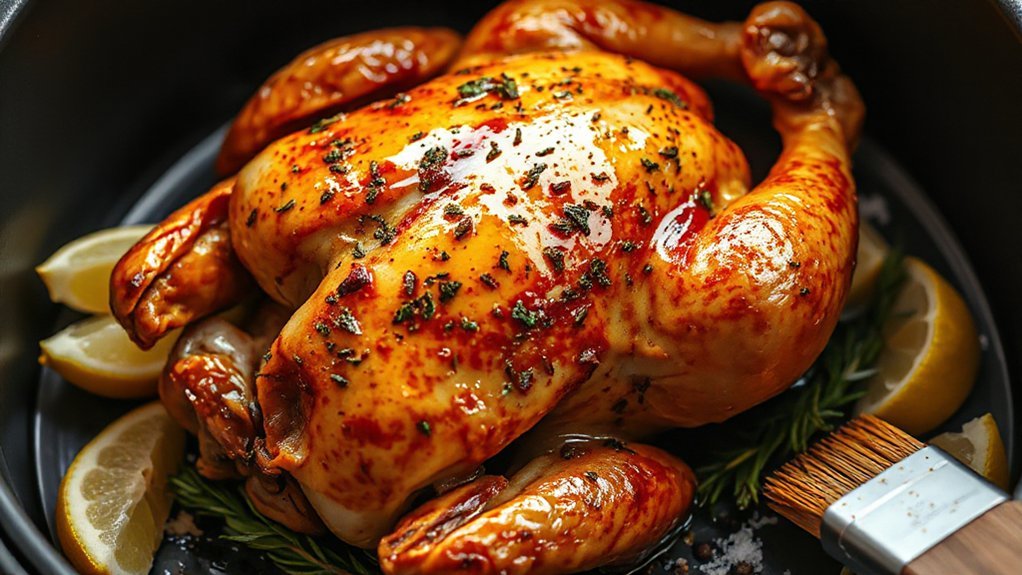
Marinating or rubbing your chicken lets you lock in flavor and get a crisp, golden skin in the air fryer. Start with Global Rubs—think Moroccan ras el hanout, Cuban mojo-inspired blends, or Southeast Asian five-spice mixes—to give the whole bird an international kick. Apply dry rub under and over the skin for deeper penetration, and don’t forget a light oil to help spices adhere. For brighter results, use Citrus Marinades: lemon, lime, orange or yuzu combined with garlic, herbs, and a splash of vinegar tenderize and add zing. Marinate for at least an hour or up to overnight in the fridge, then blot skin dry before cooking. You can also mix herb butter with garlic, thyme, and zest to tuck beneath the skin for steady, even seasoning. Keep salt balanced, taste your components, and adjust acidity. These approaches make your air fryer rotisserie chicken exciting and reliably delicious.
Trussing, Tucking, and Preparing the Bird for Air Frying
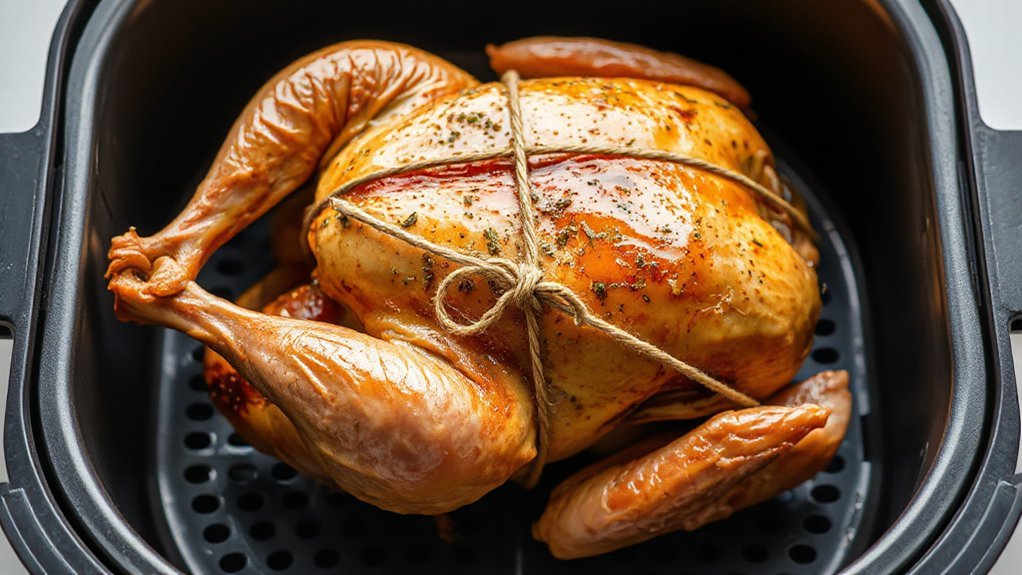

You’ll want to truss the bird so it cooks evenly and keeps a compact shape in the air fryer. Use kitchen twine to tie the legs together and tuck the wings under the back so nothing flaps out and burns. I’ll show a couple quick trussing techniques and simple tucks that keep the chicken juicy and fitting neatly in the basket.
Trussing Techniques
Tying the bird snugly keeps the wings and legs close to the body so it cooks evenly and fits your air fryer basket. Start with kitchen twine under the tail, pull toward the cavity, cross over the breast and loop behind the neck; that basic knot mechanics came from roasting traditions and a historical evolution of kitchen practicality. You’ll run the twine under each thigh, bring it up and tie tightly with a simple butcher’s knot, trimming excess. Use a second loop to secure wing tips if they flare. Keep knots flat so the bird sits level. Practice once or twice and you’ll gain speed. Trussing minimizes dry edges and promotes uniform browning without extra fuss. You’ll impress guests with consistently juicy, restaurant-worthy results.
Tucking Legs and Wings
Tucking the legs and wings snugly into the cavity keeps the bird compact and helps it cook evenly in your air fryer. You’ll fold the wings back at the shoulder and cross the drumsticks, then snug them into the cavity so heat reaches the breast and thighs uniformly. Use gentle pressure to test joint alignment and adjust if a limb sticks out; good anatomical awareness prevents uneven charring and promotes a tidy presentation. If you prefer extra security, loop butcher’s twine around the legs and tie beneath the tail. Keep movements deliberate and minimal so skin stays intact. With the bird compact, you’ll get better circulation, crisper skin, and an evenly cooked rotisserie-style finish every time. Serve immediately for peak texture and flavor today.
Temperature, Time, and Airflow: Cooking Strategy
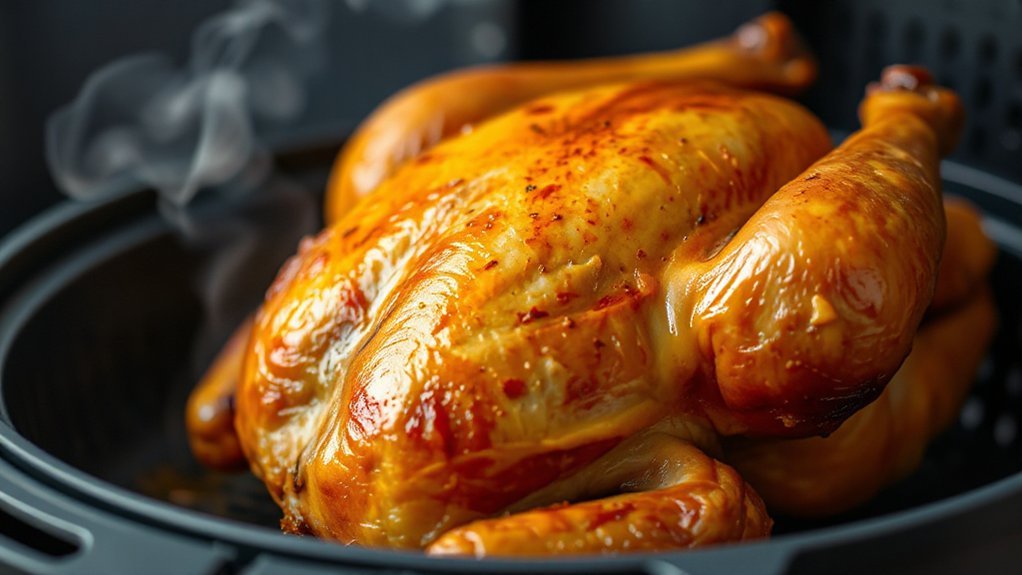
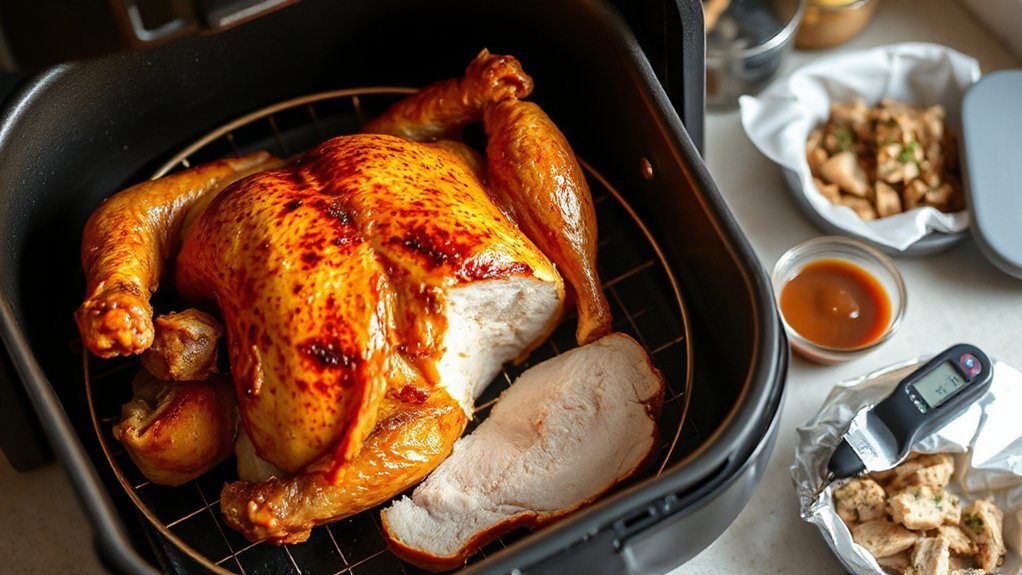
While the air fryer speeds things up, getting the right balance of temperature, time, and airflow is what gives you crisp skin and juicy meat. You’ll set a moderate start temperature to overcome thermal inertia, then finish hotter to brown. Use airflow mapping—notice hot spots and rotate the bird if needed. Aim for internal 165°F in the breast, 175–180°F in the thigh, checking with a probe. Start at 350°F for 25–30 minutes, then 400°F for 8–12 minutes to finish, adjusting for size. Keep space around the chicken for circulation; don’t overcrowd. Rest 10–15 minutes so juices redistribute. Below is a quick reference to help you adjust by weight, time, and finish heat.
| Weight | Start Temp | Finish Temp |
|---|---|---|
| 3–4 lb | 350°F | 400°F |
| 4–5 lb | 350°F | 400°F |
If your fryer runs hot, lower start temp five to ten degrees and extend initial time slightly to avoid overcooking as needed today.
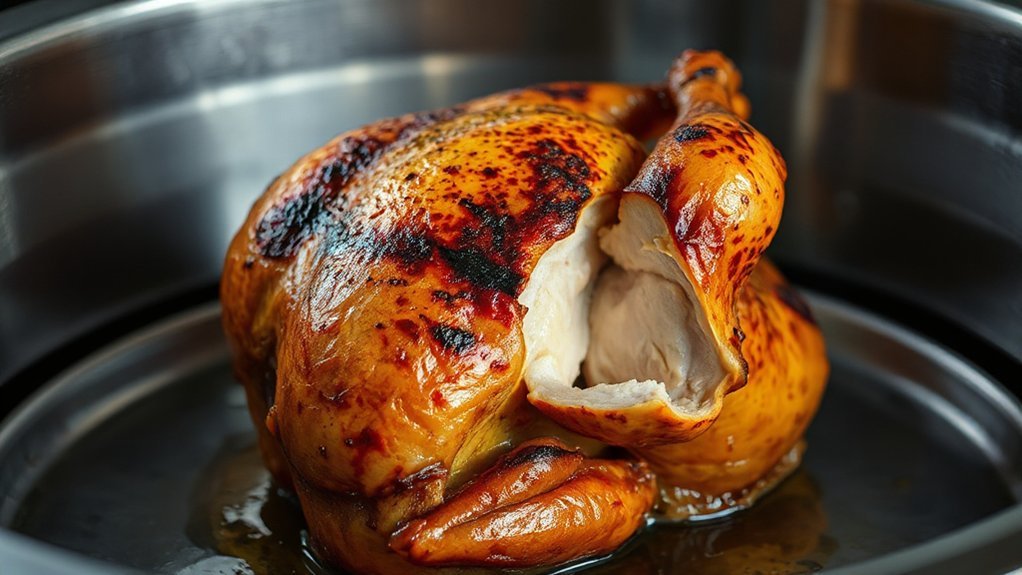
How to Achieve Ultra-Crispy Skin Without Drying the Meat
If you want glassy, crackling skin without turning the meat dry, start by removing surface moisture and building a thin, salty fat layer that’ll brown fast. Pat the bird thoroughly, then refrigerate uncovered for an hour to dry the skin. Use surface scoring sparingly on thick areas to render fat and let seasoning sink without cutting into meat. Apply a light oil or butter rub, then coarse salt—this draws moisture and crisps.
- Preheat air fryer to a high sear temp.
- Use a probe to avoid overcooking.
- Add a small piece of wood or flavored smoke packet for aroma.
- Rotate to expose all sides to hot air.
Start hot to kickstart browning, then lower temp to finish gently; that combo crisps skin while preserving juices. Keep basting minimal—too much liquid ruins crunch. Trust short bursts of heat and dry surface techniques for ultra-crisp results now.
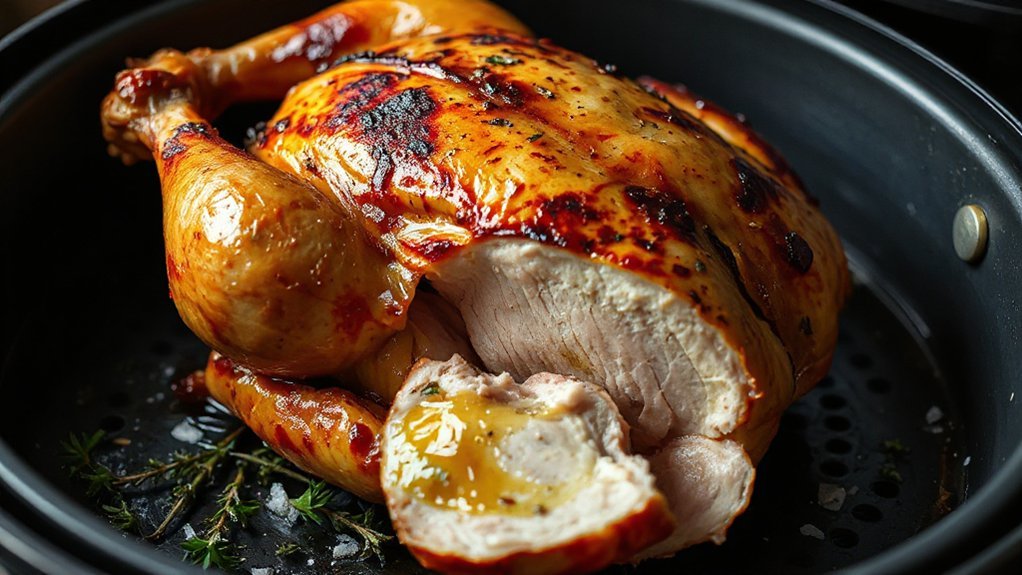
Resting, Carving, and Serving Tips
Let the chicken rest for 10–15 minutes so the juices redistribute—you’ll get much juicier meat. Grab a sharp knife and carve with purpose: remove the legs and thighs, then slice the breasts against the grain for the best texture. Arrange pieces on a warm platter, spoon over any juices or a quick pan jus, and serve with your favorite sides.
Resting for Juiciness
Because the juices need time to redistribute, you’ll get a far juicier result by resting the whole bird for 10–15 minutes loosely tented with foil before carving. Let the chicken sit off heat so carryover cooking finishes gently without drying the breast. During this pause the juices settle, improving flavor and slice moisture. Use these quick tips to make the most of resting:
- Start on a warm board, not a cold surface.
- Loosely tent to retain heat but avoid steaming.
- Let carryover cooking raise internal temp ≈5°F (about 3°C).
- Pat any pooled juices and reserve for gravy.
Stay patient—those minutes yield a noticeably juicier, more satisfying rotisserie chicken. You’ll notice better texture and less moisture loss when you wait—trust me.
Carving and Serving
Start by resting the bird 10–15 minutes so juices settle, then move to a warm cutting board and grab a sharp carving knife and a sturdy fork. Slice the legs and thighs off first, then separate breasts with smooth, even strokes, cutting against the grain for tender pieces. Keep bone-in portions for rustic servings or trim for neat platters. Arrange pieces on a warmed platter, tuck lemon halves and fresh herbs around for Garnish Suggestions that brighten flavor and color. For Buffet Presentation, layer whites and darks for easy grabbing, provide tongs and labeled plates, and place bowls of pan juices or gravy nearby. Serve with crusty bread and a simple salad so guests can build balanced plates. Finish with freshly cracked black pepper.
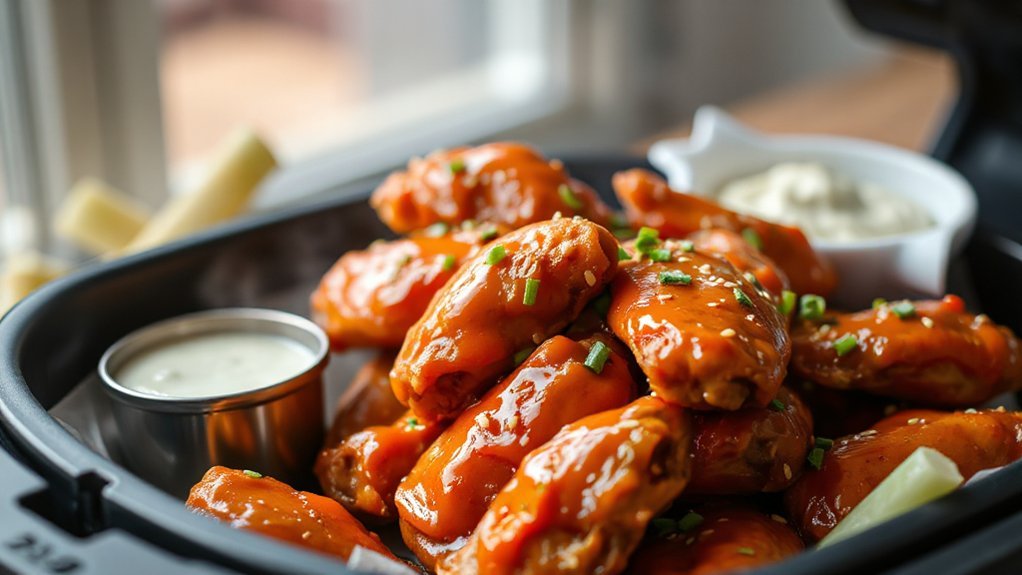
Make-Ahead, Leftover Uses, and Reheating Best Practices
Planning ahead makes leftover rotisserie chicken far more useful — you’ll store it properly, reheat it right, and turn it into several quick meals. Use portion planning: divide meat into meal-sized packs, label and chill within two hours. For reheating, favor microwave alternatives like oven or air fryer to keep skin crisp and meat juicy. Cool carcass, reserve for broth.
- Quick salads: shred cold chicken into greens with vinaigrette.
- Weeknight tacos: warm strips in a skillet with spices.
- Soup starter: simmer carcass, add chopped meat and veggies.
- Casseroles: fold chicken into creamy bakes and top with breadcrumbs.
When reheating, preheat to 350°F, add a splash of broth, and cover loosely to prevent drying. Use a thermometer — reheat to 165°F. Store refrigerated for 3–4 days or freeze for 2–3 months. You’ll save time and waste less. Label bags with dates so you always know freshness safely.
Conclusion
You’ll love how an air fryer makes a whole chicken both juicy and crisp — the notion that it always dries meat isn’t true if you brine, pat dry, and manage airflow. Try my simple timing and high-heat finish; you’ll get crackling skin and tender meat every time. Rest before carving, reuse leftovers creatively, and don’t be afraid to tweak seasonings. It’s fast, forgiving, and perfect for weeknight roasts — seriously, dinner’s easier than you think, promise.