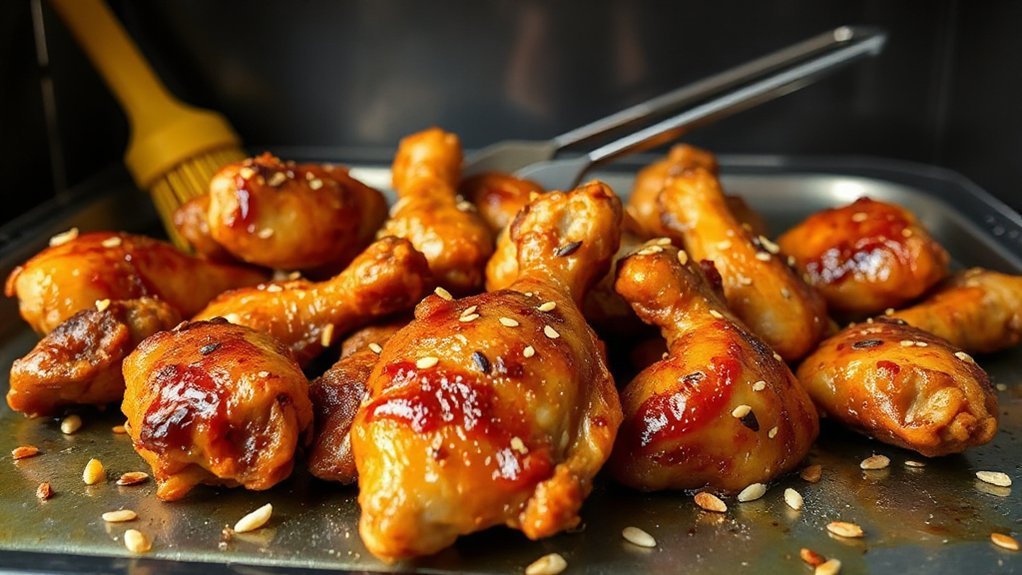
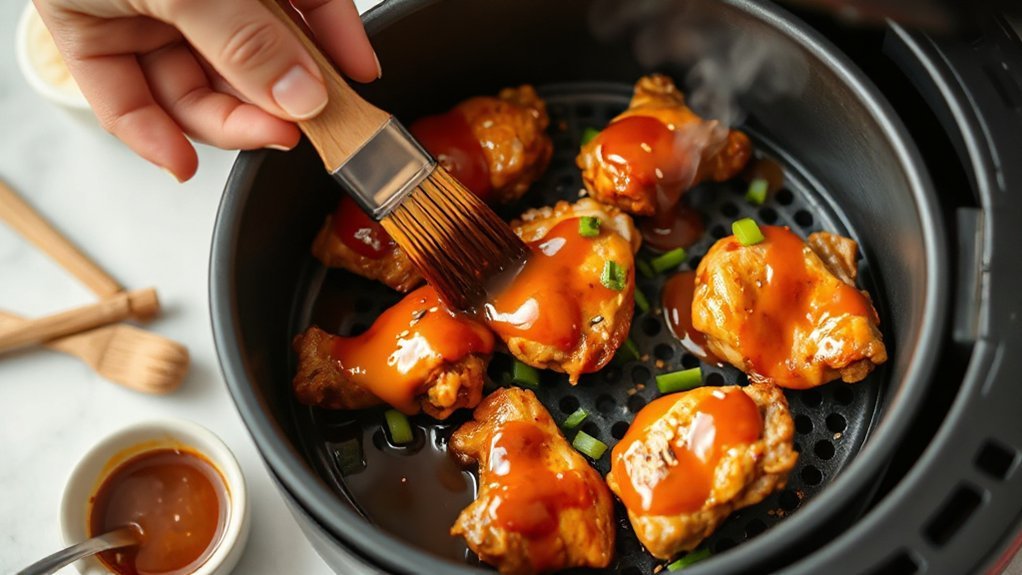
You’ll get crispy, sticky honey-garlic chicken in about 18 minutes using an air fryer, no deep-frying needed. Trim and cube thighs, pat dry, coat in panko, air fry single-layer at 380–400°F, flipping once. Make a quick glaze—honey, soy, garlic, splash of rice vinegar—and thicken with a tiny cornstarch slurry; brush on in the last few minutes. Finish with scallions and sesame; keep sauce separate for meal prep. Scroll down for timings, troubleshooting, and syrupy-glaze tips.
Ingredients You’ll Need
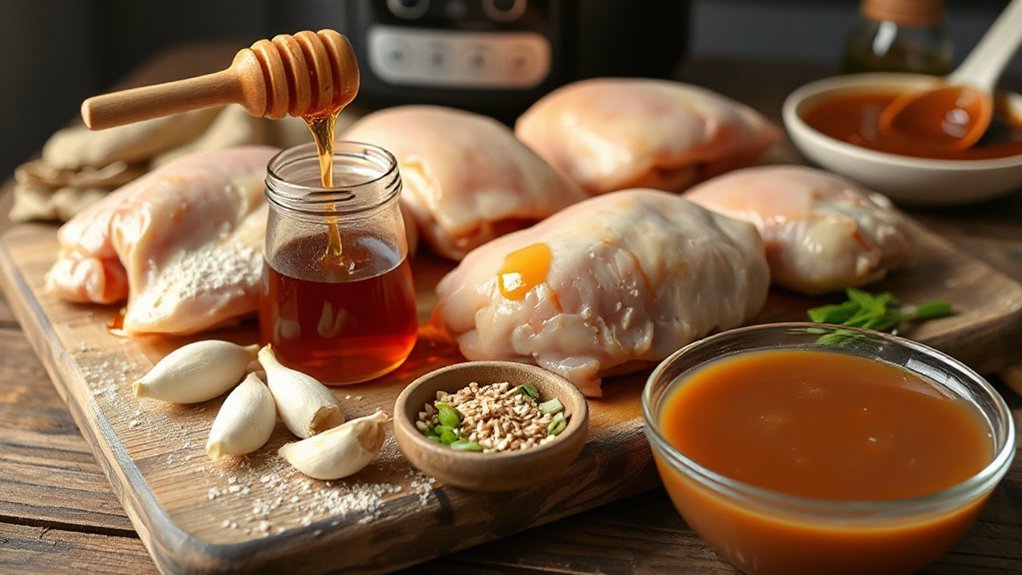
You’ll need a few simple ingredients you probably already have or can grab quickly: boneless skinless chicken thighs (or breasts), honey, garlic, soy sauce, a bit of oil, and cornstarch for a crispy coating. From there, you’ll want green onions, a splash of rice vinegar or lemon for brightness, and toasted sesame seeds for finish. Measure soy and honey to balance sweet and salty; a clove or two of minced garlic keeps punch without overpowering. If you prefer a gluten-free version, swap tamari and check your cornstarch source. Think about seasonal substitutions—swap fresh spring garlic for roasted in winter, or add finely diced apple when peaches aren’t available. Also consider sourcing ethics: choose pasture-raised chicken and local honey when possible to support humane practices and flavor. Keep portions straightforward so the sticky glaze clings and you get that craveable, glossy finish every time. Ready to enjoy in minutes.
Equipment and Air Fryer Tips
With your ingredients lined up, it’s time to talk about the gear that makes this recipe sing: a roomy air fryer basket (or rack accessory), a small silicone brush for glazing, tongs for flipping, and an instant-read thermometer to hit juicy doneness without guessing. You want an air fryer with good accessory compatibility so racks or skewers fit, and minimal noise levels so dinner prep stays pleasant. Pick nonstick or perforated baskets for even browning. Use the brush sparingly to glaze late, and tongs to turn gently so the coating stays intact. The thermometer prevents overcooking; aim for 165°F. Clean as you go—removable trays save time. Below is a tiny mood table to remind you why this gear matters:
| Gear | Feeling |
|---|---|
| Air fryer basket | Confident |
| Silicone brush | Joyful |
| Tongs & thermometer | Secure |
With the right tools, you’ll finish with sticky, impressive chicken every time. Enjoy the confident results.
Step-by-Step Prep
Start by patting the chicken dry and cutting it into evenly sized pieces so they cook uniformly. Next, season immediately with salt, pepper, garlic powder, and a touch of smoked paprika; toss until each piece is coated. Set up a three-stage breading station if you want crispiness: flour, beaten egg, and panko crumbs, pressing crumbs on gently. Give the breaded pieces a short rest on a wire rack while you preheat the air fryer to the recommended temperature. Arrange pieces in a single layer with space between them so hot air circulates. Use a meat thermometer to confirm doneness; chicken should reach 165°F. Follow a quick Safety Checklist: clean surfaces, avoid cross-contamination, and handle the hot basket with oven mitts. Want photos? Use Photography Tips: natural light, close-ups at a 45° angle, and a neutral background. You’re ready to cook confidently. Save time by prepping sides ahead too.
Making the Honey Garlic Glaze
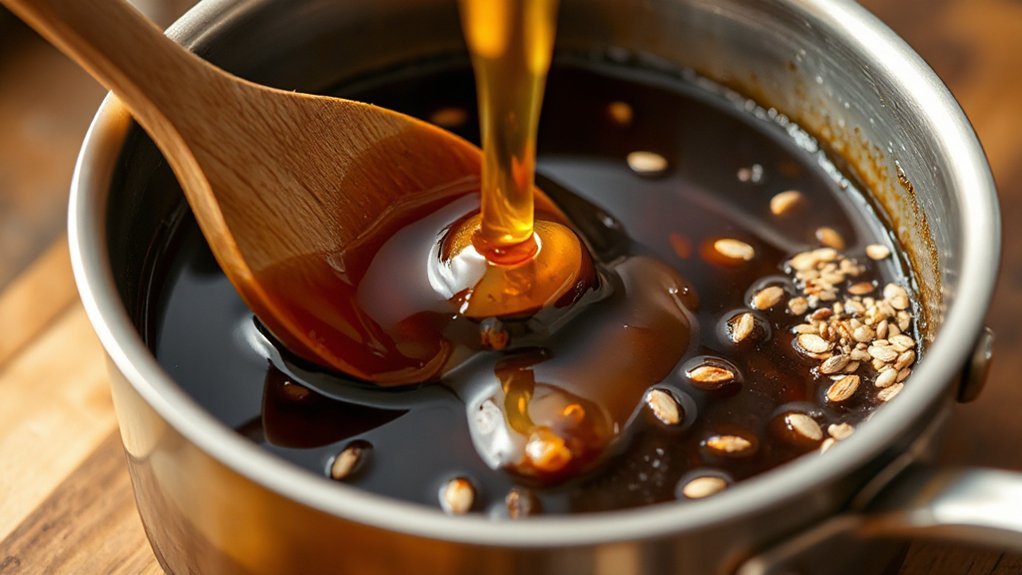
Now you’ll learn how to mix the sweet and savory components—measure honey, soy, and garlic with the right ratios so the glaze clings without being too sweet. Try quick thickening tricks like simmering to reduce or a cornstarch slurry for a glossy coat. Taste as you go and adjust acid, salt, or heat to keep the flavor bright and balanced.
Ingredient Ratios
Think in simple ratios rather than exact teaspoons so you can tweak the glaze on the fly: a 3:1 sweet-to-sour/oil balance works great — three parts honey to one part soy sauce (or tamari), then add garlic, a splash of acid (rice vinegar or lemon), and a little oil to round it out. Use scaling formulas to scale for batches and don’t fear metric conversions — work in grams or milliliters for precision. Taste as you go: if it’s too salty, add honey; too sweet, add acid. Keep proportions consistent when you double or halve. Try these starts to get rolling:
- Quick weeknight: 3 tbsp honey, 1 tbsp soy, 1 tsp vinegar.
- Bold garlic: add extra crushed cloves.
- Citrus: swap lemon for rice vinegar.
Thickening Techniques
Once you’ve got your honey-to-soy ratio dialed, you’ll want the glaze to cling to the chicken rather than puddle on the plate, so let’s talk how to thicken it up. Use gentle simmering to reduce volume — Mechanical Thickening by evaporation concentrates sugars and intensifies shine. For a glossy, stable finish try a cornstarch slurry (mix 1 tsp cornstarch with cold water), whisk in and cook until transparent; that’s Molecular Thickening via starch gelatinization. Arrowroot or tapioca work similarly and freeze-thaw better. If you prefer no starch, whisk in a small pat of butter off-heat for sheen and body. Finally, toss chicken in the warm glaze so each piece gets evenly coated and stays sticky.
| Method | Use |
|---|---|
| Reduce | Quick |
| Starch | Thick |
| Arrowroot | Freeze |
| Butter | Sheen |
Flavor Balancing
Balancing sweet honey and pungent garlic is the heart of a great glaze, and you’ll get there by tuning salt, acid, heat, and umami until each bite sings. Start by simmering honey, soy, minced garlic, rice vinegar, and a pinch of chili; taste as it reduces and adjust.
- Salt sharpens.
- Acid brightens.
- Umami enhancement deepens.
For palate cleansing between bites, include a squeeze of lime when serving. Finish with toasted sesame and scallions. Keep testing on a spoon, because the balance shifts as it thickens; tweak heat and sweetness in small steps until the glaze feels bold, glossy, and balanced. If you prefer heat, add chili flakes gradually for controlled kick that won’t overpower honey’s sweetness.
Coating and Breading Options
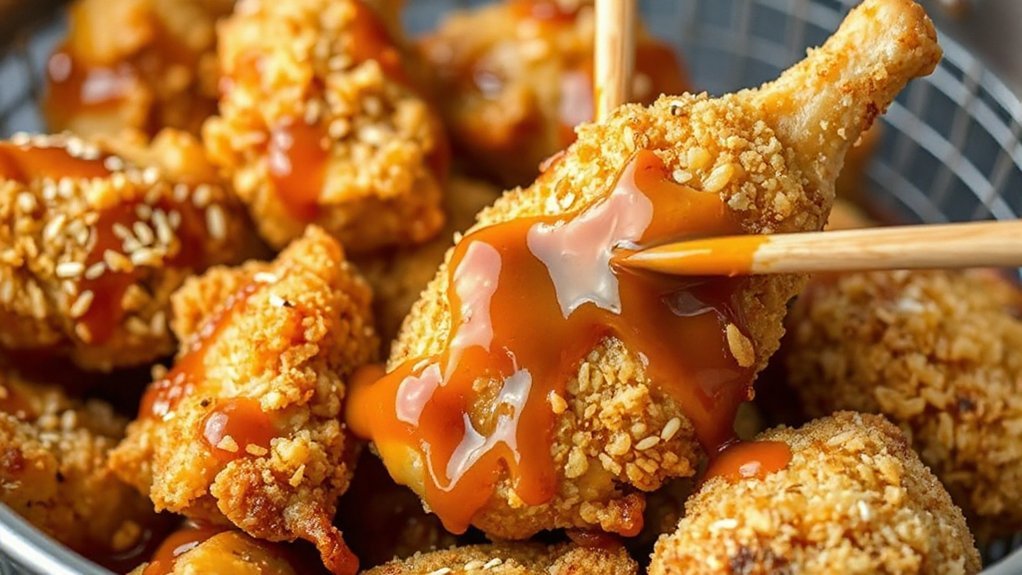

Choosing the right coating can make or break your air-fried honey garlic chicken, so pick something that gives crispness without hiding the sauce. You’ll want a base that grips glaze—panko or crushed cornflakes deliver big crunch, while a light flour-and-cornstarch mix hugs the meat and lets sauce shine. For gluten-free or egg-free needs, Allergen Substitutions like rice flour, chickpea flour, or a dairy-free yogurt dip for wet coating work great. For extra texture, toss in tempura batter bits or ground sesame seeds. Think about Regional Variations: add Chinese five-spice for an Asian twist, smoked paprika and cayenne for Southern heat, or za’atar for a Middle Eastern spin. Keep coatings thin so the sauce stays sticky, and pat pieces dry before dredging. You’ll get crispy, saucy bites every time without overpowering that honey-garlic flavor. If you like extra crunch, spray lightly with oil before air frying for golden finish.
Air Fryer Temperature and Timing

You kept the coating thin so the glaze can cling—now match temperature and time to that crispness. Preheat your air fryer to create an even cooking environment; modern units vary, so check Sensor calibration if things cook too fast or slow. For small breast pieces use a slightly lower temp to prevent drying; for larger thighs bump the temp briefly to finish. Remember Altitude adjustments: higher elevations reduce air density and can lengthen cooking time slightly.
- Set 380°F for 10–12 minutes, flipping halfway.
- For medium pieces, use 400°F for 12–15 minutes, monitoring once.
- If pieces are large, 420°F for 15–18 minutes with a short rest.
Trust your thermometer, poke once at the thickest part, and adjust time—not just temp—based on how your fryer behaves. Make small tweaks over several batches until you lock in reliable times for your specific model daily.
Achieving Perfect Crispiness
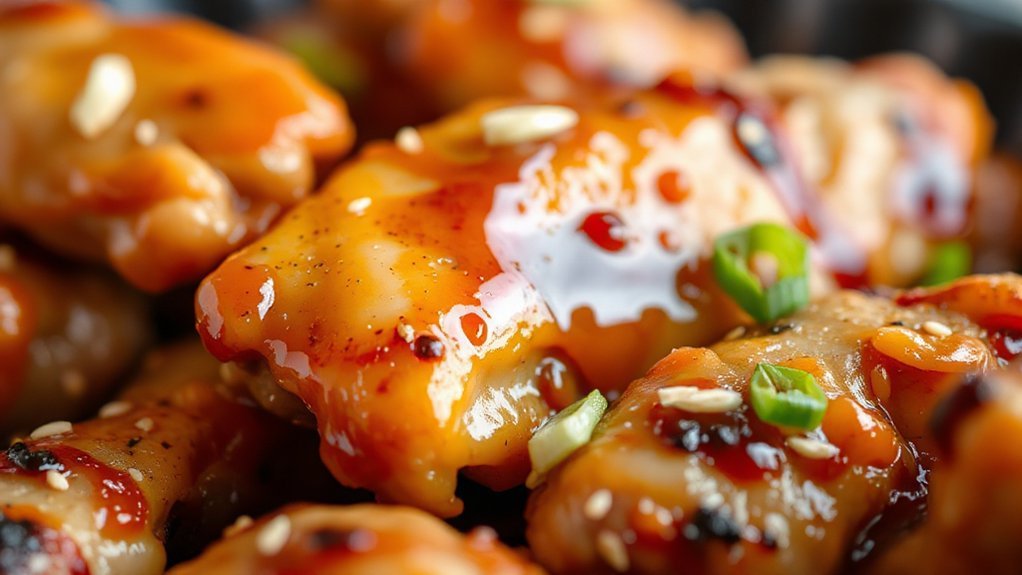
When you’re chasing that perfect crunch, keep the pieces in a single layer with a thin, dry coating so hot air can circulate and the glaze can stick. You’ll dry the chicken with paper towels, dust it lightly with cornstarch or panko, avoid crowding. That thin coating and your glaze interact via surface chemistry: sugars and proteins crisp and caramelize without steaming. Pay attention to airflow dynamics — gaps between pieces let superheated air hit every edge for even browning. Flip or shake midway to expose all sides, and dial back the heat before glazing so the sauce clings instead of sliding off. If your chicken’s not crisp enough, give it a couple more minutes at high temp, then watch to avoid burning the honey. With tests you’ll learn how coating thickness and spacing change results, and you’ll get crunchy, glossy pieces that hold the honey garlic finish.
Serving Suggestions and Sides

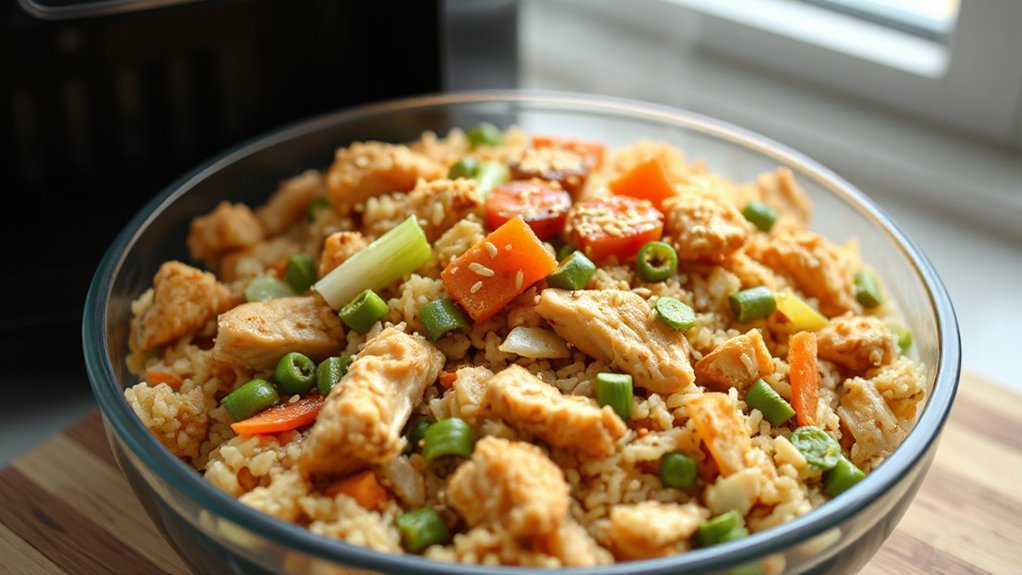
If you’re serving honey garlic chicken, pick sides that balance the sweet, sticky glaze—think bright, acidic, or crunchy elements to cut through the richness. You want contrasts: crisp veg, tang, and a comforting base. For Starch Pairings and Salad Options, try these simple hits:
- Jasmine or sticky rice to soak up sauce and anchor the meal.
- Shredded cabbage slaw with rice vinegar for crunch and acid.
- Roasted broccoli or snap peas for color, texture, and quick caramelized flavor.
Finish with fresh herbs, lime wedges, and optional chili oil so guests adjust brightness and heat. Serve family-style so everyone grabs their preferred balance of sweet and acidic. These choices keep the chicken central while adding contrast, crunch, and palate-cleansing acidity. You can also offer a light soy dipping sauce for extra umami without muddling the honey garlic notes. Don’t forget toasted sesame seeds for aroma and nutty crunch too.
Meal Prep and Storage
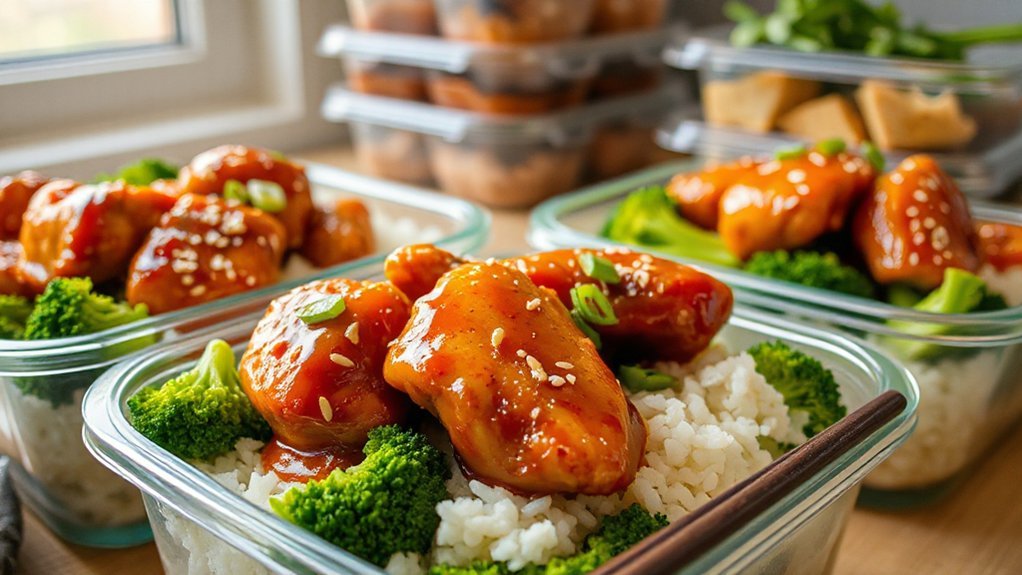
You can make the chicken ahead by cooking strips or bites and keeping the sauce separate so you can reheat without sogginess. Cool cooked chicken quickly on a tray before sealing and refrigerating to preserve texture and safety. For freezing, portion into airtight containers and thaw then reheat gently in the air fryer or oven to keep the glaze glossy.
Make-Ahead Cooking Tips
Because busy weeknights demand simplicity, planning ahead turns this honey garlic chicken into quick, satisfying meals you’ll grab all week. Use advance assembly: portion chicken, sauce, and sides into containers, and adopt a labeling system so you know dates and reheating instructions. Marinate and par-cook in the air fryer, then cool and store for up to 3 days in the fridge or 3 months in the freezer (sauce separate for best texture).
- Pack single-serving portions with sauce on the side.
- Freeze flat in freezer bags to save space; thaw overnight.
- Reheat in the air fryer for crisp skin; finish with fresh honey-garlic glaze.
Prep extras like chopped scallions and lemon wedges so you simply reheat and plate, then cutting dinner time in half quickly.
Proper Cooling Techniques
While the chicken’s still hot, don’t jam full pans into the fridge—cool it down fast so it stays safe and tasty. You’ll transfer pieces to a single layer on cooling racks to let steam escape and speed temperature drop. Leave trays uncovered at first to encourage ambient airflow, then after about 20–30 minutes cover loosely with foil or a clean towel. Stir or flip larger pieces once so heat dissipates evenly. Don’t leave perishable food out over two hours (one hour in hot kitchens). Once chilled to room temperature or slightly under, portion into shallow containers and refrigerate promptly. Label with date, and use within three to four days. These simple steps keep texture and flavor intact while preventing bacterial growth and preserving quality.
Freezing and Reheating
Freezing your honey garlic chicken the right way makes weeknight meals a breeze: chill pieces completely, portion them into single servings or meal-size packs, squeeze out air from freezer bags or use airtight containers, and lay bags flat to freeze so they stack and thaw fast. When you reheat, defrost in the fridge overnight for best nutrient retention and texture, or use the microwave’s defrost setting if you’re short on time. Reheat in air fryer at 360°F for 6–8 minutes to crisp the exterior and keep sauce glossy. For energy efficiency, reheat only what you’ll eat and cover containers to trap heat. Try these quick tips:
- Flash-freeze pieces before bagging.
- Store sauce separately for freshness.
- Label with date and portion.
Troubleshooting Common Issues

Why is your honey garlic chicken coming out soggy, undercooked, or burned? You’re probably overcrowding the basket, using too-thick sauce too early, or skipping preheat — quick fixes: space pieces, air-dry skin, and add glaze at end. For smoke prevention, wipe excess oil and avoid sugary spills that cause burnt residue; a foil tray under the rack catches drips.
| Problem | Cause | Quick Fix |
|---|---|---|
| Soggy | Overcrowded/too-wet | Space pieces, pat dry |
| Undercooked | Thick pieces/low temp | Pound or cut, raise temp |
| Burned edges | Sugar cooks too long | Add glaze last 2-3 min |
| Smoke | Oil/sauce drips | Clean tray, use tray |
If you still struggle, test with one piece, adjust time by 2–4 minutes, and trust the thermometer — 165°F done. You’ll nail it fast. Keep a spray bottle for quick flare-up control, and clean sticky trays after every cook to prevent future issues. Practice makes perfect; tweak times by small increments regularly.
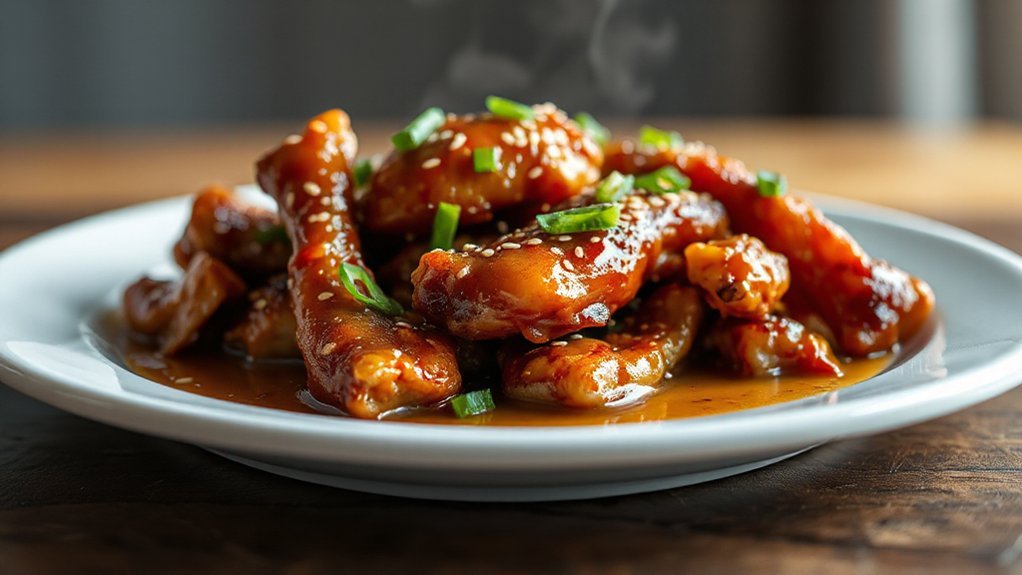
Conclusion
You’ll love how the sticky honey-garlic gloss clings to each golden bite, steam rising like tiny veils as you pull one apart. It sounds like home — sweet, garlicky, and just a little crispy — and you can make it any night. Toss it over rice, wrap it in lettuce, or eat it straight from the basket. Keep experimenting; your air fryer becomes a shortcut to crowd-pleasing dinners that smell like comfort and melt hearts.