
You’ll crisp frozen breakfast sandwiches into restaurant-style perfection in about 6–10 minutes with an air fryer, not a soggy microwave. Preheat to 350°F, place sandwiches seam-side down in a single layer, flip at halfway, then finish at 375–400°F for a golden crust and 165°F center. Use a light oil mist and avoid overcrowding for best texture. Let them rest a minute before biting, and keep scrolling for quick tips, timing tweaks, and easy storage tricks.
Why the Air Fryer Trumps the Microwave for Frozen Breakfast Sandwiches
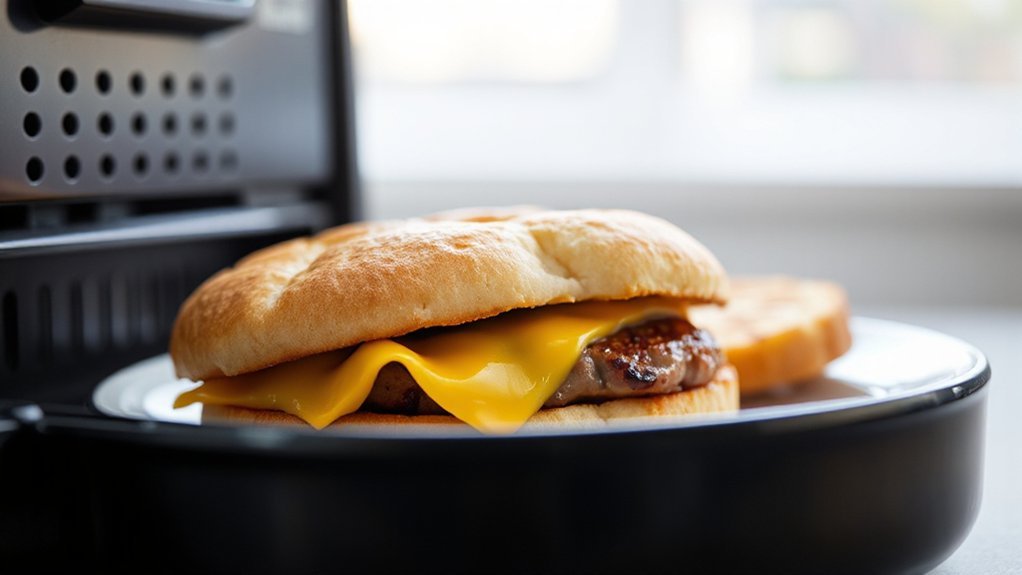
When you pop a frozen breakfast sandwich in the air fryer, you get a crisp, toasted exterior and evenly warmed filling instead of a soggy, microwave-steamed mess; the circulating hot air crisps the bread, melts cheese uniformly, and heats the egg and meat without turning them rubbery, so you enjoy restaurant-style texture in minutes with minimal fuss. You’ll notice immediate Texture retention: the bun stays firm, not soggy, and layers keep their structure so every bite has contrast. The air fryer also boosts Flavor concentration by reducing excess moisture and concentrating aromas, so the meat and cheese taste sharper. You’ll get a consistent melt and a lively bite without babysitting. Compared with the microwave, the air fryer delivers better mouthfeel and more satisfying flavor with the same convenience. It’s the simple upgrade that turns a rushed morning into a tidy, tasty win. You’ll save time and enjoy quality.
Tools, Timing, and Temperature Cheat Sheet
If you’re aiming for perfect results every time, keep a few essential tools handy and follow straightforward timing and temperature rules. You’ll want a reliable air fryer basket or tray, silicone tongs, a heatproof spatula, and an oven mitt. A small digital thermometer helps check internal temps without guessing. Note model compatibility: sizes and wattages vary, so adjust time slightly for compact vs. full-size units.


For frozen breakfast sandwiches, start with 350°F for a gentle thaw, then finish at 375–400°F for crisping—typically 6–10 minutes total depending on sandwich thickness and your fryer. Flip halfway for even browning. Safety reminders: avoid overcrowding, don’t use foil unless your manual allows, and always let the unit cool before cleaning. Keep a short timing note on your counter for reference—your best results will come from consistent, small tweaks based on your air fryer. Track one successful setting per sandwich type for repeatability.
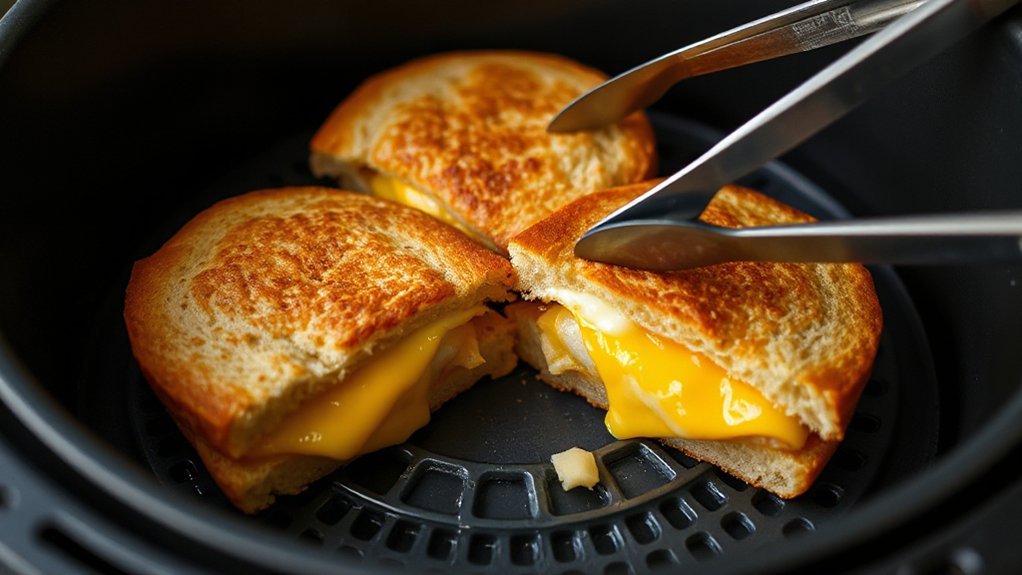
Step-by-Step Air Fryer Method
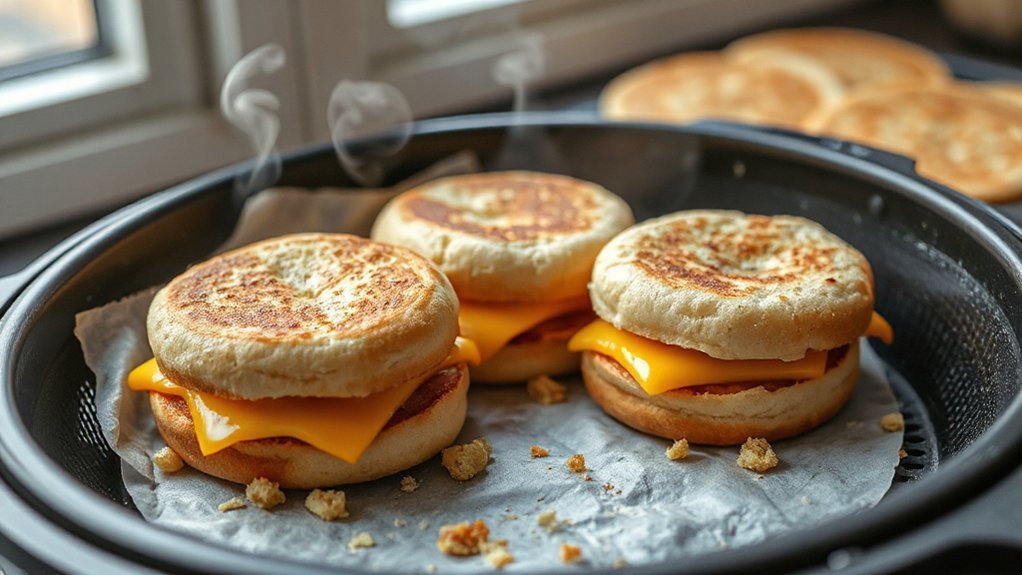
Start by preheating your air fryer to 350°F and clearing a single layer in the basket so each sandwich gets even heat. You’ll follow a simple step overview: place frozen sandwiches seam-side down, set timer for 10 minutes, flip halfway at 5 minutes for balanced warming, then check internal temperature. Use a quick safety checklist before starting — make sure basket is dry, hands are protected with oven mitts, and the fryer sits on a heatproof surface away from flammable items. When time’s up, confirm sandwiches reach 165°F in the center; if not, return for 1–2 minute bursts. Let sandwiches rest 1 minute to avoid molten fillings. Serve immediately or wrap to go. You’ll find this method consistent and fast, giving reliable results without thawing. Clean crumbs from the basket after it cools to keep your air fryer efficient and safe for next use. Enjoy warm sandwiches with minimal fuss.
Tips and Tweaks for Extra Crisp and Even Heating
Now that you’ve got the basic timing down, a few smart tweaks will make the bread crispier and the center heat through evenly. Start by separating top and bottom halves for a minute at the end to let steam escape and prevent sogginess; you’ll reassemble when crisp. Use a light oil misting on cut surfaces for extra golden crunch without greasiness. Preheat the basket briefly so the surface sears on contact. Rotate midway for even color.
Quick tweaks — preheat the basket, mist cut sides with oil, separate halves and rotate for crisp, evenly heated sandwiches.
- Preheat basket 2–3 minutes for instant crisp.
- Use oil misting on both bread sides, not the filling.
- Apply spacing technique: don’t crowd, leave airflow gaps.
- Flip or rotate sandwiches halfway, especially stacked pieces.
These small moves save you from chewy bread and cold centers. Tweak times by 30 seconds based on your model, and you’ll get reliably crunchy, evenly heated sandwiches every time. Enjoy fuss-free breakfasts with confidence.
Serving Suggestions and Make‑Ahead Storage

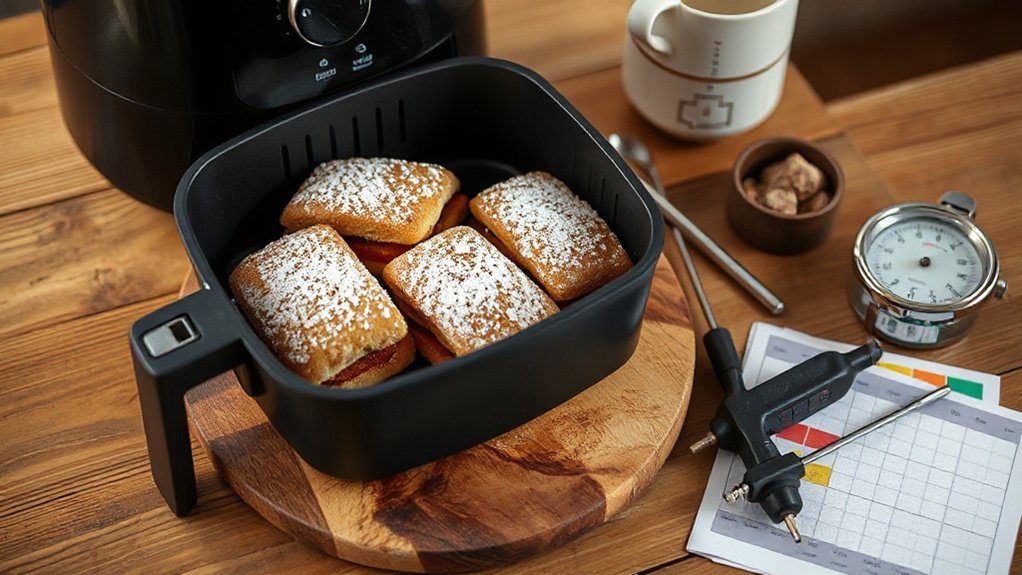
When you’re serving these air-fried breakfast sandwiches, keep it simple and customizable: offer hot sauce, ketchup, avocado slices, or a handful of fresh greens so guests can dress their own, and add fruit or hash browns for a fuller plate. For Beverage Pairings, think coffee, tea, orange juice, or a sparkling water with lemon—choose one caffeinated and one thirst-quenching noncaffeinated option to suit tastes. If you want a brunch spread, set up a toppings station with sliced cheese, pickled jalapeños, and herb butter so people assemble as they like. For make-ahead storage, cool sandwiches completely, wrap each in parchment and foil, then freeze in a single layer before transferring to a labeled freezer bag. Batch Freezing this way prevents sticking and speeds reheating. To reheat, pop frozen sandwiches in the air fryer at 350°F until heated through, about 10–12 minutes, flipping halfway for even warmth, and enjoy immediately.
Conclusion
You’ll love how your frozen sandwich comes out—steam rising like morning mist, English muffin edges turning golden and crunchy while sausage melts into gooey comfort. You’ll get stovetop-worthy texture without babysitting, and the air fryer does the heavy lifting so you can sip coffee and plan your day. Use the cheat sheet, tweak time for your model, and enjoy a hot, crisp breakfast that feels homemade even on hectic mornings, too.


