You’ll get a restaurant quality ribeye or NY strip in your air fryer by patting it dry, lightly oiling, salting early or before cooking, and preheating basket. Cook 1 to 1.5 inch cuts at high heat, flip once, and use an instant read probe to hit your target temp. For extra crust finish on a screaming hot cast iron or torch, rest briefly with butter and herbs. Keep going and you’ll learn pro tips next.
Why Air Fryers Work for Steak
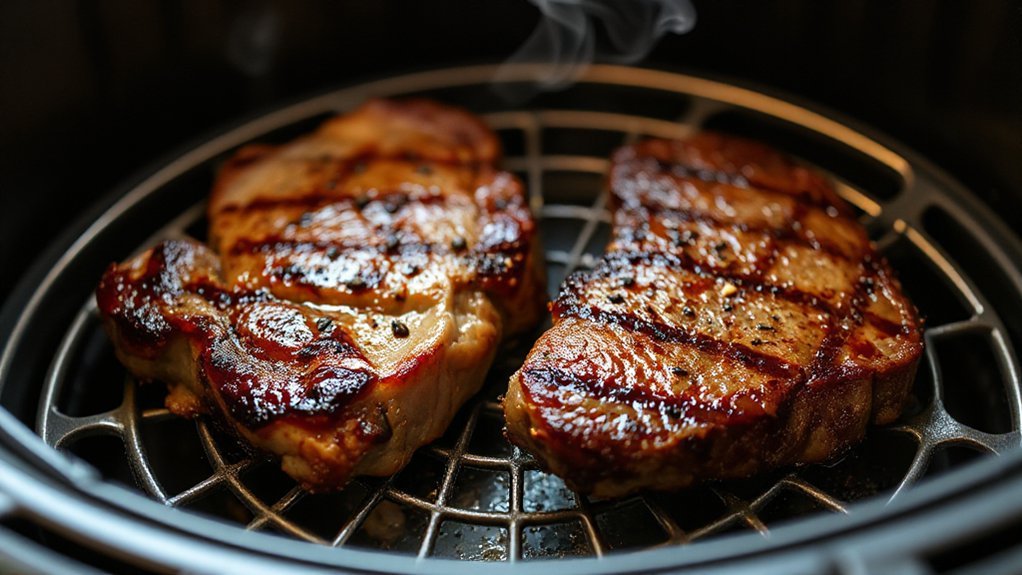
Harnessing intense, circulating heat, air fryers give you a fast, reliable way to get a seared crust and a juicy interior without dragging out the process. You’ll appreciate how convection efficiency concentrates heat around the steak, promoting Maillard browning quickly and evenly so you don’t overcook the center. With minimal oil, you’ll still get that browned flavor while trimming fat and cleanup time. The compact convenience of most air fryers means you can crank heat fast, rest steaks briefly, and plate sooner than with a full oven or grill. You’ll control time and temperature precisely, and short cooks let you hit target doneness every time. Use a light press to check firmness and let carryover do the finishing work. In short, an air fryer gives you restaurant-style results with less fuss, predictable timing, and a small footprint that fits busy kitchens. You’ll master it quickly, and impress guests.
Choosing the Right Cut and Thickness
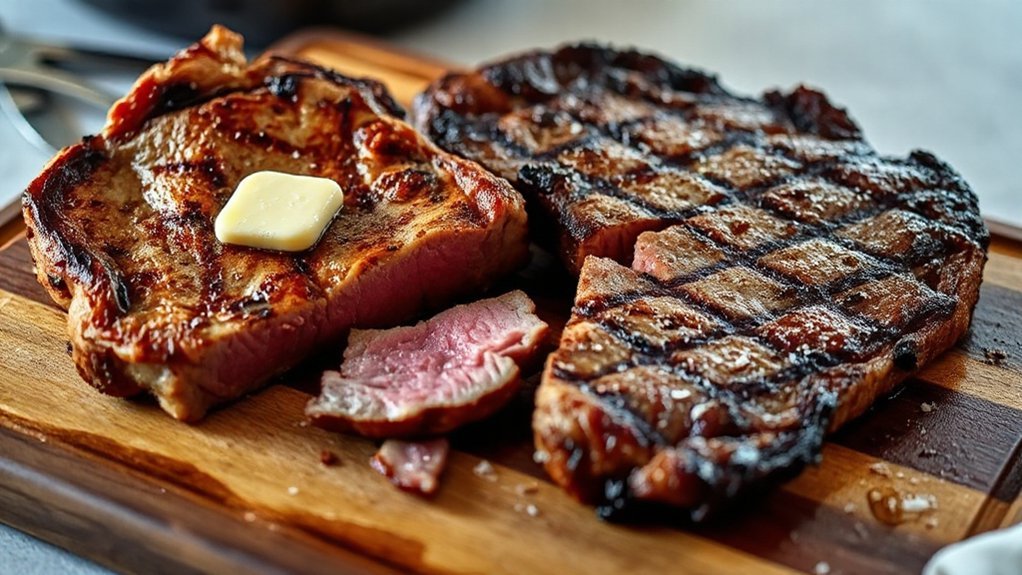
Pick your cut based on flavor and fat: ribeye brings rich marbling and forgiveness, while a NY strip is leaner with a beefier bite. For perfect searing in the air fryer, aim for steaks about 1 to 1½ inches thick so the outside crisps while the inside reaches your target temp. You’ll get a better crust and more even doneness with that thickness, so tweak cook time for doneness rather than changing thickness.
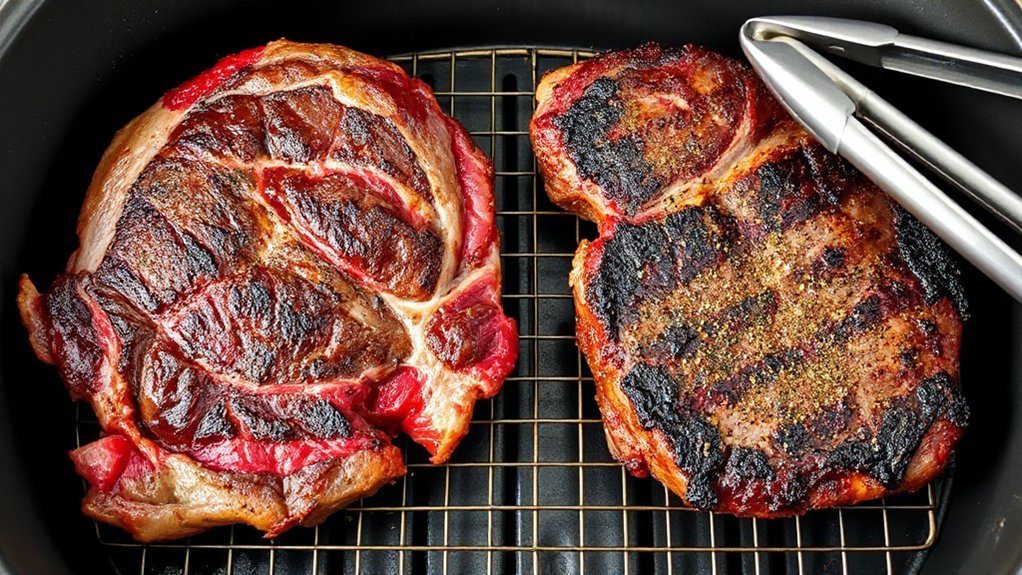
Ribeye Vs NY Strip
While ribeye’s rich marbling gives you juicy, forgiving results and NY strip’s leaner, beefy bite delivers a firmer chew, you’ll want to choose based on how bold and tender you like your steak and how much hands-on time you want at the air fryer. Consider Price comparison, Nutritional profile: ribeye often costs more and packs more fat/calories; strip is leaner, slightly cheaper, higher protein per ounce.
| Cut | Best if you want |
|---|---|
| Ribeye | Juiciness, forgiving cooks, richer flavor |
| NY Strip | Leaner bite, firmer texture, straightforward sear |
Pick ribeye when you want buttery flavor and forgiveness; pick strip when you want a beefy, cleaner profile and quicker finishing. You’ll get margin for error with ribeye; choose strip if you prefer a focused beefy bite and leanness.
Ideal Thickness for Searing
How thick should your steak be for a great sear? Aim for 1 to 1.5 inches for most cuts — thick enough to develop a crust without overcooking the center. If you want a rare middle with a dark sear, go toward 1.5 inches; if you prefer quicker cooking, 1 inch works. Thicker cuts like 2 inches suit reverse sear or finishing in the air fryer after a low temp start. Choose ribeye for more marbling and NY strip for leaner bite; thickness affects tenderness and timing. Don’t forget historical preferences and regional variations: some cultures favor thinner, fast-seared steaks, others love thick, slow-finished slabs. Test a couple of thicknesses to find what sings for you. Adjust timing, rest, and salt for best results.
Prepping the Steak: Seasoning and Drying
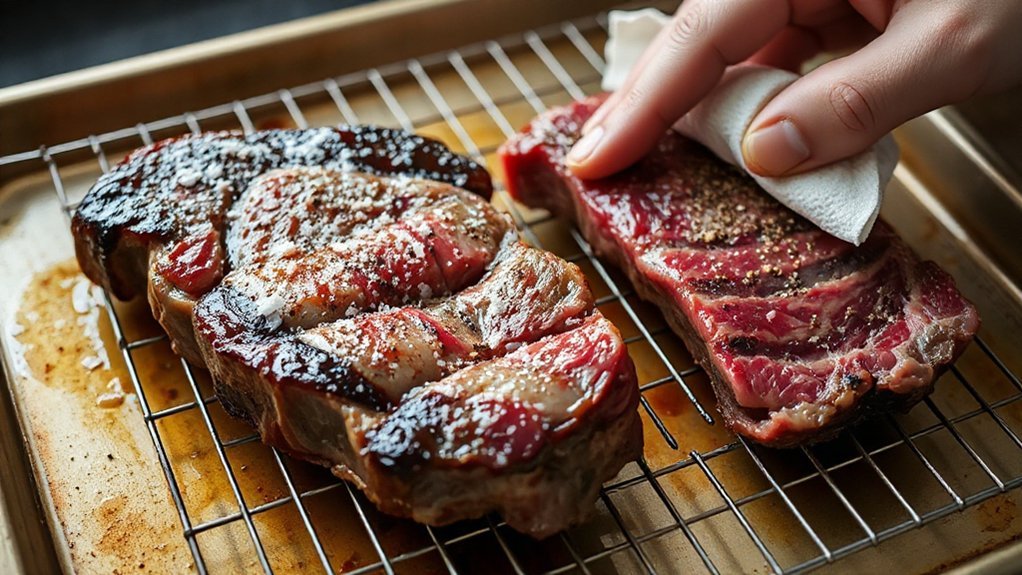
You’ll want to pat your steak dry with paper towels so the surface can brown properly. Salt timing matters—season early for deeper seasoning or right before cooking for a brighter hit, but don’t overdo it. Layer flavors smartly with coarse salt, cracked pepper, and a light herb or garlic rub so the beef still shines.
Pat Dry Thoroughly

Because surface moisture prevents a proper crust, pat the steak dry with paper towels or a clean kitchen towel until it feels almost tacky—don’t rub hard, just press and lift to absorb water from both faces and the edges. For cloth selection, choose a lint-free towel or reusable cloth to cut waste—this helps waste reduction and keeps fibers off your meat. Patting thoroughly lets oil and seasonings cling, and promotes that golden sear in the air fryer. Use gentle, even pressure and check edges and under fat caps.
| Tip | Why | When |
|---|---|---|
| Pat dry | Better crust | Before seasoning |
| Cloth choice | Lint-free | Reusable if possible |
| Check edges | Remove moisture | All sides |
A quick final pat before cooking changes the outcome—it’s simple, fast, and really worth it.
Salt Timing Matters
If you want a deeper, more evenly seasoned crust, salt at the right time: either just before cooking or at least 40 minutes (or up to overnight) ahead. Salting immediately and waiting lets salt draw surface moisture, then reabsorb it, promoting moisture migration inward and a dry exterior for a better sear. If you salt right before air frying, you get seasoning on the surface without waiting; both approaches work. Letting it sit longer encourages protein denaturation at the surface, improving browning and texture. Don’t salt and skip drying—pat dry first if you’ve brined or rinsed. Use kosher salt for predictability, apply evenly, and resist fiddling. Your steak will develop a restaurant-like crust when you time salt with purpose and enjoy a bold finish.
Layer Flavors Smartly
Building flavor means stacking small, smart moves—salt when it’ll do the most work, pat the steak dry, slick on a little oil, then add coarse pepper, aromatics, or a rub so each layer sings without masking the beef. You’ll want to think in layers: salt for structure, a light oil barrier for even browning, and Umami boosters like mushroom powder, anchovy paste, or Parmesan for depth. Add fresh herbs or smashed garlic close to cooking so they don’t burn. Brighten at the end—lemon zest, a splash of vinegar or a chimichurri—for Acid balance that wakes the meat. Pat, season, rest briefly, then air fry. You’ll get concentrated flavor and a restaurant-style finish at home. Don’t overdo any one element; let the beef always lead.
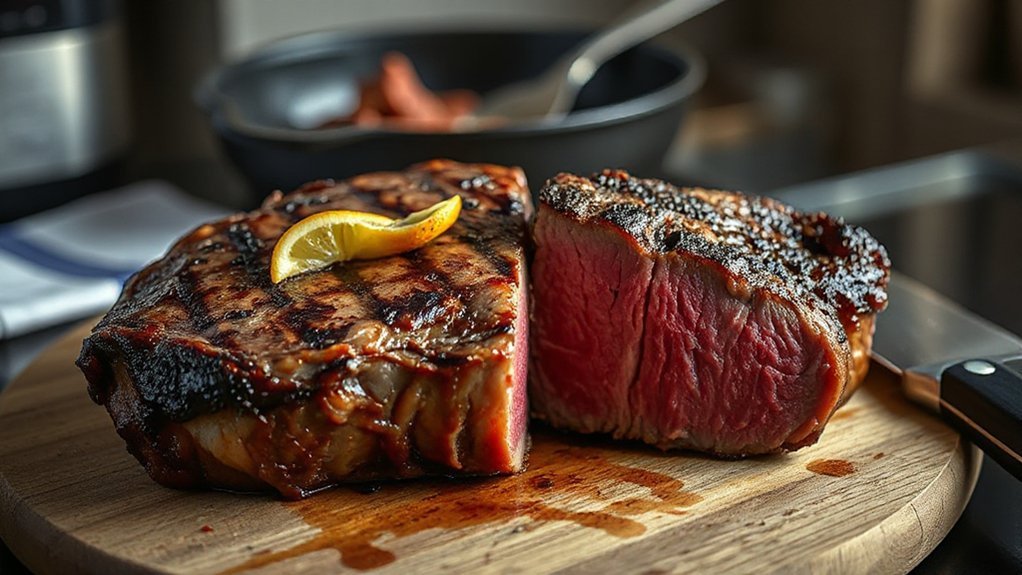
Temperature and Time Guide by Doneness
Wondering how long to air-fry your steak to nail the doneness you want? Start by preheating the air fryer and use a calibrated probe — probe calibration matters for accuracy. For a 1-inch ribeye or NY strip, follow these targets: Rare 120–125°F (49–52°C) about 6–8 minutes total; Medium-rare 130–135°F (54–57°C) 8–10 minutes; Medium 140–145°F (60–63°C) 10–12 minutes; Medium-well 150–155°F (66–68°C) 12–14 minutes; Well-done 160°F+ (71°C+) 14–16 minutes. Flip once halfway for even cooking and let steak rest 5 minutes; carryover raises temp ~5°F. Adjust times for thickness: add 3–4 minutes per additional half-inch. Consider altitude adjustments — higher elevations cook differently, so rely on internal temp rather than time. Use instant-read or probe thermometer to confirm doneness. These guidelines get you consistent results quickly without sacrificing control. If your probe shows variance, recalibrate before cooking and note adjustments for future batches to keep outcomes predictable and enjoy perfectly timed steaks.
Techniques for a Restaurant-Quality Sear
Sear your steak on a screaming-hot cast-iron skillet (or use a torch) to lock in flavor and build that deep, brown crust restaurants pull off every night. You want Maillard mastery — fast, fierce contact, a dry surface, and minimal movement. Pat meat dry, season simply, then press the steak to the pan for full contact. After the pan sear, consider Blowtorch finishing for focused browning and a restaurant sheen.
- Hot iron hiss, instant crust forming, edges caramelizing.
- Short, undisturbed sear per side, then quick turn for cross-hatch.
- Butter-baste with aromatics, spooning over to amplify flavor and color.
- Blowtorch finishing for spot-perfect char and glossy, savory appeal.
You’ll control doneness with timing and feel, not heavy flips. Execute these steps confidently; they deliver that punchy, restaurant-quality sear at home. Practice these techniques a few times and you’ll nail consistent crust, depth of flavor, and that pro-level presentation every time.
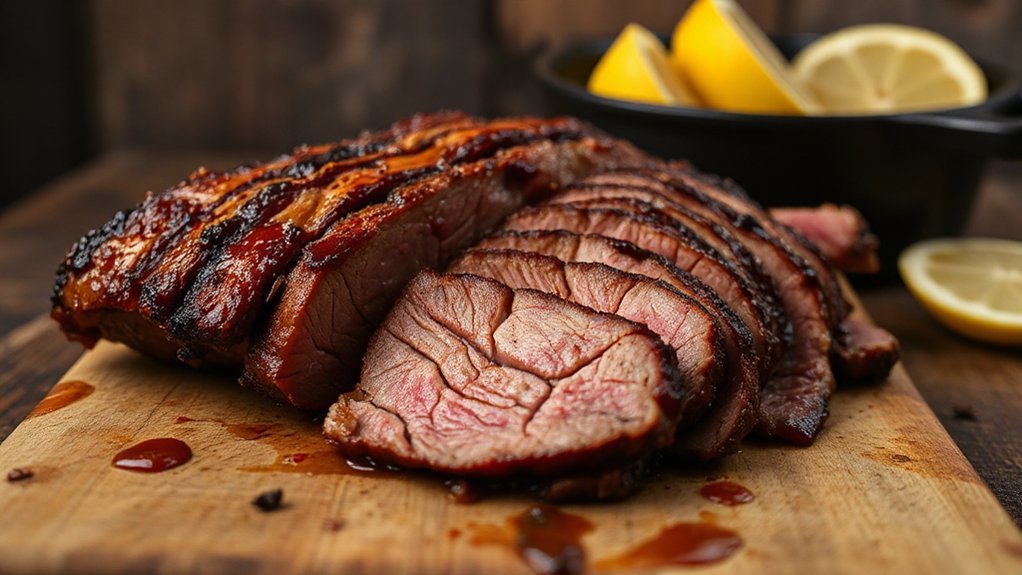
Resting and Carryover Cooking
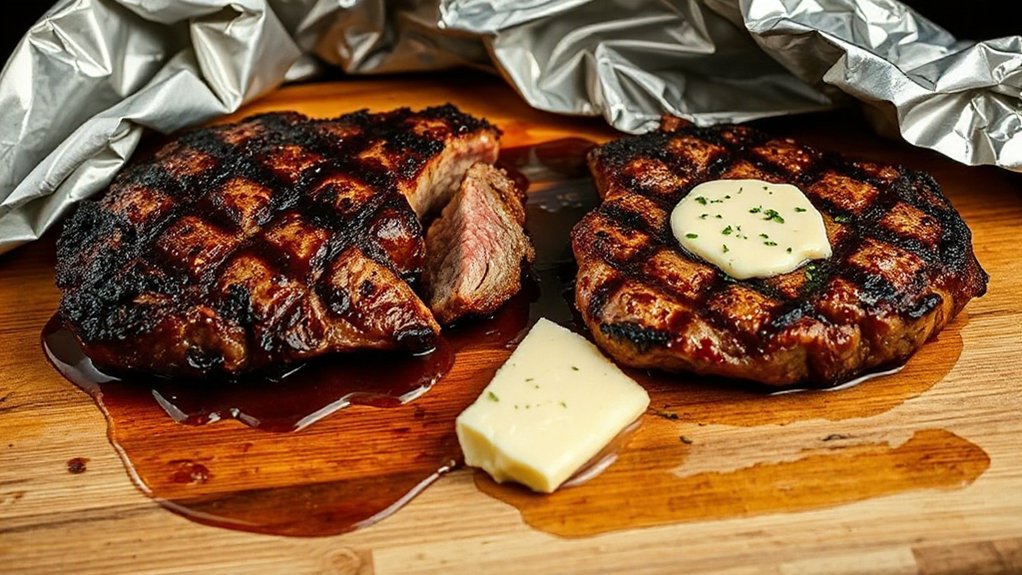
After you’ve seared your steak, let it rest — because that’s when the juices redistribute and the internal temperature keeps climbing a few degrees. You’re not doing nothing; you’re letting Residual Heat finish the job. Tent loosely with foil for 5–10 minutes for smaller cuts, 10–20 for thick ribeyes or NY strips, and keep a thermometer handy so you can track the slight rise. Rest prevents juice loss when you cut and gives you predictable doneness. Plan your Slice Timing: wait until the recommended rest time is up, then slice against the grain to preserve tenderness. If you slice too early, juices run out and the texture suffers; wait too long and the steak cools. Use a warm plate if you’re worried about temperature, but don’t reheat. Trust the carryover cooking and rest window — it’s the difference between meh and restaurant-level results every time. Savor the moment.
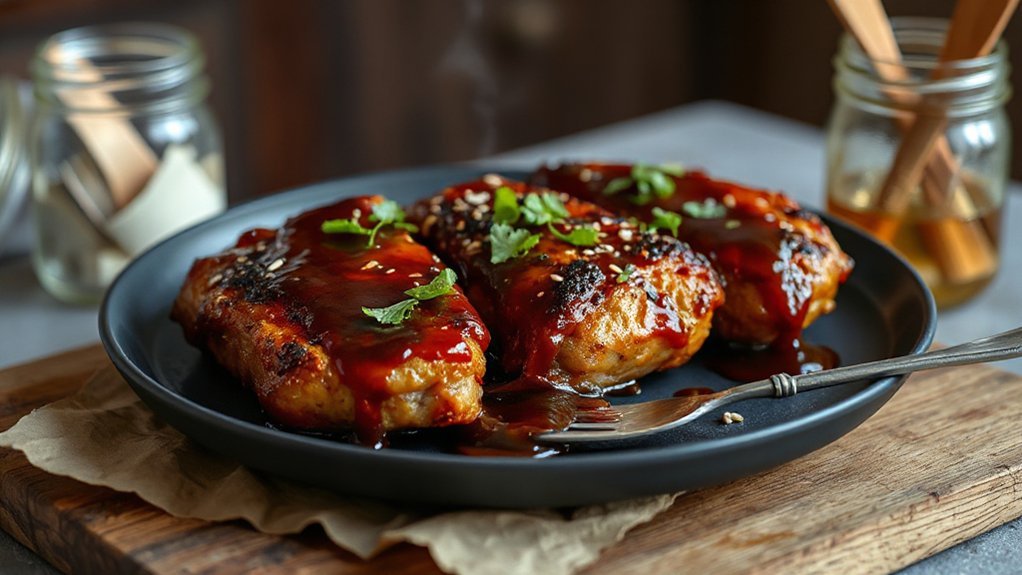
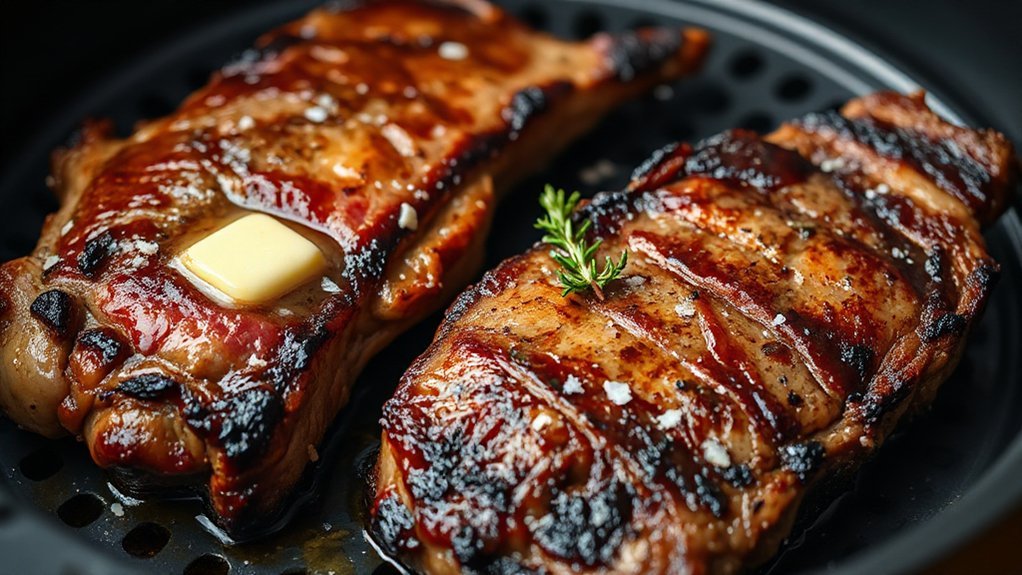
Finishing Touches: Butter, Herbs, and Sauces
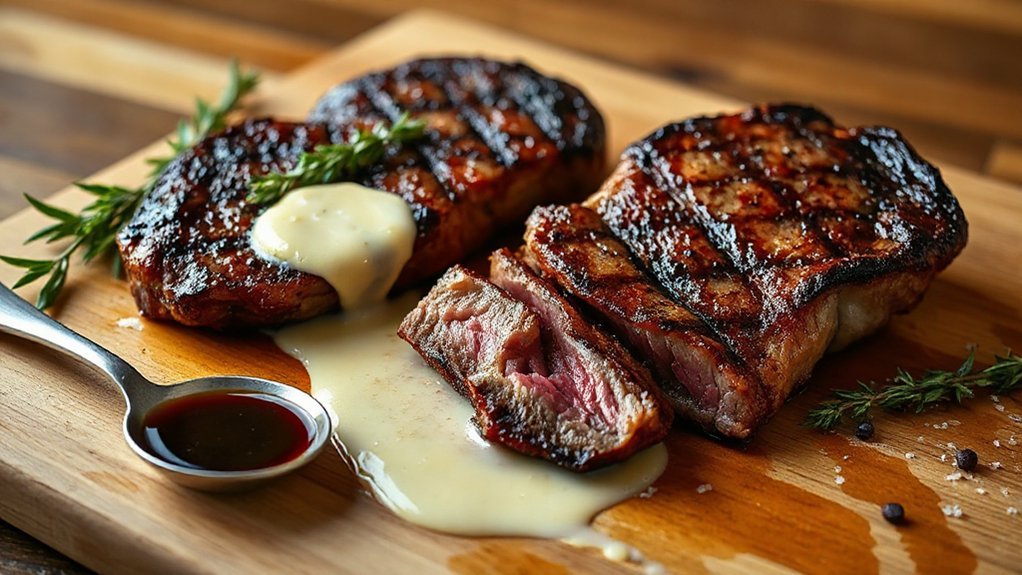
Basting with a knob of butter and a sprig of herbs will turn a great steak into a killer one, so don’t skip this step. You’ve rested the steak; now you finish it with intention. Spoon hot butter over the crust, let thyme, rosemary, or garlic perfume each cut, and slice confidently. You can swap in compound butters for an instant flavor upgrade or serve a bright chimichurri sauce on the side for acidity and herb punch.
- Glossy butter pooling along the sear.
- Melted herb ribbons clinging to each slice.
- A pat of compound butter slowly collapsing into crevices.
- A spoon of chimichurri streaking vivid green across the plate.
Keep sauces simple, taste as you go, and add salt last. Finish boldly — the right butter and herb combo makes home steak feel restaurant-level. Trust your senses and serve immediately for maximum flavor now.
Troubleshooting Common Issues
Got a problem with your air fryer steak? First, if you see smoke, pull the basket out briefly, lower the temperature, and wipe excess fat or marinades—Smoke Reduction comes from trimming extreme fat and patting the steak dry. For uneven cooking, check thickness and flip halfway; thinner edges cook faster, so let steaks rest between batches. If your steak tastes steamed or lacks crust, don’t overcrowd the basket—Overcrowding Fix is to cook in single layers with space around each piece for hot air to circulate. Worried about underdone centers? Use an instant-read thermometer and add short timed bursts rather than long reheats. If you get flare-ups, clean the bottom tray and avoid sugary sauces until after sear. Keep vents clear and preheat briefly for consistent heat. Follow these quick fixes and you’ll reclaim that restaurant-quality sear fast. Practice timing and soon you’ll nail perfect steaks every time consistently.
Conclusion
You’ve got this — air frying delivers steakhouse sears fast and simply. Follow the cut, dry, season, temp, and rest steps and you’ll nail perfect doneness every time. For example, my friend Jess switched from pan-burning to air fryer ribeyes, hitting medium-rare consistently while cutting cleanup in half. Try the butter-herb finish and taste the upgrade. Keep adjusting times for thickness, and you’ll impress guests without the stress and become the neighborhood steak expert quickly today.