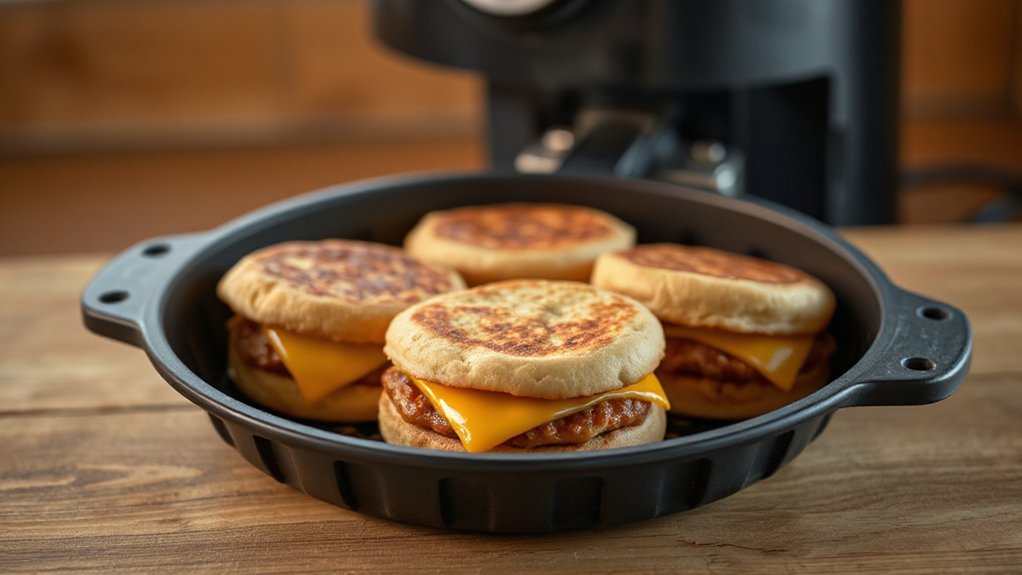
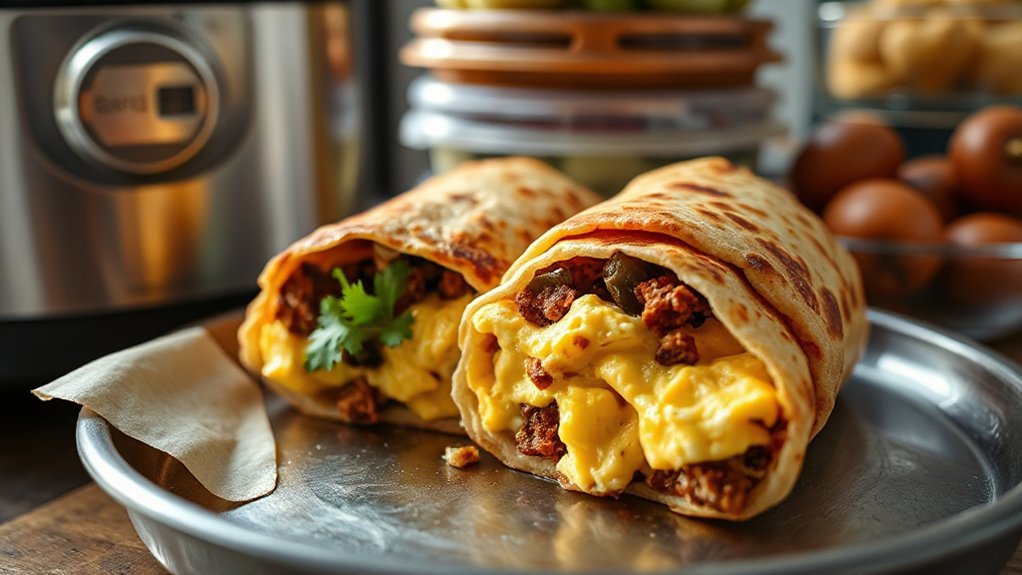
You’ll love this loaded air‑fryer breakfast burrito you can batch‑make: fluffy low‑and‑slow scrambled eggs, crispy seasoned potatoes or browned sausage, and melty cheddar or Monterey Jack tucked into warmed flour tortillas and air‑fried until golden. Cool fillings, wrap tightly in foil for freezing, then reheat in the air fryer with a light oil spritz for a crunchy finish. Keep sauces separate for best texture, and keep going to snag full prep, cook, and storage tips.
Ingredients You’ll Need
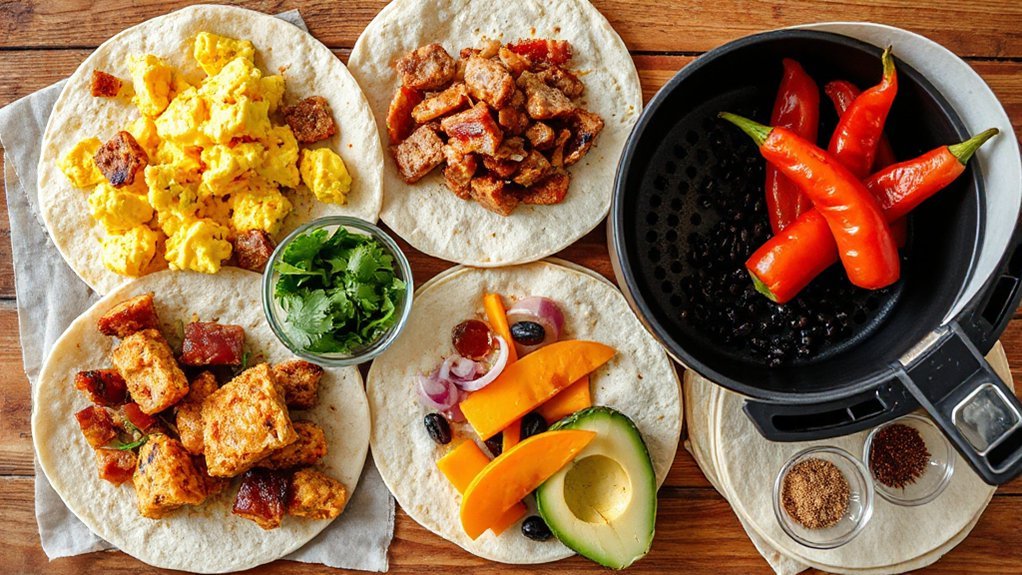
You’ll need a few simple ingredients to make these breakfast burritos: large flour tortillas, eggs, shredded cheese, and your choice of cooked bacon, sausage, or seasoned potatoes for filling. Add a couple cups of cooked fillings, a splash of milk for fluffy eggs, and a pinch of salt and pepper. Pick cheese varieties like cheddar, Monterey Jack, or pepper jack to match heat and meltiness. Stir in chopped fresh herbs — cilantro, chives, or parsley — for brightness. You can include sautéed peppers, onions, or spinach for veg and texture. If you want a creamier bite, add a scoop of cream cheese or crumbled cotija. Keep tortillas warm so they roll easily and portion fillings to avoid overstuffing. These basics let you mix flavors, plan meals, and freeze individual burritos for quick breakfasts that still taste homemade. Label and date frozen burritos so you’ll grab favorites without guesswork. Every busy morning.
Equipment and Tools
You’ll want an air fryer that reaches about 400°F, has a basket roomy enough for wrapped burritos, and reliable temperature control. Grab a few prep bowls to keep fillings organized and a sturdy spatula or tongs for folding and flipping. A silicone brush plus parchment rounds or foil will make assembly and cleanup quick and easy.
Essential Air Fryer Specs
A compact, reliable air fryer can make or break your breakfast-burrito routine, so pick one that fits your needs: aim for a 3–6 quart capacity for 1–3 people or 6+ quarts if you’re cooking for family or batch-making. Look for consistent temperature control, low noise levels for early mornings, and a solid warranty length so you’re covered. Nonstick baskets, dishwasher-safe parts, and simple controls save time. You’ll want a crisping function and even circulation to avoid soggy tortillas. Prioritize size, power, and safety features to match your routine. You’ll love the results daily.
- Imagine hot, evenly toasted burritos every morning.
- Picture quick cleanup and less stress.
- Think about waking the household with quiet cycles.
- Feel confident knowing your fryer’s backed by a good warranty.
Prep Bowls and Utensils
Nesting prep bowls and a few trusty utensils make morning assembly fast and tidy. Grab a stack of lightweight nesting bowls so you save space and plate up scrambled eggs, salsa, cheese, and fillings without clutter. Use a small whisk, a silicone spatula, and tongs for quick scooping and folding. You’ll want measuring spoons and a sharp knife for charring peppers or slicing avocado. Adopt simple color coding—stick a colored band or use different lids—to avoid cross-contamination and speed locating ingredients. Keep a cutting board with non-slip feet and a damp towel nearby to wipe hands. Store utensils in a reachable container so you can assemble burritos in under five minutes when mornings get busy. Label bowls for reheating and ingredient rotation every week.
Step-by-Step Prep
Once the ingredients are prepped, lay everything out so you can work quickly and keep the fillings warm. You’ll follow a simple workflow mapping: assemble tortillas, layer fillings, fold, and wrap, using time blocking to keep each station moving. Start with a warm tortilla, spoon on scrambled eggs, cheese, and veggies in a line, keeping sauces to one side. Fold the ends, roll tightly, and tuck the edges.
- Anticipation of the first bite
- Comfort that travels easily
- Pride in homemade meal prep
- Joy sharing one with someone else
Use a damp towel to keep wraps pliable as you work. Seal each burrito in foil for reheating or parchment for freezing, labeling with dates. Stack them snugly in an airtight container; grab one, reheat, and go—it’s that simple. Rotate flavors weekly so you never get bored and tweak fillings after a test batch to match your cravings right away.
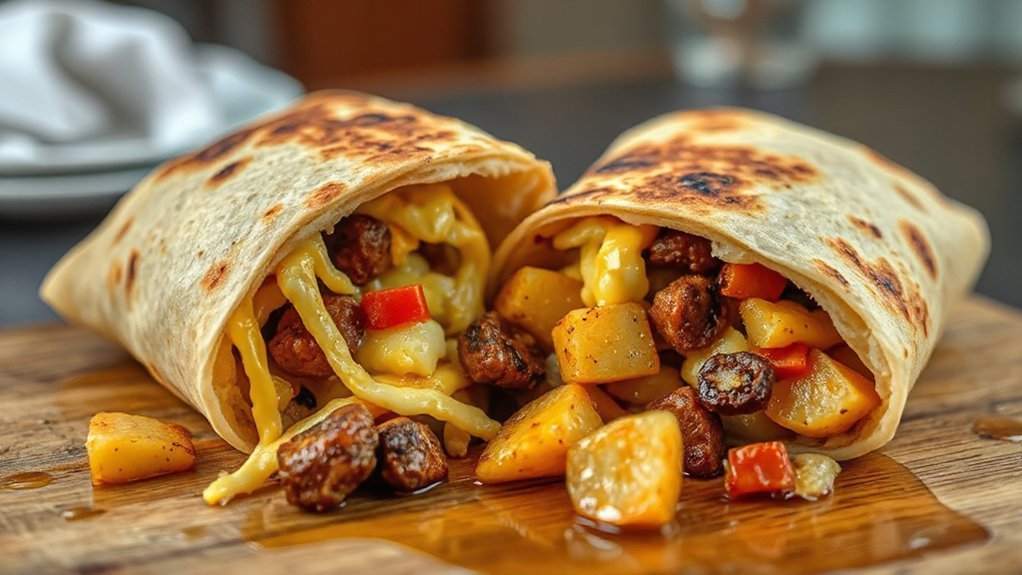
Cooking the Potatoes and Protein
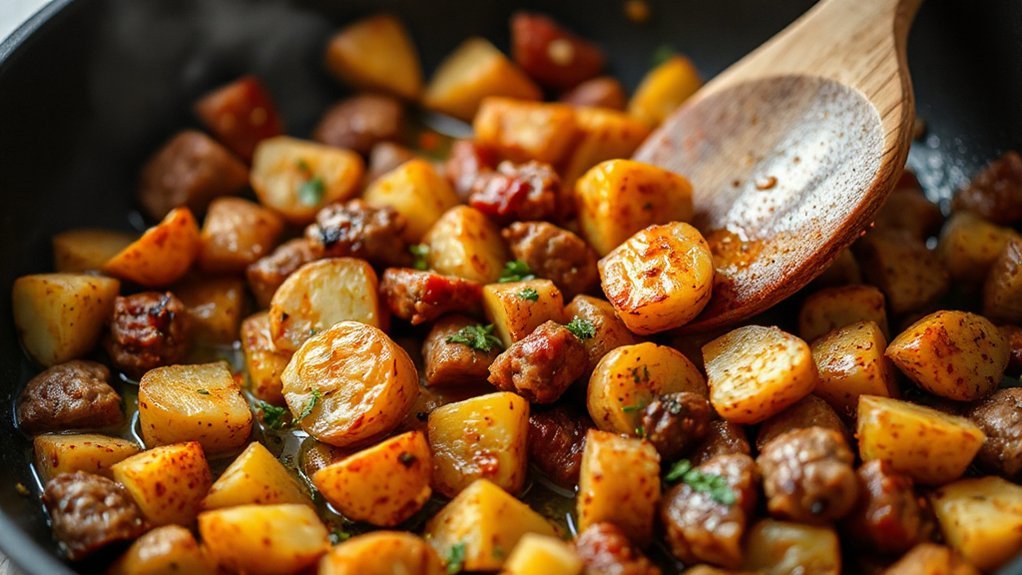
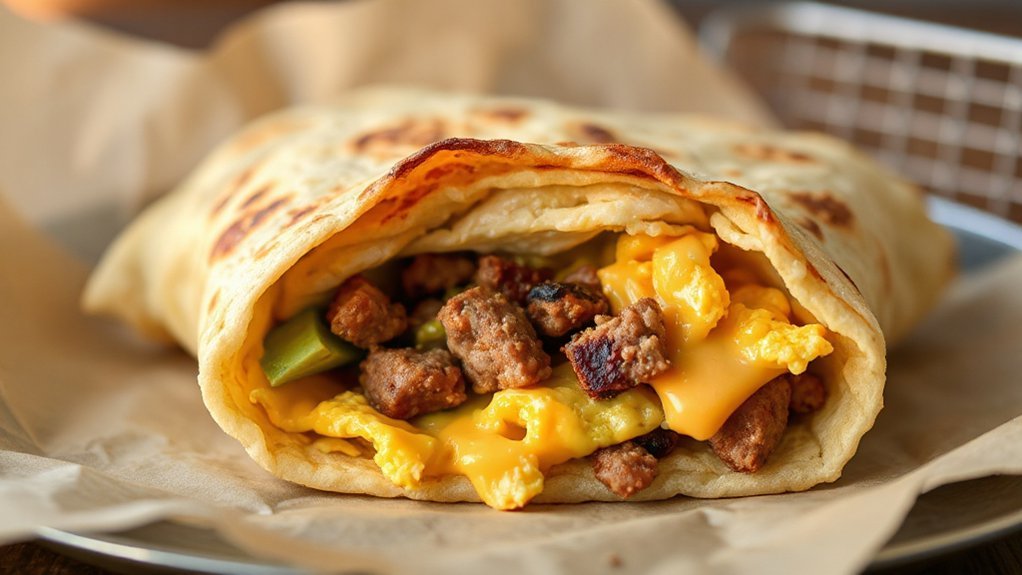
Par-cook the diced potatoes in the air fryer until they’re crisp-tender, then finish them with a toss of oil, smoked paprika, and a pinch of salt so they’ve got real flavor when you combine them with the protein. Use parboiled potatoes if you want an even, fluffy interior and faster air-fry time; they crisp up beautifully without burning. While the potatoes rest, heat a skillet over medium-high and add your choice of sausage, chorizo, or seasoned tofu. Break the meat up so it browns evenly and moves in the pan; focusing on protein browning gives you deep, savory bits that anchor the burrito. Deglaze briefly with a splash of water or beer to lift fond, then fold the potatoes into the skillet for a quick toss so everything melds. Taste and adjust seasoning—this step makes the filling taste deliberately homemade, not thrown together. Cool before wrapping for meal-prep.
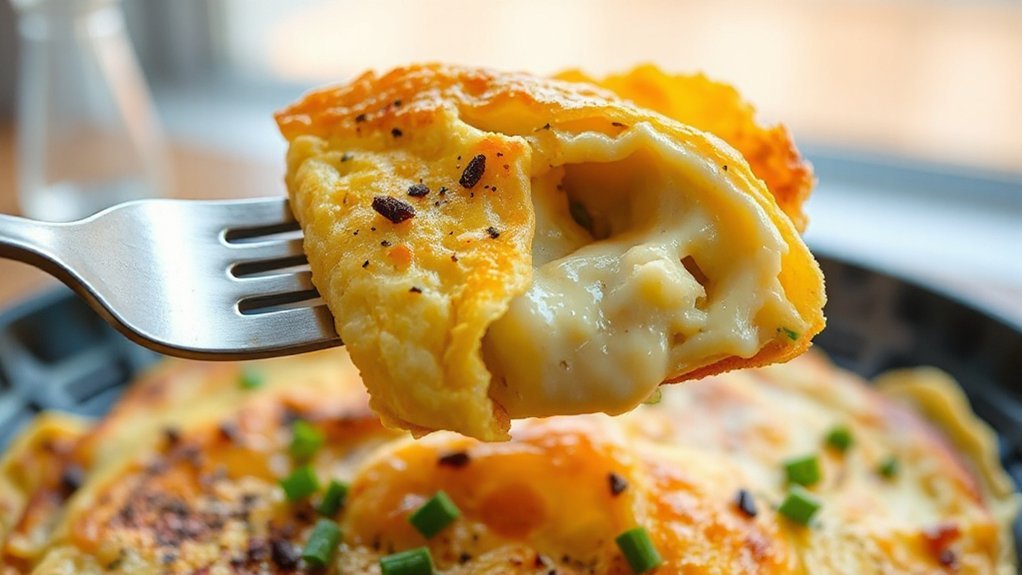
How to Scramble Eggs Perfectly
For fluffy, tender eggs, beat them just until the whites and yolks come together—don’t overwork them. Cook on low heat and stir gently; patience pays off more than blasting the pan. You’ll get creamy curds that fold perfectly into your burrito when you keep it low and slow.
Beat Eggs Lightly
Beating eggs lightly keeps them tender and fluffy—use a fork or whisk to mix yolks and whites until just combined, not aerated. You’ll notice how simple motion affects texture; this bit of culinary chemistry sets the stage for eggs that fold into burritos without becoming rubbery. Season gently so you preserve flavor balance and the eggs stay the creamy backdrop for fillings. Aim for uniform color with small streaks gone, stop as soon as homogenous. Transfer to a warm pan right away.
- Cozy morning comfort in every bite.
- Proud, homemade nourishment you can grab and go.
- Confidence knowing your technique actually matters.
- Joy in simple, perfect texture that supports bold fillings.
Practice this step and your burritos will feel thoughtfully made every single time.
Low and Slow Heat
Usually, you’ll cook scrambled eggs over low heat so they set gently and stay creamy rather than turning rubbery. Keep the pan just warm, stir slowly with a silicone spatula, and remove from heat slightly before they look done — they’ll finish cooking off the heat. This low and slow method boosts flavor development by allowing proteins to coagulate evenly and juices to stay locked in. It also saves energy; a lower flame for a bit longer uses less power than blasting high heat and standing by to babysit, promoting energy efficiency. Season near the end to avoid drawing out moisture. Practice timing and you’ll get consistent, tender eggs perfect for stuffing into your meal-prep burritos. They’re ideal for reheating and staying delicious next week.
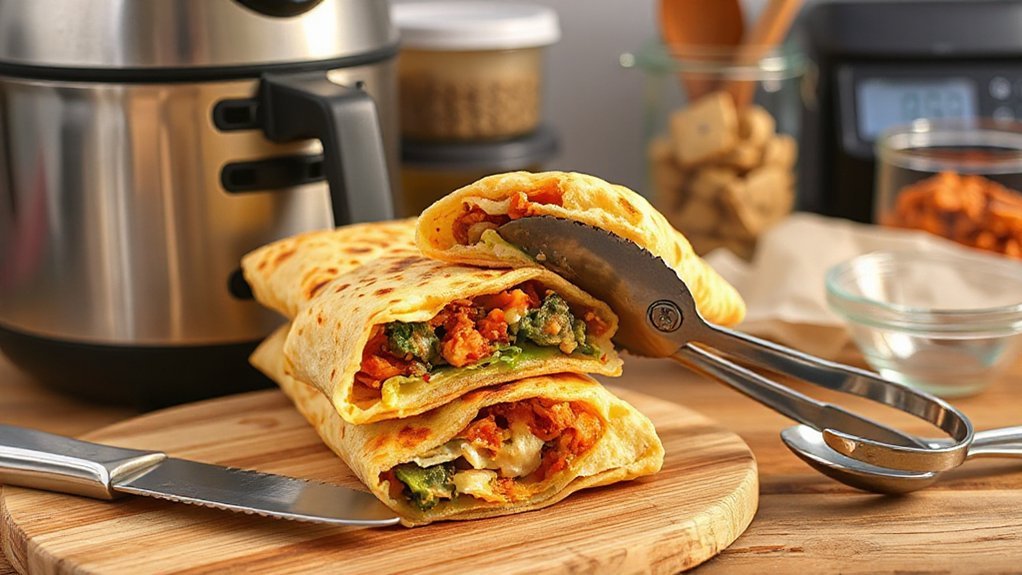
Assembling and Wrapping Burritos
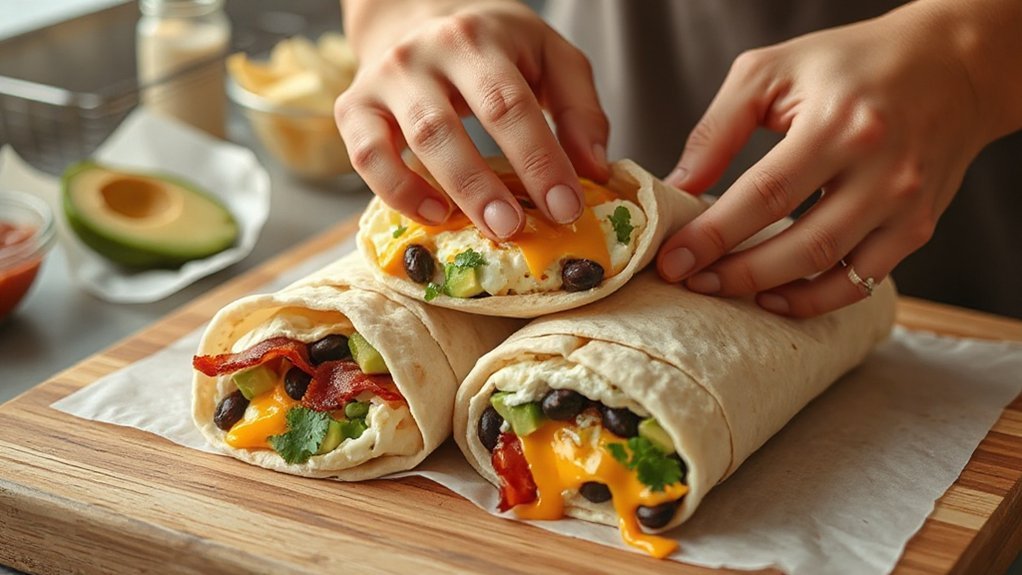
Warm your tortillas briefly so they bend without tearing, then lay one flat and pile ingredients in a narrow line slightly off-center — cheese first to help everything stick, then eggs, meat, and veggies. Fold the sides in, roll tightly, and tuck the end under; press gently so the burrito holds together. Use simple sealing techniques like a strip of melted cheese or a dab of salsa to keep edges closed. For meal prep, wrap each burrito snugly in foil, then plastic wrap for reliable travel packaging and fridge storage. Label with date and reheat instructions.
- You’ll feel proud carrying a homemade morning feast.
- Each wrapped burrito promises warm, familiar comfort.
- Quick bites become thoughtful, energized starts to your day.
- Meal prep turns chaos into calm breakfasts.
Handle burritos confidently, and they’ll travel and reheat beautifully. Enjoy saved time and delicious breakfasts all week.
Air Fryer Crisping Technique
Before you start, preheat your air fryer so you’re getting an even crisp from the first minute. Set a moderate temperature and arrange burritos in a single layer for consistent airflow. Halfway through the cook time, flip each burrito so both sides get that golden, crunchy finish.
Preheat for Even Crisping
If you want evenly crisped burritos, preheat your air fryer for 3–5 minutes so the cooking surface is hot the moment the burrito lands. You’ll help with thermal recovery after each batch and avoid long pauses from Door Opening that drop heat. Start hot, then load quickly so the crust sets fast and you get consistent golden brown edges. You’ll notice shorter cook times and less sogginess when the basket’s already up to temp.
- Anticipation of that first crunchy bite
- Satisfaction as steam escapes on slicing
- Pride in meal-prepped perfection
- Joy of a fast, reliable breakfast
Trust this simple step; it makes a measurable difference every time. Add a light spritz of oil to the outside for extra crunch without weighing down tortilla or fillings.
Flip Midway Through
Once the basket’s hot from preheating, flip your burritos halfway through the cook so both sides get that same golden crunch you set out for. Use tongs or a spatula, turn confidently, and don’t fuss—flipping restores even heat exposure and prevents soggy seams. Watch visual indicators: a deepening tan on the exposed side and edges pulling away mean it’s ready. Listen for auditory cues too; a steady, crisp sizzle suggests moisture has escaped and crust’s forming. If you flip and the second side needs a minute more, give it small bursts rather than extended time to avoid overbrowning. After flipping, check again before finishing so your meal prep burritos emerge uniformly crisp, warm, and meal-ready for the week. Store cooled burritos for easy reheating.
Meal Prep, Storage, and Freezing Tips
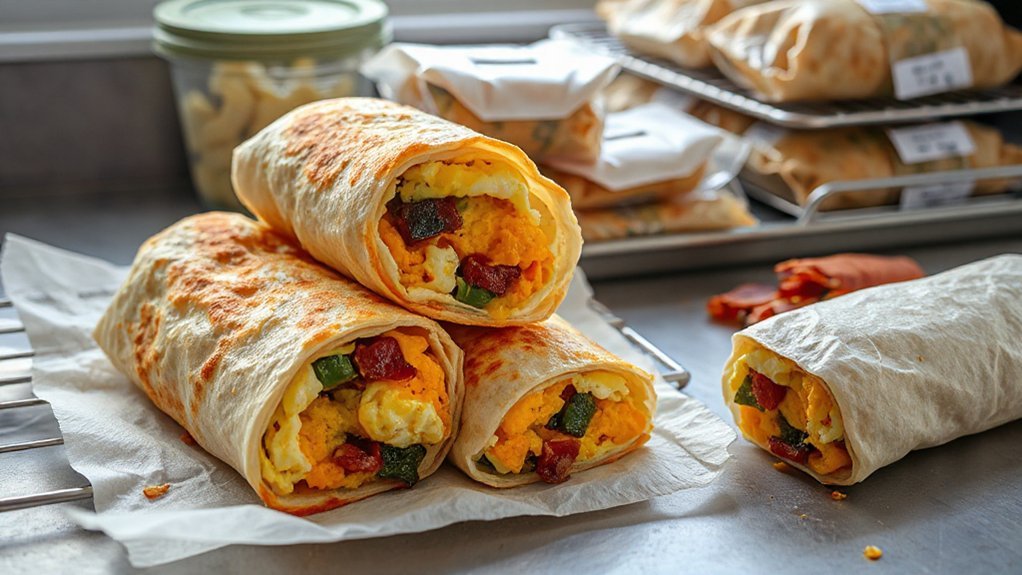
Packing and freezing your burritos makes busy mornings effortless: assemble in batches, let fillings cool so they don’t steam the tortilla, then wrap each one tightly in foil or plastic wrap and place them flat in a freezer bag. Use a simple labeling system (date, contents) so you grab the oldest first, and keep similar combos together for easy choices. For tidy freezer organization, lay bags flat until frozen, then stand them like files to save space and spot what you need. When prepping, portion consistently and chill components before wrapping to avoid sogginess.
- Imagine weekday mornings saved by a ready-to-go burrito.
- Picture the relief of finding breakfast instantly.
- Feel proud prepping food that feeds you all week.
- Enjoy the calm of a neatly organized freezer.
You’ll save time, reduce food waste, and actually look forward to mornings knowing your make-ahead burritos are ready. Breakfast wins, every week.
Reheating for Best Texture
Crisping your burrito in the air fryer gives the best balance of heated filling and a crunchy tortilla, and it’s the method I’d reach for most mornings. Preheat the air fryer to 370°F (188°C), brush or spritz the tortilla lightly with oil to promote even browning, and warm frozen or refrigerated burritos for 6–10 minutes, flipping halfway. For refrigerated ones check at 4–6 minutes. This approach nails texture restoration without drying the interior.
To manage moisture control, tuck a small square of damp (not wet) paper towel beside the burrito in a microwave if you need a quick defrost step, then finish in the air fryer to re-crisp. Avoid microwaving alone if you want crunch. Let the burrito rest for a minute after reheating so steam redistributes and the filling sets; that pause helps maintain crispness while keeping the inside moist and flavorful. You’ll love the result daily.
Customization Ideas and Serving Suggestions
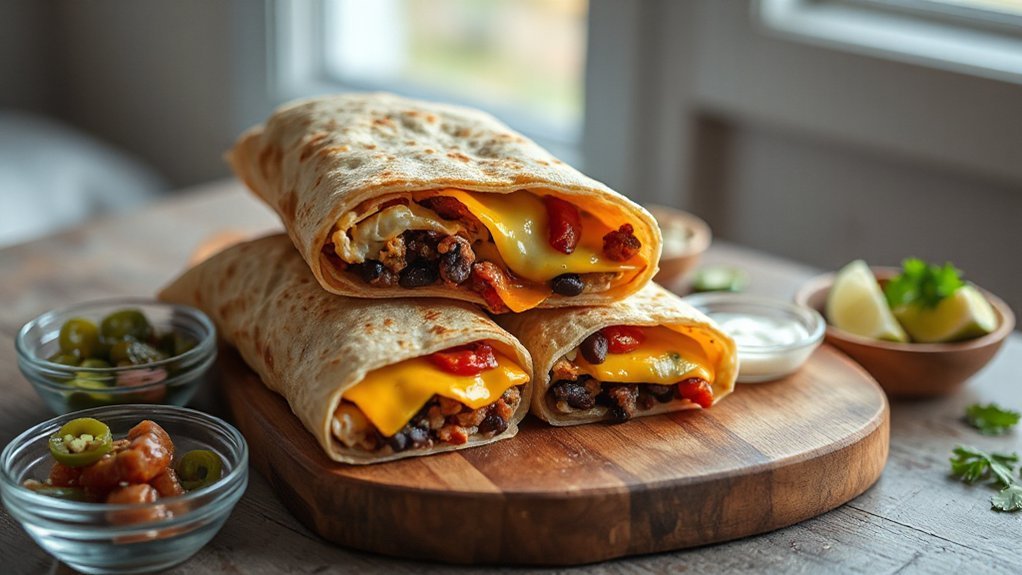
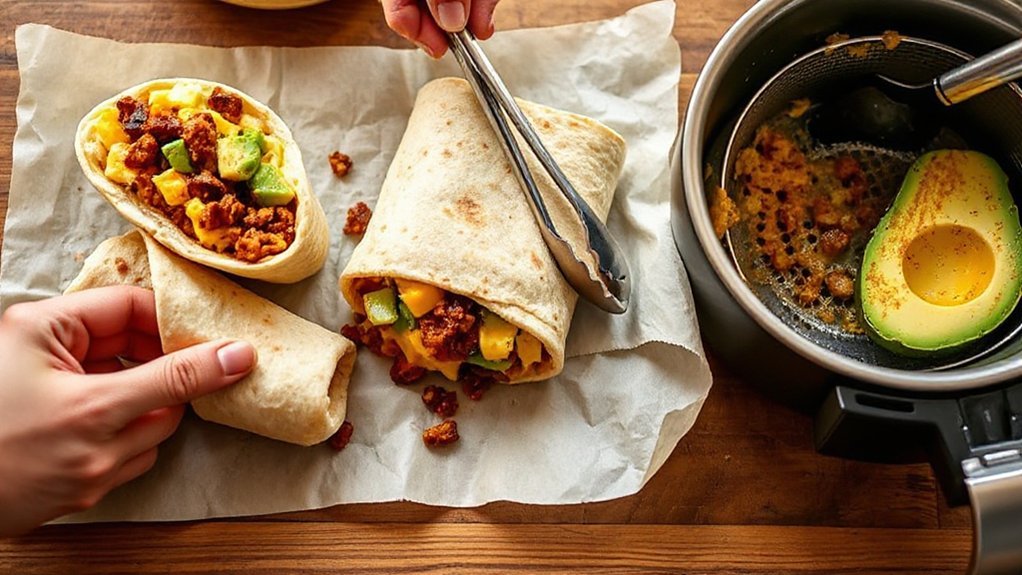
After warming your burrito in the air fryer, you can make it your own with a few easy swaps and toppings that suit your morning mood. Choose bold heat for busy days or gentle herbs when you want calm, and mix textures crisp tortilla, silky egg, and hearty fillings for a breakfast that hugs you warmly. Try Topping variations like pickled jalapeños, cilantro, or crumbled queso. Swap fillings: smoked sausage, black beans, or roasted sweet potato to keep mornings fun. For Beverage pairings, pick a citrus cold brew, lime agua fresca, or a spicy Bloody Mary. Keep sauces separate when you meal prep so wraps stay crisp. Here are tiny ideas to lift each bite:
- Add creamy avocado and a squeeze of lime.
- Pile on quick-pickled onions for tang.
- Spoon roasted salsa verde for warmth.
- Finish with hot sauce and cotija.
You’ll enjoy them just how you like.
Conclusion
Think of these burritos as little suitcases you pack for your week: you tuck in potatoes, protein, eggs, and a wink of salsa, then seal in flavor. When you grab one, you won’t be starting from scratch — you’ll be stepping into a morning that’s already organized, warm, and ready to go. You’ll feel like a chef and a time traveler, making weekdays smoother and tastier with every crispy, make-ahead bite and saving precious, delicious minutes daily.