
You’ll get crisp handheld empanadas in under 20 minutes using an air fryer—choose a cumin-and-smoked-paprika beef with sautéed onions and olive-oil-fired browning, or a bright cilantro-lime shredded chicken with roasted chiles. Use store-bought discs or a quick single-rise dough, cool fillings, seal with egg wash and spray tops lightly. Cook 370–390°F about 8–12 minutes, flipping once. They’re perfect with chimichurri or crema, and keep well for reheating—keep going for tips on dough, fillings and timing.
Ingredients and Pantry Staples

Grab a few pantry staples and you’re ready to roll: keep flour (or pre-made empanada discs), salt, baking powder, and olive oil on hand for the dough, plus eggs for sealing and brushing; for fillings, stock canned tomatoes, onions, garlic, bell peppers, canned beans or corn, and a protein like ground beef, shredded chicken, or cheese; round things out with spices—cumin, smoked paprika, oregano, chili flakes—and optional extras like olives, pickled jalapeños, or cilantro to punch up the flavor. You’ll lean on regional staples—annatto oil or a bay leaf for simmering filling—without overcomplicating recipes. Keep jars labeled and rotate stock; pantry organization saves runs to the store when cravings hit. Choose proteins and canned items that travel well, prep aromatics ahead so assembly’s quick. If you like heat, stash hot sauces or dried chilies. With this setup you can riff on fillings fast, feeding family from the shelf.
Dough Options and Shortcuts
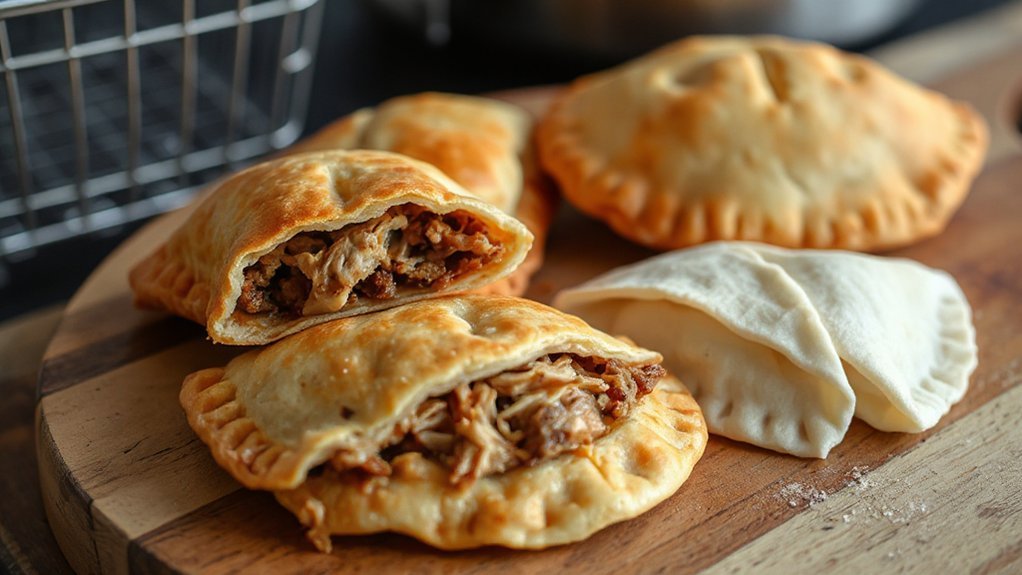
Whether you want scratch dough or a quicker route, you’ve got options that’ll get empanadas on the table fast without sacrificing flavor. You can make a tender, flaky dough with a Single rise method—mix, rest briefly, roll and cut. Or grab ready-made pastry and personalize it. Phyllo shortcuts work great for super-light, crisp shells: layer sheets with brushed butter, cut circles and mold gently. For speed and consistency you can also use store-bought disc dough or tortillas for handheld-style empanadas.
Choose by time and texture:
- Scratch single-rise dough for authentic, slightly airy crust.
- Store-bought pastry discs for reliable, quick assembly.
- Phyllo shortcuts when you want ultra-crisp, delicate layers.
Whatever you pick, chill dough briefly for easier handling, keep fillings dry, and crimp edges firmly. You’ll have delicious air-fried empanadas without a huge time investment. Try different doughs to find your favorite crunch and chew today.
Beef Filling: Seasoning and Preparation
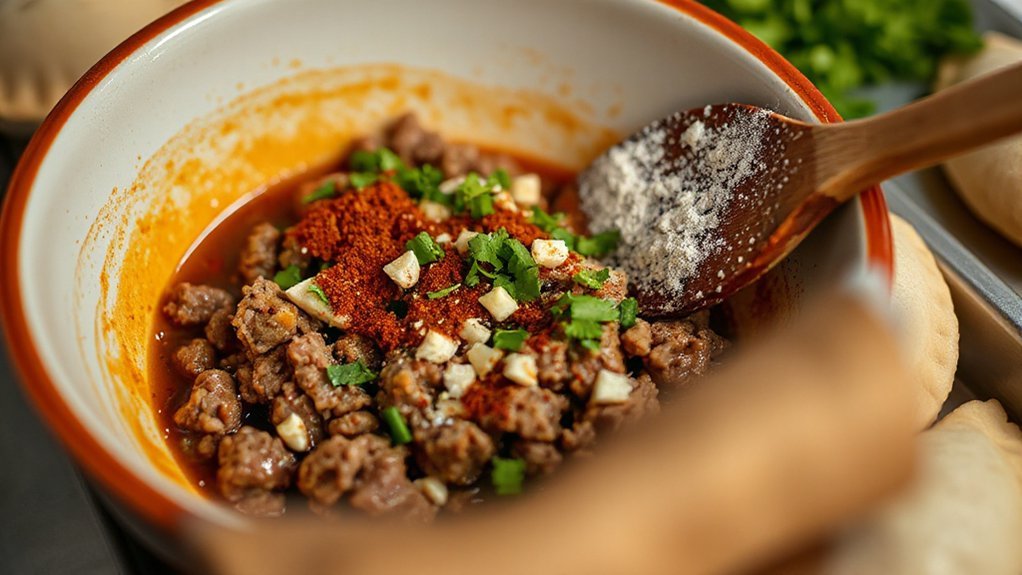
For the beef filling, you want a simple spice mix—about 1 tsp cumin, 1 tsp smoked paprika, ½ tsp oregano, plus salt and pepper—to keep flavors balanced. Season the meat, then sear it in a hot pan until deep brown bits form, because that browning is where most of the flavor lives. Scrape those browned bits into the filling, taste, and tweak the spice ratios before cooling and stuffing your empanadas.
Spice Mix Ratios
As you build the beef filling, think in simple ratios so your seasoning stays balanced and repeatable: per pound of ground beef start with 1 teaspoon salt, 1 teaspoon ground cumin, 1 teaspoon smoked paprika, 1/2 teaspoon oregano, 1/2 teaspoon garlic powder, and 1/4 teaspoon black pepper, then add 1/4–1/2 teaspoon cayenne or chili powder for heat; adjust up or down to taste. You’ll use this baseline for balancing heat and proportion testing as you tweak. Try small changes, taste, and keep notes:
- Mild: drop cayenne to 1/8 tsp, add extra oregano.
- Medium: follow baseline and add a pinch more paprika.
- Spicy: push cayenne to 1/2 tsp, add black pepper.
Taste while warm, adjust salt last, and then trust your instincts.
Browning for Flavor
Browning the beef builds the deep, savory backbone of your empanadas, so crank the heat and let the meat meet the pan—don’t stir every few seconds. You’ll develop crusty bits as juices evaporate; that’s Maillard chemistry working, turning simple proteins into complex, meaty flavors. Let sections sear undisturbed, then break them up to expose fresh surfaces and repeat.
Season after initial browning so salt draws less moisture, then add onions, garlic, and spices to pick up fond. A splash of stock deglazes those browned bits; Caramelization science has already sweetened the aromatics, and deglazing folds that into the filling. Taste, adjust seasoning, and cool before filling so your dough won’t get soggy. Work efficiently—hot pan, quick moves, and bold flavors win every single time.
Chicken Filling: Herb and Spice Variations
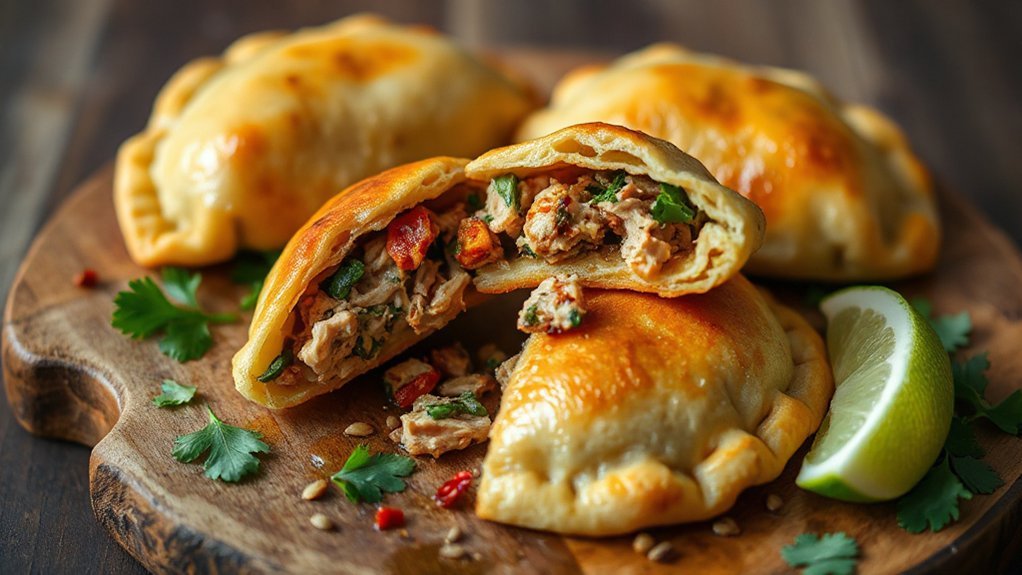

When you swap herbs and spices, the same shredded chicken can take on wildly different personalities. You’ll love how a Citrus Herb mix—bright parsley, lime zest, and a touch of oregano—makes the filling pop, light and tangy. Swap to Smoky Paprika combined with cumin and garlic for a deep, charred warmth that’s utterly addictive. Try these riffs and adjust salt and heat to taste:
- Bright Citrus Herb: parsley, lime zest, oregano, mild chili.
- Smoky Paprika Blend: smoked paprika, cumin, garlic, a squeeze of lime.
- Green Chile & Cilantro: roasted green chiles, cilantro, onion, lime.
You’ll shred warm chicken, toss it with the chosen mix, and let flavors marry briefly before cooling. Keep fillings moist but not soggy so they crisp in the air fryer. These variations let you offer a lineup—tangy, smoky, and fresh—without changing technique. Serve warm and watch them disappear fast every time.
Assembly, Sealing, and Crimping Techniques

Place the filling just off-center so you get a full bite without overflow. Use a light egg wash and press-and-fold or fork-seal methods to close them—these simple sealing techniques stop leaks. Then pick a crimping style—classic fork tines for speed or a braided hand-crimp with a pastry wheel or your fingers for a fancier finish.
Proper Filling Placement
Although it’s tempting to pile in as much filling as possible, you’ll get the best results by keeping the filling centered and leaving a 1/2-inch clean margin around the edge. That center distribution prevents leaks and helps moisture zoning so soggy pockets don’t form; place wetter components (salsa, stewed onions) slightly off-center toward the middle and drier ingredients (cheese, browned beef) closer to the center. Aim for a low mound that won’t stress the dough. Follow these quick placement tips:
- Spoon a modest heap in the exact center.
- Layer wetter ingredients beneath drier ones to control moisture.
- Flatten the mound slightly for even cooking.
You’ll seal better, fry crisper empanadas, and avoid blowouts if you respect the margin and balance always.
Sealing Techniques Overview
Sealing your empanadas right is the difference between a perfect crisp pocket and a greasy mess, so let’s get it tight and tidy. You’ll press edges firmly, remove excess filling, and use a light egg wash or water to activate the dough’s tack. Think of moisture barriers—like a thin layer of mashed potato or sautéed onions—as deliberate buffers that keep juicy fillings from sogging the crust. If you’re worried about super-steamy fillings, cool them slightly before sealing. For extra insurance, dab a tiny amount of heat resistant adhesives such as a flour-water paste at the seam to hold everything during high air-fryer heat. Seal confidently, avoiding overstuffing so each empanada fries evenly and stays intact. Practice makes perfect; soon you’ll seal like a pro.
Crimping Styles and Tools
Mastering crimping gives your empanadas personality and keeps them from bursting in the air fryer. You’ll learn three approachable crimping styles and the tools to use so seals hold and look great.
- Fork press: quick, rustic edge; wipe and dry forks after use—basic tool maintenance.
- Pinch-and-twist: classic hand crimp for durable seals; practice even tension.
- Decorative crimps: rope or scallop with a bench scraper or specialized crimping wheel for show-stopping results.
Use a damp rim to help seals adhere, don’t overfill, and chill dough briefly to prevent tearing. Keep metal tools clean and oiled lightly if they’re prone to rust. With practice, your empanadas will seal reliably and charm every bite. You’ll impress friends and family with professional-looking empanadas today easily.
Air Fryer Settings and Crisping Tips

If you want perfectly crisp empanadas, set your air fryer to 370–390°F (188–199°C) and give it a few minutes to preheat so the crust starts browning on contact. Use Preheat Times of 3–5 minutes for most models; higher wattage units need less time. Arrange empanadas in a single layer, leaving small gaps so hot air circulates — Airflow Management is everything for even color and crunch. Spray a light mist of oil on tops, not bottoms, to boost browning without sogginess. Flip once halfway through a 8–12 minute cycle depending on size, checking at the lower end to avoid overbaking. If you’ve got a crowded basket, work in batches; crowding steals crispness. For extra snap, finish with a 1–2 minute blast at the upper temp setting. Let them rest briefly so steam escapes and the crust firms up before you dig in for best results every time consistently.
Serving Suggestions and Storage Instructions
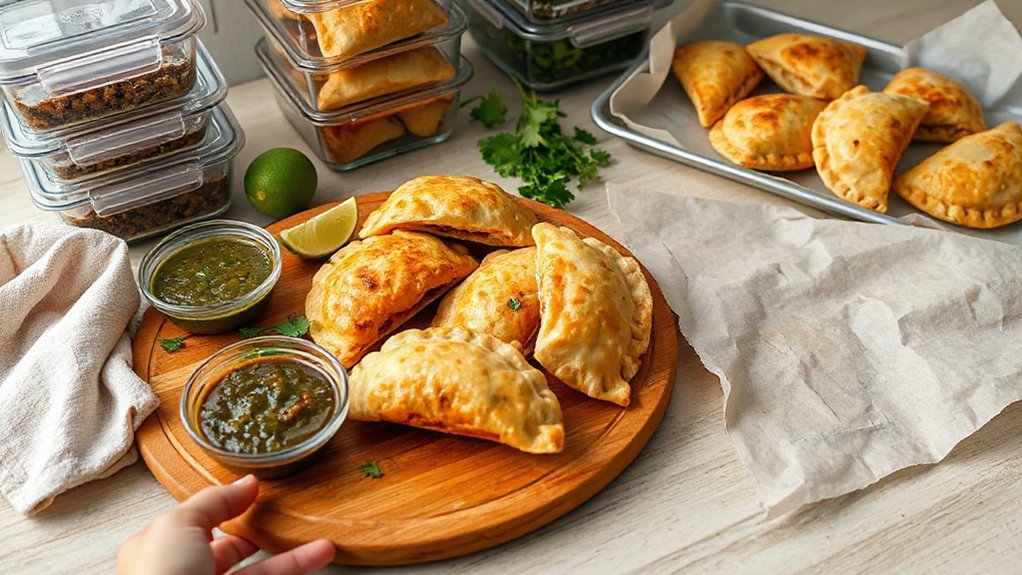
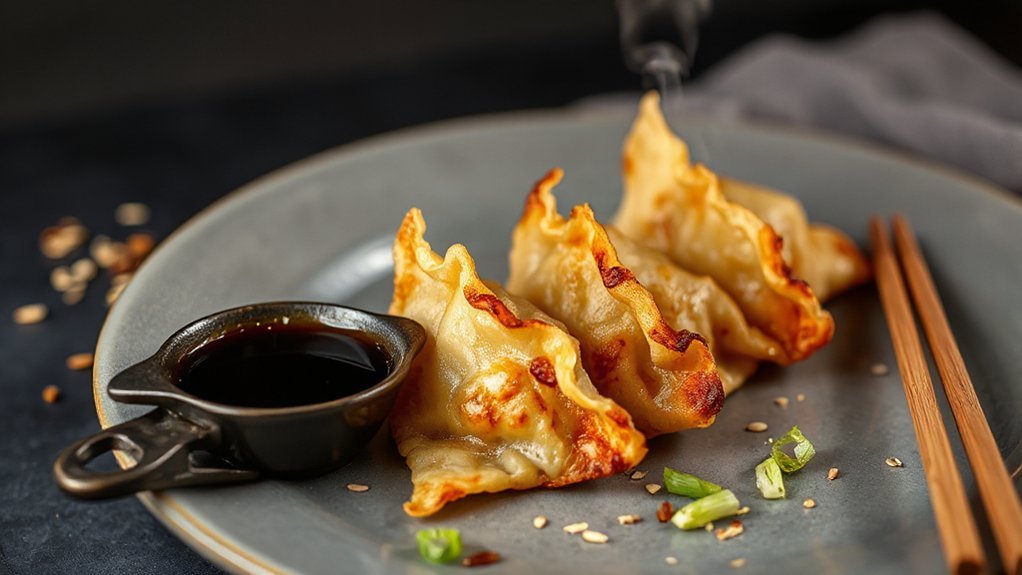
Once they’ve got that golden snap, plan your serving and storage so nothing goes soggy or wasted. Serve warm on a platter with simple Sauce Pairings: chimichurri for beef, ají for chicken, and a cool crema for kids. Offer lime wedges and pickled onions so guests can customize. If you want a quick hosting trick, heat small ramekins so dips stay warm.
Store leftovers promptly: cool to room temp, then refrigerate in a single layer or separated with parchment to keep edges crisp. For longer storage freeze on a tray, then bag.
When it’s time to revive them, follow this quick Leftover Reheating routine:
- Preheat air fryer to 350°F (175°C), 3–4 minutes.
- Reheat empanadas 5–7 minutes, flipping once for even crisp.
- For frozen, add 3–4 minutes and check center.
You’ll keep texture and flavor, and waste stays at bay. Serve immediately for best results always.
Conclusion
You’ve got the basics, the shortcuts, and the secrets—now go make empanadas that sing. Whether you pick beef’s boldness or chicken’s bright herbs, you’ll crisp, crimp, and conquer that air fryer with easy confidence. Share them hot, stash leftovers, and tweak spices until they match your mood. Cooking’s a small act of joy; every flaky bite proves you’re feeding family and soul. So get rolling—you’ve earned this delicious win, and celebrate every savory moment today.


