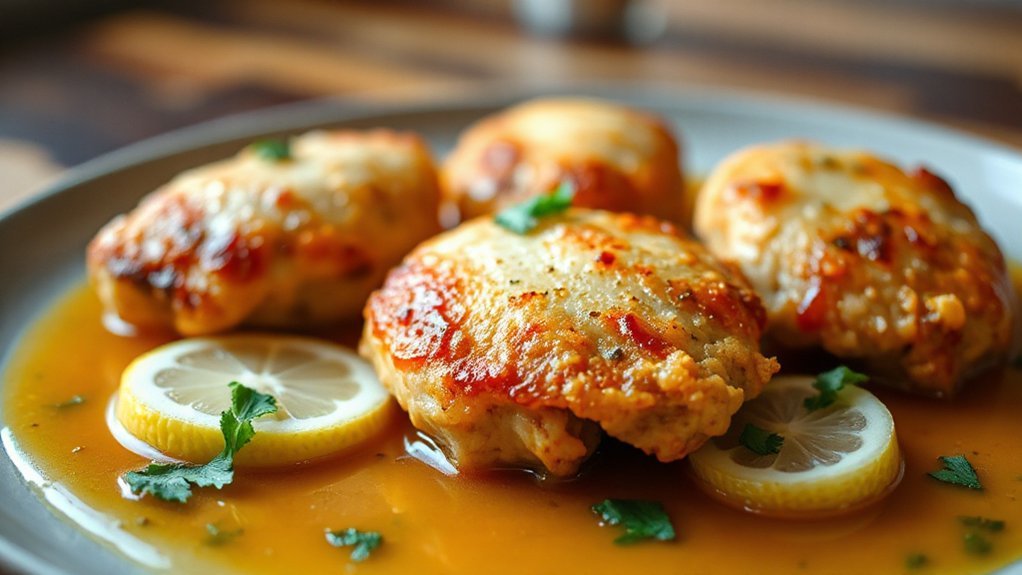
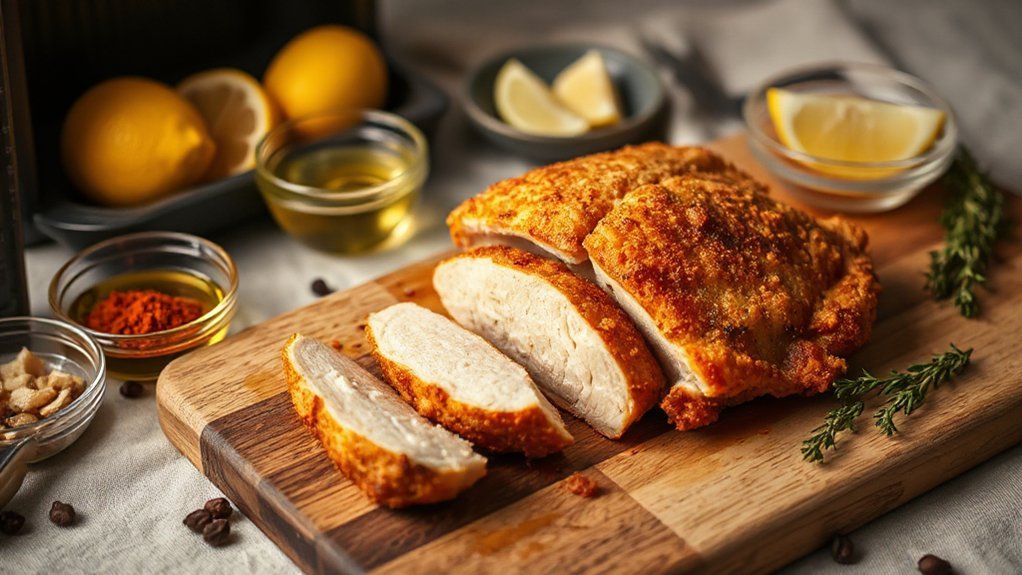
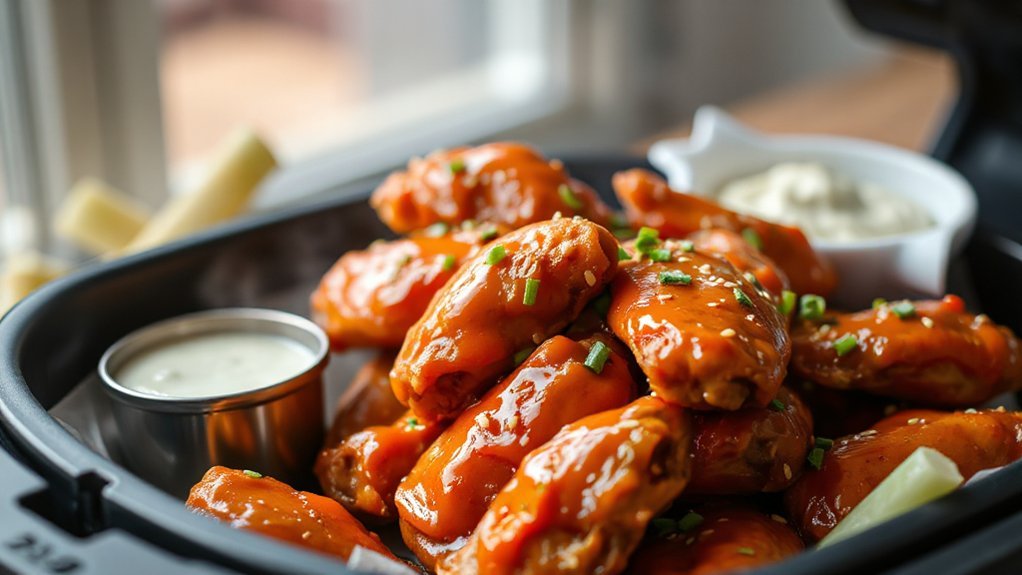
You can get juicy, never-dry chicken breasts in about 15 minutes by using a quick salt brine or light marinade, a thin oil rub, and a hot air fryer set to 400°F. Pat breasts dry, season, preheat 3 minutes, cook 12 minutes flipping once at 6, and pull at 155–158°F to allow carryover to 165°F. Rest 5 minutes, slice against the grain, and keep going for tips, timing tricks, and meal-prep ideas and storage advice.
Why a Quick Brine or Marinade Changes Everything
Even if you’re short on time, a quick brine or marinade can turn a dry, bland chicken breast into something juicy and flavorful. You’ll notice the difference because salt and acids change muscle proteins, helping the meat hold moisture instead of squeezing it out while cooking. Think of Osmosis Explained in plain terms: salt draws in water, then redistributes it deeper into the tissue, boosting juiciness. Marinades add more than moisture; they kickstart Flavor Penetration so herbs, spices, and aromatics actually move below the surface rather than just sitting on top. That means every bite tastes intentional, not accidental. Short brines or marinades also improve texture, making the flesh tender without masking chicken’s natural flavor. You don’t need complicated steps—just time and a simple soak—and you’ll get consistent results in the air fryer. Do it right, and even a 15-minute prep delivers a better, more satisfying chicken breast.
Essential Ingredients and Tools You’ll Need
After a quick brine or marinade, you’ll want the right pantry staples and simple gear to make the most of your air fryer. Keep kosher salt, freshly ground pepper, paprika, garlic powder, and a splash of olive oil on hand for fast, flavorful chicken. For tools, grab a reliable quality thermometer, a pair of silicone tongs, and an oven mitt — they speed prep and promote safety.
| Ingredient | Purpose | Tip |
|---|---|---|
| Salt & spices | Flavor & crust | Season evenly |
| Olive oil | Moisture & browning | Light coating |
| Tools | Safety & timing | Thermometer, tongs |


You’ll also appreciate a small mixing bowl, plastic wrap for brining, and a timer. With these staples and simple tools, you’ll streamline prep, avoid dry meat, and feel confident before cooking. Keep ingredients measured and tools within reach so you can move quickly, trust your timing, and enjoy juicy, reliably tender chicken every single time — guaranteed results.
Step-by-Step 15-Minute Air Fryer Method
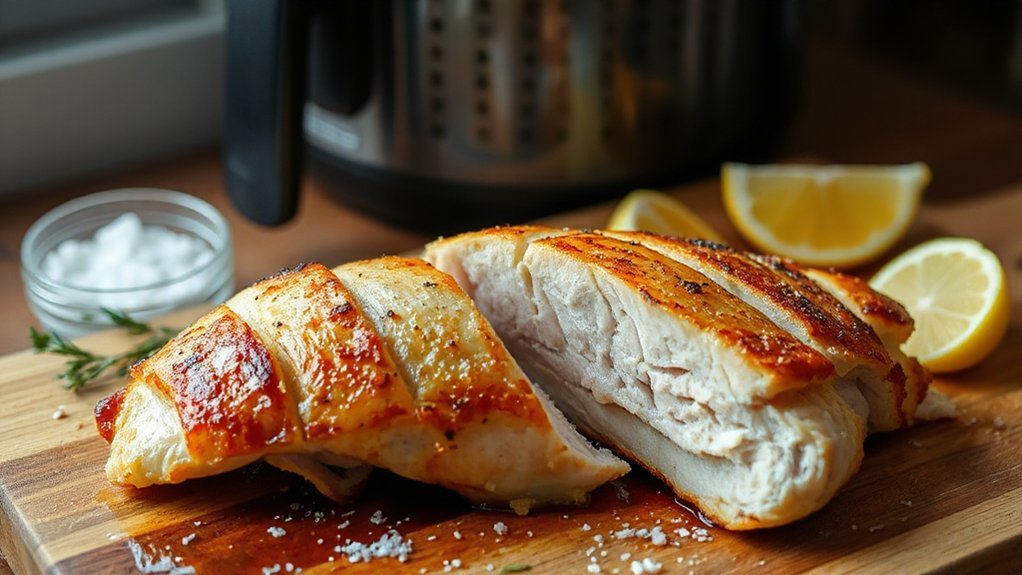
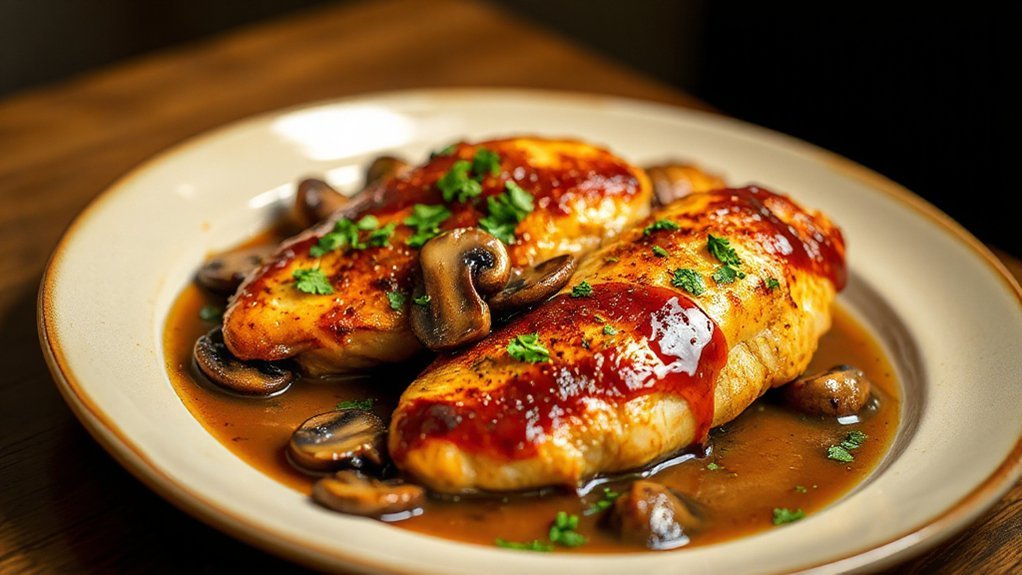
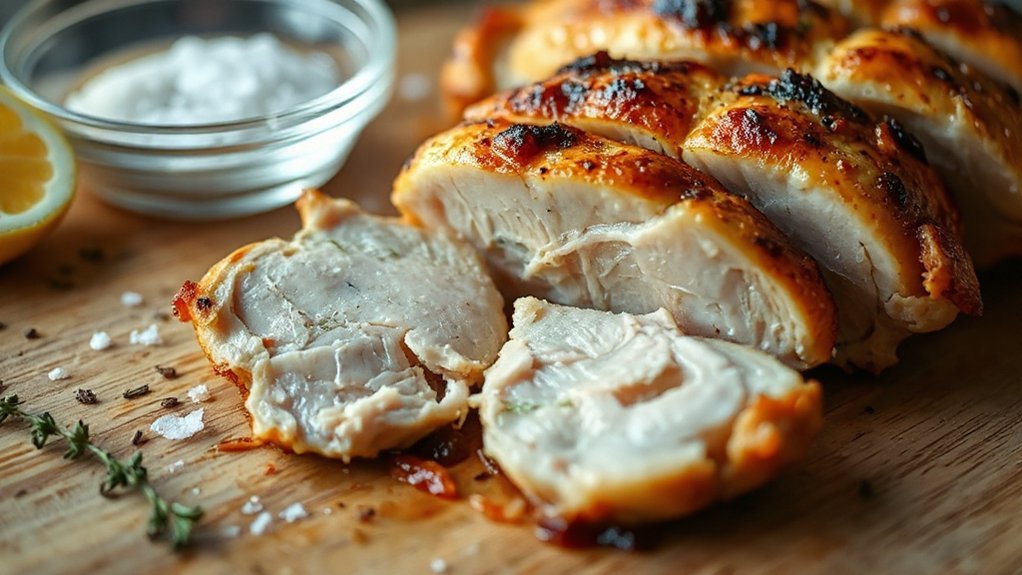
Starting with a hot air fryer makes this a true 15-minute method: you’ll preheat, season, and cook quickly so the chicken stays juicy and finishes in about a quarter hour. Pat two boneless breasts dry, rub with oil and seasoning, and let them sit while the fryer reaches 400°F. Arrange breasts single layer; overcrowding lengthens cook time. Use a simple time breakdown: 3 minutes preheat, 12 minutes cook, flipping halfway at 6 minutes. Rely on visual cues: golden edges, slight browning, and clear juices indicate progress before checking temperature. When the timer hits 12, check internal temp — 165°F is your goal — then rest briefly to let juices redistribute. Serve immediately or slice against the grain for tenderness. This method keeps steps tight and predictable, so you can count on quick, juicy results without fuss. You’ll master timing and texture with this fast, foolproof routine every time.
Pro Tips for Consistent Juiciness Every Time

If you want reliably juicy chicken, follow a few simple habits every time. Check thickness and pound uneven breasts so they cook uniformly. Pat dry, oil lightly, and season just before air frying. Use an internal thermometer to pull breasts at 155–158°F; that prevents overcooking. Let rests matter—carryover cooking will raise temperature 3–5°F while juices redistribute. Don’t skip a 5-minute tented rest. Flip once mid-cycle for even browning and avoid overcrowding the basket.
| What to check | Why it helps |
|---|---|
| Thickness | Promotes even cook |
| Temperature | Accurate doneness |
| Rest time | Retains juices |
Practice these small steps and you’ll get consistent results every time. They’re quick, repeatable, and make 15 minutes in the air fryer count toward perfectly juicy chicken. Use consistent settings for similar breast sizes, note results, and adjust time slightly for very thick or thin pieces; this small feedback loop builds confidence and reliably delivers moist, well-textured chicken every single time daily.
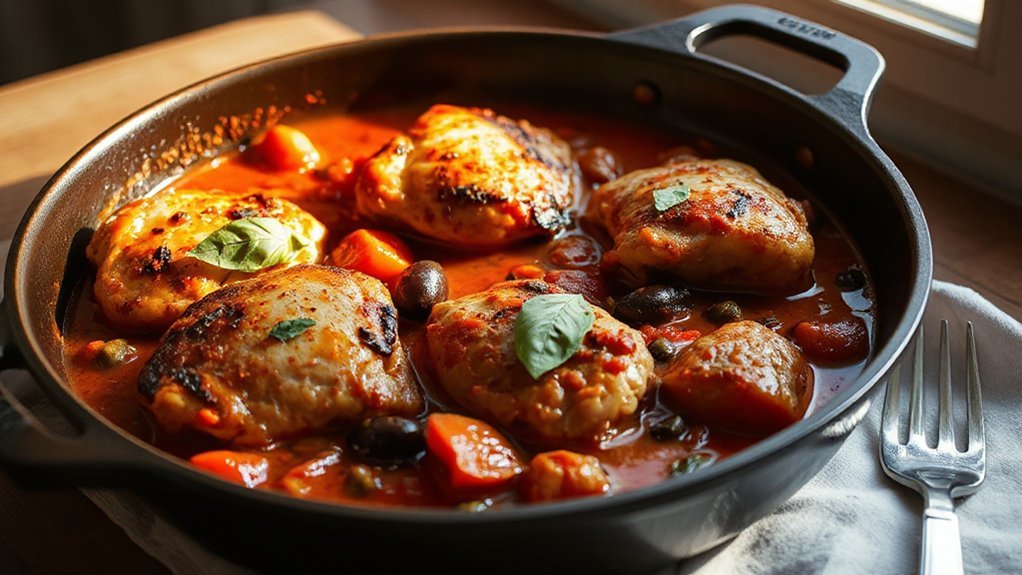
Meal-Prep, Serving Ideas, and Storage Guidelines
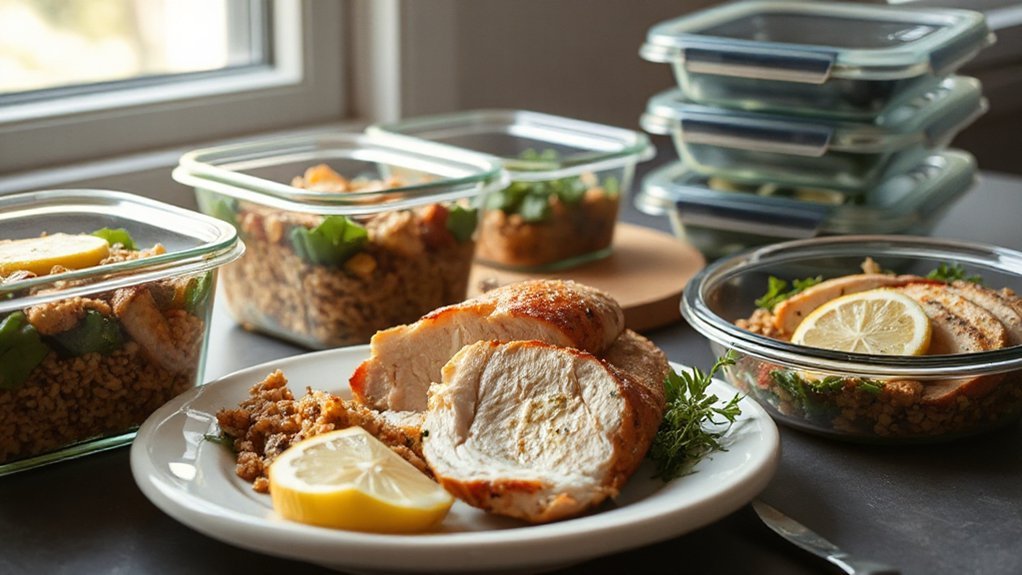
Now that you’ve locked in thickness checks, temp targets, and resting routines, you can make air-fried chicken work for weekly meal prep, quick dinners, and leftovers that still taste great. Cook a batch, slice or keep whole, then use portion planning to divvy meals into containers: single-serve for grab-and-go, family-size for reheating, or salad-ready strips. Cool quickly, label each container with date and contents using a simple labeling system, and stash in the fridge (3–4 days) or freezer (3 months).
- Single-serve bowls with grains and roasted veg
- Sliced chicken for salads and wraps
- Cubed chicken for grain bowls or pasta
- Freezer packs for soups or casseroles
- Quick reheats: 325°F air fryer, 3–5 minutes
When reheating, avoid overcooking—aim for just-warm. Thaw frozen portions overnight in the fridge. Rotate older packs first, and you’ll have flavorful, stress-free meals all week and enjoy every bite.
Conclusion
You’ve learned how a quick brine and a hot air-fryer sprint turn boring chicken into juicy, satisfying bites in just 15 minutes. Follow the simple steps and you’ll have tender breasts that sing with flavor—like sunshine trapped in a pan. Keep the pro tips in your back pocket, and you’ll breeze through weeknight dinners, meal prep, and leftovers with confidence. Enjoy every juicy, easy bite. You’ll wonder why you ever cooked any other way.