You can turn ground beef or turkey into tender, caramelized mini meatloaves in your air fryer in about 15–20 minutes, getting crisp edges and a juicy center by using an 80/20 blend, a light binder, and a quick high-heat finish. Prep is simple — whisk binders, mix gently, shape chilled loaves into silicone cups, and glaze in the last minutes. Keep going and you’ll get temperatures, swaps, and serving ideas to easily streamline weeknight dinners.
Why Mini Air Fryer Meatloaf Works So Well
Crisping the edges while keeping the center moist is where mini air fryer meatloaf shines—you get that perfect contrast faster than in a conventional oven. You’ll love how quick heat and compact space boost the Maillard reaction, creating browned, savory edges without drying the middle. Because each mini loaf has greater surface area relative to volume, hot air reaches more meat at once, so you get even browning and a shorter cook time. You don’t need fancy tricks: just portion, press, and space them so air circulates freely. The air fryer’s focused airflow and high heat lock juices while forming a caramelized crust, giving you consistent results batch after batch. Portion control means every serving finishes at the same time, so you avoid overcooked leftovers. In short, the mini format maximizes texture and speed, letting you enjoy classic meatloaf comfort with less waiting and more reliable outcomes today.
Essential Ingredients and Pantry Staples
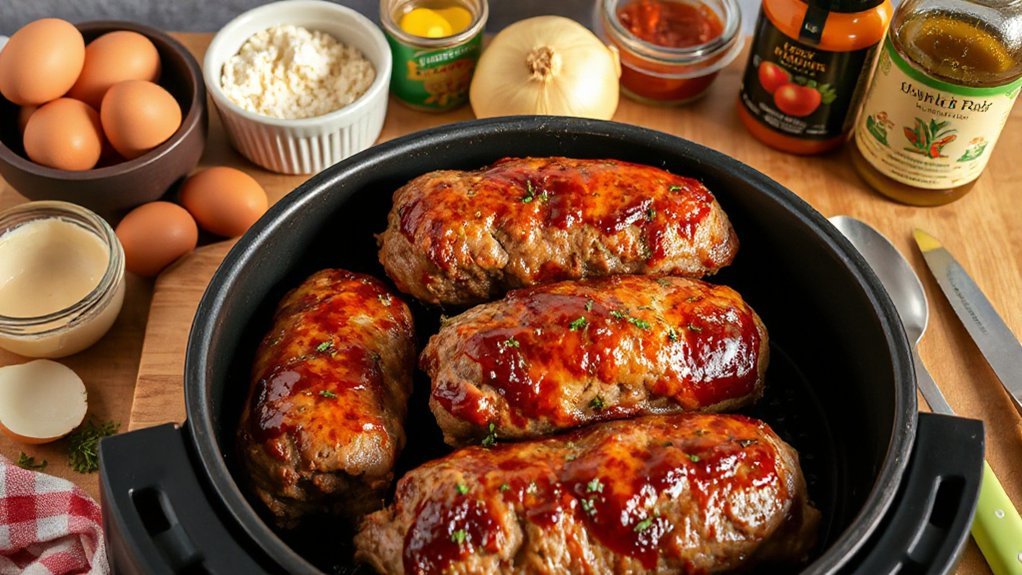
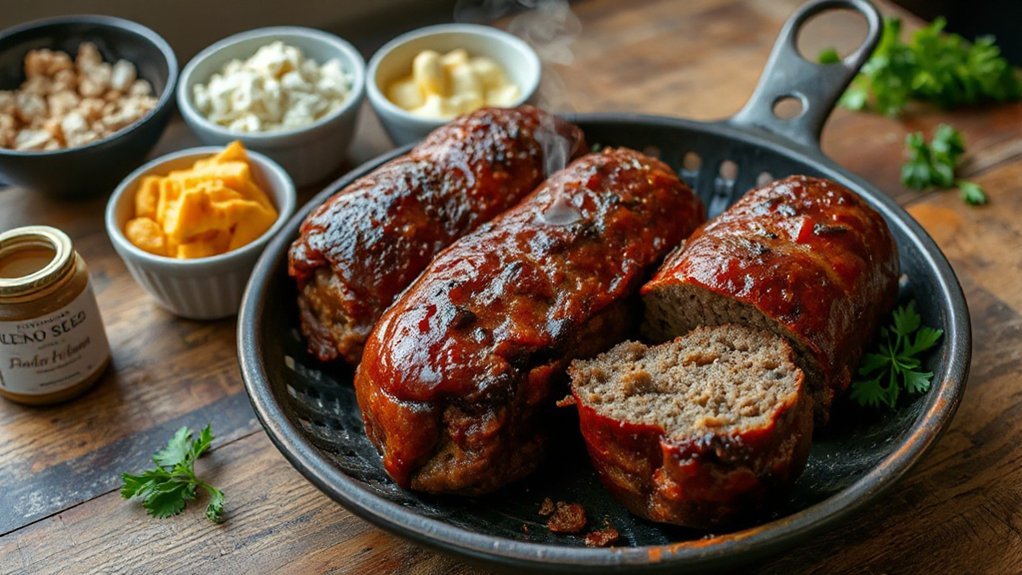
You’ll want to pick the right core meat—ground beef, pork, turkey, or a mix—because fat content changes flavor and texture. Use binders like eggs and breadcrumbs to hold everything together, and keep pantry staples like milk, Worcestershire, and seasonings on hand to boost moisture and taste. For fillers, think grated veggies, oats, or crushed crackers to stretch the meat and keep the loaf tender without sogginess.
Core Meat Choices
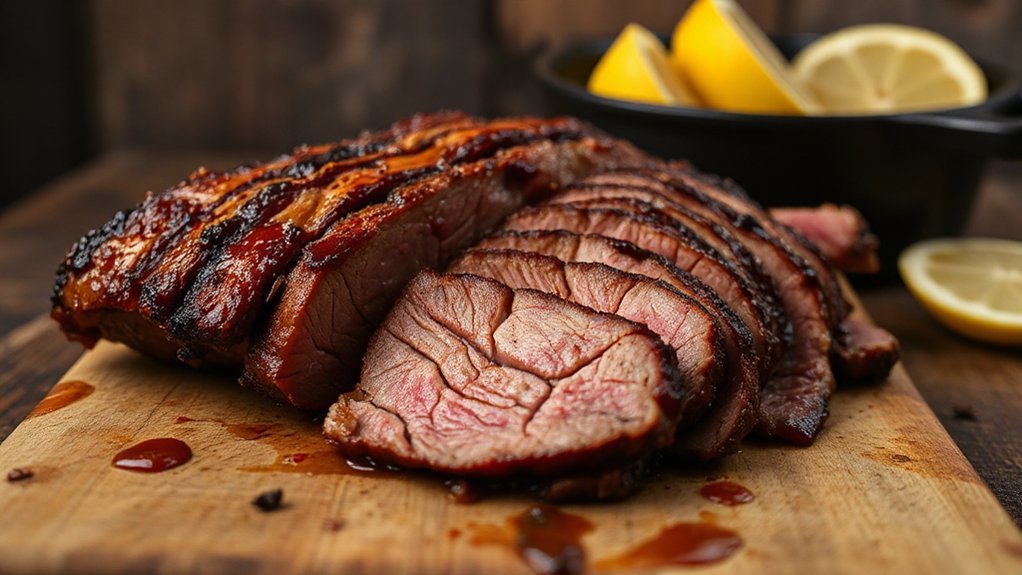
Meat choices make or break your air fryer meatloaf, so pick blends that give you flavor and the right texture. You’ll want a balance: lean ground beef is big on beef blends for depth, while pork adds juiciness—think pork varieties that suit quick cooking. Use ground chuck or a 80/20 mix for flavor; swap some for ground pork if you like richness. For mini portions, don’t overpack the pan; keep pieces uniform so they cook evenly. Season boldly—salt, pepper, garlic, herbs—then shape gently. Below’s a quick guide to common choices and what they bring to the table:
| Meat | Profile |
|---|---|
| Ground chuck (80/20) | Robust, slightly fatty |
| Ground sirloin | Leaner, beefy |
| Ground pork | Juicy, sweet |
| Pork shoulder | Rich, holds moisture |
Adjust ratios for taste and doneness.
Binders and Fillers
After you’ve picked your meat blend, reach for reliable binders and fillers to hold the loaf together and add texture. You’ll use breadcrumbs, oats, or crushed crackers for bulk; eggs and a splash of milk or yogurt act as glue. These choices moderate protein interactions so the mix stays cohesive without getting tough. Vegetables like grated carrot or finely chopped onion add flavor and help moisture retention, while cheese can boost richness and binding. Don’t overwork the meat—mix until just combined. If you want gluten-free, swap almond flour or cooked rice for crumbs. Keep portions small for air fryer timing, and test one mini loaf first to confirm texture. Smart binders make every bite tender and satisfying. Adjust seasonings to taste before cooking always.
Smart Ingredient Swaps and Allergy-Friendly Options
If you need gluten-free, dairy-free, or vegetarian tweaks, smart swaps keep the loaf moist and flavorful without extra fuss. You can replace breadcrumbs with quick oats or gluten-free panko, and swap milk for unsweetened almond or oat milk to maintain tenderness. Use ground turkey, lentils, or mashed chickpeas for vegetarian versions, and add an egg substitute like flax “egg” to bind. For dairy-free topping, skip butter and brush with olive oil-based glaze. Always practice Label Reading so you avoid hidden gluten or dairy in sauces and seasonings. If allergies are involved, enforce strict Kitchen Segregation: keep prep surfaces, utensils, and storage separate to prevent cross-contact. Taste as you go, adjusting salt and herbs to compensate for different textures. Freeze single portions for fast meals, and thaw in the fridge. You’ll love how easy and customizable they are.
Tools You Need: Air Fryer and Prep Gear
Your air fryer is the star—pick one with a roomy basket or an oven-style cavity so the loaf fits without touching the heating element. You’ll also want a reliable thermometer, silicone loaf pans or ramekins sized for single portions, heatproof tongs, and a spatula for neat serving. Don’t forget trimming shears and a small mixing bowl set.
| Item | Why it helps |
|---|---|
| Air fryer | Even, fast cooking without a hot spot |
| Silicone pans | Easy release and dishwasher-safe |
| Thermometer | Confirms doneness without guessing |
| Tongs & spatula | Safe, clean removal and plating |
Have a plan for Cleaning tools—microfiber cloths, a brush for the basket, and a mild spray. For leftovers, use airtight containers and label dates: practical Storage solutions keep portions fresh and fridge-ready. Keep a small caddy for utensils and a lined tray for drips to make cleanup faster and to protect countertops and save time.
Step-by-Step Mini Meatloaf Recipe
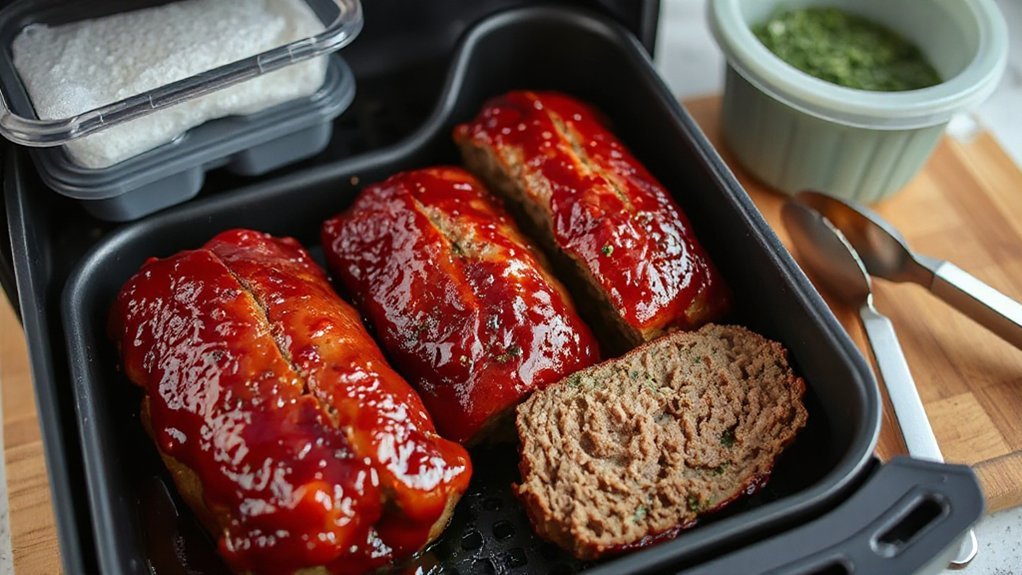
Gather and prep your ingredients—seasoned ground meat, breadcrumbs, eggs, and any mix-ins—so everything’s ready to go. Shape the mixture into uniform mini loaves with damp hands or a scoop to guarantee even cooking. Then pop them in the air fryer, use a moderate temp, flip halfway, and check with a thermometer for juicy, perfectly cooked results.
Ingredient Prep
Start by lining up everything you’ll need so assembly goes fast: finely dice half a small onion and 1–2 garlic cloves, measure 1/2 cup breadcrumbs, crack an egg into a small bowl, and have 1–2 tablespoons of ketchup and a splash of Worcestershire ready. Use mise en place and batch chopping to prep quickly; group bowls, spoons, seasonings, and a kitchen towel within arm’s reach. Keep wet and dry items separate so mixing is smooth.
- Finely dice onion and garlic
- Measure breadcrumbs and salt
- Whisk egg with ketchup and Worcestershire
- Weigh or portion meat
- Line your air fryer basket


Work efficiently, taste seasonings, and you’re set for fast assembly. If you like herbs, chop parsley or thyme now to avoid last-minute scrambling and relax.
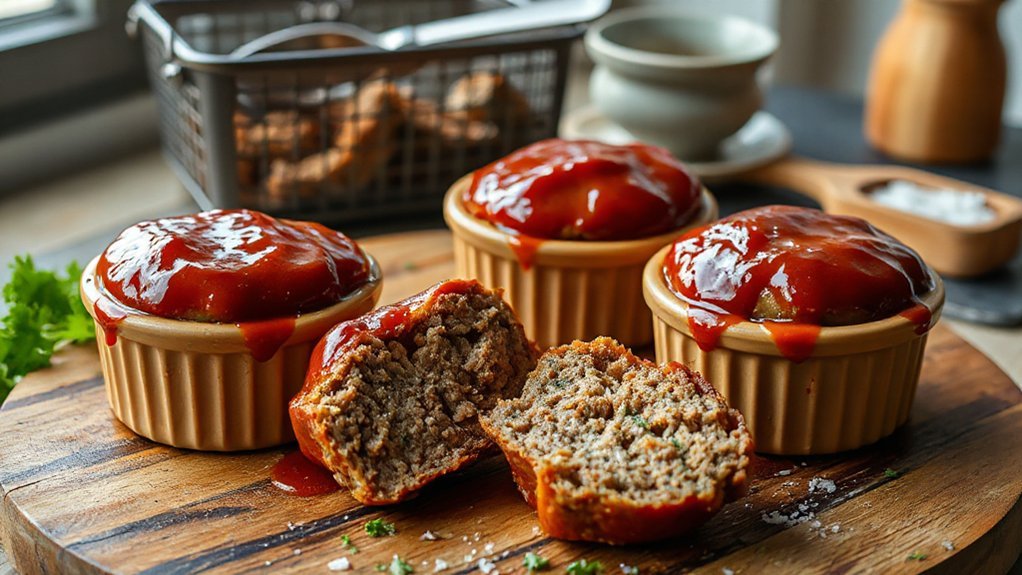
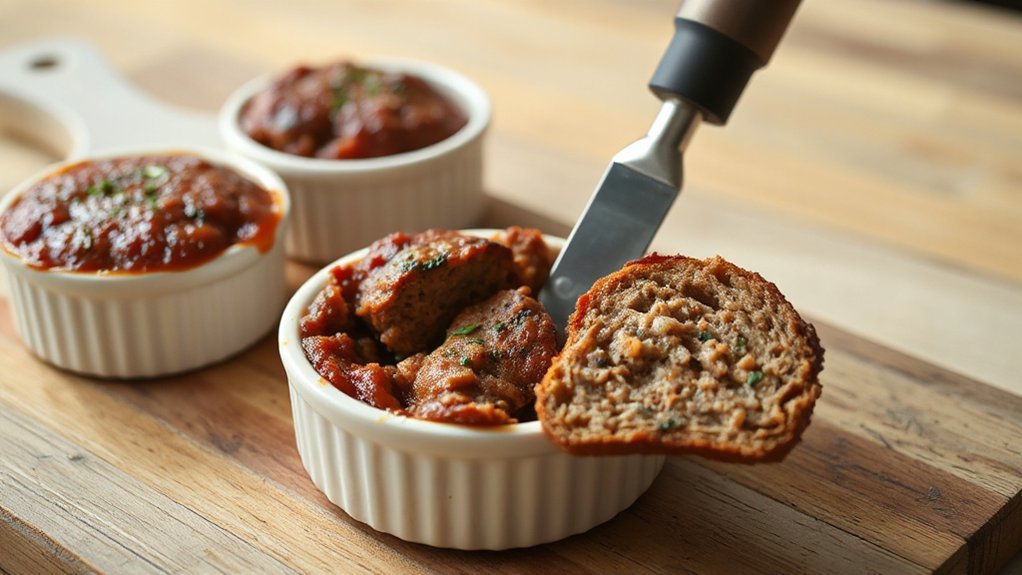
Forming Mini Loaves
Now that everything’s prepped, you’ll move from mise en place to shaping the meat into bite‑sized loaves that cook evenly in the air fryer. Use chilled mixture so it holds—divide into equal portions using a scale or spoons. Press gently, then cup your hand and roll each portion into a compact mini loaf, smoothing seams with your fingers. For a neat finish, try pattern stamping with a fork or the tines of a spoon to create a nonstick-friendly texture and short channels for glaze to cling. Tuck any loose bits under and use simple edge crimping where the ends meet to prevent splitting. Transfer loaves to a lined tray or basket in single layer; don’t overcrowd. You’re ready for the next step now easily.
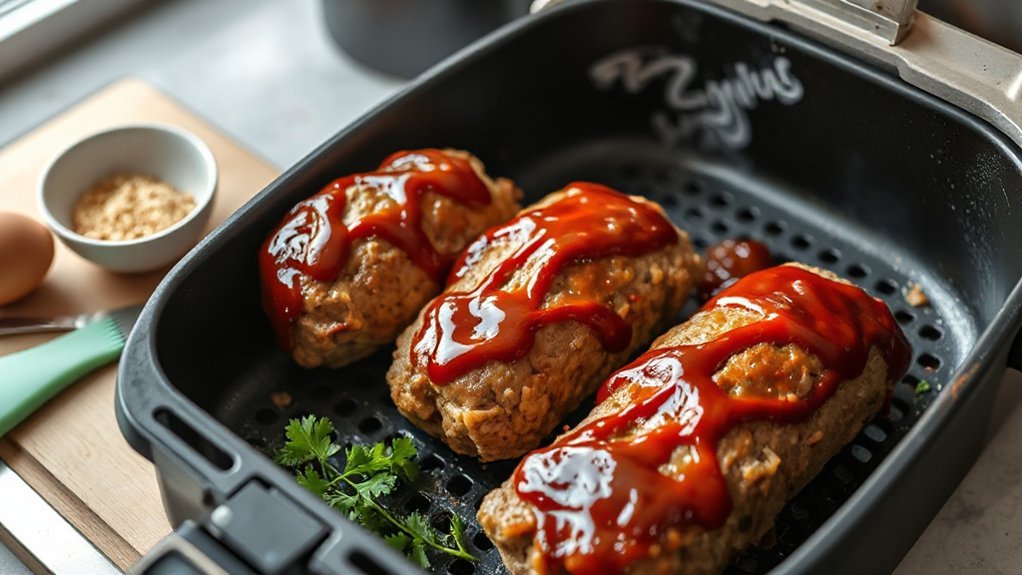
Air-Fryer Cooking Tips
Usually you’ll want to preheat the air fryer for a few minutes and arrange the mini loaves in a single layer so hot air can circulate—don’t overcrowd the basket and give each loaf an inch of breathing room. You’ll cook at moderate temperature, flip halfway if needed, and watch for internal doneness. Small batches help with Energy efficiency and keep Ambient Noise low for better Noise reduction.
- Cook at 350°F (175°C) for 15–20 minutes, check with a thermometer.
- Spray the basket lightly to prevent sticking.
- Glaze in last 2–3 minutes for caramelized topping.
- Avoid stacking; maintain airflow and crisp edges.
- Let loaves rest 5 minutes before serving to lock juices.
You’ll get consistent results and faster cleanup. You’ll love the quick, reliable outcome always.
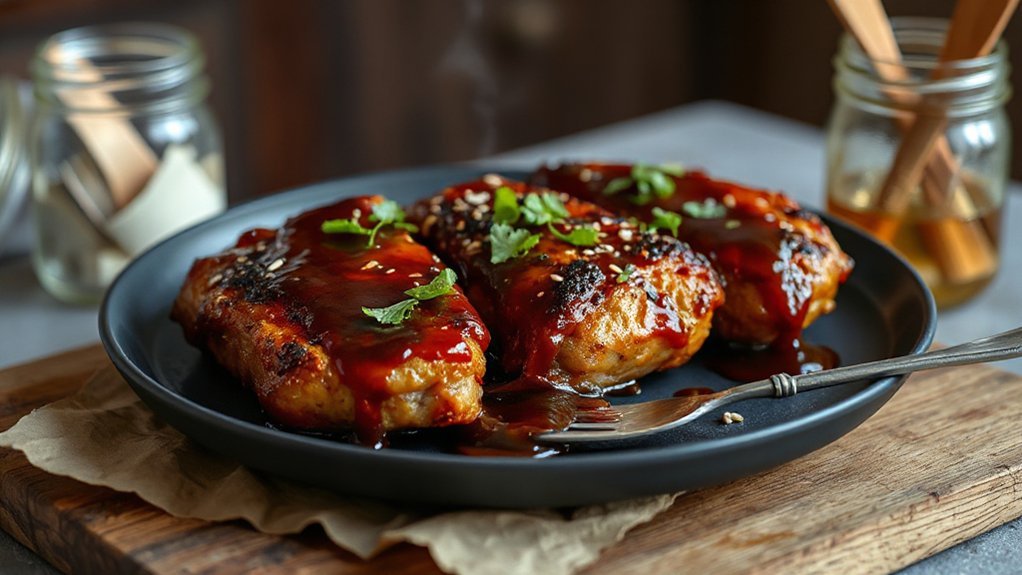
Glazes, Sauces, and Flavor Variations
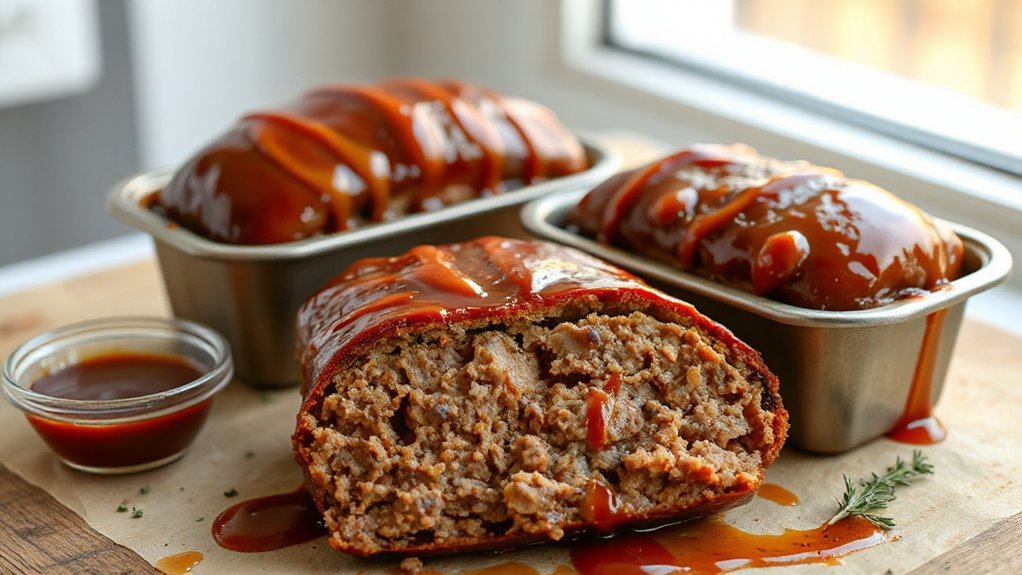
When you coat your meatloaf with the right glaze or sauce, it turns from good to unforgettable—think glossy, sticky, and flavor-packed. You can swipe on a classic ketchup-brown sugar glaze, a tangy mustard-maple mix, or explore Regional Glazes like Korean gochujang or Italian balsamic-honey to match your mood. For lighter profiles, brush on chimichurri thinned with a little oil, or finish with herb-forward yogurt sauces. Don’t forget Herb Infusions: fold minced rosemary, thyme, or parsley into a glaze for fragrant lift. If you want sweet-heat, combine jam with sriracha; for smoky depth, use chipotle in adobo tempered with honey. Brush to coat well, and reserve a spoon of sauce to serve fresh. Experiment with textures—chunky chutneys, smooth glazes, or glossy reductions—to keep each mini meatloaf interesting and perfectly sauced. Swap ingredients to suit dietary needs and make flavor pairings you actually want today, easily for weeknight dinners always.
Air Fryer Timing, Temperature, and Doneness Tips
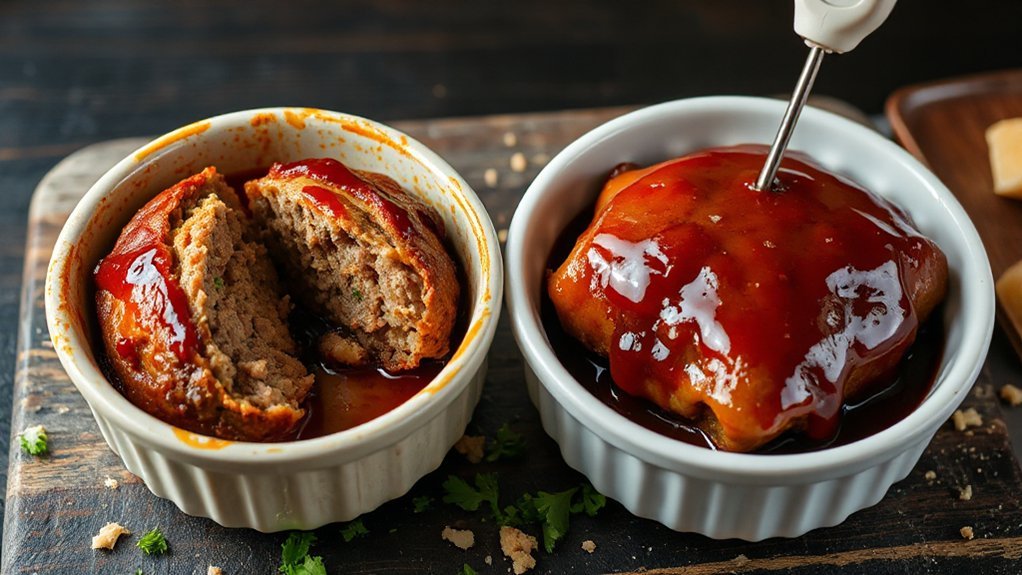
If you’re cooking meatloaf in an air fryer, dial back traditional oven times because the hot, circulating air cooks faster and browns more aggressively. You’ll set a lower time or temp than a conventional recipe suggests, check early, and rely on a probe thermometer. Temperature Calibration of your thermometer and air fryer matters—test with an oven thermometer and adjust. Remember Carryover Cooking: remove meatloaf a few degrees shy of 160°F for beef/pork blends; residual heat finishes it. Use these quick tips to nail texture and safety without overcooking.
- Start at 350°F and check at 12–15 minutes for mini loaves.
- Use an instant-read probe to target 155–158°F before resting.
- Rotate baskets halfway for even browning.
- Tent loosely if top browns too fast.
- Keep batches uniform for consistent timing.
Trust your tools, check early, and enjoy perfectly cooked individual meatloaves. Make small adjustments and record results for future reference regularly.
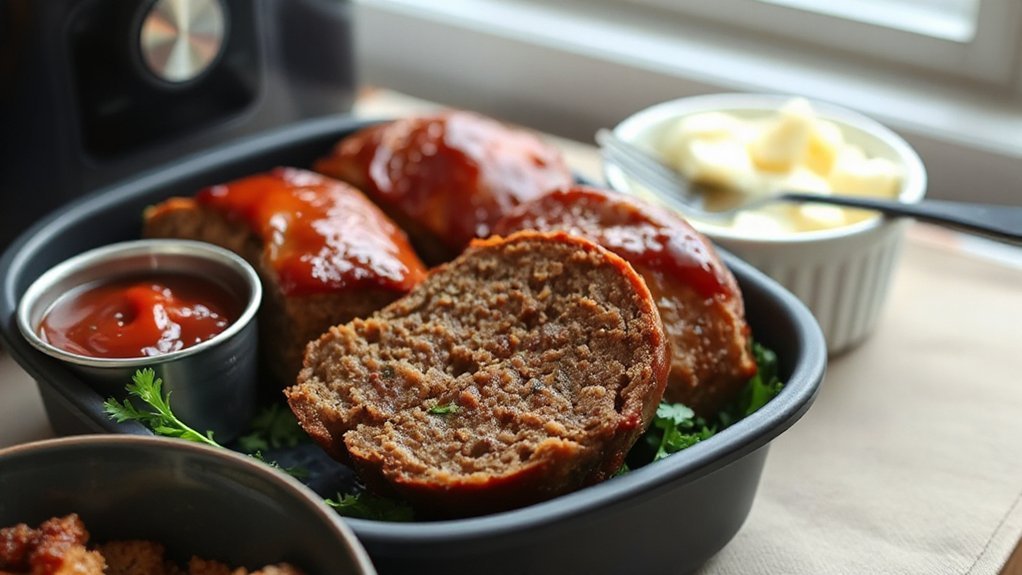
Serving Ideas and Side Dish Pairings
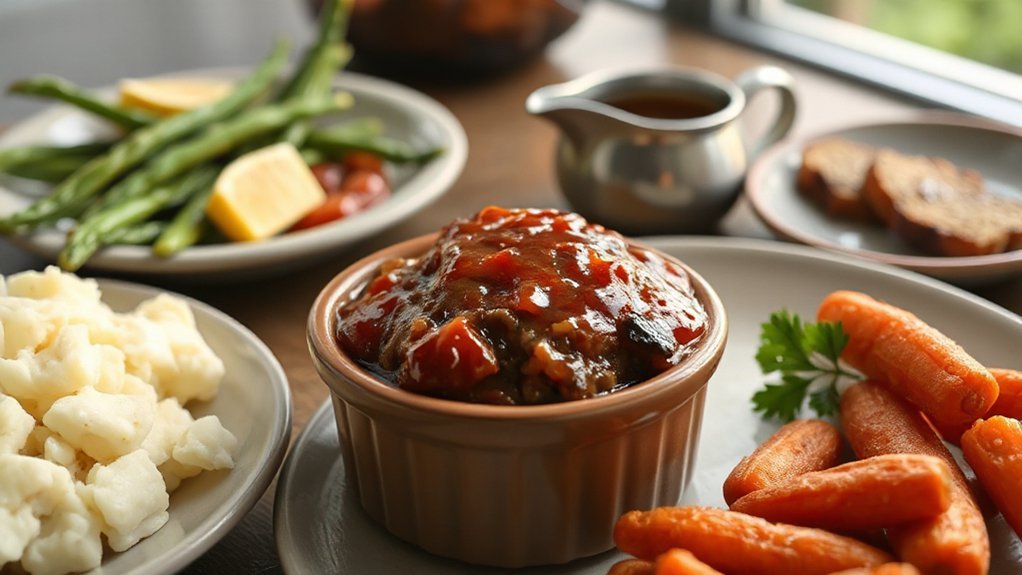
When your air fryer meatloaf comes out juicy and golden, pair it with classic mashed potatoes for that comforting match. Add roasted seasonal vegetables to bring color and caramelized flavor. Round it out with a simple fresh salad for brightness and texture—you’ll have a balanced, no-fuss meal.
Classic Mashed Potatoes
A steaming bowl of classic mashed potatoes makes an unbeatable partner for air fryer meatloaf, and you’ll want to think about texture and sauce when planning sides. You’ll balance creamy potatoes against the meatloaf’s glaze, nod to culinary history and keep those comfort associations front and center. Use simple techniques so you can plate fast: salt the cooking water, mash while hot, add warm butter and milk, taste for seasoning. Keep portions mini so nothing overwhelms. Small portions keep the meal balanced and you’ll plate quickly for weeknight dinners every time reliably.
- Boil with salt for even seasoning
- Use warm butter and milk for silkiness
- Mash to desired texture—smooth or rustic
- Spoon gravy or pan jus over each portion
- Garnish with chives for color
Roasted Seasonal Vegetables
Roasting brings out sweet, caramelized edges and concentrated flavor, so pair vegetables that offer contrast to your meatloaf’s glaze and creamy mashed potatoes. Choose root vegetables, Brussels sprouts, and squash by seasonal sourcing: grab what’s peak at the market for best texture and price. Toss in olive oil, salt, pepper, a splash of balsamic or maple to boost browning, and use high heat. Focus on uniform cuts so pieces finish together; shake the pan halfway to encourage even caramelization techniques. You’ll get crisp edges and tender centers that cut through richness. Serve straight from the tray beside individual meatloaves, or pile onto plates for color and bite—simple, fast, and reliably satisfying. Leftovers reheat well and make a quick, nutritious lunch or hearty breakfast hash.
Simple Fresh Salads
Pairing fresh salads with your meatloaf brightens the plate and cuts through richness, so pick combos that add crunch, acid, and herbal lift. You’ll want Seasonal Greens as a base — baby spinach, arugula, or mixed lettuces — and finish with bright vinaigrettes. Keep textures lively: include Crunchy Toppings like toasted nuts or crisp apples. Aim for quick, mix-and-match salads that take minutes and complement savory loaf flavors.
- Mixed Seasonal Greens, lemon vinaigrette, shaved fennel
- Spinach with orange segments, red onion, sliced almonds
- Arugula, cherry tomatoes, balsamic drizzle, parmesan
- Cucumber, dill, yogurt dressing, toasted pumpkin seeds
- Simple slaw with apple, carrot, cider vinegar
Tweak acidity and herbs to suit your loaf; bold dressings stand up to rich meat, while light oils keep things fresh always
Meal Prep, Freezing, and Reheating Guide
Prepping meatloaf ahead saves you time and stress: cook it in the air fryer, let it cool completely, then slice or portion into meal-sized pieces and either wrap tightly in plastic wrap and foil or use vacuum bags for the best freezer life. Freeze flat on a tray first, then stack to save space and keep your freezer organization neat. Use a simple labeling system with date, portion size and reheating instructions so you know what you’re grabbing. For reheating, thaw overnight in the fridge or use a quick defrost setting, then reheat in the air fryer at 325°F until warmed through to keep edges crisp. You can also microwave covered for convenience, then finish in the air fryer. Thawed meatloaf reheats well; don’t refreeze after thawing. Plan portions for lunches or dinners, and rotate older packs forward. This routine saves time, reduces waste, and gets dinner fast.
Troubleshooting Common Meatloaf Mistakes
Why is your meatloaf turning out dry, dense, or falling apart? You probably skipped key fixes: wrong meat ratio, overmixing, or rushed cooking. Stay focused—kitchen distractions and poor time management wreck texture and moisture. Try these targeted fixes:
- Use a 80/20 meat blend and add wet binders like eggs and milk.
- Mix gently; overworking develops protein and makes it dense.
- Measure cooking time and temp; don’t overcook—use a thermometer.
- Chill shapes briefly so individual loaves hold together in the air fryer.
- Add breadcrumbs or oats for structure, not just fillers.
Also check seasoning and sauce placement; glazing late keeps moisture and flavor. If it’s falling apart, add an extra binder and press gently to compact. Practice timing and avoid interruptions—single-tasking speeds up prep and improves results. Note timing variations between air fryer models; adjust and log results to refine your approach daily.
Conclusion
You’ve mastered tiny, speedy meatloaves that hit comfort-food highs; now imagine the next time you pull warm mini loaves from the air fryer and everyone falls silent, spoon mid-air. You’ll know these aren’t just quick dinners but little triumphs that change weeknights. Keep the recipe, tweak a swap, stash extras in the freezer—and when you’re ready, one perfect bite will reveal why simple, fast comfort mattered all along and make you smile every single time.