We’re making weeknight-friendly bites that crisp up fast and taste like a warm hug. Follow a simple panko breading or a cheesy shredded style—both cook at 400°F for about 8–10 minutes, flipping once. We’ll show egg-and-milk or melted butter binders, and easy swaps so you use what’s on hand.
Quick note: Don’t overcrowd the basket. A single layer and a light spray of olive oil give a golden crust without steaming. Those little moves make all the difference.
We’ll walk you through cuts, coatings, and timing so every piece hits juicy center and crunchy exterior in minutes. You’ll also get tips for reheating to keep the crisp — no soggy leftovers here!
Key Takeaways
- Cook at 400°F for 8–10 minutes and flip once for even browning.
- Use egg + milk or melted butter as a binder for the panko crust.
- Single layer and light oil spray = best crisp.
- Try shredded, cheesy pieces for a quick alternative.
- Store and reheat to restore crunch — 375°F for a few minutes.
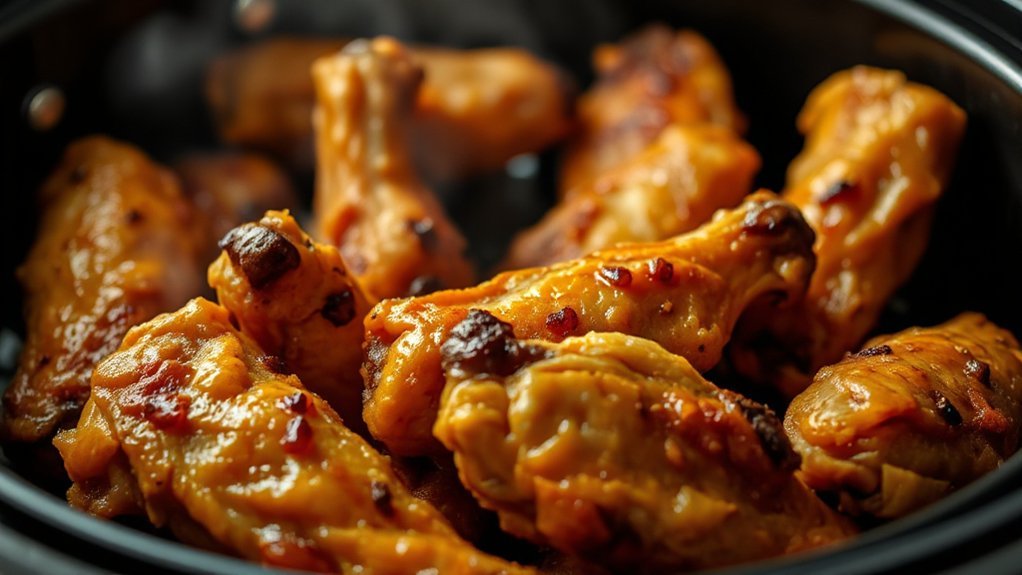
Why Air Fryer Chicken Nuggets Are Better Than Drive-Thru
Nothing beats that drive-thru crunch — except when we get it at home with way less mess and worry. We love how this method trims the fat and keeps the flavor. Fast cooks mean dinner in about 8–10 minutes at 400°F — no long waits or mystery ingredients.
Less fat, real ingredients, same craveable crunch
Less oil, less fuss. Circulating hot air crisps a light spritz into golden crust. You get that drive-thru snap without the greasy feel or extra fat.
We use white meat, pantry spices, and a simple binder — no preservatives. That control means you choose the salt, heat, and crumbs. It’s great for picky eaters and folks who like it bold.
- Cleaner ingredients — you know what’s in the pan.
- Smaller mess — less oil, fewer splatters.
- Quick turnaround — hot and ready in minutes.
| Feature | Drive‑Thru | At Home (air fryer) |
|---|---|---|
| Oil used | High — deep frying | Low — light spray |
| Ingredients | Often processed | Real white meat + pantry spices |
| Time to table | Drive + wait | Preheat + 8–10 minutes cook |
| Control | Limited | Full — salt, spice, crunch |
“Better texture, better flavor — crisp outside, juicy inside.”
Bottom line: fryer chicken nuggets at home give the same crave with way less fat and total control. We’ll show you how next — quick, tasty, and easy.
Ingredients You’ll Need (and Smart Substitutions)
We keep this simple so you can get dinner on the table fast. Start with 1 lb of chicken breast or two chicken breasts if you like counts—both slice up quick. Swap in boneless, skinless thighs for extra juiciness.
Coating basics: use 2 cups panko breadcrumbs with 1/4 cup flour to help the crumbs cling. In a bowl, mix 1 tsp salt, 1/2 tsp black pepper, 1 tsp paprika, 1 tsp garlic powder, and 1 tsp onion powder. Add 1/8 tsp cayenne if you want a little kick.
For the binder, whisk 2 eggs with 1/4 cup milk until smooth. No milk? Toss pieces in 2 tbsp melted unsalted butter instead—works like a charm and adds flavor.

- Try a sprinkle of grated Parmesan or 1 cup shredded mozzarella for a cheesy twist.
- Prefer leftovers? Use cooked shredded breast + 1 egg + 1 cup mozzarella for a 3‑ingredient shortcut.
- Keep one clean hand and one messy hand when coating—less cleanup, friendlier prep.
| Item | Amount | Why it matters |
|---|---|---|
| Chicken breast | 1 lb (or 2 breasts) | Lean, quick to cook, easy to portion |
| Panko breadcrumbs | 2 cups | Big, airy crunch that browns well |
| Flour | 1/4 cup | Helps the mixture stick and crisp |
| Egg + milk | 2 eggs + 1/4 cup milk | Classic binder for even coating |
| Seasonings | Salt, pepper, paprika, garlic & onion powder | Gives balanced flavor without fuss |
homemade chicken nuggets air fryer: step-by-step method
This step-by-step method keeps things tidy, quick, and downright craveable—no fuss, no guesswork.
Prep: Pat the chicken breast dry, then cut into even, nugget-sized pieces — about 2 inches each so they cook at the same pace. Aim for roughly 20 pieces from two chicken breasts.
Breading station: Set two bowls out. In one bowl whisk 2 eggs with 1/4 cup milk (or use 2 tbsp melted butter). In the other bowl mix 2 cups panko, 1/4 cup flour, and your spice mixture with a pinch of salt.
Coat: Season the pieces lightly, dip into the wet bowl, then press firmly into the dry mixture so crumbs latch on for a crunchy layer. Keep one hand wet and one dry to stay tidy.

Preheat air fryer: Preheat air fryer to 400°F so hot air browns right away. Lightly spray the air fryer basket with oil.
Air fry: Arrange nuggets in a single layer in the fryer basket; don’t stack. Spray the tops once coated. Air fry at 400°F for 8–10 minutes, flip halfway, and cook until the thickest piece registers 165°F.
- Work in batches if needed — crowded pieces steam instead of crisp.
- If any spots look dry, give a quick mist of oil so the coating browns evenly.
Time and Temperature Guide for Perfect Nuggets
Get the timing right and your bites turn out crisp, safe, and downright satisfying.
Standard cook: Set the air fryer to 400°F and plan on 8–10 minutes. Flip once at the halfway mark so both sides brown evenly.
We cook to temperature, not just the clock. Aim for an internal temp of 165°F in the center for safe-and-juicy results. Use an instant-read thermometer to be sure.

- Preheat air for a few minutes so hot metal and moving air jumpstart browning.
- If your air fryer basket runs hot or cool, adjust by a minute or two—trust your eyes and thermometer.
- Keep sizes even: smaller pieces finish sooner, larger pieces need extra minutes.
- Don’t crowd the basket. Space lets air circulate and keeps the crust crisp.
- Batching tip: later rounds may cook faster once the fryer is heat-soaked—shave off a minute and test.
| Temp | Time | Finish Temp |
|---|---|---|
| 400°F | 8–10 minutes (flip halfway) | 165°F internal |
| 375°F (reheat) | 3–5 minutes | Warm and crisp |
Tip: Open-and-check is fine—quick peeks won’t kill the heat and help you nail the timing.
Rest one minute after cooking. Carryover heat finishes the job and keeps juices where they belong. Now you’re ready to air fry like a pro—consistent time, spot-on temperature, and a golden crust every run.
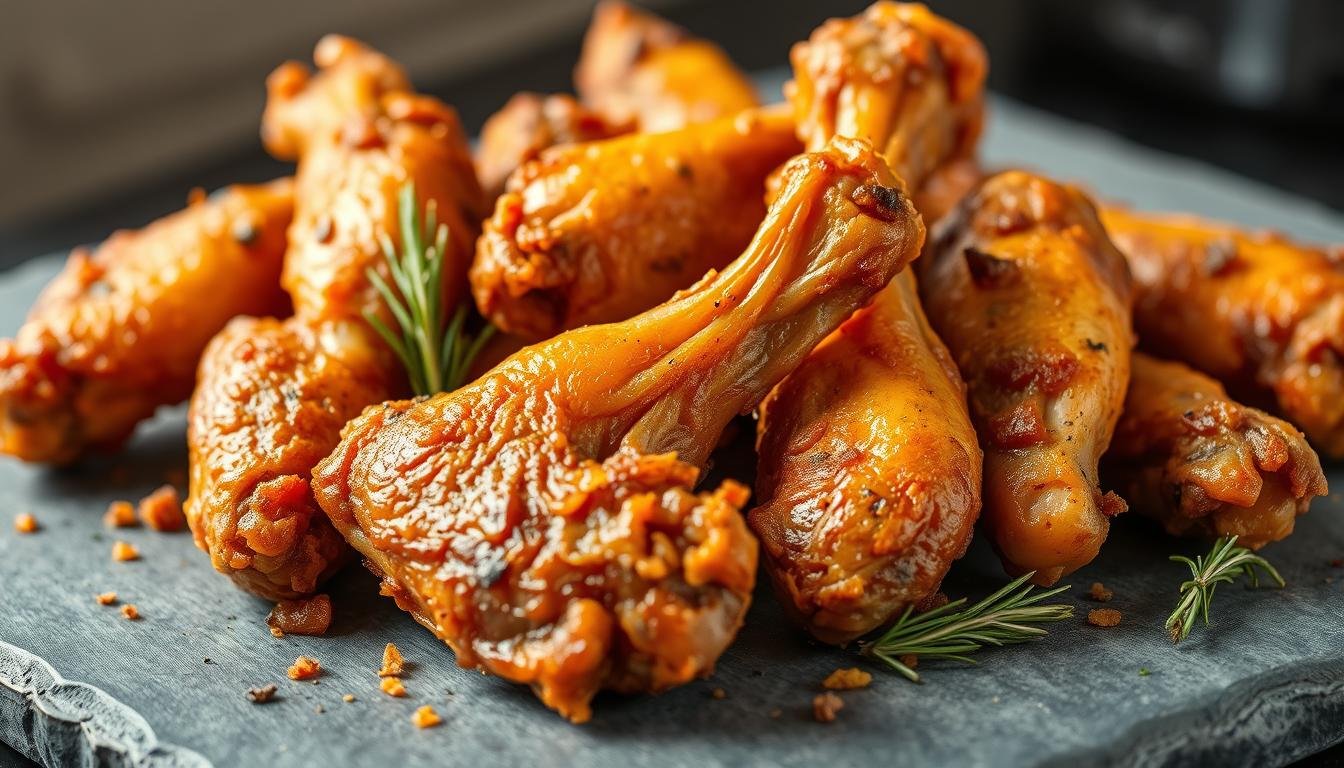
Pro Tips for Extra-Crispy, Tender Nuggets
We’ve got a handful of simple tricks that turn good bites into great ones—no extra fuss, just better results.
Keep a single layer. Give each piece room so hot air can dance around it. Crowding makes steam and soft crusts. Work in batches if needed.

Light oil and good heat
Spray the basket and mist the tops with olive oil. A thin spray helps browning without greasing things up. If your fryer looks dry, add one quick spray before the final minute.
Seasoned crumbs for big flavor

Stir garlic and onion powder, paprika, and black pepper into your breadcrumbs. Add a pinch of cayenne for a friendly burn. Season generously so the crust does the flavor work.
Press, flip, and finish
Press crumbs onto each piece so they stick through the flip and the fry. Turn halfway so both sides get equal love. Right out of the basket, give a light pinch of salt—it clings better warm.
- Cheesy boost: Fold a tablespoon of grated Parmesan into the crumbs for savory depth.
- Timing: Follow the recipe temps, check the center, and serve ASAP—crisp is best hot.
“A little press, a quick flip, and a light spray—those tiny moves make the difference.”
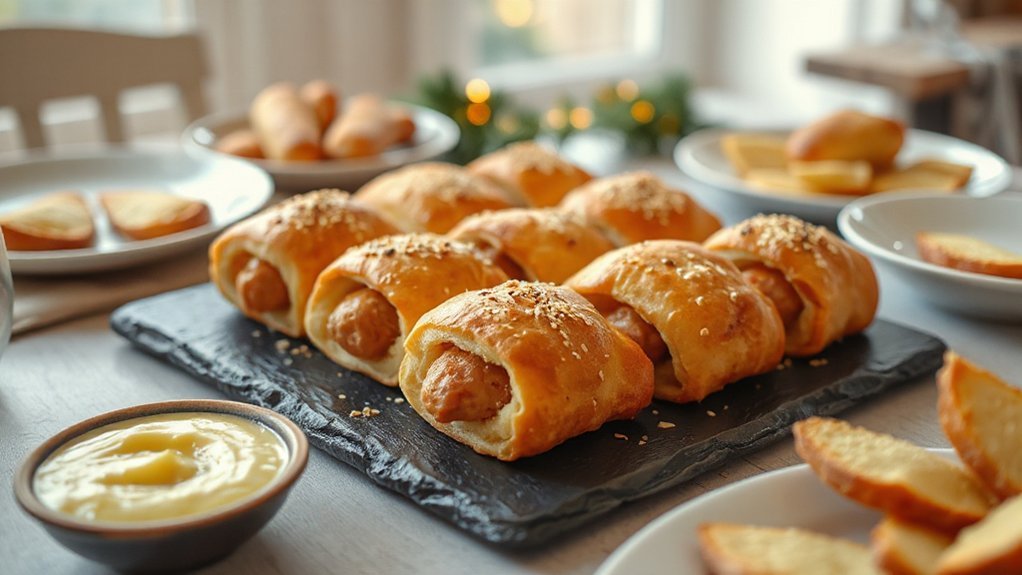
Serving Ideas and Dipping Sauces
Set out a few bold dips and watch folks gather—dipping beats forks any day.
Let’s get to dunkin’—honey mustard, BBQ sauce, and ranch are the big three. They pair perfectly with hot, crisp pieces right from the fryer. Whip a quick honey mustard with honey, mustard, mayo, and a squeeze of lemon. It takes two minutes and sings.
BBQ brings smoky‑sweet comfort. Thin store-bought BBQ sauce with a splash of water if you want it lighter. Stir in a little honey for a sticky, lick-the-bowl finish.
Ranch keeps things cool and creamy. Add a pinch of cayenne for a spicy ranch that wakes up weeknights. For an Italian twist, set out warm marinara and call it nugget “parm” vibes—easy and cozy.
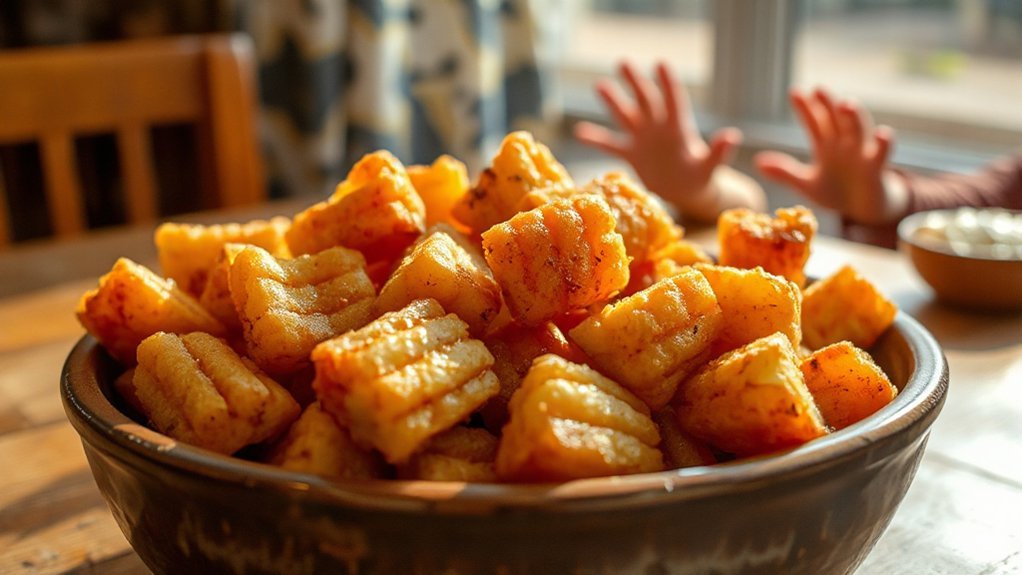
Sweet-and-sour is bright and fun for kids and grown-ups alike. Build a small sauce board with three to four sauces and watch how fast plates empty.
- Serve hot and fresh—move quick from fryer to table so the crust stays crisp.
- Pair with slaw, roasted veggies, or tater wedges for easy plates in minutes.
- Mix honey into BBQ for a sticky-sweet combo that’s downright addictive.
| Occasion | Top Sauce Picks | Serving Tip |
|---|---|---|
| Game day | BBQ sauce, ranch, honey mustard | Make a sauce board and offer small bowls for dipping |
| Family weeknight | Honey mustard, sweet and sour | Serve with slaw and tater wedges for simple comfort |
| Cozy dinner | Warm marinara, ranch | Plate hot pieces with a sprinkle of Parmesan for “parm” vibes |
“A lineup of sauces turns simple bites into a crowd-pleaser.”
Make-Ahead, Storage, and Reheating
Prep once, eat twice: smart storage keeps the crisp and saves you time. Let pieces cool fully before packing. Trapped steam will soften that lovely crust.
Refrigerate cooked bites up to 3 days. For longer stash, freeze up to 3 months in labeled bags so you know what’s what when a busy night rolls around.
- Reheat in the air fryer at 375°F — single layer in the air fryer basket or fryer basket for best results.
- From the fridge: quick warm-up for a few minutes until hot and crisp. From frozen: add a few extra minutes (about 8–10 minutes) until heated through.
- Lightly mist with a tiny spray of oil before reheating to revive color and texture without extra fat.
- Avoid the microwave — it’ll steal crunch. Portion into small bags so you reheat only what you need.
| Storage | How long | Reheat guide |
|---|---|---|
| Refrigerator | Up to 3 days | 375°F, single layer, a few minutes until crisp |
| Freezer | Up to 3 months | 375°F, 8–10 minutes from frozen, flip if needed |
| Meal-prep tip | Portion & label | Reheat only what you need to save time |
Quick note: Keep a single layer in the basket so hot air can do its job — no piling, no sogginess.
Easy Variations to Try
We love playing with coatings and sauces—small changes, big smiles at the table. These tweaks keep the recipe fun and family-friendly. Pick a twist and make it yours.
Buffalo-style toss: After cooking, drop hot pieces into a bowl with melted butter and hot sauce. Toss till glossy. Game-day bliss in minutes.
Gluten-free swap: Use GF flour and GF panko or pork panko in the mixture. Same crunch, no fuss. Bind with an egg or an egg substitute if needed.
Flavor boosts: Stir lemon‑pepper or ranch seasoning into the breadcrumbs. Add a spoon of Parmesan for a nutty crust. Mix dried oregano and parsley for Italian vibes.
Shortcuts & extras: Shred rotisserie chicken, bind with a little egg and crumbs, then air fry till crisp. For heat, add cayenne or chipotle to the flour blend.
- Drizzle honey + hot sauce for sweet‑heat.
- Skip flour for a lighter coat—seasoned panko only.
- Make a double batch and freeze for quick reheats later.
Conclusion
You did it — a crisp, juicy batch that comes together fast and feels like a kitchen win.
Quick recap: Cook at 400°F for 8–10 minutes, flip once, and check for 165°F inside. Use egg + milk or a little melted butter as the binder. Those simple moves make air fryer chicken and fryer chicken nuggets turn out golden and juicy every run.
Save extras in the fridge and reheat at 375°F so the crust returns. Toss with Buffalo sauce, try gluten‑free swaps, or set out honey mustard, BBQ, and ranch for dipping. With the right time and a few easy steps, this recipe will be your go‑to for fast weeknight bites.
Now call the crew—plates, sauce, and smiles are ready. We’re cheering you on for the next round. Happy cooking, friend!