You can make crispy, juicy air-fryer chicken nuggets that outshine McDonald’s using simple pantry ingredients: bite-size chicken, seasoned flour, beaten egg, and panko with a pinch of smoked paprika. Preheat your air fryer to 400°F, press crumbs on well, spray lightly with oil, and cook in a single layer for about 8–12 minutes until 165°F. They stay juicy, crisp, and customizable, and keep well for reheating—keep going to get timings, tips, sauces and tricks now.
Ingredients and Measurements
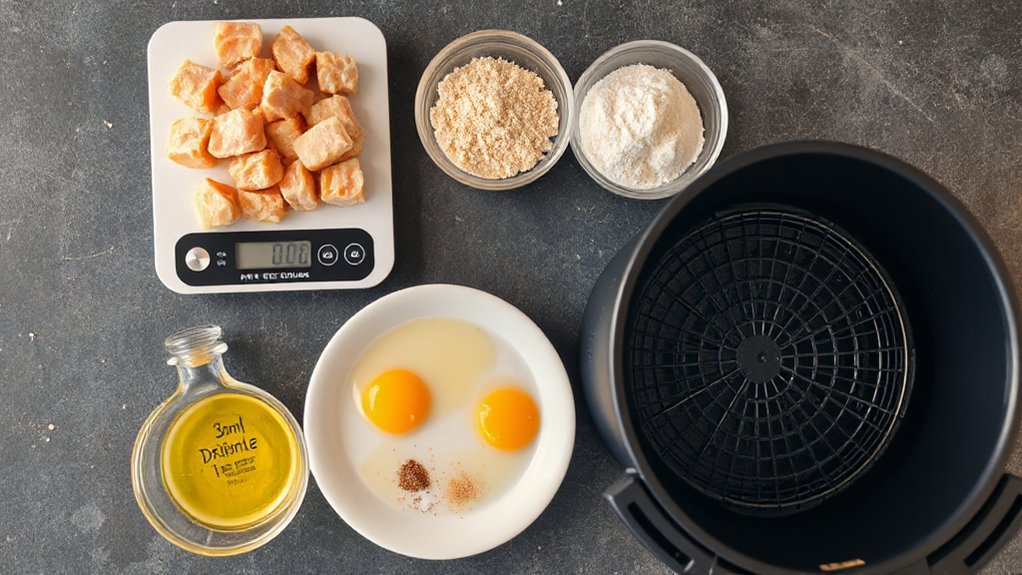
You’ll need about 1 pound of boneless skinless chicken breasts (or thighs), cut into nugget-sized pieces; 1/2 cup all-purpose flour; 2 large eggs beaten; 1 cup breadcrumbs or 1 cup panko for extra crunch; 1 teaspoon salt; 1/2 teaspoon black pepper; 1 teaspoon garlic powder; 1/2 teaspoon smoked paprika; and cooking spray or a tablespoon of oil to help browning. Keep measurements simple so you can scale up for a crowd or halve. You’ll want salt and pepper but feel free to swap herbs or spices — rosemary, thyme, or cayenne are great seasonal substitutions. If you’re tracking macros, note the nutritional breakdown per serving: protein-rich chicken, fat from oil and eggs, and carbs mostly from flour and crumbs. Use whole-wheat crumbs to boost fiber, or panko for crunch with calories. These ingredient choices keep the recipe flexible, tasty, and easy to customize to what’s in your pantry.
Equipment and Prep Steps
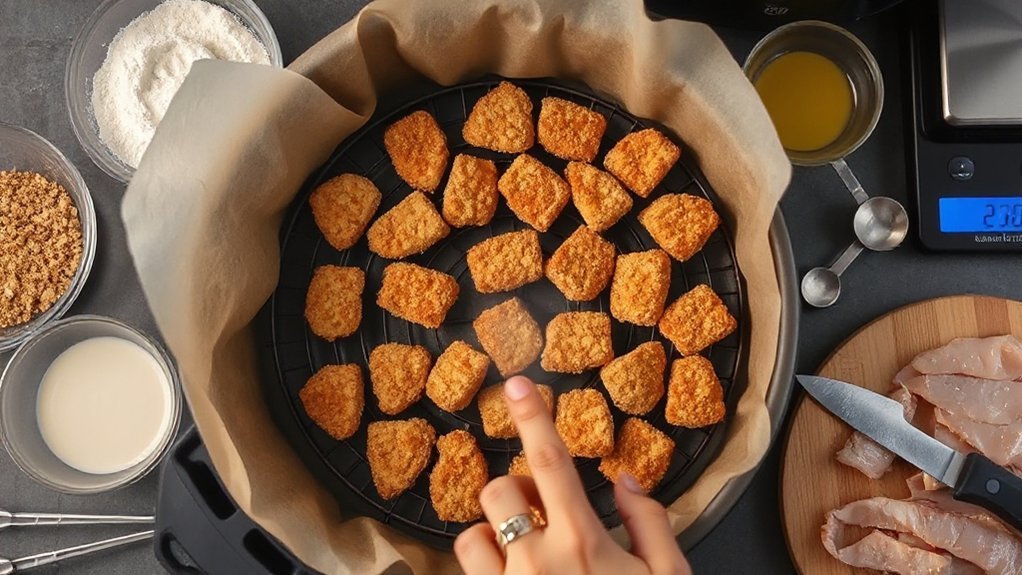
You’ll want a reliable air fryer, a wire rack or basket, tongs, shallow bowls for your breading stations, and a meat thermometer. Get your chicken cut and patted dry, set up your flour-egg-crumb stations for quick dredging, and plan the timing so batches cook evenly. When it’s time to fry, brush or spray nuggets with oil, arrange them in a single layer, and monitor temp and crispness for perfect results.
Essential Air Fryer Tools
Gather the right gear and you’ll speed through prep and get crisp, evenly cooked nuggets every time. You’ll want a reliable air fryer with adjustable temperature, a nonstick basket, and a wire rack for even airflow. Use tongs, a digital instant-read thermometer, and shallow bowls for your dredges. Silicone brushes and a spray bottle help with light oiling. Keep a small baking sheet or tray nearby for staging batches. Check Warranty Tips before buying—longer coverage can save you money if parts fail. For storage, invest in stackable, airtight containers; label and chill cooked nuggets within two hours. With these tools and Storage Solutions, you’ll streamline cooking and cleanup so you can focus on flavor. You’ll be ready for crunch in minutes, seriously every time.
Ingredient Prep And Timing
Prepping ingredients smartly cuts cook time and guarantees even crisping. You’ll chop chicken into uniform pieces, pat them dry, and arrange stations for flour, egg, and crumbs so you’re not scrambling mid-cook. Measure spices and breadcrumbs into small bowls, label them if you prep ahead, and chill coated pieces briefly to set. Use a baking sheet with racks to space nuggets for airflow. For meal scheduling, plan a 30 to 45 minute window that includes chilling and preheating; that keeps dinner on time. Keep a thermometer handy to check doneness quickly. For leftover handling, cool nuggets quickly, refrigerate within two hours in an airtight container, and consume within three days or freeze for longer. This prep saves time and keeps texture and flavor consistent.
Breading, Dredging, Frying Steps
Once you’ve set up three stations—flour, beaten egg, and seasoned breadcrumbs—you’ll move quickly and keep coatings even. Work in batches so air circulates; overcrowding ruins crispness. Use tongs: dredge in flour, shake off excess, dip in egg, press into crumbs. Spray nuggets lightly with oil for golden color. Preheat air fryer to 400°F, arrange in single layer, and flip halfway for even browning. These steps echo the historical evolution of home frying—simpler, cleaner methods replacing deep frying. Also, consider environmental impact: air frying uses less oil, less waste, and lower energy than traditional fryers. Grab tray, thermometer, spatula; your equipment and rhythm make perfect nuggets and clean plates, too.
- tongs tapping crumbs
- golden speckled crust
- hot air circulation
- light oil misting
- crisp flip halfway
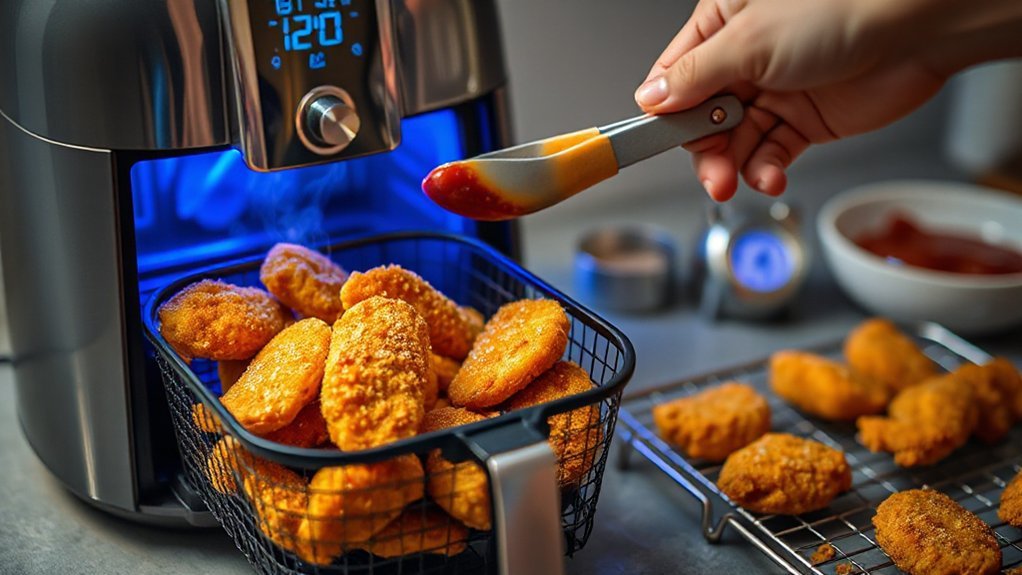
Step-by-Step Cooking Instructions
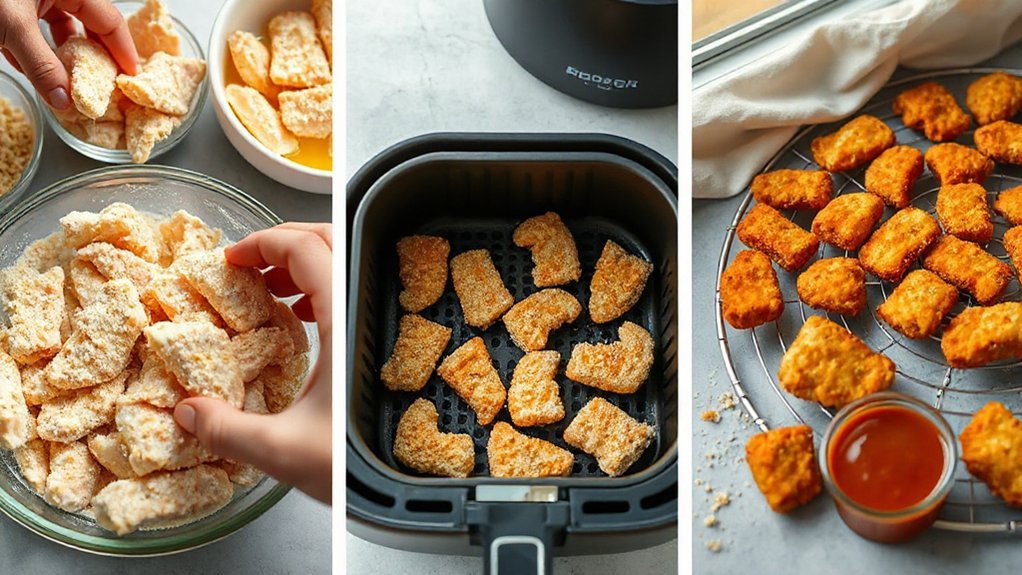
Heat your air fryer to 400°F (200°C) and arrange the nuggets in a single layer so they crisp evenly—you’ll want to avoid overcrowding and cook in batches if necessary. Preheat for 3 minutes while you prep a light oil spray and set a timer. Place the basket in and cook for 6 minutes, spray lightly, then flip each nugget with tongs for even color. Resume cooking another 4–6 minutes until golden and internal temperature hits 165°F (74°C). Use an instant-read thermometer for instruction clarity and to prevent guesswork. If your air fryer runs hot, shorten times; if cooler, add a minute or two—this pacing guidance helps you nail texture without drying. Let the nuggets rest 2–3 minutes; juices redistribute and coating firms. Serve immediately with your favorite dips. Clean the basket after it cools to keep the next batch crisp and avoid lingering odors and enjoy every bite.
Breading, Seasoning, and Coating Techniques
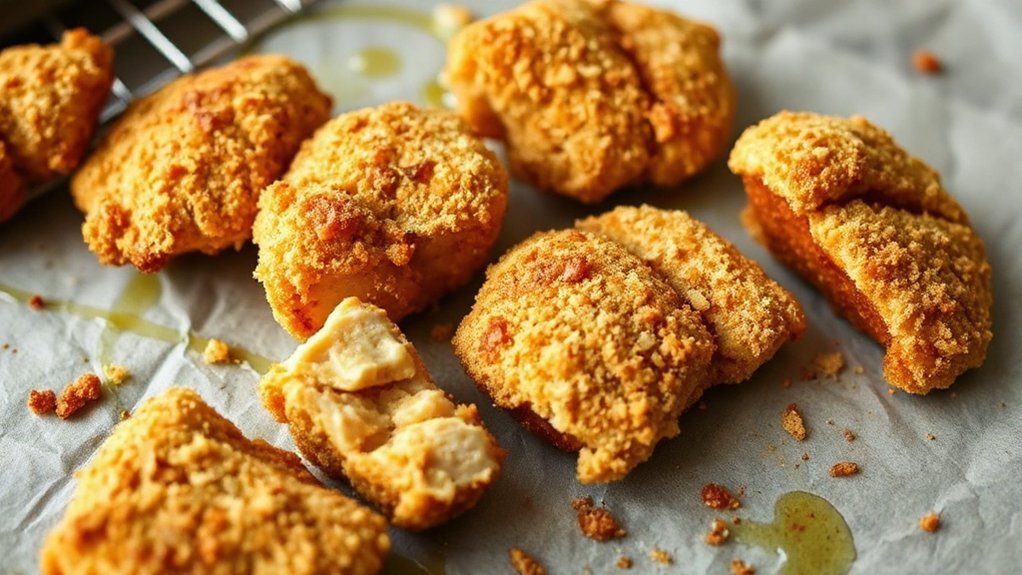


Before you load the next batch, the way you bread and season your nuggets will make or break the crunch and flavor. You’ll want a three-step station: flour seasoned with salt, pepper, paprika; beaten eggs or buttermilk for adhesion and moisture; and panko mixed with crushed cornflakes for extra crunch. That combo gives clear Texture contrasts and bright Flavor layering, from tangy buttermilk to smoky paprika. Press crumbs firmly so they stick, but don’t overwork the meat.
- golden panko shards catching the light
- flaky cornflake crumbs for shatter
- fine seasoned flour sealing juices
- tangy buttermilk clinging to edges
- a final spray of oil glossing peaks
For herbs and spices, think oregano, garlic powder, and a pinch of cayenne—mix into both flour and crumbs for depth. Let coated pieces rest briefly so the coat adheres; you’ll get even, snappy bites with bold seasoning in every mouthful, and repeat now.
Air Fryer Settings, Timing, and Batch Cooking
You’ll usually set the air fryer to about 400°F and cook chicken nuggets 8–12 minutes, shaking the basket halfway for even browning. If your nuggets are thicker or frozen, tweak the time and check they reach 165°F internal. Work in a single even layer — don’t overcrowd or they’ll steam — and cook in batches, keeping finished nuggets warm on a rack while the next batch cooks.
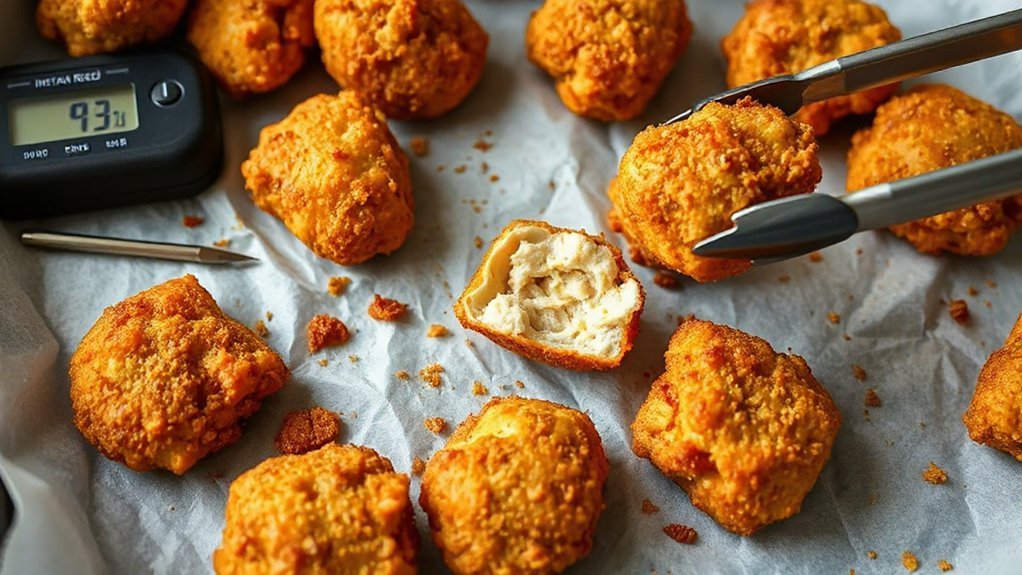
Temperature and Time
While air fryers vary, setting yours to 375–400°F (190–200°C) and cooking nuggets 8–12 minutes—flipping once halfway—gets you a crispy exterior and juicy interior, with smaller pieces needing the lower end of that range. Aim for an internal temp of 165°F (74°C) for microbial safety; remember carryover cooking will raise temp slightly after you pull them. Watch the first batch closely and adjust time based on nugget size and breading thickness.
- Golden, puffy crumbs sizzling at the edge
- Steam fogging a hot basket when you lift it
- Tiny white juices settling inside a cut nugget
- Even bronze coloring across each piece
- A gentle bounce when you press a finished nugget
If unsure, use an instant-read probe for peace of mind. Trust your thermometer and timing.
Batch Size & Workflow
Once you’ve nailed temperature and cook time, handling how many nuggets you load and how you move them through the fryer makes all the difference in consistent crispiness. You want a single layer with space for airflow; overcrowding drops temp and creates soggy centers. For small families, run two short batches rather than one jammed tray. If you’re feeding a crowd, stagger loads so the fryer recovers its heat between rounds — that’s basic batch economics: time versus output and energy. Build a simple workflow mapping: prep trays, preheat, load, flip halfway, rest on a wire rack. Label stations and sequence steps so you don’t scramble. With this plan you’ll get steady color, juicy interior, and repeatable results every time. You’ll serve perfection each time.
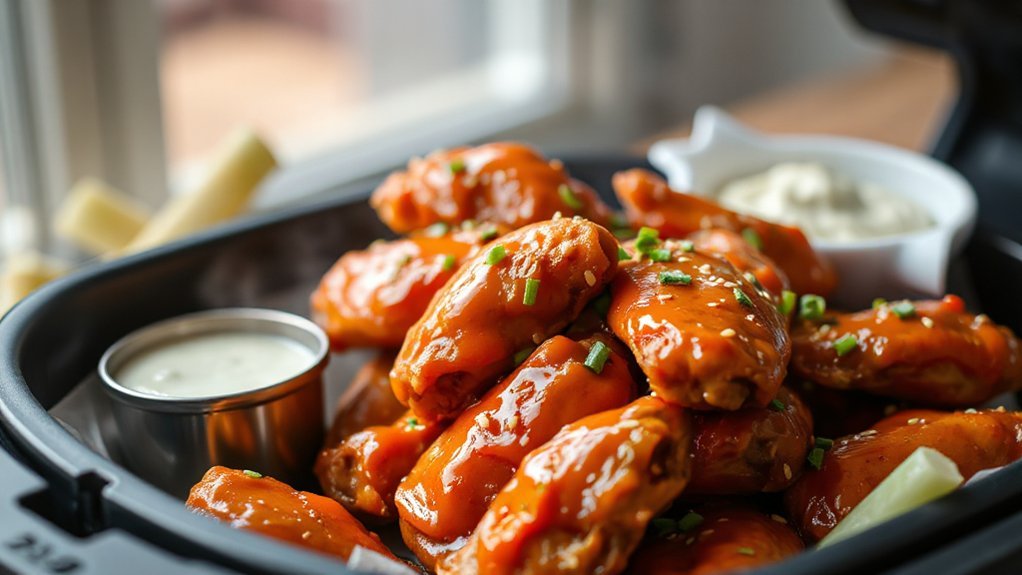
Serving Suggestions, Sides, and Dips
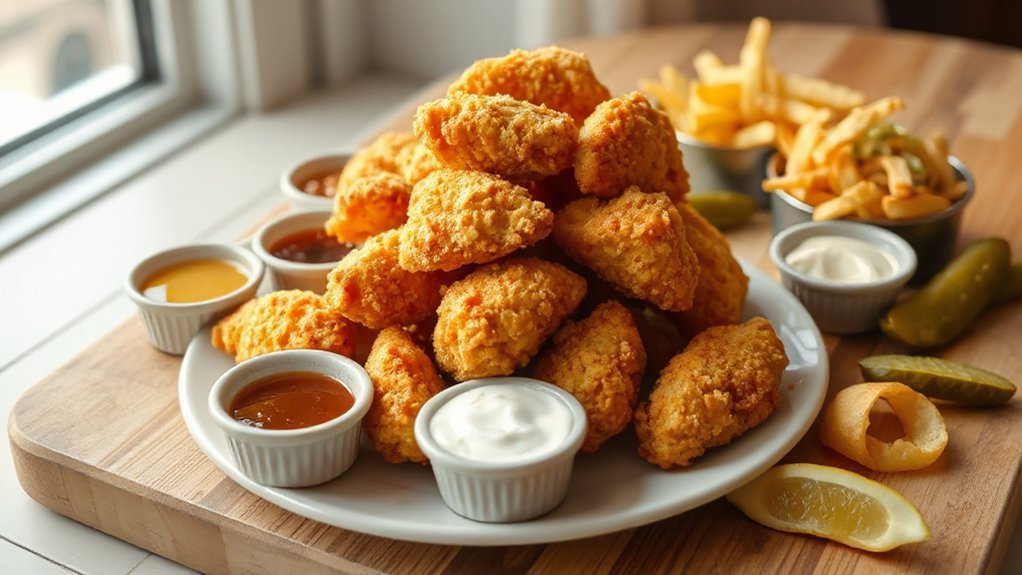
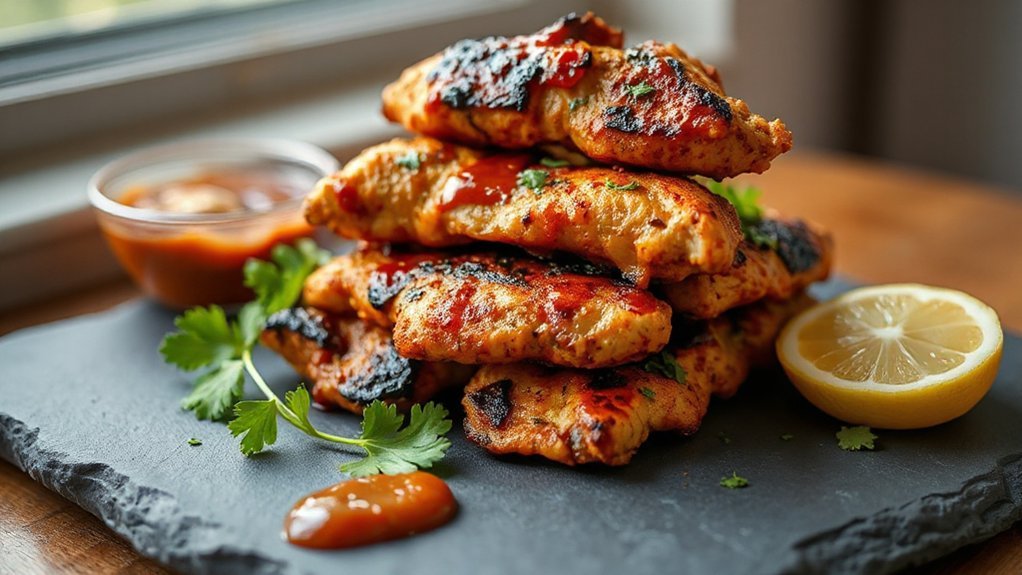
If you want to turn these nuggets into a crowd-pleasing meal, pick a few contrasting sides and a variety of dips so everyone can mix and match—think crisp carrot and celery sticks, a simple green salad, or sweet potato fries for a touch of sweetness. You’ll build excitement with Sauce Pairings that range from tangy honey mustard to spicy sriracha mayo, and use Platter Ideas that let guests grab and go. Offer warm nuggets on a large board with compartments for dips, cold veggies, and crunchy sides so textures pop. Keep portions easy: finger foods, bite-sized salads, and a starch. Let people customize plates and taste combinations.
- Crispy sweet potato fries with smoked paprika
- Crunchy carrot and celery sticks with ranch
- Mini Caesar salad cups
- Warm corn on the cob halves
- Trio of dips: BBQ, honey mustard, spicy mayo
Serve immediately for best.
Troubleshooting Common Issues and Pro Tips
You’ve got the sides and dips sorted—now let’s make sure the nuggets themselves turn out perfect every time. If they brown too fast, lower temp and extend time; if undercooked, check thickness and use a thermometer. For Smoke Prevention, trim excess fat and avoid overcrowding—hot air needs space. Use a light spray of oil, not a soak, to keep crispness without smoking.
Also, preheat your air fryer and shake the basket mid-cycle to promote even browning; use a probe thermometer to avoid guesswork and adjust time for frozen or fresh pieces.
| Problem | Fix |
|---|---|
| Greasy | Pat dry, lower temp, reduce oil spray |
| Sticking | Light oil or parchment, flip halfway |
Reheating Tips: restore crispness at 350°F for 4–6 minutes, flipping once. Test one nugget before serving. Keep tips simple, tweak timing for your model, and you’ll nail restaurant-quality nuggets every batch.
Conclusion
You just made air fryer nuggets that beat fast food — crispy, juicy, and way healthier. Did you know air frying can cut oil use by up to 75% compared with deep frying? That means fewer calories without losing crunch. Keep experimenting with spices, don’t overcrowd the basket, and enjoy homemade flavor in minutes. Serve with your favorite dip and watch everyone ask for seconds. Proud cooking moment, share it right now and savor applause.