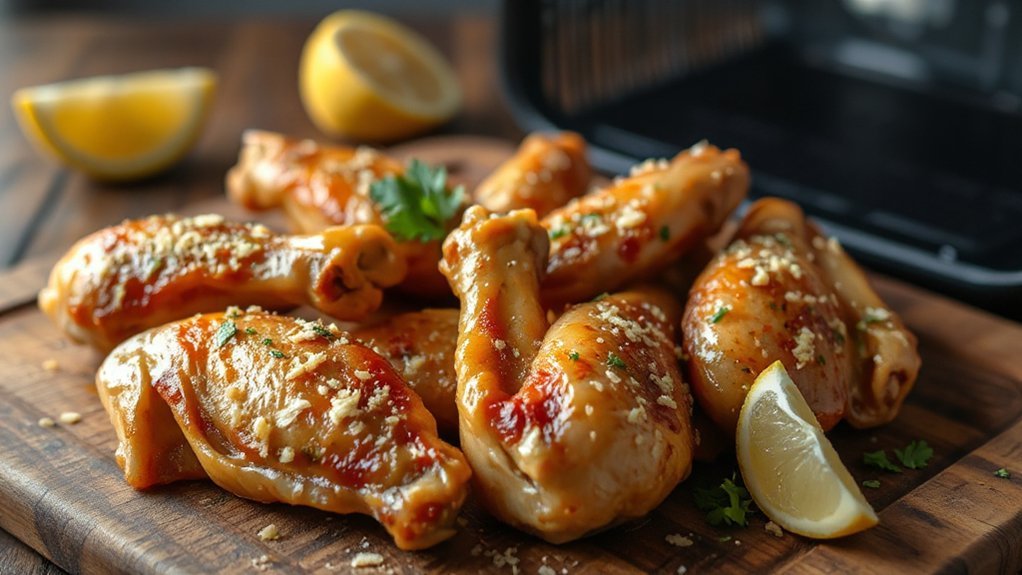
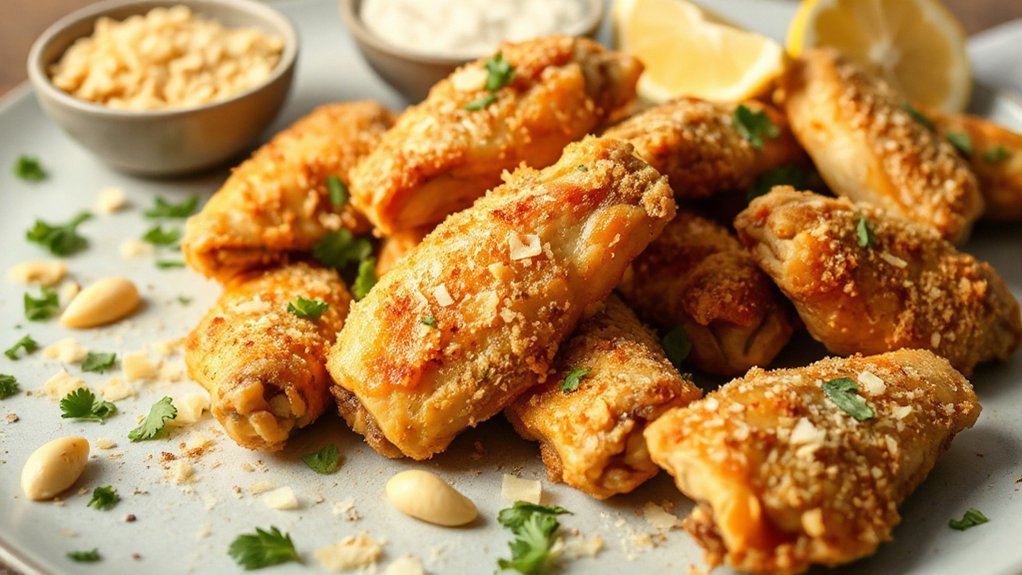
You’ll get crispy, buttery garlic‑Parmesan wings in about 25 minutes using your air fryer—no deep‑frying or fuss. Pat the wings dry, toss with oil, salt, pepper and smoked paprika, air‑fry at 380–400°F flipping once, then toss hot with melted butter, minced garlic, fresh Parmesan, lemon and parsley so the cheese clings. They’re great with celery, blue cheese and a chilled white wine. Keep going for tips, timings and troubleshooting to nail them every time consistently.
Why You’ll Love These Wings
Because they crisp up fast in the air fryer and get coated in a bright garlic-parmesan punch, these wings are impossible to resist. You’ll love how they hit that sweet spot between crunchy and saucy, delivering familiar comfort with a fresh, zesty kick. Each bite revives crispy nostalgia, think backyard cookouts and game-night classics, only cleaner and faster. You don’t need hours or deep frying to get wildly satisfying results; the air fryer does the heavy lifting so you can relax. They’re scalable: make a small batch for solo snacking or feed a crowd without breaking a sweat. Seasoning and finishing happen in minutes, so they turn a humdrum evening into a proper weeknight indulgence. Serve them with simple sides or enjoy them on their own; either way, you’ll find these wings are reliably bold, effortless, and exactly the kind of treat you’ll reach for again and again.
Ingredients You’ll Need
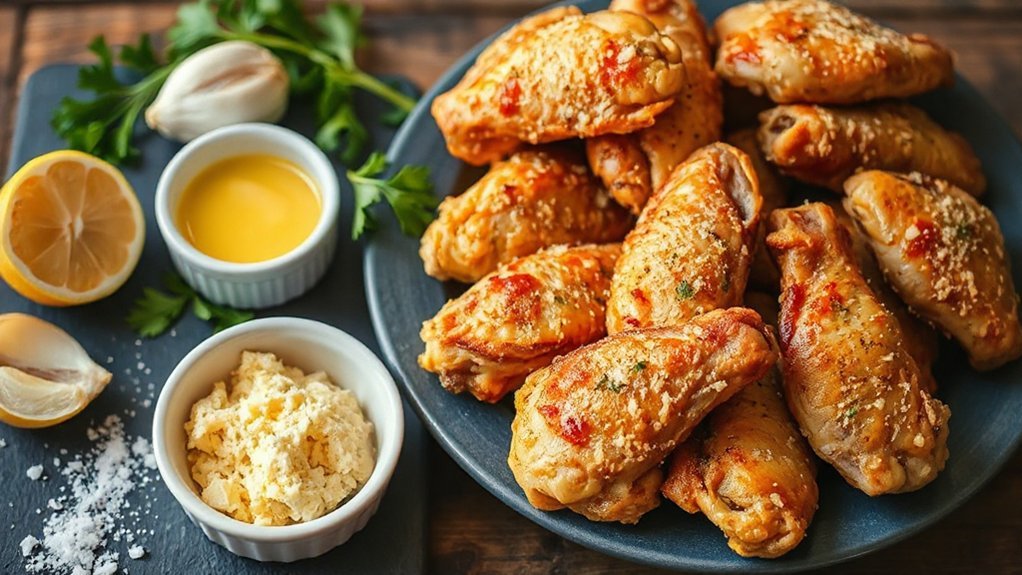
You’ll need about 2 pounds of chicken wings, a tablespoon of oil, a few cloves of garlic (or garlic powder if you’re short on time), 2–3 tablespoons of melted butter, 1/2–3/4 cup grated Parmesan, and simple seasonings—salt, black pepper, and smoked paprika—with a squeeze of lemon and some chopped parsley to finish. Keep it simple: toss wings with oil, salt, pepper and paprika before air frying, then coat in butter, garlic and Parmesan for that glossy finish. For Ingredient substitutions try olive oil for neutral oil, garlic powder when you need speed, or lemon zest for brightness. If you need Allergen alternatives swap dairy butter and Parmesan for vegan butter and nutritional yeast or store-bought vegan Parmesan. The quick table below highlights practical swaps and notes.
| Ingredient | Quick Tip |
|---|---|
| Wings | Pat dry for crispness |
| Butter | Use vegan butter for dairy-free |
| Parmesan | Nutritional yeast for flavor |
| Garlic | Powder speeds |
Equipment and Tools
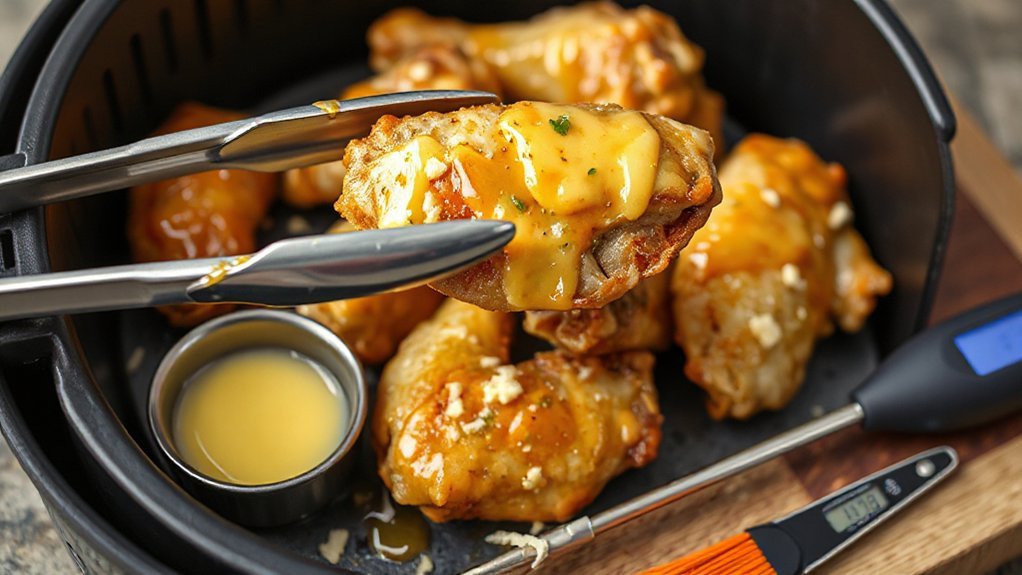
Gathering the right gear will make the whole process faster and keep your wings crisp and consistent. You’ll want a reliable air fryer with adjustable temperature and a roomy basket—capacity matters so you don’t overcrowd. Pick a sturdy pair of tongs, a silicone basting brush, and a shallow bowl for dredging or tossing. A digital thermometer helps verify safe doneness without guessing.
Check Accessory Compatibility before buying extras: compatible racks, silicone liners, or perforated pans can expand cooking options, but sizes vary. Look for dishwasher-safe parts to speed cleanup. For plating and serving, a rimmed baking sheet and cooling rack work great.
Plan Storage Solutions for any unused wings, leftovers, or tools—airtight containers for refrigerated wings, labeled freezer bags for longer storage, and magnetic hooks or drawer organizers for utensils. With these tools at hand, you’ll move smoothly from seasoning to saucing without scrambling, and cleanup is effortless.
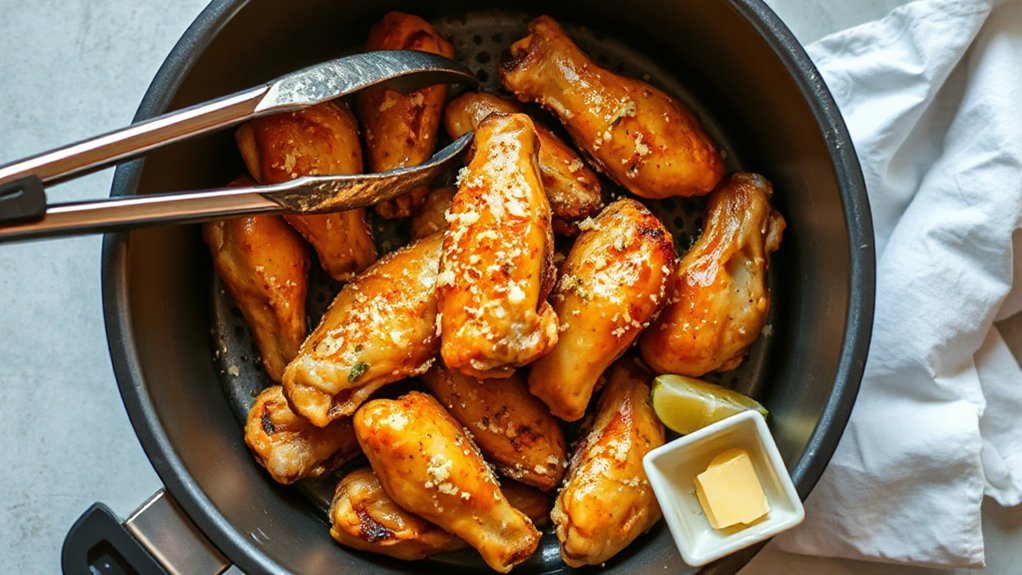
Preparing the Chicken
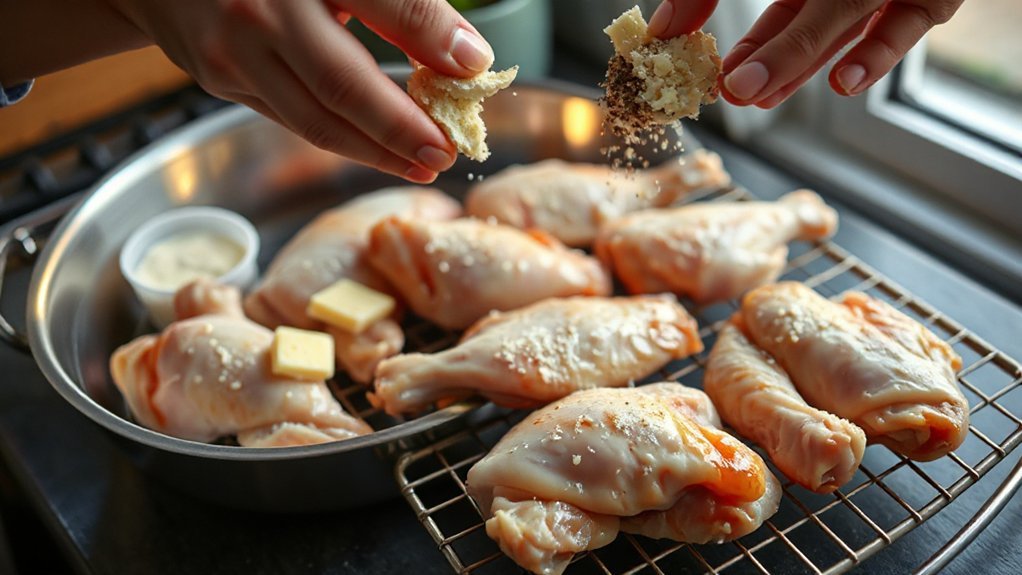
Start by choosing the right wing cuts—drumettes, flats, or whole wings—so you know how they’ll cook and serve. Trim off any excess skin or wing tips and pat the pieces very dry so they’ll crisp up in the air fryer. Toss the wings with a little oil and season generously with salt, pepper, and garlic before cooking.
Selecting Wing Cuts
Which cut should you pick for the air fryer: whole wings, flats, or drumettes? You’ll want to think about wing anatomy, size consistency, and how you like to eat them. Whole wings give juicy meat and a rustic look but need more space and even cooking. Flats crisp up beautifully and offer great skin-to-meat ratio, perfect if you crave crunch. Drumettes feel like mini drumsticks, meatier and easier to hold—ideal for guests who want a hearty bite. For quick, uniform cooking pick similar-sized pieces; for presentation choose drumettes or whole wings. In a cut comparison, consider eating style, cook time, and crisp factor to decide which wing will steal the show. Also think about how many people you’re serving and basket capacity and timing.
Trim, Dry, Season
Trim any excess skin or wing tips and check for tiny bone fragments so every piece cooks evenly and looks tidy. Once trimmed, pat each wing thoroughly with paper towels — drying is critical for crisp skin and better butter adhesion. You’ll want to focus on skin aesthetics: smooth, dry surfaces brown more evenly. For moisture management, season right after drying so flavors stick without creating steam. Use a light dusting of salt, pepper, garlic powder, and a touch of baking powder for extra crispness. Toss wings gently to coat, then let them rest uncovered in the fridge for 20–30 minutes if you can; that air-dry step amps crispness. Finally, bring wings to room temperature briefly before air frying. Then get ready to savor.
Seasoning and Breading Options


Experimenting with seasonings and breading lets you dial the wings to your taste: go for a simple dry rub (salt, pepper, garlic powder, smoked paprika), a wet marinade with minced garlic and a splash of lemon, or a light coating of flour or cornstarch for extra crispness. Toss wings with grated Parmesan and a pinch of cayenne for heat, or mix herbs—oregano, thyme—for a fresher profile. If you want crunch, use panko or crushed cornflakes as Crunch Enhancers; for gluten-free, try Alternative Flours like rice or chickpea flour in the coating. You’ll also combine a thin batter with seasoned crumbs for a restaurant-style bite.
Keep coatings thin so the garlic butter sticks after cooking; pat wings so crumbs adhere. Taste as you go—adjust salt, acid, and spice—and remember that simple, well-balanced seasoning often wins over heavy sauces. Serve immediately for best texture and flavor every time, always guaranteed.
Air Fryer Settings and Timing
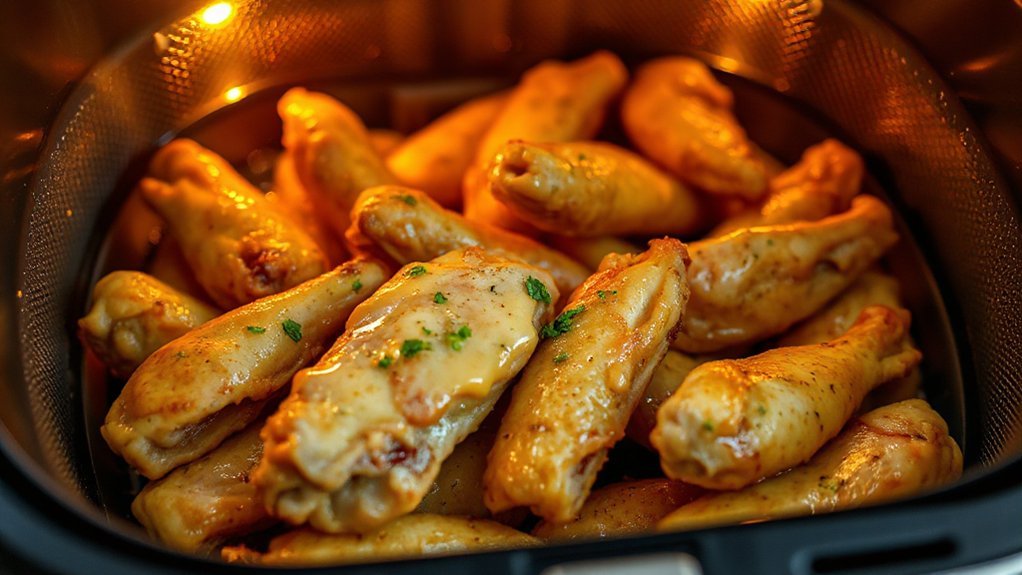
You’ll want to set your air fryer to 375–400°F for perfectly crisp garlic Parmesan wings. Cook whole wings about 20–25 minutes, flipping or shaking the basket halfway, while smaller flats or drums finish in roughly 18–22 minutes. If you want extra-crispy skin, bump to 400°F for the last 3–5 minutes, but always confirm the internal temp reaches 165°F.
Temperature Recommendations
How hot should your air fryer get for perfect garlic Parmesan wings? You’ll aim for high heat to crisp skin while respecting Holding Temperatures for safety, not startling any Freezing Temperatures concerns if you started from frozen. Use 380°F–400°F for initial blast, then lower slightly to finish and keep juices intact. Trust your thermometer and don’t overcrowd the basket. Quick check: skin should be crisp, internal temp at safe holding level. The table below helps you choose settings by wing size and crisp preference.
| Wing Size | Initial Temp | Finish Temp |
|---|---|---|
| Small | 400°F | 360°F |
| Medium | 390°F | 360°F |
| Large | 380°F | 350°F |
| Frozen | 400°F | 370°F |
Always rest wings five minutes after cooking so carryover heat reaches safe holding temperatures and flavors settle before serving for maximum enjoyment.
Cooking Time Ranges
Generally, plan on about 18–25 minutes for fresh chicken wings and 22–28 minutes for frozen wings in the air fryer, adjusting toward the low end for small wings and the high end for large or extra‑crispy batches. You’ll want to preheat, shake the basket midcook, and check for 165°F internal temperature; crisping time depends on wing size and your crust. For meal scheduling, start early if you’re feeding guests and factor resting time so sauce sticks. Short bursts at higher temps use more energy costs but cut time. Follow quick guidelines to nail texture and timing:
- Preheat 3 minutes at 380°F.
- Fresh: 18–25 min, toss 10–12.
- Frozen: 22–28 min, toss 12–15.
- Finish 2–3 min at 400°F.
Enjoy the buttery crunch!
Making the Garlic Parmesan Sauce
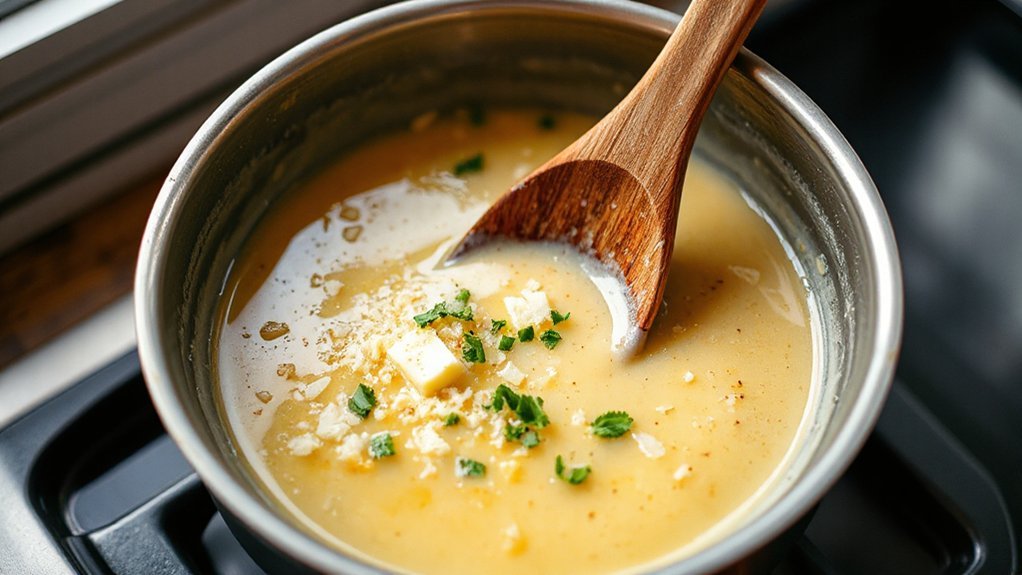
Whisking a simple garlic-Parmesan sauce takes just a few minutes and turns crispy wings into something irresistible. Start by melting butter, then add finely minced garlic to create a bold garlic infusion; cook briefly so it softens without browning. Stir in freshly grated Parmesan, a squeeze of lemon, and a splash of cream or olive oil for shine. Taste and make texture adjustments—add more cheese for thickness or a tablespoon of water to loosen. Toss wings immediately so the sauce clings while warm. If you want herbs, fold in chopped parsley at the end for freshness. For a smoother finish, blend the sauce for seconds. Here’s a quick cheat-sheet to guide adjustments:
| Component | Effect | Tip |
|---|---|---|
| Butter | Rich base | Melt gently |
| Parmesan | Thickens | Grate fresh |
| Garlic | Flavor punch | Don’t overcook |
Work quickly—warm sauce = better coating and brighter flavor. You’ll love how it elevates every bite of wings now.
Serving and Pairing Ideas

Looking for the perfect way to serve these Garlic Parmesan wings? You’ll want a spread that balances richness and brightness.
- Lemon wedges and parsley for brightness.
- Celery, carrot sticks, and creamy blue cheese or ranch dip.
- Side Salads like peppery arugula or crisp Caesar to cut butteriness.
- Wine Pairings: chilled Sauvignon Blanc, Pinot Grigio, Prosecco, or a slightly cool Pinot Noir.
Keep napkins and small plates handy for shared grazing. For a crowd, set up a build-your-plate station with roasted potatoes, coleslaw, and assorted sauces so everyone tailors their combo. Finish with grated Parmesan and a drizzle of extra-virgin olive oil for glossy, nutty notes. Serve on warm plates, offer toothpicks for easy snacking, and provide extra napkins so guests can mingle comfortably while enjoying bold garlic-and-buttery Parmesan flavor. Add crusty bread or garlic knots for soaking up every last drop of sauce happily.
Tips, Tricks, and Troubleshooting
If you want crispier skin, pat the wings dry and let them rest uncovered in the fridge for 30–60 minutes before air-frying. That step pulls moisture away so the skin browns and crisps; don’t skip it. Preheat the air fryer, don’t overcrowd the basket, and shake halfway for even color. Use a meat thermometer—165°F for safe, 175–180°F if you like fall-off-the-bone texture. If your Parmesan gets soggy, toss wings in sauce off heat and finish with a sprinkle just before serving.
Think about party logistics: cook in batches, keep warm at low oven temp, and schedule sauces and sides so nothing sits too long. For time management, prep garlic butter and dry rub ahead, and reheat wings briefly in the air fryer to refresh crispness. If smoke appears, reduce temperature, pat skins drier, and wipe excess oil from the tray. You’ve got this. Serve immediately and enjoy the applause.
Conclusion
You’ve just crisped golden garlic parmesan wings in your air fryer, and you can almost hear the sizzle as you reach for one. Don’t jump in too fast—wait for that first bite to hit: buttery, garlicky, with a salty parmesan kiss. It’ll make you want to double the batch. Keep experimenting with heat and herbs, and next time? You’ll surprise everyone at the table. Ready your napkins — the flavor will demand your full attention soon.