You can get TGI Friday’s–style extra‑crispy frozen wings in your air fryer by preheating to 400°F, patting pieces dry, arranging them in a single layer with small gaps, and flipping once halfway through (about 12–14 minutes) for a total of 22–26 minutes. Use two light sauce tosses after resting 3–5 minutes for glossy coating. Crowd baskets and moisture are the main culprits if wings go soggy, and more tips follow to perfect your game-day spread.
Equipment You Need
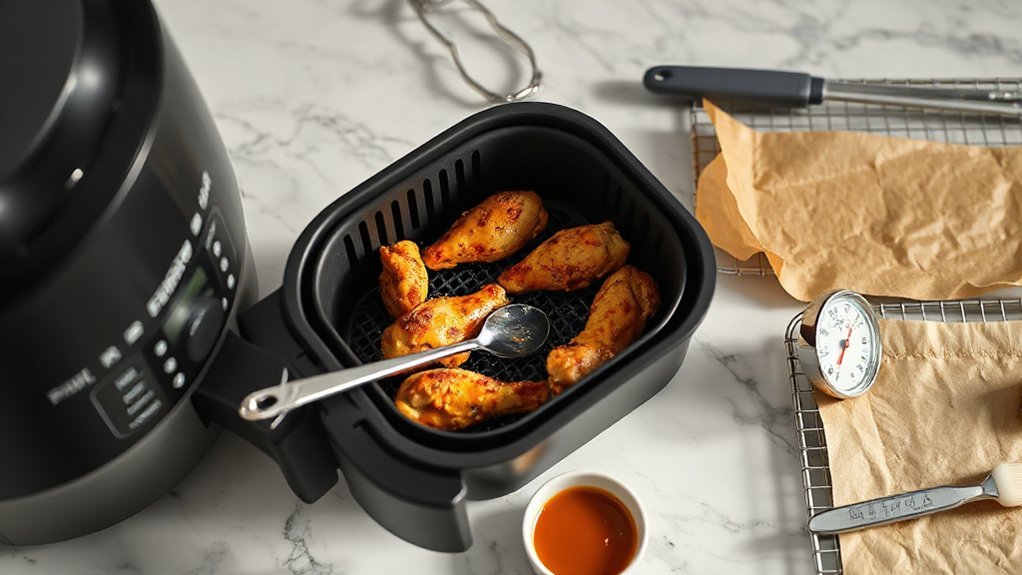
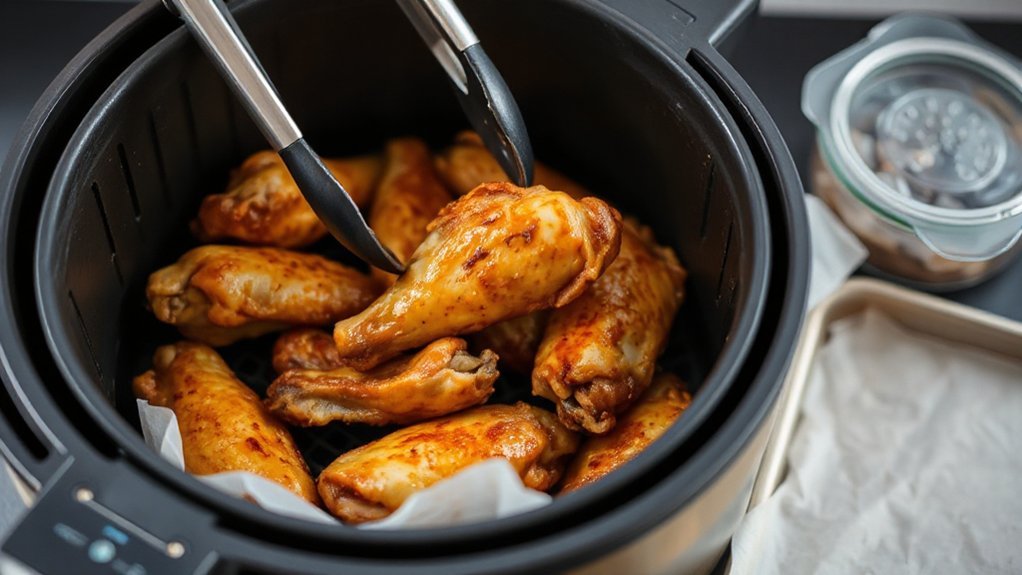
You don’t need a kitchen full of gadgets—just a solid air fryer, a pair of tongs, and a heatproof tray or rack will get you started. Keep the rest minimal: silicone tongs for gentle grip and a digital thermometer to check doneness without guessing. Pick an air fryer with reliable temperature control and a basket that lets air circulate so wings crisp evenly. Choose a heatproof rack or tray that fits inside the fryer to lift wings for maximum airflow. Grab a small bowl for sauces and a slotted spoon for draining, but don’t overcomplicate it. You’ll also want oven mitts and a timer—safety and timing matter as much as equipment. If you gift yourself a cutting board and sharp knife, use them for trimming only if needed. With these basics, you’ll streamline prep, avoid soggy patches, and get consistent, crowd-pleasing wings every game day and happy snacking.
Choosing the Right Frozen Wings
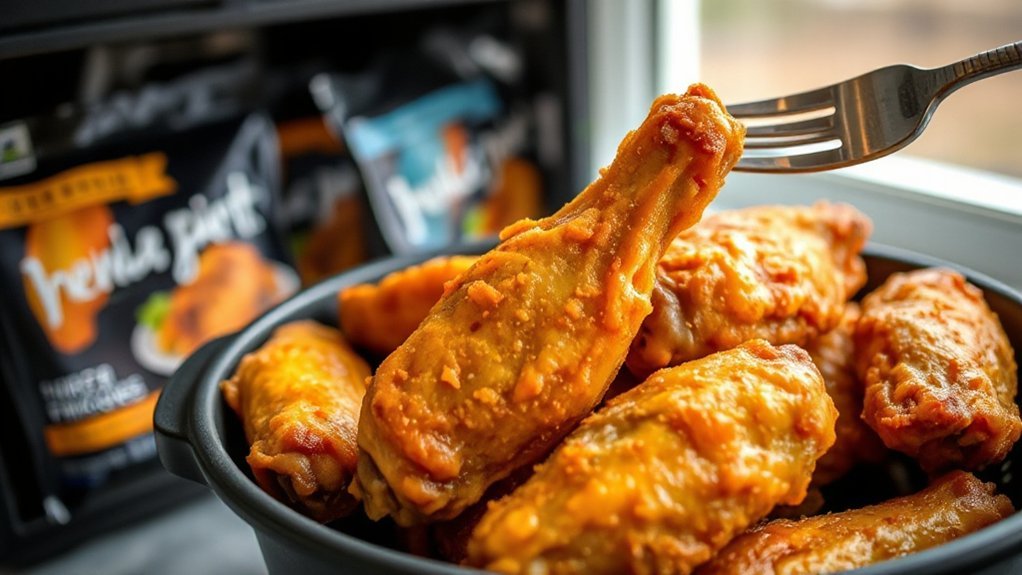
Look for wings labeled “ready to cook” or “pre-baked”—they’ve usually been blanched or par-cooked so they’ll crisp up nicely in your air fryer basket. You’ll want to check size consistency; uniform pieces cook evenly, so you won’t end up with overdone flats and underdone drums. Think about flavor profiles before you buy: plain or lightly salted wings give you blank canvas for sauces, while seasoned or buffalo-style packs save time but limit customization. Read ingredient lists for added sugars or coatings that might burn at high heat. Brand comparisons matter—some brands offer thicker breading, others a truer skin texture; user reviews and package photos help you predict results. Frozen wing packs vary in weight, portion counts, and bone-in versus boneless options, so pick what fits your crowd. Keep it simple: match the wing type to how much saucing and crisping you want, and you’ll be ready to move on.
Prepping for the Air Fryer

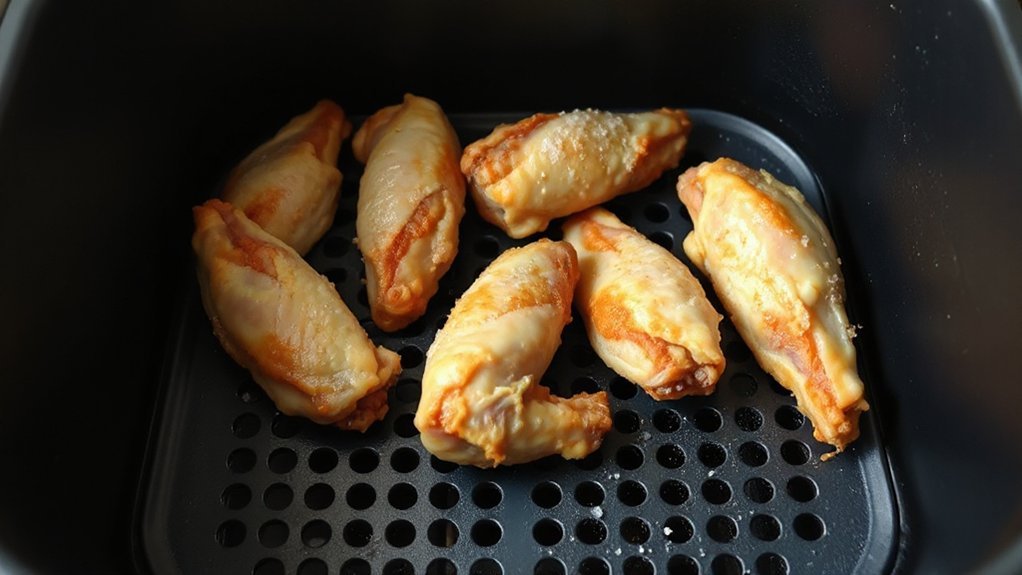
Preheating the air fryer and getting your wings separated and dry will set you up for crispy success. You’ll want to pat each wing thoroughly; moisture kills crispiness. If pieces are stuck, use a knife or kitchen shears to do quick wing trimming so hot air reaches every surface. For extra flavor and texture, try a short dry brining step—salt the wings, rest them uncovered in the fridge for 30–60 minutes, then pat again.
- Pat wings completely dry with paper towels.
- Use shears for precise wing trimming and to separate flats and drumettes.
- Lightly season for dry brining; don’t over-salt.
- Arrange wings in a single layer with space between pieces.
These prep moves are simple, fast, and make a big difference, so you’ll get reliably crisp, flavorful wings straight from frozen with minimal fuss. Plan your tools and timing ahead to keep the process smooth and stress-free always.
Temperature and Timing Guide
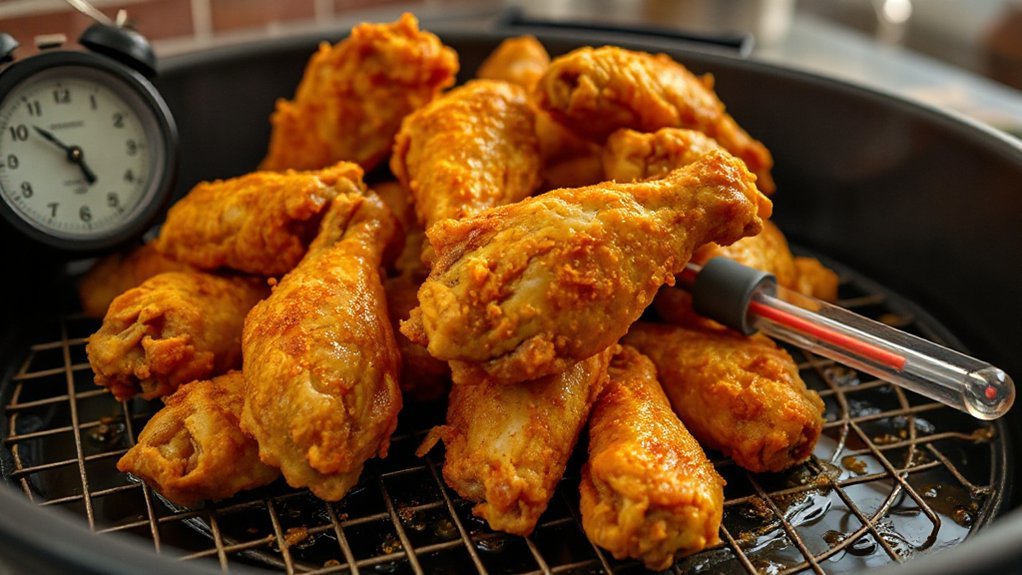
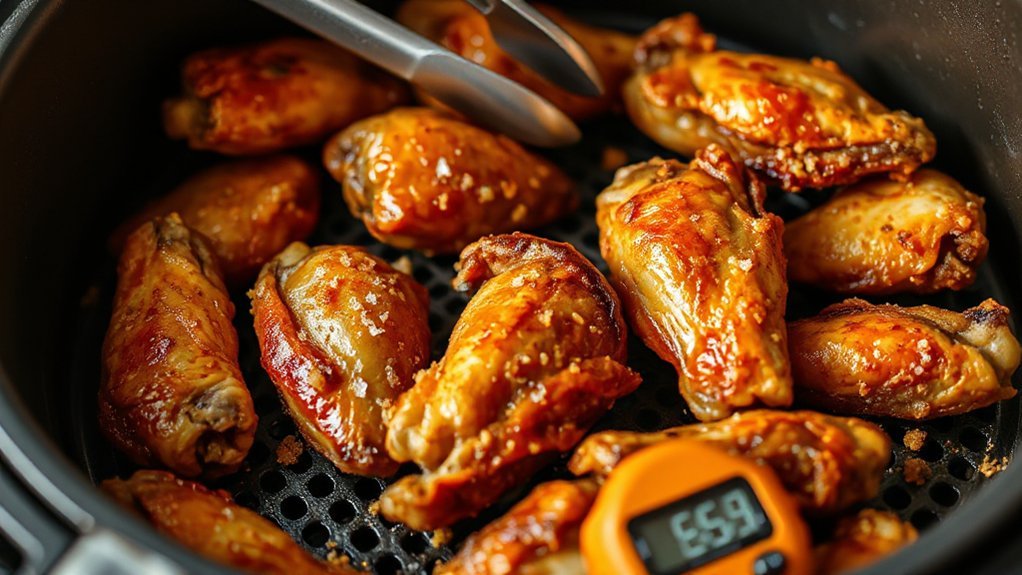
While every air fryer varies, stick to these temperature and timing ranges to get reliably crispy wings from frozen. Preheat to 400°F (200°C) when you want fast crisping; cook wings 22–26 minutes, flipping once around 12–14 minutes. If your fryer runs hot, drop to 380°F and add 2–4 minutes. For slightly juicier results, start at 360°F for 10 minutes, then boost to 420°F for a 3–5 minute blast. Use an instant-read thermometer to check Doneness Temperatures: wings are safe at 165°F, but 175–185°F yields tender meat as connective tissue breaks down. Remember Carryover Cooking raises internal temps a few degrees after you pull them, so factor that in before resting. Rest wings 3–5 minutes so juices redistribute and the crust firms. Adjust times modestly by wing size and your machine—these ranges give you a dependable, tasty baseline for game day. Trust the thermometer and enjoy the crunch today.
Spacing and Basket Loading Tips
Because hot air needs room to circulate, don’t cram wings into the basket—aim for a single layer with small gaps around each piece so the air can reach every surface. You’ll avoid crowding effects that create soggy spots and uneven browning. Watch airflow patterns from the fan; place larger pieces where flow is strongest and smaller ones to the sides. Load deliberately, not hurriedly, so each wing crisps.
- Arrange wings in a single layer with ½-inch gaps when possible.
- Use two small batches rather than one packed basket to maintain crispness.
- Stagger pieces so airflow patterns move between and around each wing.
- Avoid overlapping; stacked wings block heat and show classic crowding effects.
If you’ve got extras, keep finished wings warm on a rack while you finish the next batch. This method keeps texture consistent and gives you a crisp lineup for game day.
Mid-Cook Flipping and Shake Techniques
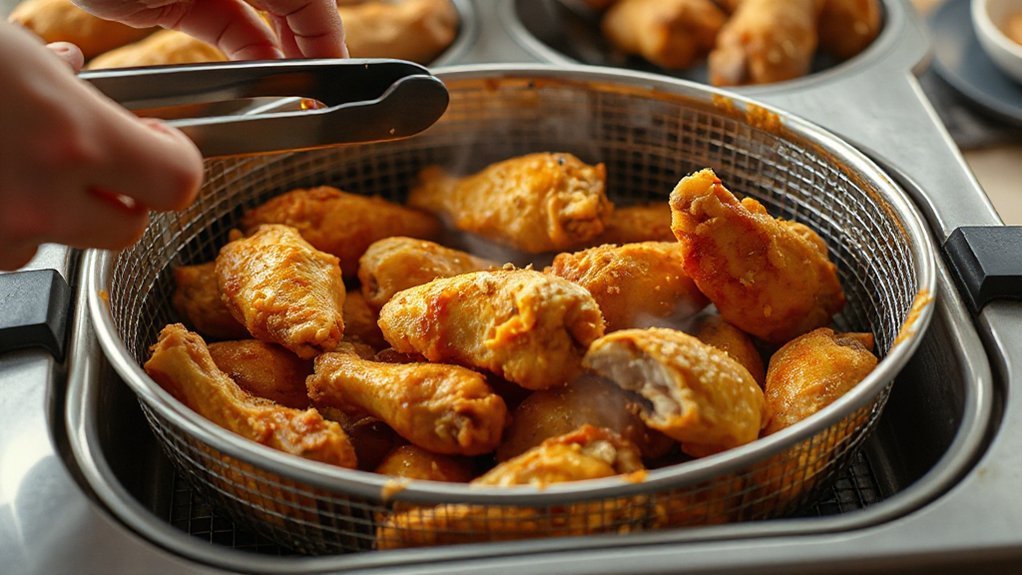
Once your wings are spaced out, plan a mid-cook flip or shake to keep that crisp going all around. You’ll check halfway through the total cook time—usually around 10–12 minutes—then flip or give the basket a confident shake. Decide your Flip frequency based on batch size: larger, crowded batches benefit from a flip; smaller, single-layer batches do fine with one shake. Use tongs for flips so you don’t tear the skin, and use a firm wrist for shakes to redistribute heat without dumping wings. Monitor Shake intensity: gentle shakes nudge pieces, vigorous shakes tumble them; aim for moderate force so coating stays put. After flipping or shaking, resume cooking until internal temperature reaches 165°F and skin looks evenly browned. This simple rhythm—thoughtful flip frequency and controlled shake intensity—keeps wings crisp, cooks them evenly, and saves you guesswork on game day and gets everyone cheering at kickoff every time.
Sauce and Tossing Options
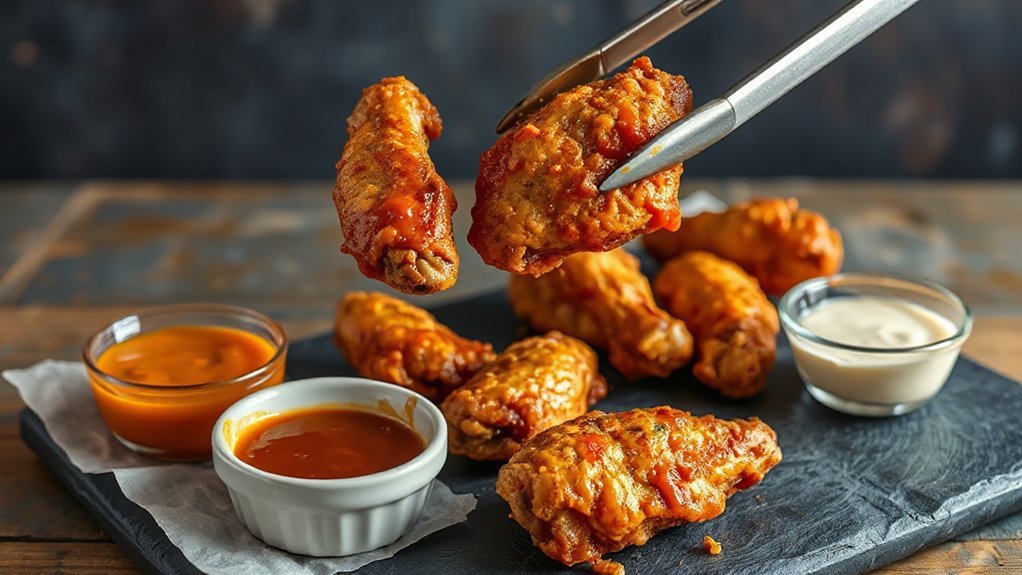


Want them saucy, sticky, or just lightly tossed? You control texture: toss in hot sauce for classic heat, swipe on a honey-soy glaze for sticky shine, or keep them crisp with a quick dry seasoning. Start by patting wings dry after air frying so sauces stick, and consider Dry Rubs before cooking for deeper flavor without sogginess. Use Glaze Techniques like brushing in two thin layers—brush, rest, brush again—for glossy coverage.
- Buffalo toss: melted butter and Frank’s-style hot sauce, toss while hot.
- Sweet-heat glaze: honey, soy, sriracha, simmer until syrupy.
- Citrus-chile dry: lime zest, smoked paprika, salt—toss post-cook.
- Sticky garlic-parm: garlic butter, grated Parmesan, finish under heat briefly.
Always toss gently in a bowl to coat evenly, and serve immediately so your chosen finish stays true to texture. If you prefer layers, reserve some sauce to drizzle table-side and reheat briefly to revive gloss without sogginess and serve.
Serving and Pairing Suggestions
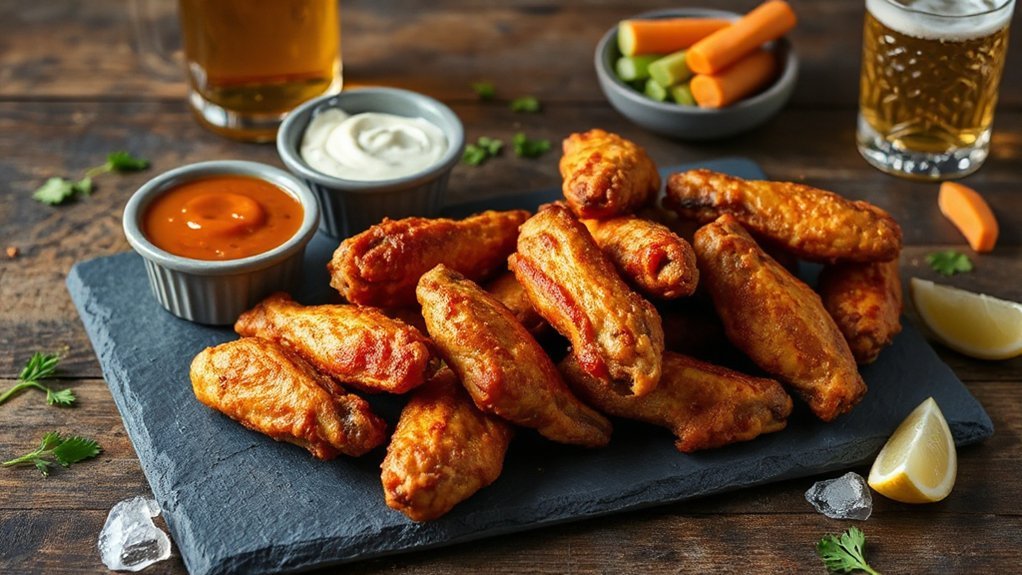
When your wings are hot and crispy, you’ll want a few dipping sauces on hand—think classic ranch, tangy blue cheese, spicy buffalo, and a sweet chili for variety. Pair them with simple sides like celery and carrot sticks, crunchy fries, or a zesty coleslaw to balance the heat. For drinks, grab cold beers, a tart hard seltzer, or an ice-cold soda, and don’t forget a citrusy mocktail if you’re skipping alcohol.
Dipping Sauce Ideas
How about pairing your crispy air-fried wings with a trio of sauces—classic buffalo for heat, honey‑garlic for sweet‑savory balance, and blue cheese or ranch to cool things down—so everyone at the table finds a favorite? You can offer simple Health swaps and Kid friendly options without losing flavor. Keep small bowls for dipping and label each sauce so guests know heat levels.
- Classic buffalo: mix hot sauce, butter, a splash of vinegar.
- Honey-garlic: honey, soy, garlic, a pinch of pepper.
- Cooling ranch: yogurt-based for a lighter touch.
- Tangy BBQ: smoky sauce, or a reduced-sugar version.
Offer toothpicks, napkins, and small spoons so guests can customize, and suggest pairing intensities—mild, medium, hot—for different tastes. Rotate sauces during the game to keep things exciting and fun.
Side Dish Matches
Pairing your crispy wings with the right sides turns game day into a full feast—aim for contrasts in texture, temperature, and flavor so every bite feels exciting. You’ll balance heat with coolness by serving Celery sticks and a creamy blue cheese dip alongside, then add a pile of Crispy Fries for salty, starchy satisfaction. A bright Tangy Slaw brings crunch and acid to cut through richness, and roasted sweet potatoes add a caramelized counterpoint. Keep portion sizes snack-friendly so people graze between plays, and offer pickles or quick-pickled onions for sharp, invigorating snaps. If you want a lighter option, a simple mixed green salad with lemon vinaigrette refreshes the palate without stealing the spotlight from your wings. Rotate sides to keep the spread interesting.
Beverage Pairings
Choosing the right drinks can make your wings shine, so pick beverages that either cool the heat or match the spice and richness. You’ll want drinks that respect flavor science while offering palate cleansing relief between bites. Think cold, effervescent, or slightly sweet to balance savory, spicy, or sticky sauces.
- Crisp lager: carbonation and light malt cut grease and refresh.
- IPA (or citrus pale ale): hoppy brightness plays with bold sauces.
- Sparkling water with lime: pure palate cleansing without extra sugar.
- Riesling or off-dry white: sweet-tart contrast soothes heat and lifts flavors.
Try pairing by sauce intensity, and keep extra chilled options handy for guests. Rotate options during the game so everyone finds a favorite, and label choices to guide quick guest selections easily.
Reheating and Leftover Tips
Crisping leftover wings in your air fryer keeps them crunchy and ready in minutes, so you won’t end up with soggy, disappointing bites. You’ll preheat to 350°F, space wings, and check at 6–8 minutes; toss with sauce at the end. Use a simple labeling system on container lids with date and sauce to prevent mystery boxes, and practice meal reinvention—turn wings into tacos, salads, or fried rice for fresh game-day variety. Store cooled wings in airtight containers within two hours; refrigerate up to 4 days or freeze up to 3 months. When freezing, flash-freeze on a tray first to keep pieces separate. Reheat straight from fridge in the air fryer at 360°F for 5–7 minutes, from frozen at 400°F for 12–15 minutes, turning once.
| Situation | Temp | Time |
|---|---|---|
| Refrigerated | 360°F | 5–7 min |
| Frozen | 400°F | 12–15 min |
| Crisp finish | 420°F | 1–2 min |
Enjoy crunchy wings and creative leftovers every time.
Troubleshooting Common Issues
If your wings come out soggy, uneven, or scorched, don’t worry—you can fix most problems with a few simple tweaks. Check spacing so air circulates; overcrowding causes sogginess and uneven browning. Trim any excess ice so hot air hits the skin. Clean the basket and remove grease buildup to avoid smoke and lingering smells; regular Odor removal prevents off-flavors. Watch temperature and time—lower temps give crisp interior but may dry meat if too long; higher temps crisp faster but can scorch.
Fix soggy or scorched wings: space them, pat dry, clean the basket, and adjust time and temperature.
- Separate wings so they don’t touch and avoid Airflow obstructions.
- Pat wings dry and preheat the air fryer for 3–5 minutes.
- Shake or flip halfway through for even color.
- Clean filters and vents after heavy use to aid Odor removal and prevent smoke.
Follow these fixes and you’ll get consistent, tasty wings every game day. Tweak small variables and you’ll master this method in no time quickly.
Conclusion
You’ve nailed the game-day wings with this air-fryer method — crisp, saucy, and ridiculously satisfying. You’ll breeze through prep, know exactly when to flip, and toss in your favorite sauce like a pro. Follow spacing and timing, and you’ll avoid soggy disasters forever. Serve hot with celery and blue cheese, and watch friends devour them like it’s the last food on Earth. Reheat smartly, and you’ll enjoy leftovers just as much every single bite remains amazing.