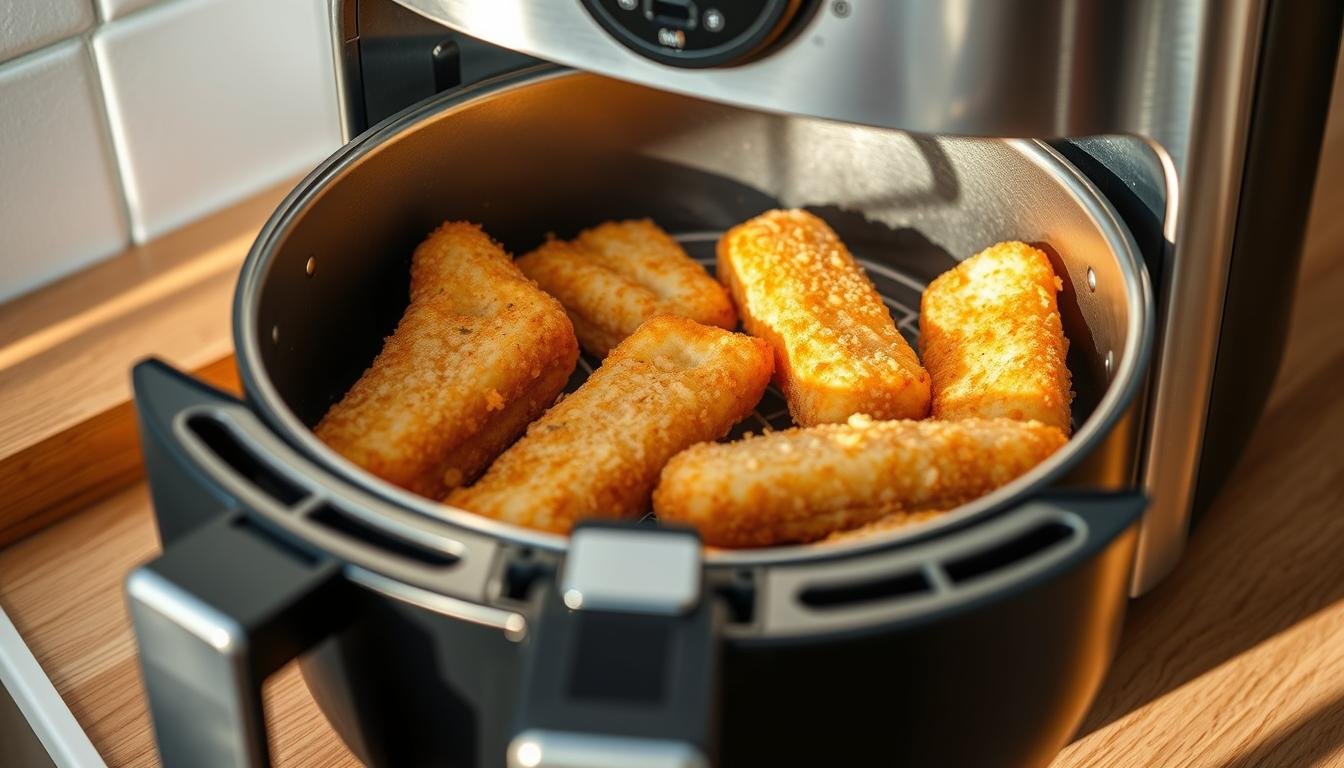
We’re fixing up a weeknight winner that’s fast, forgiving, and downright tasty — perfect for when you want dinner pronto. In this post we show how to take frozen fillets straight from the bag to a hot basket, no thawing, no fuss.
In about 10–13 minutes you get crisp edges and tender flakes. We keep the ingredients simple — oil, salt, pepper, and a squeeze of lemon — so the natural flavor shines and the meal stays light on fat but big on protein.
Place fillets in a single layer for even browning — no flipping needed. We’ll also walk you through safe storage and quick reheats so leftovers stay just as good.
Key Takeaways
- Cook from frozen in 10–13 minutes for a fast weeknight dinner.
- Simple oil and seasoning let the mild fish flavor shine.
- Single-layer placement ensures even browning — no flip required.
- Serve with tartar or seafood cream sauce and lemon wedges.
- Refrigerate leftovers 3–4 days; reheat a few minutes for best results.
Why Make Frozen Tilapia in the Air Fryer
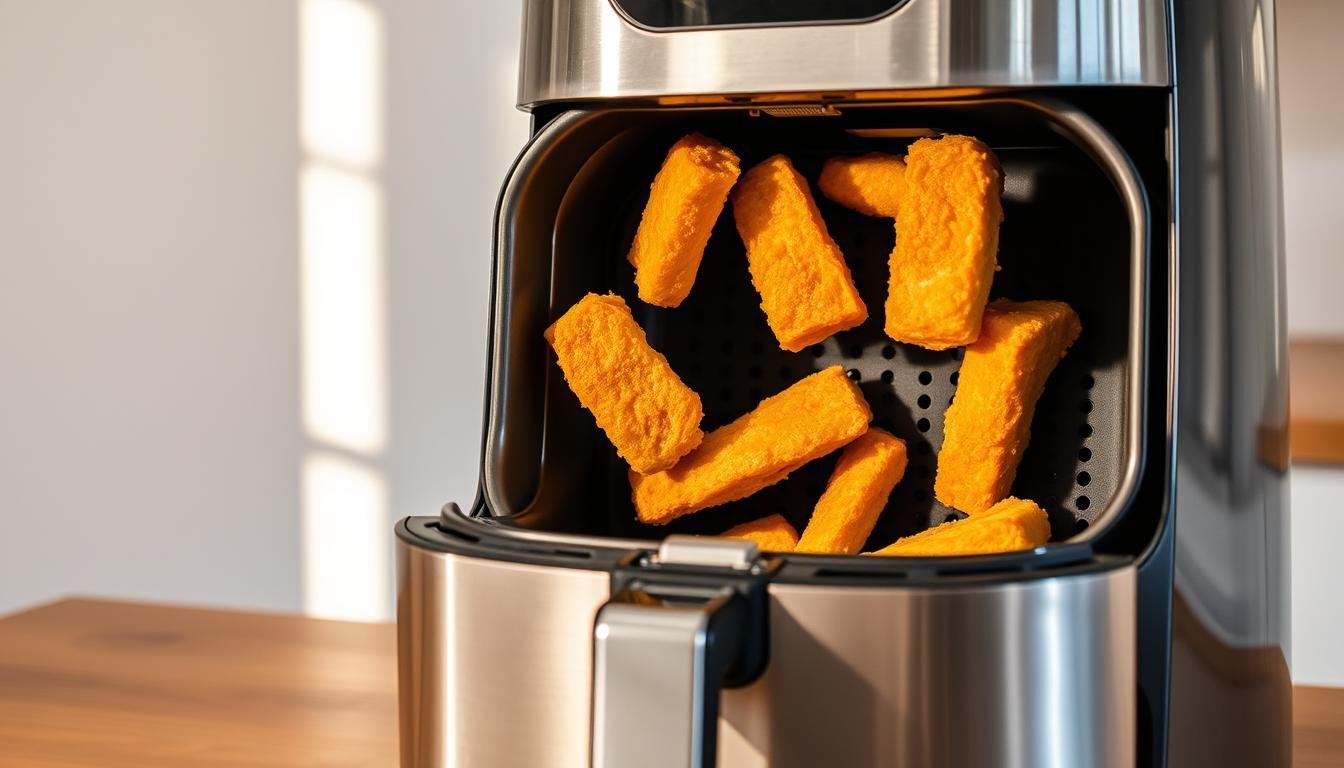
Short on time? We’ll show you a fast, reliable way to get a tasty dinner on the table. Cooking from frozen saves minutes and makes weeknights easier. We love this trick because it’s quick and forgiving.
Speed and convenience: Most fillets finish in about 10–13 minutes at 390–400°F. That means you can cook frozen without thawing and still have dinner ready while you toss a salad.
Low-fat, great texture: The hot air crisps edges and leaves the interior flaky — no heavy breading or extra fat needed. You get protein-forward plates that still feel light.
- Tilapia’s mild flavor soaks up lemon, pepper, or garlic easily.
- Preheat air fryer if you want extra browning—just watch the cook time.
- Lay fillets in a single layer for even heat and no flipping.
It’s affordable, fuss-free, and a solid weeknight recipe when folks are hungry and you’re short on minutes.
What You’ll Need: Air Fryer, Basket, and Simple Ingredients
Let’s gather the few simple tools and pantry staples that make this fish supper a breeze. We keep things basic so you can get to the good part—eating—without fuss.
Quick prep: Give the air fryer basket a light spray of olive oil to stop sticking, or line the bottom with lemon slices for aroma and lift. That lemon trick keeps the fillets off the metal and adds a bright scent as they cook.

For ingredients, grab tilapia fillets, a drizzle of olive oil, salt, black pepper, and a pinch of garlic powder. Brush a little oil or melted butter over the tops so seasoning clings and the fish stays moist.
- Tools: paper towels, tongs, and an instant-read thermometer for safety.
- Space the fillets in a single layer in the fryer basket so hot air circulates freely.
- Season light—salt, pepper, a whisper of garlic—and you’re ready to cook.
Pro tip: If you like richer flavor, swap half the olive for melted butter. Keep it simple—this recipe shines when the fish gets the spotlight.
Frozen Tilapia Air Fryer
We’ll walk you through the clock and temp so you nail doneness every single time.
Time and temperature at a glance
Set the unit to 390–400°F and plan on about 10–13 minutes for standard fillets. Thicker pieces may need 13–15 minutes. No flip required — less fuss, fewer broken fillets.
Target internal temperature
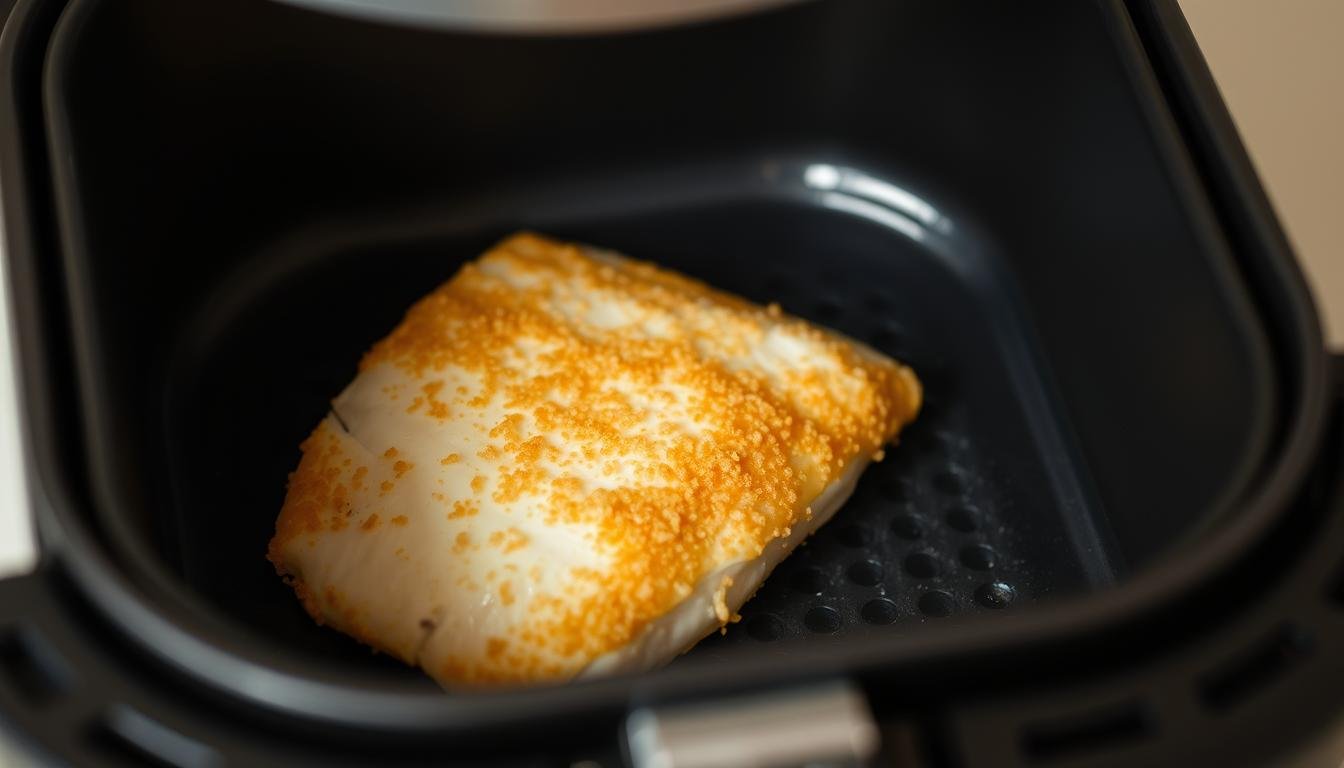
Aim for an internal temperature of 145°F. Check at the thickest spot with an instant-read thermometer. When the flesh is opaque and flakes easily, you’re good to go.
“Use a thermometer near the thickest part — 145°F means safe, flaky fish and happy mouths at the table.”
- Quick snapshot: 390–400°F for 10–13 minutes; 13–15 for larger cuts.
- Prep the basket with a light spray or lemon slices and lay fillets in a single layer.
- Preheat the unit to 400°F for extra browning — just watch your cooking time.
- Brush a touch of olive oil on top so your seasoning blooms while the basket does the work.
| Step | Temp (°F) | Time (minutes) |
|---|---|---|
| Regular fillets | 390–400 | 10–13 |
| Thicker fillets | 390–400 | 13–15 |
| Preheat for browning | 400 | Reduce ~1 minute (monitor) |
Step-by-Step: How to Cook Frozen Tilapia in an Air Fryer
Follow these easy steps and you’ll have flaky, seasoned fillets in under fifteen minutes. We keep things simple so you can get to the good part—eating.

Prep the basket
Give the fryer basket a light spray of olive oil or lay lemon slices in the bottom. This stops sticking and adds a nice bright scent.
Season from frozen
Pat the fillets dry with a paper towel if needed. Brush a little olive oil on top, then sprinkle salt, pepper, and a pinch of garlic powder. If you like, use a teaspoon garlic powder for a gentle boost.
Placement and cooking
Arrange fillets in a single layer with space between pieces. Avoid overlap so hot air can circulate and crisp the edges.
Time and doneness
Cook frozen fillets at 400°F for about 10–13 minutes. Check the thickest spot — the fish should flake easily and reach 145°F.
- Tip: No flipping needed — leave the fillets be so they don’t break.
- Rest a minute, then squeeze lemon and serve while hot.
Preheat Air Fryer or Not? What the Sources Say
Do we preheat for extra crisp or skip that step to save a minute or two? Both work—so we’ll walk you through when each choice helps.
Preheat to 400°F if you want quicker, even browning and crisp edges. A hot basket trims a few minutes and gives steady heat when you open the drawer. This is handy for thicker cuts or a bigger batch.
When skipping preheat works
Set the unit to 390°F and cook small fillets about 12 minutes. You might add a minute or two. Watch the internal temperature and the flesh—opaque and flaky at 145°F is your goal.
“Aim for 145°F inside and flaky, opaque flesh—those are your true north markers.”
- Preheated basket = faster browning and more consistent sear.
- No preheat = simpler step, just monitor doneness and add a minute if needed.
- Always cook in a single layer and avoid flipping—same step for both methods.
| Method | Temp | Typical minutes |
|---|---|---|
| Preheat method | 400°F | 10–13 (quicker browning) |
| No-preheat method | 390°F | ~12–14 (watch doneness) |
| Doneness target | — | 145°F internal, opaque & flaky |
Cooking Time by Fillet Size and Thickness
Know your fillet size and you can clock the cooking time like a pro—no guesswork.

Small fillets usually hit the sweet spot at about 12 minutes at 390°F. That gives tender, flaky fish without drying the edges.
Larger fillets often need 13–15 minutes. Start checking at 13 and add a minute at a time until the thickest part reads 145°F.
“Thickness matters more than weight — a thermometer beats guesswork every time.”
- Keep fillets in a single layer so hot air circulates and cooks evenly.
- If you preheated, peek a minute earlier — heat cuts minutes off total time.
- Season lightly — a teaspoon of seasoning on larger pieces is plenty.
| Fillet size | Temp (°F) | Time minutes |
|---|---|---|
| Small fillets | 390 | ~12 |
| Large fillets | 390–400 | 13–15 (check 145°F) |
| Preheated unit | 400 | Reduce ~1 minute (monitor) |
Seasoning Ideas to Boost Flavor
A quick spice swap turns plain fish into something folks actually talk about at the dinner table. We kept these blends simple so you can mix and go—no fuss, big payoff.
Classic
Salt, pepper, and a sprinkle of garlic powder. Pat the fillets dry, brush with a little olive oil, then season. Finish with a squeeze of lemon juice for a bright lift.
Cajun / Blackened
Rub on a bold Cajun mix before cooking. After the fillets rest, drizzle a touch of melted butter for that rich, restaurant-style shine.
Taco-style
Dust with taco seasoning and cook until flaky. Flake the fish into warm tortillas with slaw and a creamy sauce for easy taco night.
Paprika Herb Mix
- Paprika, onion granules, garlic granules, and chopped parsley.
- Optional lemon pepper for extra zip.
- Brush with olive oil so the spices cling and bloom in the heat.
“Tilapia is mild—seasoning is where the magic happens.”
Single Layer, No Flip: Placement Tips for Best Results
A crowded basket makes limp edges; we clear room so circulation can do its magic and crisp the fish. Give each fillet space and you’ll see better browning and texture every time.

Set fillets in a single layer—no overlap. Hot air needs to swirl all around to crisp those edges like a champ. Avoid stacking or crowding the basket so heat reaches each piece evenly.
Skip the flip. Let the air fryer do the turning with circulating heat. That keeps delicate fillets from breaking apart and keeps presentation pretty.
- A light spray of olive oil helps seasonings cling and gives gentle browning without heavy grease.
- Lay thin lemon slices under the fillets to stop sticking and add a bright aroma while the fish cooks.
- Give the fryer basket a quick check for crowded corners—cook in batches if it’s tight.
- Keep spacing even from the basket sides so heat can move freely and finish the job edge to edge.
| Placement | Why it matters | Quick fix |
|---|---|---|
| Single layer | Even browning and crisp edges | Cook in one row; batch if needed |
| No flip | Less breakage, cleaner presentation | Trust circulation; check doneness at 10–13 min |
| Lemon slices under fish | Prevents sticking; adds aroma | Place 2–3 slices per fillet |
| Light oil spray | Helps spices stick; aids browning | Use a fine mist of olive oil |
“Give each piece room and the basket does the work — crisp edges, tender inside.”
Serving Suggestions: Sides, Sauces, and Finishing Touches
A few easy choices make this recipe feel like a real dinner—no fuss, all comfort. Pile a plate with cozy sides or keep it light and fresh. Either way, the fish stays the star.
For a homey plate, try steamed rice, roasted sweet potato cubes, or green beans. Want lighter? Swap in cauliflower Spanish rice or a crisp salad. All those options add texture and boost the protein on your plate.
Sauces and finishing touches: Lemon wedges and a quick squeeze of lemon juice wake the flavor. Spoon on tartar sauce for tang, or drizzle a warm seafood cream sauce when you want something richer.
- Pile your plate with steamed rice, green beans, or sweet potato cubes for a cozy dinner.
- Keep it light with cauliflower rice or a bright salad—fast and fresh.
- Add a dusting of black pepper just before serving to lift the aromatics.
- Brush a gentle sheen of oil as the fillets rest for a glossy finish and a little extra flavor.
- Garnish with parsley or cilantro for color and a garden-fresh note.
“One quick squeeze of lemon and the whole plate sings.”
Food Safety and Doneness Checks
A tiny thermometer saves big trouble—let’s make sure every fillet is safe and flaky. We want dinner that’s both tasty and safe. A quick read takes seconds and prevents guesswork.
Use an instant-read thermometer and aim for 145°F in the thickest part of the fillet. Slide the probe in near the center and check the internal temperature right before you pull the piece from the basket.
Visual cues matter too. When the fish turns opaque and flakes easily with a gentle fork nudge, you’re good. No tugging—just a soft fork push and the flesh should separate into clean flakes.
- Safety first: Check the thickest spot for 145°F.
- Single layer: Keep fillets spaced so each reaches the right temperature in the same time frame.
- No thermometer? Look for opaque color and easy flaking as your guide.
Let the pieces rest a minute before serving. Juices settle, flakes stay tender, and you avoid drying out delicate fillets by adding extra minutes.
“Simple checks—thermometer, color, and flake—make a safe, juicy meal every time.”
| Check | What to look for | Why it matters |
|---|---|---|
| Instant-read temp | 145°F at thickest point | Ensures safe internal temperature and doneness |
| Visual cue | Opaque flesh, flakes easily | Confirms the fish cooked through without a probe |
| Placement | Single layer in basket | Even cooking so each fillet reaches safe temp |
Leftovers, Reheating, and Freezing
We hate wasted food, and we love shortcuts. Store cooked fillets right and they’ll repay you with quick lunches and fast dinners. Tuck pieces into airtight containers and refrigerate for 3–4 days.
Quick fridge and reheat tips
For the best texture, reheat in the air fryer for about 3–4 minutes. A light brush of olive oil before reheating keeps moisture in and brings back a gentle sheen.
Freezing and reheating from frozen
Freeze cooked fillets up to 4 months; label the date so you don’t guess. Reheat from frozen at 400°F for a few minutes—check the center for warmth and serve hot.
- Tuck leftovers in airtight containers—fridge for 3–4 days.
- Reheat in the air fryer 3–4 minutes for crisp edges without drying.
- Freeze cooked fish up to 4 months; label with date.
- Reheat frozen pieces at 400°F for a few minutes; check temperature.
- Short on time? A quick microwave minute works in a pinch.
“A little oil and a few minutes brings last night’s catch back to life.”
Swaps and Variations: Other White Fish That Work
We love when a single method lets us cook a handful of different white fish with confidence.
Swap in cod, swai, or mahi mahi and you’re set. Match thickness to your tilapia fillets so the cooking time stays close. Thinner pieces will finish quicker; thicker cuts need a couple extra minutes.
Want to cook frozen just the same? Keep a single layer and don’t flip. Watch for opaque flesh and that easy flake at 145°F to know when to pull them.
Season however you like—garlic, a teaspoon of spice, or a pinch of powder blends with herbs or heat. This basic recipe translates cleanly to other mild fish. Let the method guide you and your spice rack do the rest.
“Match thickness, trust doneness cues, and you’ll get flaky, juicy fillets every time.”
| Swap | Match to | Timing note |
|---|---|---|
| Cod | Tilapia fillets | Similar timing if thickness matches; +2 min for thick cuts |
| Swai | Tilapia fillets | Thin swai may finish a minute sooner; watch doneness |
| Mahi mahi | Tilapia fillets | Denser flesh can need extra minutes; check 145°F |
Conclusion
Here’s the short version—fast cook, simple season, and a tasty plate every time.
Cook at 390–400°F for about 10–13 minutes, keep fillets in a single layer, and don’t flip. Aim for 145°F so the fish stays moist and flakes cleanly.
Preheating helps browning but isn’t mandatory—just mind the time and check doneness. Season however you like—lemon-garlic, Cajun, or taco-style—and serve with quick sides.
Make extras, store leftovers for 3–4 days, or freeze up to 4 months. We’re proud of this tilapia recipe—easy, budget-friendly, and perfect for busy weeknights using a tilapia air fryer method.