
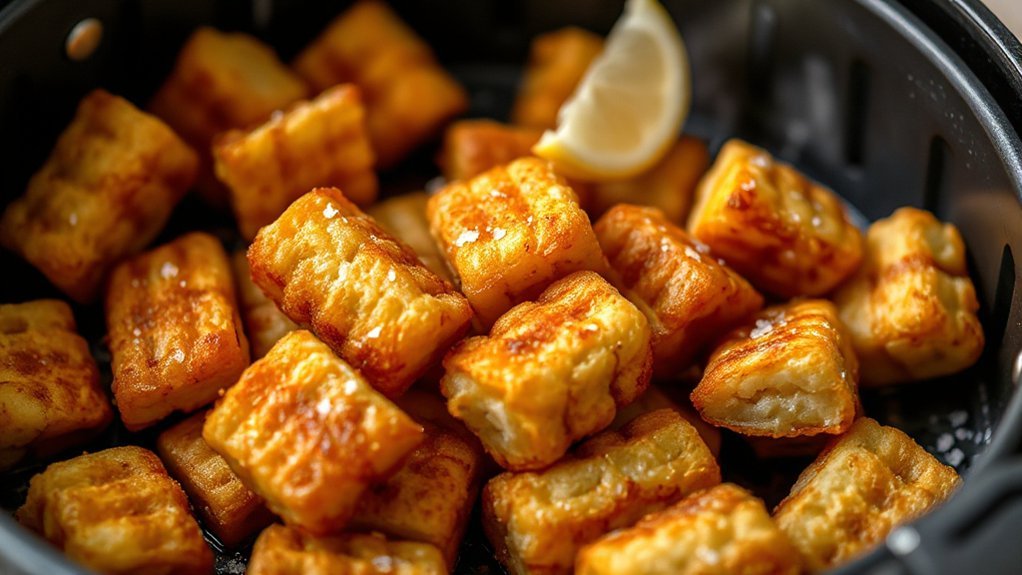
You’ll get extra-crispy, golden tater tots in minutes with your air fryer. Preheat to 400°F for 3–5 minutes, give tots a light mist of high-smoke oil, and arrange them in a layer. Shake or flip halfway through—about 6–7 minutes—and finish at 10–12 minutes for small batches. Don’t overload the basket; hold sprayer sparingly and season immediately after oil. Follow a few tricks and you’ll nail perfect, repeatable crunch every time—keep going for tips and variations
Why Air Fryers Make Tater Tots Better
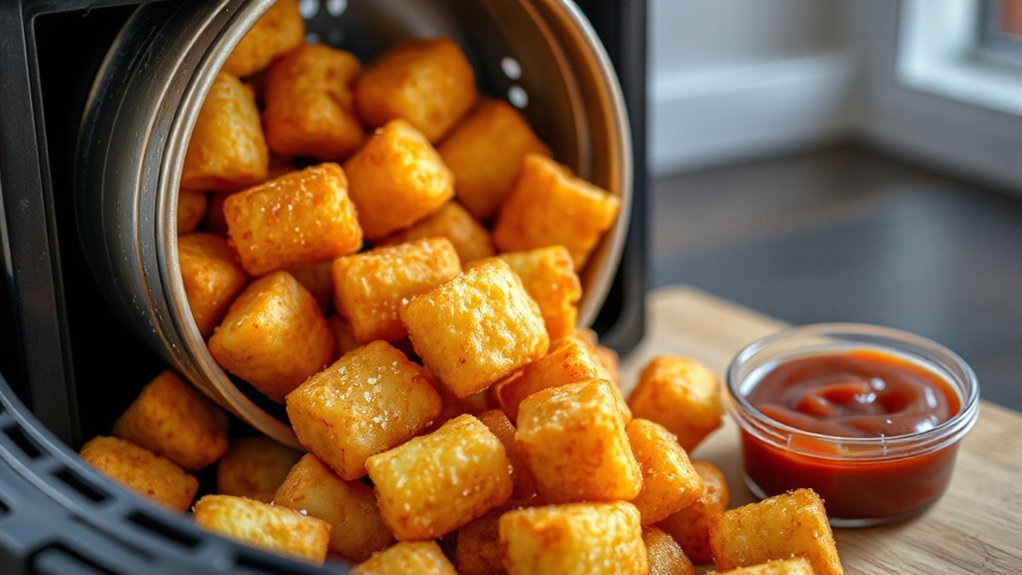
Because an air fryer surrounds tater tots with fast, dry heat, you get a crunchy exterior and fluffy interior without drowning them in oil. You’ll notice right away the texture difference: edges blister and stay crisp while centers stay light. The Health Benefits are real — using less oil trims calories and reduces greasy residue, so you can enjoy tots more often without the same guilt. The Convenience Factor shines too: preheated in minutes, you toss a single layer in, set a short timer, and walk away; cleanup’s minimal. You’ll love how evenly they brown without flipping every minute, and you can batch cook for snack time or a family meal. If you’re aiming for consistent results, an air fryer gives predictable, repeatable crispness that a skillet or oven struggles to match. That means tastier tots more reliably, with less effort and fewer dishes to wash each time.
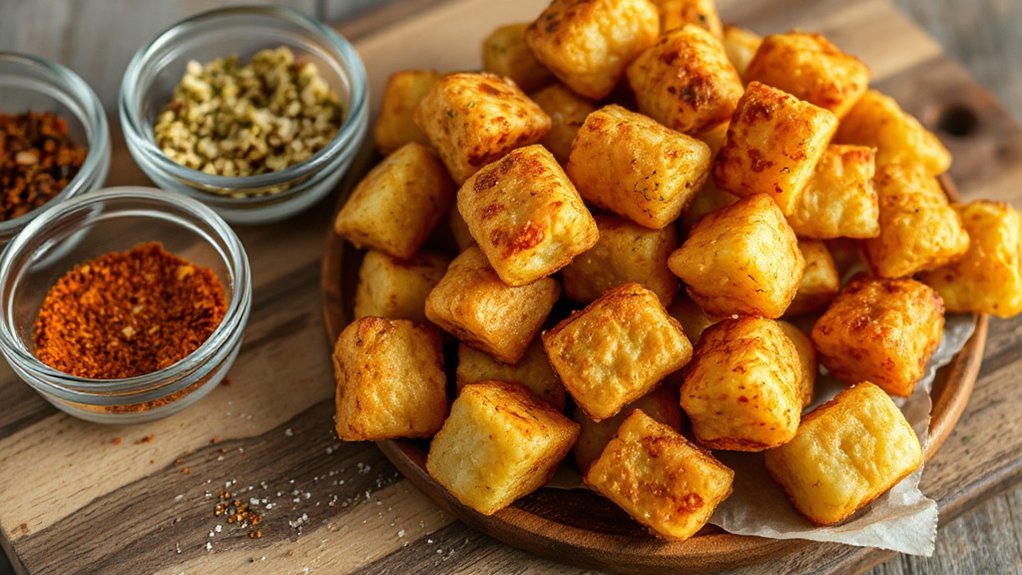
Tools and Ingredients You’ll Need
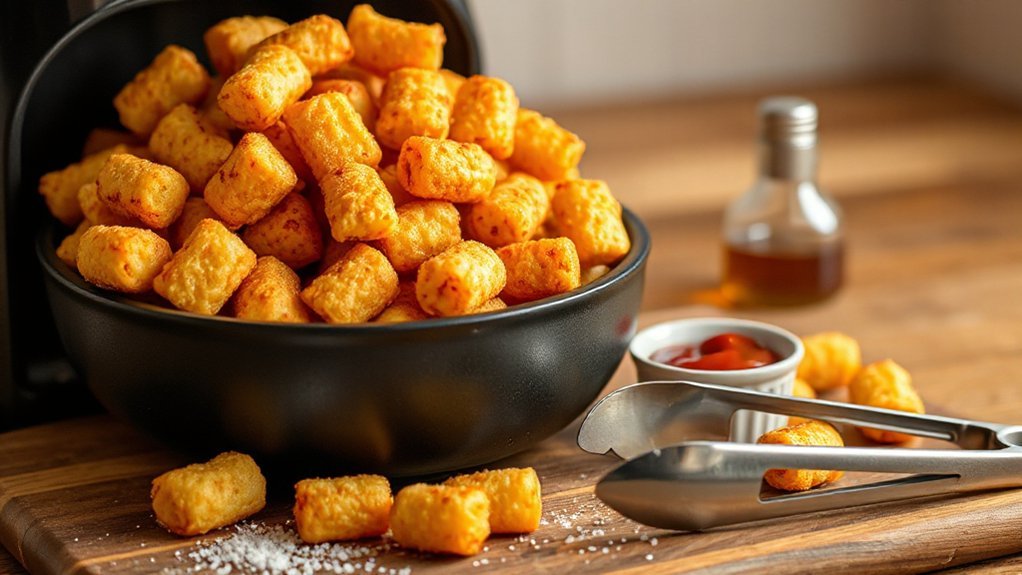
A few basic tools and a handful of simple ingredients are all you need to churn out perfect air-fried tater tots: an air fryer (of course), a pair of tongs or a spatula for tossing, a silicone brush or oil spray, and a small bowl for seasoning. You’ll also want a reliable timer or the fryer’s built-in one, and an oven mitt for safe basket handling. For ingredients, stick to frozen tater tots, a light oil with a high smoke point, kosher salt, and a pinch of your favorite seasoning blend. Keep gadget alternatives in mind — a small wire rack that fits the basket can boost airflow, and a disposable brush works in a pinch. If you’re stocking a pantry, focus on budget staples like oil, salt, and paprika; they do most of the flavor work. These items keep the process fast, repeatable, and foolproof each time.
Preparing Frozen Tots for Maximum Crisp
Start by preheating your air fryer so the tots hit a hot, steady temperature the moment they’re placed inside. Give them a quick mist of light oil—just enough to encourage golden, crunchy edges without sogginess. This simple prep lets you get maximum crisp with minimal fuss and even cooking.
Preheat Air Fryer
Heat your air fryer to 400°F (200°C) for 3–5 minutes so the basket’s hot and the tots hit a crisp surface the moment they go in, which jump-starts browning and keeps them from turning soggy. Don’t buy every Preheat Myths claim that longer equals better; excessive heat can brown outsides before centers thaw. Use Calibration Checks: pop in an oven thermometer to confirm the actual temperature, especially on older units. You’ll save time and avoid uneven batches by waiting the brief preheat window. If your model heats quickly, a two-minute warmup often works — just watch that thermometer. Once you know your fryer’s behavior, you’ll load confidently and get consistent golden, crunchy tots every time. Adjust time slightly for batch size and preferred doneness.
Spray Light Oil
Now that your fryer’s hot, give the tots a light mist of oil so they crisp evenly and brown without drying out. Use a neutral oil spray or brush—just enough to coat surfaces. If you use aerosol sprays, check propellant types; some clog sprayers or leave residues. A pump bottle or refillable mister gives control and reduces packaging waste, plus you’ll avoid weird chemical tastes. Hold the spray 6–8 inches away and rotate the basket as you go so every tot gets a kiss of oil. Don’t drench them; excess oil pools and prevents crisping. Light oiling also helps seasonings stick, so sprinkle salt or spices right after you spray. You’ll get golden, crunchy tots every time. Serve immediately for best texture and flavor.
Temperature and Timing Cheat Sheet
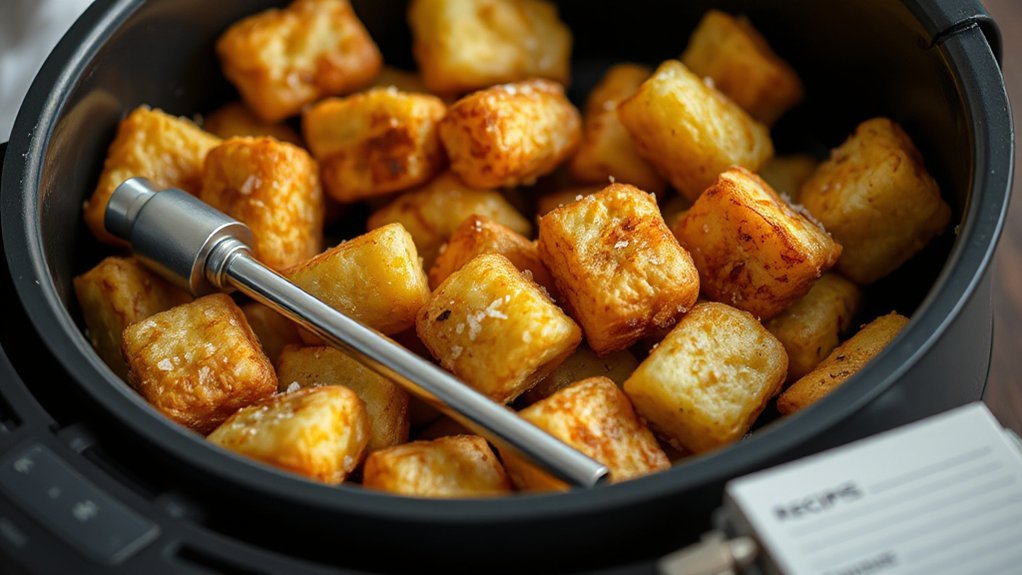
When you want perfectly crispy tater tots every time, this cheat sheet gives the exact air-fryer temperatures and cook times for common sizes and doneness levels so you don’t have to wing it. You’ll follow temps adjusted for small, medium and large batches, and you’ll account for Appliance Calibration so your times match your machine. Expect a bit of Carryover Cooking while tots rest; pull them a minute or two early for peak crunch. Use this simple guide, then tweak by 1–2 minutes if your model runs hot or cold.
Perfectly crispy tater tots every time — simple air-fryer temps, flip tips, and carryover cooking advice.
- Small batch (single layer): 400°F — 10–12 min; flip at 6–7 min.
- Medium batch (half basket): 400°F — 12–15 min; shake every 5 min.
- Large batch (full basket): 400°F — 15–18 min; increase time if crowded.

Follow these, and you’ll nail golden, evenly cooked tots without guessing. Keep notes on timing for future cooks and you’ll save time consistently.
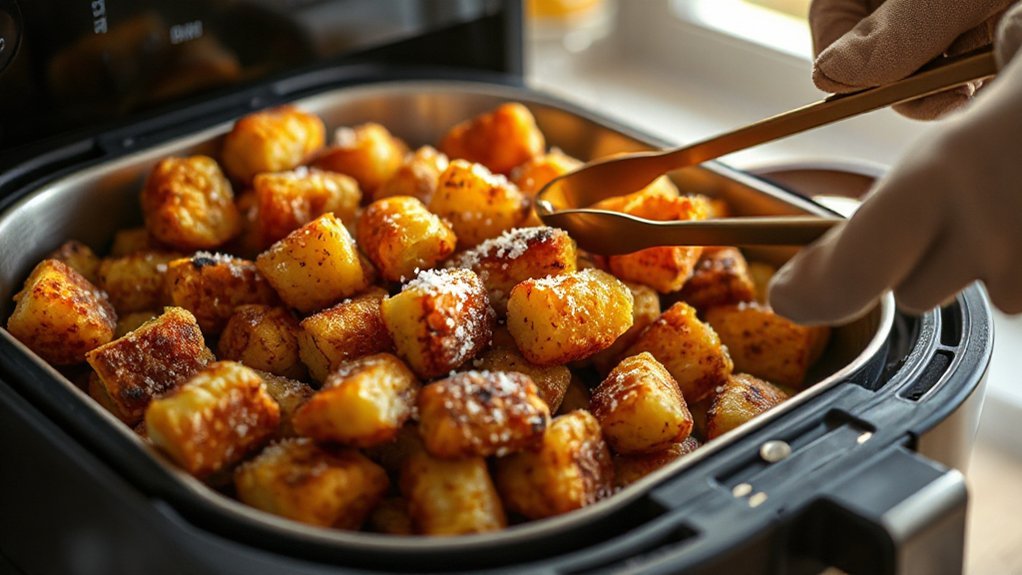
Techniques for Extra Crunchy Results
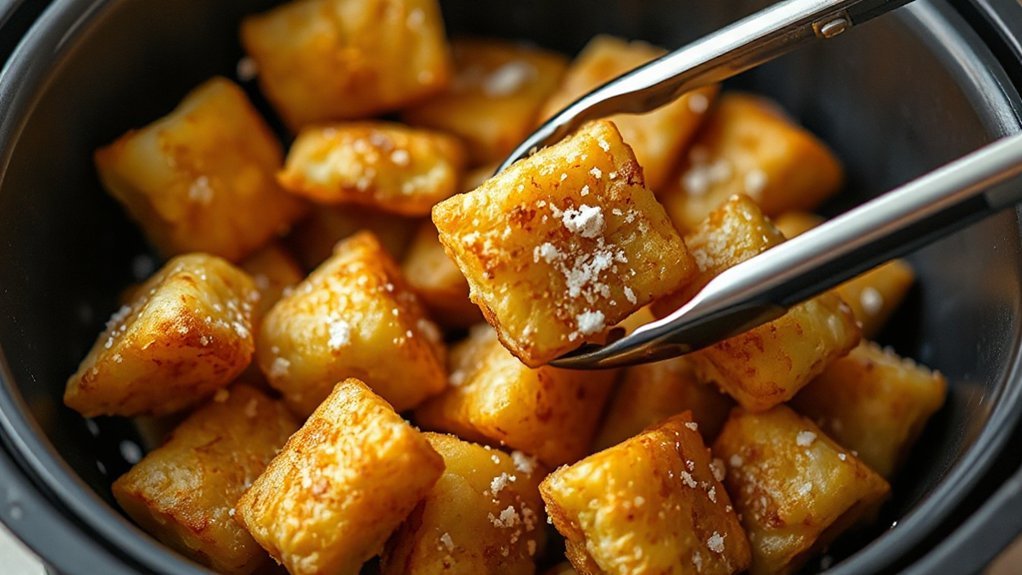
When you preheat your air fryer and give the basket a shake halfway through, you’ll get more even browning. Give the tots a light oil mist—just enough to promote crisping without greasiness. Cook them in a single layer so air can circulate freely and you’ll get maximum crunch.
Preheat and Shake
Preheat your air fryer to 400°F (200°C) so the basket’s hot when the tots go in—this jump-starts browning and locks in a fluffy interior. You’ll build simple preheat rituals: wait 3–5 minutes, don’t overload, and keep shake reminders handy. Start single-layer, set a timer, and plan a mid-cycle shake so hot air reaches every side. Check briefly without long openings; redistribution beats guessing. Stay engaged and you’ll get consistent, extra-crispy tots every batch.
- Space evenly for airflow, better browning
- Shake at 6–8 minutes, then again
- Finish when beautifully golden
Light Oil Mist
After you’ve mastered the timing and shaking, a light oil mist is the simplest trick to crank up crunch: use a fine pump sprayer or refillable mister with a high-smoke-point oil (grapeseed, avocado, or refined olive), hold it about 8–10 inches from the tots, and give a quick even pass before they go in and another after the mid-cycle shake. Spray sparingly so you coat without pooling; one thin pass creates a golden crust as the hot air crisps the starchy surface. Use a refillable mister to control application and reduce aerosol safety concerns and negative environmental impact from disposable cans. If you don’t have a mister, very lightly brush oil on problem spots, and enjoy extra crunch with minimal fuss. Repeat as needed.
Single Layer Cooking
If you want the crispiest tater tots, give each one room to breathe by laying them in a single layer—no crowding, no stacking—so hot air can hug every side and create an even crust. You’ll use Ideal Spacing to force good Airflow Dynamics; that’s the secret to uniform browning and crunch. Don’t overload the basket—cook in batches if needed. Shake or flip halfway for consistent texture.
- Space: leave a finger-width gap so air circulates freely.
- Batch: fewer tots per batch equals faster crisping and less steaming.
- Flip: rotate or shake at mid-cycle to expose all sides.
Follow this and you’ll get golden, extra crispy tots every time. Keep an eye on color; adjust time for your model to avoid burning please.
Seasoning Blends and Flavor Twists
How do you take plain tater tots from filler to the star of the plate? Start by tossing hot tots with a sprinkle of Garlic Parmesan—mix grated Parmesan, garlic powder, cracked pepper, and a little parsley; finish with a squeeze of lemon for brightness. For a bold hit, shake tots in a Smoky BBQ rub: smoked paprika, brown sugar, chili powder, garlic salt, and a touch of cumin. Want cheesy heat? Toss with shredded cheddar and a dash of cayenne, then return to the air fryer for one to two minutes to melt. For herby freshness, toss with olive oil, lemon zest, minced rosemary, and flaky salt right after cooking. Drizzle sauces sparingly—ranch, sriracha mayo, or tangy mustard—so they don’t sog your crunch. Experiment on small batches, note proportions, and adjust salt and acid; you’ll quickly dial in combos that turn tots into craveable appetizers or snackable mains today.
Cooking Larger Batches and Storing Leftovers
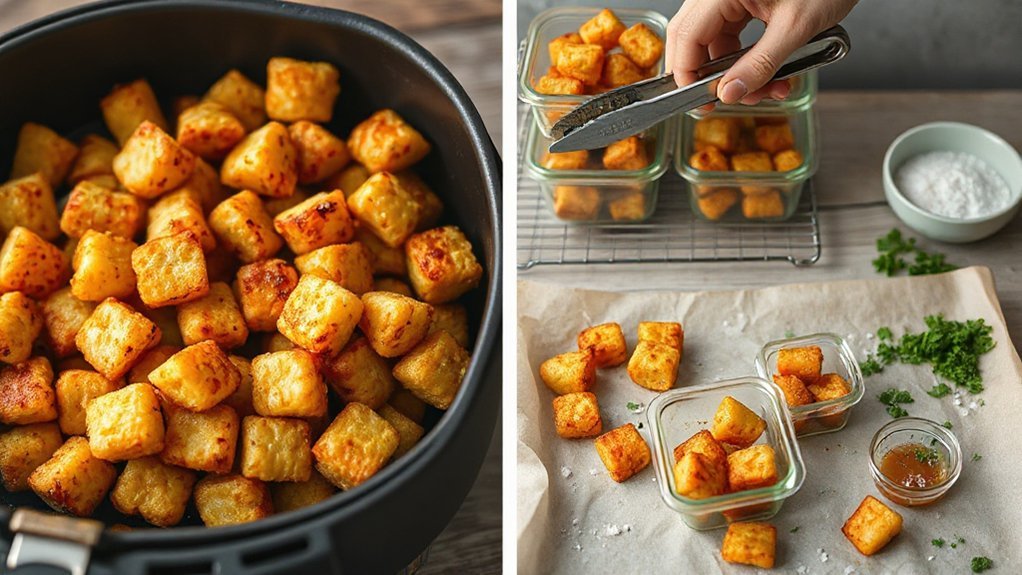
When you’re feeding a crowd or meal-prepping for the week, plan for staggered batches so your tots stay crisp instead of steaming in an overloaded basket. You’ll run smaller loads at the same temp, keeping a hot oven (or low warm setting) ready to hold finished batches briefly. Good Batch Organization prevents cold spots and overcooking — label trays by cook time and rotate air fryer baskets.
Stagger batches and keep the oven warm so tots stay crisp—label trays and rotate baskets.
- Cook in two to three quick rounds to preserve texture.
- Cool on wire racks before storing to avoid sogginess.
- Freeze in single layers for easy portioning and faster Reheating Methods.
Store cooled tots in airtight containers or freezer bags; remove excess air. For next-day eating, re-crisp in the air fryer at a slightly lower temp until heated through. For frozen leftovers, add a few extra minutes. You’ll get consistent golden results with minimal fuss and enjoy every bite.
Serving Ideas and Dip Pairings
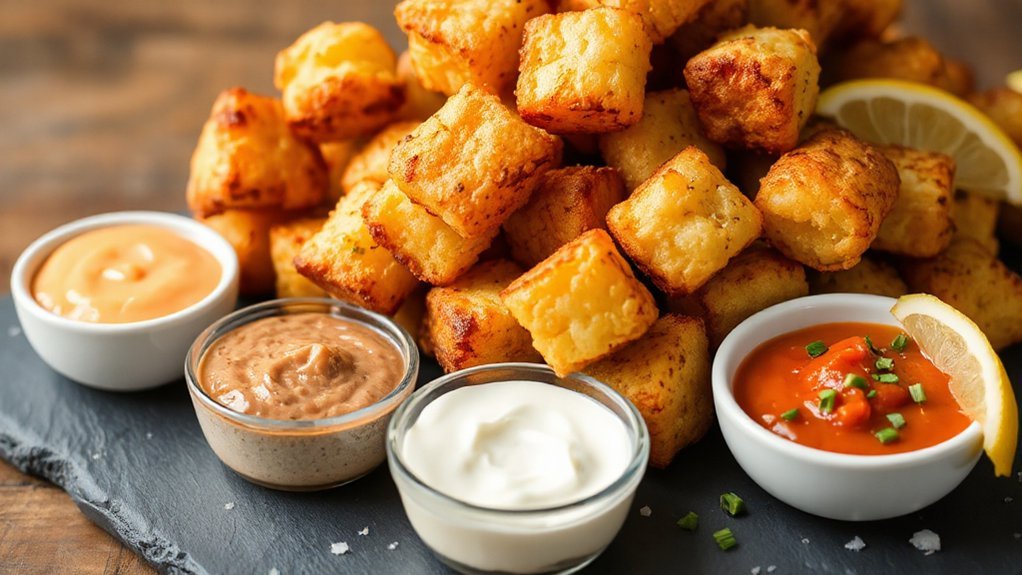
Once your tots are crisp and ready, you’ll want dips and serving setups that match the occasion—think smoky, tangy, creamy, or spicy options that keep every bite exciting. Start with classics: ketchup, garlic aioli, and a mustard-honey mix for family-friendly dipping. For game day, pile tots on a platter with melted cheddar, jalapeños, crumbled bacon, and chives—Gourmet toppings that turn finger food into a party. Offer International sauces like sriracha mayo, chimichurri, or gochujang glaze to add global flair; label them so guests can mix and match. Build a tots bar: bowls for toppings and small ramekins for sauces, plus spoons and toothpicks for easy serving. If you want a lighter route, serve tots over a crisp salad with a lemony vinaigrette and herb yogurt drizzle. Finish with a sweet option—maple butter or chocolate fondue—for unexpected contrast. Keep napkins handy and encourage creative combos. Enjoy every crunchy bite.
Conclusion
You thought frozen tots were a lazy snack? You’d be right—until your air fryer turns them into tiny, golden miracles you didn’t sweat for. You get extra crunch, less oil, and bragging rights without breaking a sweat. So go on: toss, season, and press start. You’ll act like it took skill, while everyone’s impressed by what one humble bag and one little machine just accomplished. Who knew convenience could taste like victory? Seriously, enjoy it.


