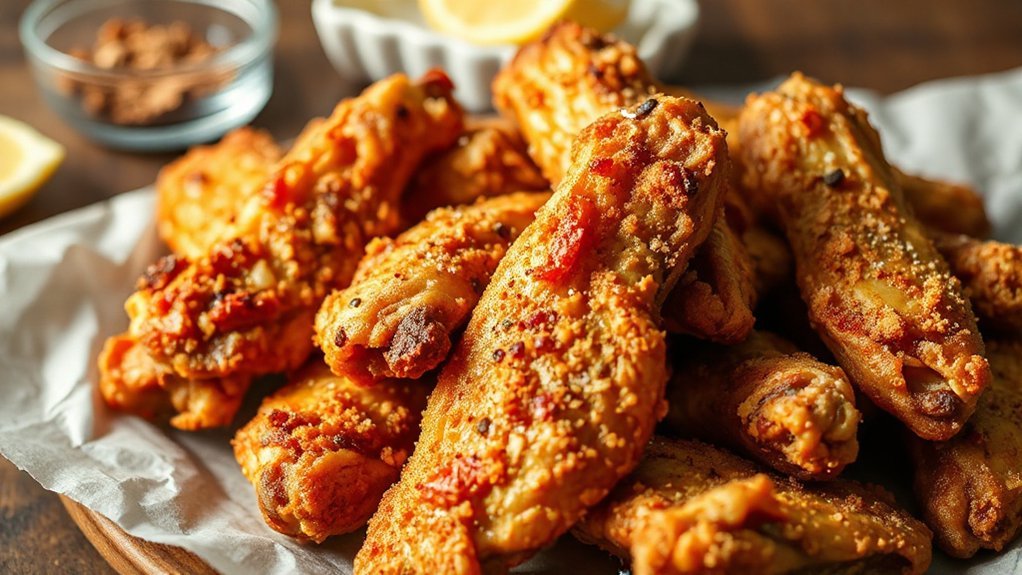
You’ll get extra‑crispy air‑fryer chicken wings for game day in about 25 minutes by drying and dry‑brining the wings, tossing them with a little baking powder and seasonings, and air‑frying at high heat in a single layer, shaking once. Start at 400°F to render fat, finish a few minutes to crisp, then toss in warmed sauce so the skin stays crunchy. Keep going for tips on timing, sauces and make‑ahead tricks and serving ideas today.
Ingredients You’ll Need

You’ll need just a handful of simple ingredients to get these air fryer wings crispy and flavorful: chicken wings (whole or separated), a bit of oil, kosher salt and black pepper, garlic powder and paprika for seasoning, and optional extras like baking powder for extra crisp, hot sauce or BBQ sauce for tossing, and fresh parsley or green onions for garnish. Start with roughly two pounds of wings so everyone gets seconds; coat lightly in oil, season evenly, and don’t overcrowd the basket. If you want to tweak flavors, easy ingredient substitutions include smoked paprika, cayenne, or onion powder. For dietary alternatives, swap oil for avocado oil spray or choose a salt-free seasoning blend; you can use boneless skinless chicken pieces for lower fat, though crisping may differ. Toss wings in sauce after cooking to keep crunch. Finish with a squeeze of lemon and herbs for brightness—simple, crowd-pleasing.
Equipment and Tools
Pick an air fryer that fits your household—most 3–6 quart models handle about 2 pounds of wings comfortably—then gather a few simple tools: tongs for turning, a large bowl for tossing, a meat thermometer to check doneness, and an oil spray (or brush) for an even, light coat. Add a wire rack or perforated liner to boost airflow and crispiness, and check accessory compatibility so you can use racks, skewers, or baking pans safely. Keep a heatproof silicone spatula, a splatter mat for your counter, and oven mitts within reach. Choose dishwasher-safe pieces to simplify cleanup. For safety precautions, always preheat according to your manual, avoid overcrowding, and use the thermometer to confirm 165°F minimum for poultry. Store tools organized so you grab them quickly on game day. With the right gear and simple systems, you’ll be set to crisp wings reliably and safely every time no fuss.
Preparing the Wings
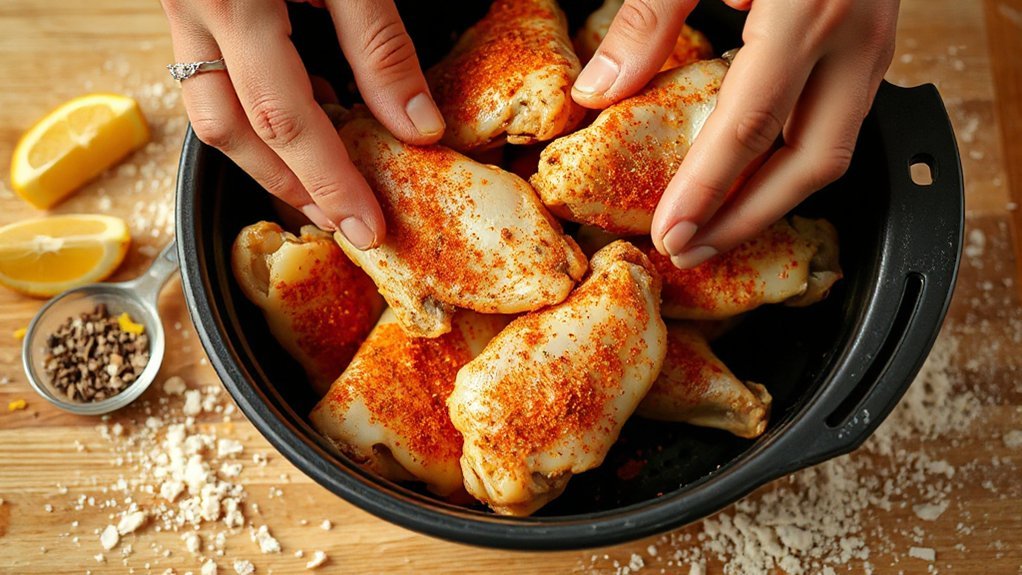
Before you load the basket, take a few minutes to get the wings ready. You’ll want to thaw them completely, then pat each piece dry—moisture is the enemy of crisp. Trim ragged bits and separate drumettes from flats if you prefer uniform pieces; that portion sizing helps guarantee even cook times. If you like extra-crispy skin, use a small knife to do light skin scoring on the thicker areas; don’t cut through to the meat. Remove any excess bloodshot or cartilage pieces, and tuck wing tips if you’re not serving them. Arrange wings on a tray with space between pieces while you work so they dry out a bit before cooking. If you’re prepping for guests, portion and label batches now so you can cook in consistent loads. With these simple steps you’ll set yourself up for fast, even crisping in the air fryer every single time guaranteed.
Seasoning and Coating Tips
To get extra-crispy skin, you’ll dry-brine your wings ahead of time so salt draws out moisture and firms the skin. Then decide between wet coatings like batter or sauces and dry rubs or cornstarch mixes—each gives a different texture and level of stick. Play with spice blends and simple ratios (salt, sugar, heat) so you can consistently hit your favorite flavor balance.
Dry-Brining for Crispiness
When you dry-brine wings, salt pulls moisture out then lets it reabsorb, concentrating flavor and tightening the skin so it crisps up in the air fryer. You’ll sprinkle kosher salt and any dried aromatics, then let the wings rest uncovered on a rack in the fridge for at least an hour or overnight. That salt diffusion seasons through the meat while promoting skin tightening, so heat renders fat faster and yields crunch. Don’t overdo salt—measure and adjust for any brined or pre-seasoned wings. Before cooking, pat the wings dry to remove surface moisture; the drier the skin, the better the crisp. Dry-brining is simple, hands-off, and one of the best tricks to get reliably extra-crispy game-day wings. You’ll love the crunchy results every time.
Wet Vs Dry Coatings
Although dry coatings—salt, spice rubs, or a dusting of cornstarch—deliver immediate crunch and concentrated seasoning, wet coatings like a light batter, buttermilk soak, or sticky glaze help flavors penetrate and hold on through cooking; you’ll choose based on whether you want maximum crisp or saucy cling.
You want bold Texture Contrast? Use dry for crackle, wet for glossy cling. Wet options boost Flavor Transfer into meat; dry focuses on surface crunch. For game day, pick one based on mouthfeel.
| Coating | Best For | Result |
|---|---|---|
| Dry (cornstarch) | Maximum crunch | Crisp shell, focused surface seasoning |
| Light batter | Saucy cling | Crunchy outside, saucy exterior |
| Buttermilk soak | Moist interior | Tender meat, deeper flavor uptake |

Try each method once; you’ll quickly learn which one your crowd prefers and adjust accordingly.
Spice Blends and Ratios
Think of your dry rub like a mini recipe where balance matters—you’ll want salt to anchor, sugar or sweet spices to caramelize, smoky or sweet paprika for color, and garlic/onion powders for savory depth, with a pinch of heat to wake things up. Start with a 3:2:1 ratio — three parts salt, two parts sugar, one part paprika — then tweak: add cumin for earthiness, chili for heat, or lemon zest for brightness. Remember historic origins influence flavor combos, but you should experiment. Let the wings rest so chemical interactions deepen taste and help crust formation. For coatings, dust with cornstarch or baking powder to boost crispness. Taste, adjust, and write your own signature blend; you’ll nail game day every time. Share it with your friends.
Air Fryer Temperature and Timing
How hot should your air fryer be and for how long? You want a balance: high enough to crisp skin, low enough to finish without burning. For most wings, set the fryer to 400°F for a quick blast, then drop to 350°F if needed to finish — that combo helps with texture while respecting carryover cooking so interior stays juicy. Remember Altitude Adjustment: at higher elevations air is drier and cook times shorten, so shave a couple minutes or bump temperature slightly.
Start hot to crisp, then lower to finish — 400°F then 350°F keeps wings juicy.
- Start hot for crispiness, then moderate to finish.
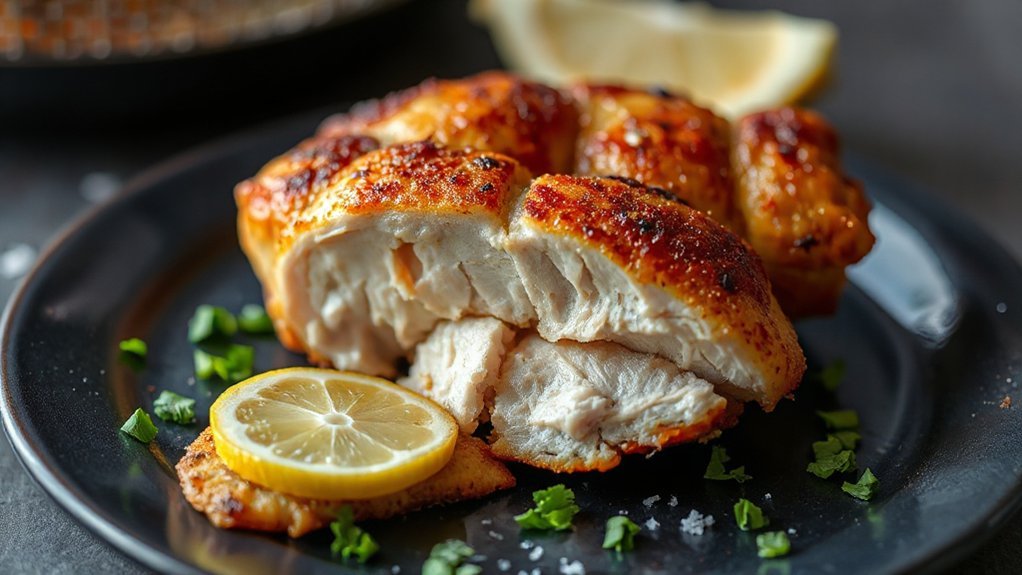
- Use an instant-read thermometer for doneness, aiming for 165–175°F.
- Let wings rest briefly to benefit from Carryover Cooking and redistribute juices.
Trust your thermometer and adjust for altitude. You’ll get extra crispy skins and tender centers. If you prefer darker browning, add one to two minutes but watch closely to prevent flare-ups or drying.
Step-by-Step Cooking Instructions

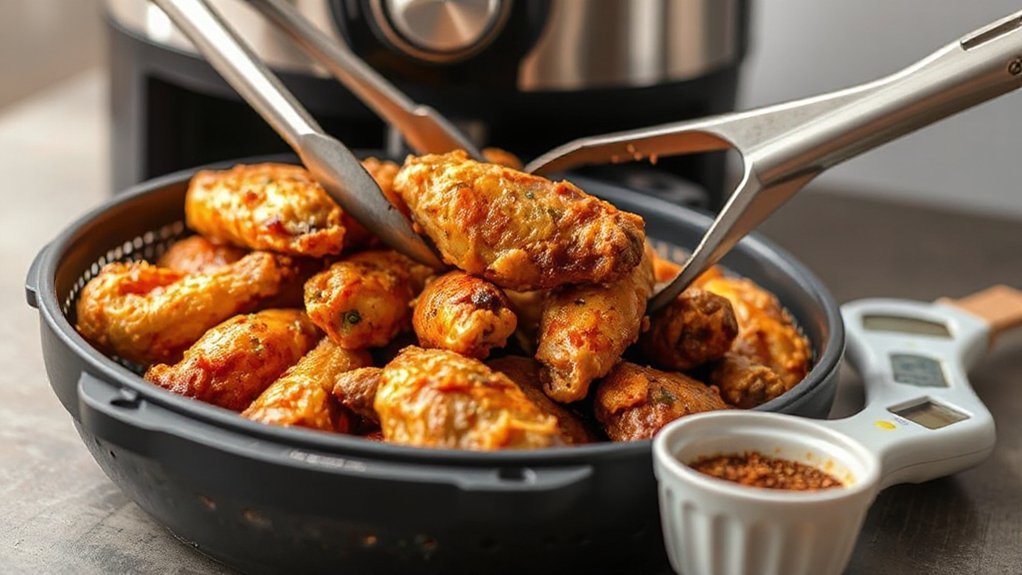
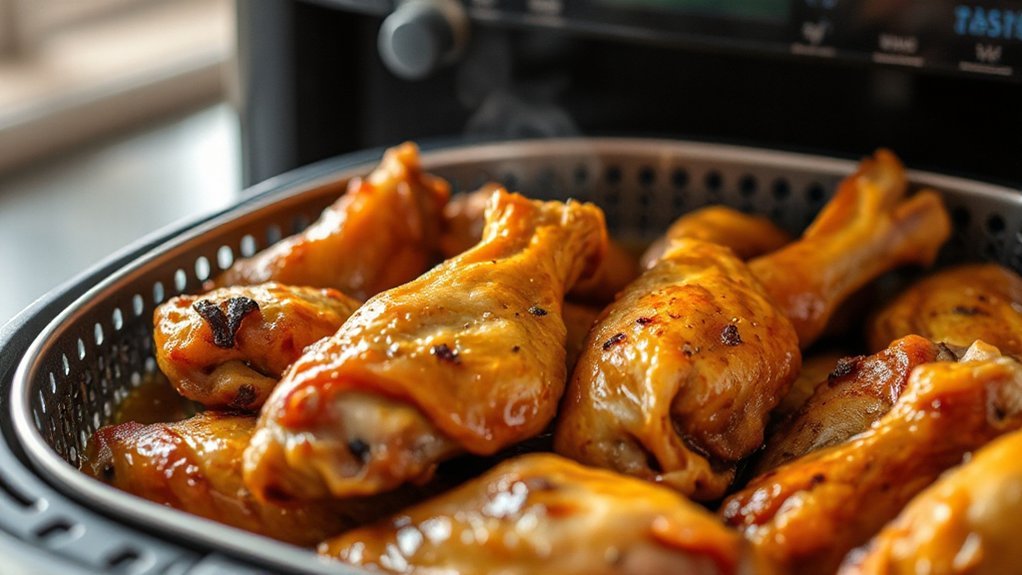
Grab your wings and preheat the air fryer—you’re about to crisp, flip, and finish them in three clear stages: a hot initial blast to render fat and tighten skin, a moderate finish to cook through without burning, and a brief rest so juices redistribute; follow the simple timing, flipping, and thermometer checks in the steps that follow and you’ll get evenly cooked, extra-crispy wings every time. Start by patting wings dry, toss with a light coat of oil and seasoning, then arrange them single-layered in the basket. Stage one: 400°F for 10 minutes, shaking or turning halfway—look for shrinking skin and golden edges as visual checkpoints. Stage two: lower to 375°F for 8–10 minutes, flipping at the midway point and checking doneness with a meat thermometer (165°F). Remove and rest 5 minutes so juices settle. Safety reminders: use tongs, avoid crowding, and let the basket cool before cleaning.
Sauce Options and Tossing Technique

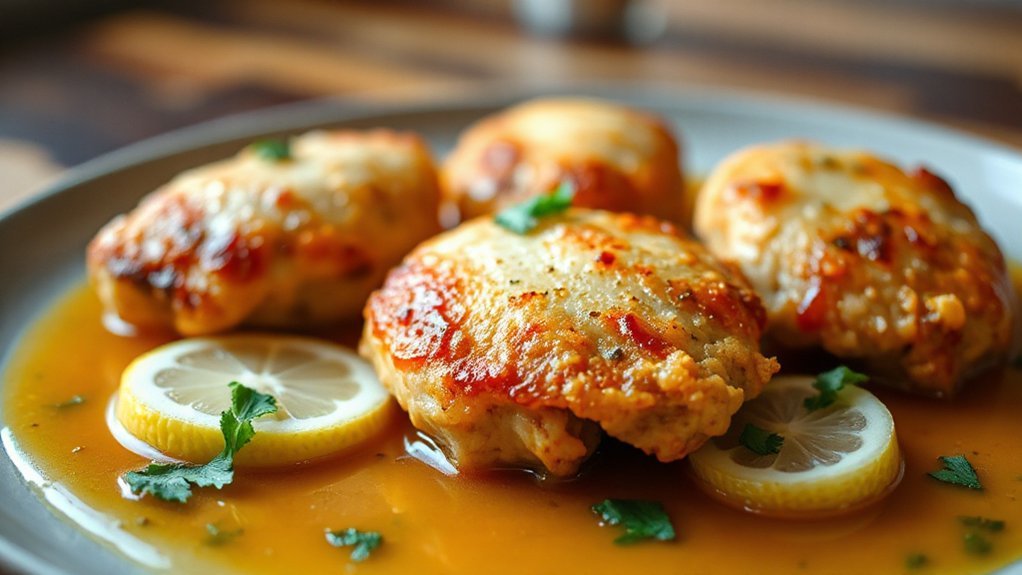
When your wings come out hot and crispy, pick a sauce that matches the mood—classic buffalo, sweet‑heat honey‑sriracha, tangy BBQ, creamy garlic‑parmesan, or just a sprinkle of dry rub all work great. You’ll want to take into account Sauce Textures: thin sauces cling differently than glossy, thick glazes or buttery sauces. Use a shallow bowl or a zip bag so every wing gets even coverage without sogginess. Keep your Tossing Rhythm steady—one or two quick turns is all you need to coat without breaking the crisp.
- Mix: warm the sauce so it’s more fluid for even coverage.
- Toss: add wings in batches and flip briskly to preserve crunch.
- Rest: let sauced wings sit briefly so glazes set.
Trust your hands and timing. With deliberate Tossing Rhythm and attention to Sauce Textures, your wings will stay extra crispy and flavorful every game day. You’ll get rave reviews quickly.
Serving Ideas and Garnishes
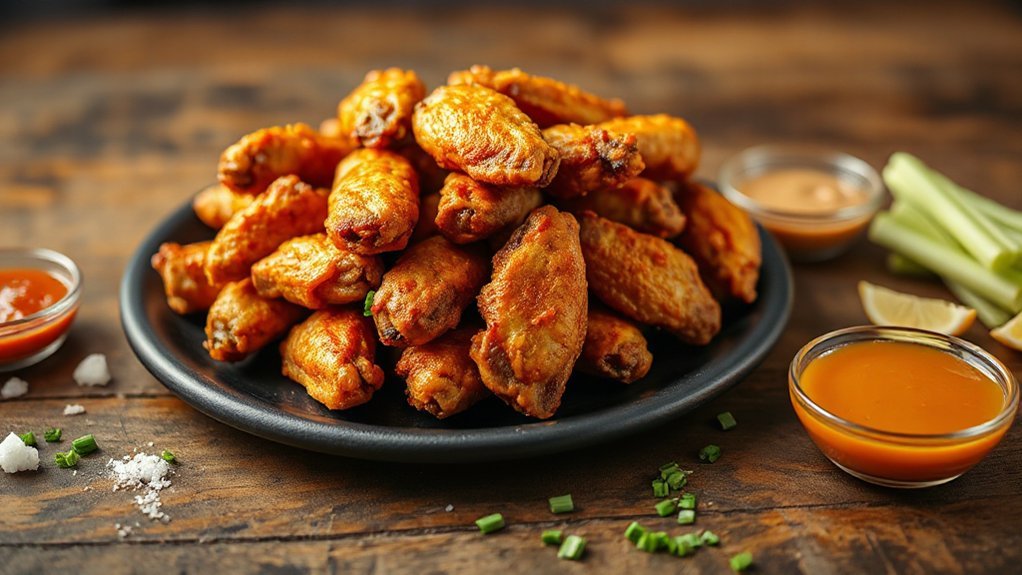
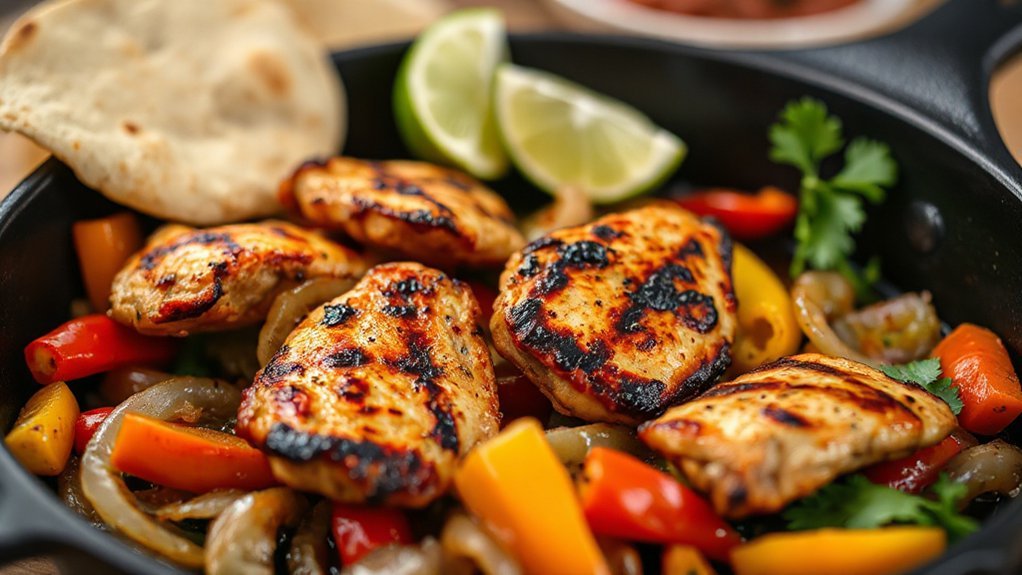
Pairing your wings with the right sides and garnishes elevates the whole spread—serve them with crunchy celery and carrot sticks, creamy blue‑cheese or ranch for dipping, and pickles or quick-pickled red onions to cut the richness. Toss a few lime wedges and chopped cilantro for brightness, sprinkle sesame seeds on Asian-style wings, or shave parmesan over garlic-parm for immediate appeal. For Plating tips, arrange wings in small stacks on warmed platters, leaving dipping bowls accessible and colors contrasting.
Think about Beverage pairings: hoppy IPAs and pilsners cut fat, citrusy seltzers refresh, and bold red wines stand up to smoky or spicy sauces. Provide napkins, small tongs, and toothpicks for easy sharing. Keep the layout casual but intentional so your guests can grab, dip, and cheer without fuss. Add a bowl of spiced nuts or seasoned fries nearby to complement textures and keep people grazing between plays and smiles.
Storage, Reheating, and Make-Ahead Tips
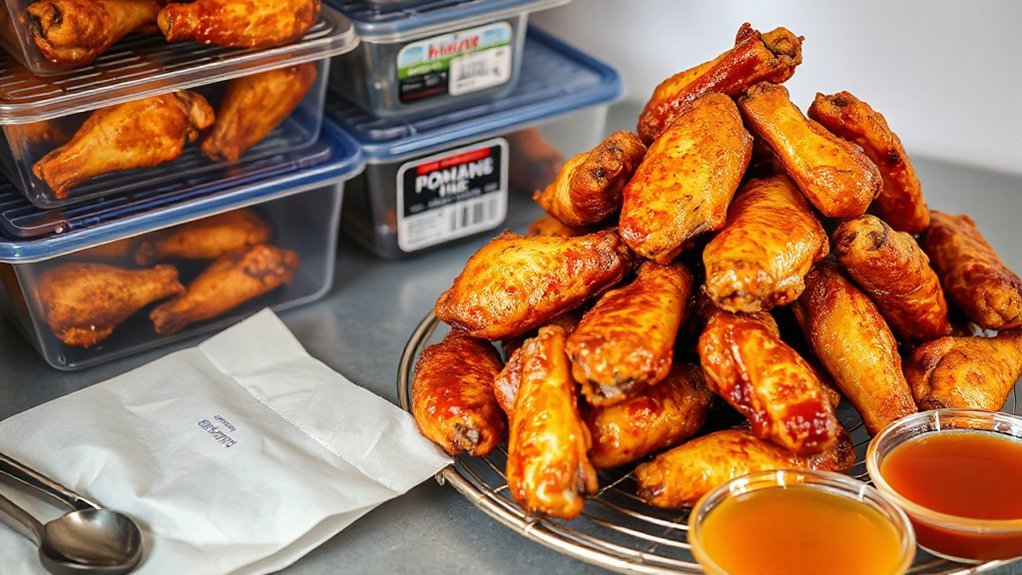
You’ll want a quick plan for what happens after the party winds down: proper storage keeps flavors and texture intact, smart reheating brings wings back to crisp, and a few make-ahead moves save time and stress. Cool wings to room temperature (under two hours), then pack airtight. For short-term refrigerate up to 4 days; follow Freezer guidelines for longer storage—freeze flat, then bag for up to 3 months.
- Cool and pack: airtight containers or wrap.
- Freeze smart: single layer on tray, then bag.
- Reheat to crisp: air fryer, oven, or skillet.
When reheating, pick Reheat methods that restore crunch: air fryer 375°F for 5 to 8 minutes, oven 400°F for 10 to 12 minutes, or skillet over medium with splash of oil. Make-ahead: par-cook and chill, finish hot; sauce last. Keep sauces separate until serving to preserve crispness. These steps keep wings fresh, crispy, and party-ready. Enjoy.
Conclusion
You’ll love how these wings crisp up fast, how the seasoning sticks, how the sauce clings, and how every bite hits the spot. You’ll get game-day crunch without the mess, bold flavor without the fuss, and a crowd-pleasing plate without the stress. You’ll cook, you’ll toss, you’ll serve — and you’ll soak up the cheers. Keep practice simple, keep flavors bold, keep sharing the good times, and keep making memories one wing at a time.