
We set out to make crispy fries without a deep fryer—and y’all, these turn out golden with a tender middle. We’ll walk you through a simple, friendly recipe that swaps starchy taters for a lighter, low carb option. Start by par-cooking the root for 15–25 minutes or nuke it in water for 10 minutes.
Dry each stick well, toss with olive oil and spices—garlic powder, cumin, sea salt, black pepper—and crisp at 400°F for about 10–12 minutes in a single layer. That blast of hot air gives the best crunch.
We’ll also share oven directions, make-ahead tips, and how to reheat so your batch keeps its snap. Stick with us and you’ll feel confident making these for snacks, sides, or a playful take on classic french fries.
Key Takeaways
- Par-cook 15–25 minutes or microwave 10 minutes in water before drying.
- Crisp at 400°F for 10–12 minutes in a single layer for best texture.
- Season simply—olive oil, garlic powder, cumin, salt, and pepper.
- Great low carb alternative that still hits that fry craving.
- Store 3–5 days in the fridge; reheat in the air fryer or 400°F oven.
- Freeze on a tray, then bag; cook from frozen when ready.
Why You’ll Love These Crispy Jicama Fries
These golden, tender sticks give you all the comfort of a classic fry with way fewer carbs and way less mess. We made this recipe to be family-friendly, quick, and forgiving—perfect for busy nights.
Low carb, keto-friendly comfort food: A cup has about 11–16g total carbs and 6–8.5g fiber—roughly 5–7g net per cup. That lands it squarely in keto jicama territory compared to potato fries, which pack about 48g carbs per cup.
Fast prep, big flavor, no deep fry: A short par-cook softens and roughs up the surface so seasoning sticks and the hot circulating air can work its magic. The result? Toasty spices, a hint of natural sweetness, and a satisfying crunch without a vat of oil.
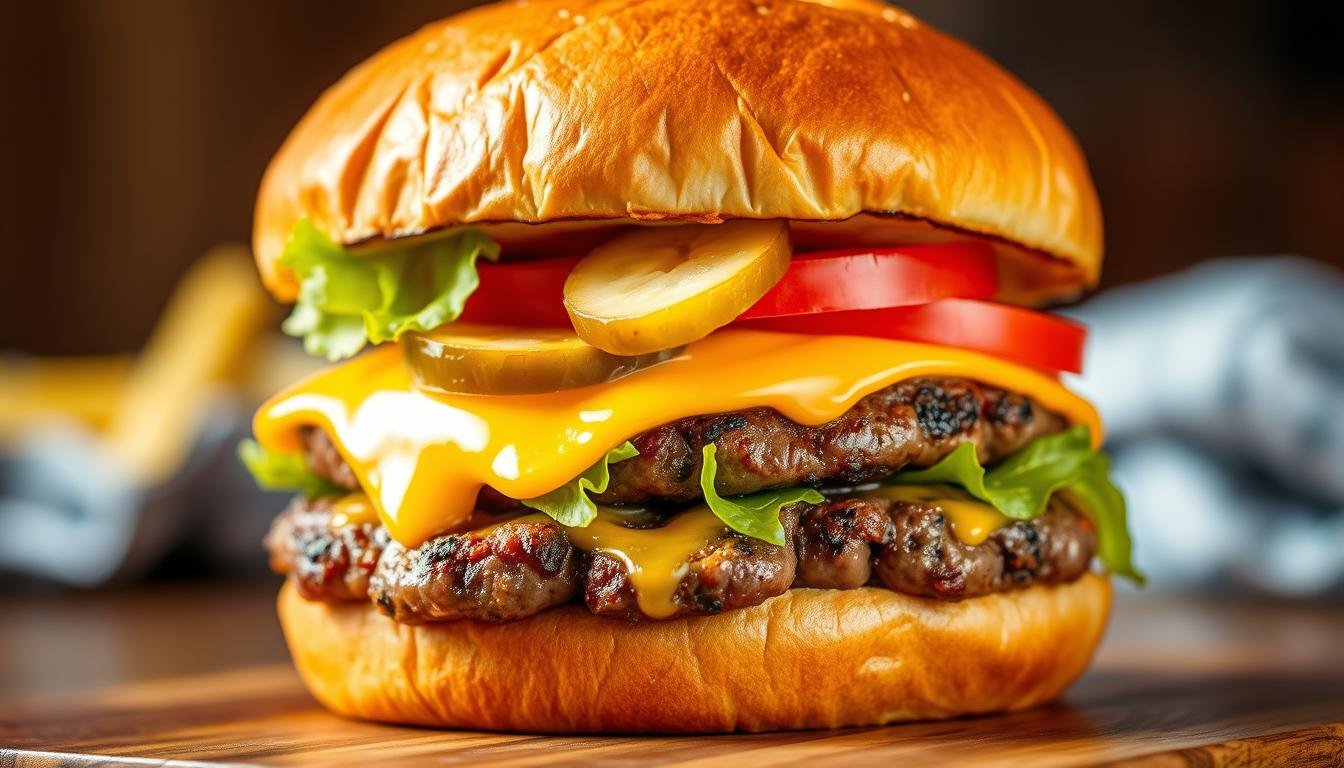
- Great as a quick side dish next to burgers or grilled chicken.
- Customizable seasonings—from mild and savory to bold and smoky.
- Reheats neatly back to crisp, so leftovers stay useful.
Ingredients You’ll Need
A few simple picks set you up for success. Start by choosing firm jicama with only small skin spots—big blemishes mean pass. Peel it, then slice into 1/3–1/2 inch sticks about 3–4 inches long so they cook evenly.

Oils and seasoning basics: Use a drizzle of olive oil or avocado oil to help the spices stick and to promote browning.
- Seasoning mix: garlic powder, onion powder, cumin, smoked paprika, cayenne, black pepper, and sea salt.
- Toss everything in a large bowl so each piece gets coated—don’t skimp on the shake!
- If you prefer milder heat, cut the cayenne. For smoky depth, up the smoked paprika and cumin.
“A light sheen of oil and an even cut are the two things that really make this recipe sing.”
If store-bought pre-cut sticks are handy, trim them to even sizes and treat them the same. Keep a splash more oil nearby—aim for a thin coating, not a soak. Salt sparingly at first if you watch sodium; taste after cooking and add if needed.
How to Make Jicama Fries in the Air Fryer (Step-by-Step)
Start here: even cuts, a brief par-cook, and a hot basket make all the difference. We’ll keep this simple so you can follow along and feel confident.
Prep the sticks
Peel and slice into 1/3–1/2 inch sticks so everything cooks evenly. Even sizes = even browning.
Par-cook for tenderness
Boil the sticks 15–25 minutes until slightly translucent and not crunchy, or microwave them in a bowl of water for about 10 minutes. Drain well.
Dry, season, and crisp
- Dry thoroughly with paper towels—moisture steals crisp.
- In a large bowl, toss with a thin drizzle of oil and your spice mix so every piece shines.
- Preheat the air fryer to 400°F for 2–3 minutes so the fryer basket is hot and ready.
- Arrange in a single layer in the air fryer basket. Don’t crowd—work in batches.
- Air fry 10–12 minutes, checking around minute 9. Look for golden edges and a tender interior.
“Give them space in the basket—touching sticks steam, not crisp.”
Tip: Finish with a pinch of salt right out of the basket. That little pop of seasoning makes this recipe sing.
jicama fries air fryer Time and Temperature Tips
A hot basket and the right clockwork of minutes make all the difference. Preheat to 400°F for 2–3 minutes so the surface hits heat the moment it lands. That jump-start helps brown edges fast and keeps the insides tender.
Quick timing guide
Cook about 10–12 minutes in a single layer in the air fryer basket. Thicker sticks need the higher end of that range; thin ones finish faster.
Midway checks and batches
If browning is uneven, give the fryer basket a gentle shake at the halfway mark. Work in batches—crowding stretches out minutes and makes pieces limp.
- For extra color, add 1–2 minutes and watch closely.
- Smaller machines may finish sooner; larger units sometimes need a touch more time.
- Let cooked pieces rest 1 minute so the crust sets before serving.
| Stick Thickness | Estimated Time (minutes) | Basket Tip |
|---|---|---|
| Thin (1/4″) | 8–10 | Single layer, watch at 8 |
| Medium (1/3–1/2″) | 10–12 | Shake at 6 minutes |
| Thick (3/4″) | 12–14 | Add 1–2 minutes, check tenderness |
“Give them space in the basket—touching pieces steam, not crisp.”
Pro Tips for Extra-Crispy Texture
Tiny changes—timing, spacing, and a dab of oil—turn humble root sticks into snack-time stars. We’re handing you the short list of moves that give the best texture so you get crunchy edges and tender middles every time.
Prep and par-cook
Parboil or microwave first to soften the interior and rough up surfaces so seasoning sticks and edges brown better. It’s the secret that makes all the difference in just a few minutes.
Dry, oil, and space
Pat pieces very dry—moisture kills crunch. Toss with just enough oil to give a light sheen; too much will make them limp.
- Single layer: Arrange in a single layer with room to breathe—touching pieces steam, not crisp.
- Batches: Work in batches and hold cooked pieces on a wire rack so steam escapes and texture stays tight.
- Midway shake: Give the basket a quick shake if your model heats unevenly for even color.
“If you love extra browning, let the last minute ride—but watch closely; edges go fast.”
For a drier surface, let par-cooked sticks air-dry a few minutes before oiling. A light mist from an oil sprayer can help you hit that perfect crisp without overdoing it.
Seasoning Variations You’ll Crave
Give your batch a flavor glow-up with blends that match your mood—spicy, smoky, or tangy. A few small swaps in the spice jar changes everything. We’ll show three crowd-pleasing mixes and quick tips for finishing touches.

Curly-fry inspired
Onion powder, garlic powder, smoked paprika, and a pinch of cayenne mimic that playful, savory curl. Toss the spices with a touch of oil before coating so every stick gets even coverage.
Bold & zesty
Reach for Cajun, lemon pepper, or a ranch blend when you want bright, punchy flavor. Watch the sodium in pre-made mixes—add just a little salt at the end if needed.
Smoky & savory
Cumin paired with smoked paprika and a little garlic brings warm, savory depth. This one pairs great with a creamy dipping sauce—think cool ranch or garlic aioli for contrast.
- Season lightly before cooking, then dust again while hot for max flavor.
- If you like heat, bump the cayenne; for mellow flavor, use sweet paprika.
- Keep a house blend jar so you can shake and go on busy weeknights.
“Add a pinch more salt right after cooking — that little finish makes these taste like classic fries.”

Oven Method: No Air Fryer? No Problem
No fancy gadget? No problem — a hot oven will crisp these up just as well. We like this method when the air fry plans are booked or when we’re feeding a crowd. It’s simple, hands-off, and gives a lovely golden finish.
Quick guide: Heat the oven to 400°F and line a baking sheet with parchment so nothing sticks. Par-cook first, then dry the sticks very well before tossing with a light sheen of oil and spices.
Bake and flip
Spread everything in a single layer so the oven air can do its job. Bake about 15–20 minutes, flip halfway for even color.
- For deeper color, add a few more minutes — some folks roast up to 25–30 minutes.
- If you’re serving a crowd, use two racks and swap sheets midway for even browning.
- For extra crunch, try a preheated sheet or a wire rack set over the pan.
“Finish with a sprinkle of salt right out of the oven — that hot-surface sparkle is everything.”
| Step | Temperature | Time (minutes) |
|---|---|---|
| Preheat and line pan | 400°F | — |
| Par-cook and dry | — | 10 (par-cook guidance) |
| Bake on baking sheet, flip halfway | 400°F | 15–20 |
| Optional extra color | 400°F | 25–30 |
What to Serve with Jicama Fries
We like to pair crisp sticks with bold sauces and simple mains for an easy, crowd-pleasing meal. Set out a few dipping options and let folks mix and match — it’s fun and fuss-free.

Dipping sauces make all the difference: sugar-free ketchup, garlic aioli, spicy mayo, ranch, a mustard-mayo blend, and cool avocado crema are our top picks. Offer a mix so guests can choose a tangy, creamy, or spicy finish.
- Pile the sticks next to turkey burgers or plant-based patties like seitan or black bean for a better-than-drive-thru plate.
- Go steakhouse at home — sirloin or NY strip with a mound of hot sticks is a winner.
- Weeknight gold: pair with air fryer chicken breast or legs for a juicy, quick supper.
- For a playful twist, make keto chili cheese fries: top hot sticks with thick keto chili and shredded cheddar, then melt briefly in the oven or air fryer.
Finish touches: sprinkle chopped green onions or cilantro, add a side salad for contrast, and warm plates so your side dish stays hot. Bring napkins — these are finger foods meant for dunking and grinning.
“A seasoning trio and a dip board turn a simple plate into a party — mix, dip, and pass it around!”
Storage, Reheating, and Freezing
Once you’ve got a batch cooling, smart storage saves the crunch for later. We want you to reach for leftovers that taste like they just came out of the basket—warm, crisp, and bright.
Refrigerate for 3–5 days
Stash cooked sticks in an airtight container and keep moisture out to preserve texture. They’ll stay best for 3–5 days—any longer and quality slides downhill.
Reheat to restore crisp
Skip the microwave—steam makes them soft. Reheat in the air fryer for a few minutes until sizzling, or pop onto a 400°F oven rack to re-crisp for a similar stretch of minutes.
Freeze for make-ahead convenience
Flash-freeze on a tray in a single layer, then bag. Cook straight from frozen in the air fryer or oven—add a couple extra minutes until hot and golden. You can also freeze par-cooked, dried pieces ready to season and finish on demand.
- Label bags with date and seasoning so busy nights are easier.
- Don’t overpack the bag—leave a little airflow to cut frost.
- If things seem dry after reheating, a light mist of oil and a quick sprinkle of salt brings them back to life.
“A light mist of oil and a quick reheat—small moves, big payoff.”
Nutrition Snapshot and Keto Notes
Here’s the quick nutrition lowdown — simple, honest, and useful for meal planning. We’ll keep it short so you can decide what fits your plate.

Carbs and fiber
Per cup: about 11–16g total carbohydrates with 6–8.5g fiber. That drops the net to roughly 5–7g per cup.
Serving size and calories
Typical portions land around 100–160 kcal, depending on oil and how generous you are. One example shows ~109 calories, 15.6g carbs, 8.5g fiber, and about 4.8g fat.
- Low carb advantage: This swap keeps carbs down compared to french fries or a potato side.
- Fiber helps you feel fuller longer — great for meals where you want to cut carbs without skimping.
- If you track macros, weigh or cup your portion for consistency.
- For true keto days, pair with protein and a creamy dip for balance — think grilled chicken or a rich aioli.
- Salt smartly; use herbs, smoked paprika, and cumin for big flavor without extra sodium.
| Nutrient | Per Cup (estimate) | Notes |
|---|---|---|
| Total carbohydrates | 11–16 g | Includes 6–8.5 g fiber |
| Net carb | 5–7 g | Good for low carb meal plans |
| Calories | 100–160 kcal | Varies with oil and portion size |
| Comparison | French fries ≈ 48 g carbs/cup | Big carb savings over potato fries |
“A swap like this lets you enjoy the crunch while keeping carbs in check.”
Conclusion
Let’s wrap this up with the simple steps that make these sticks reliably crispy every time. Par-cook (15–25 minutes boil or 10 minutes in microwave water), dry thoroughly, season, then crisp at 400°F for 10–12 minutes in a single layer. That’s the heart of this recipe.
Prefer the oven? Use a hot oven and a preheated baking sheet, flip halfway, and watch for golden edges. Store cooked pieces 3–5 days, reheat in the air fryer or 400°F oven, or freeze single-layer and cook from frozen.
Keep the oil light, the spice bold, and the batches small. Now grab your tools, do the prep, and go make a crunchy little mountain — we’re cheering you on!


