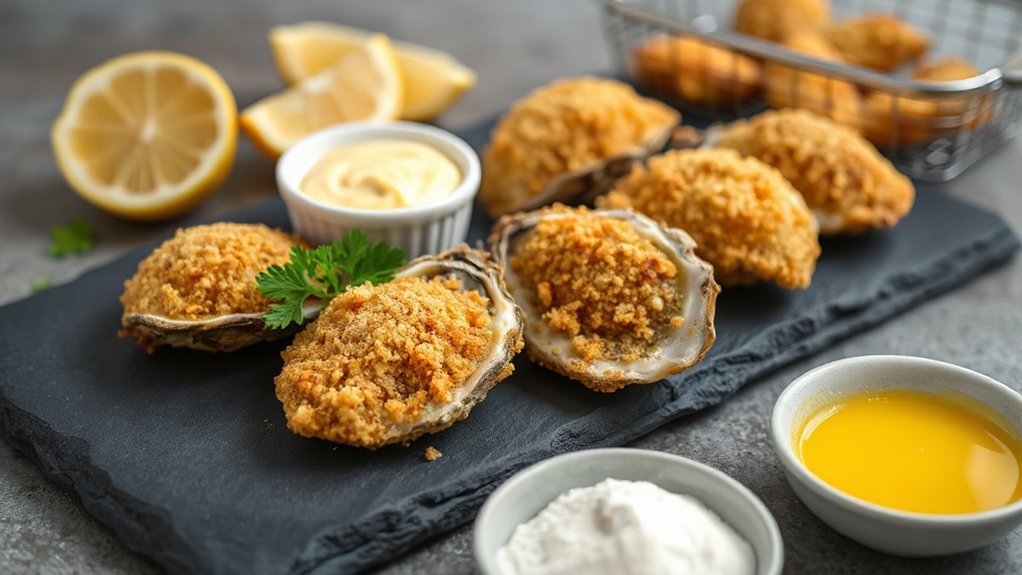
You’ll get golden, crunchy oysters with far less oil and mess by air-frying them at 360°F for about 8–10 minutes, flipping once. Set up a three-part breading station—seasoned flour, egg wash, panko—and press coatings gently; chill oysters, pat dry, and avoid overcrowding for even crisp. Serve with citrus aioli or remoulade, and store leftovers in a single layer in the fridge. Keep going to find shucking, safety, substitutions, and reheating tips, plus pairing ideas today.
Why You’ll Love This Crispy Air Fryer Oyster Recipe
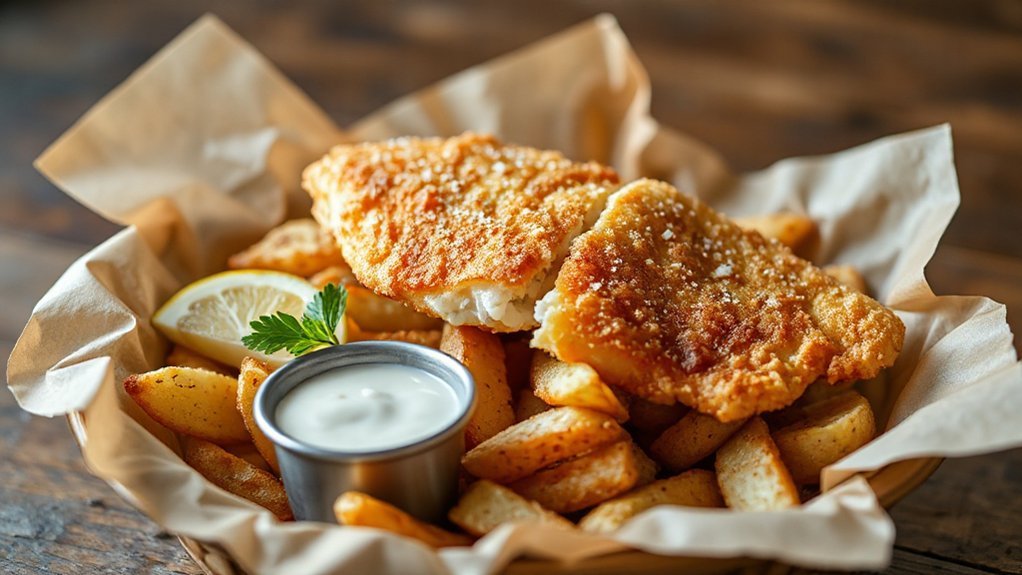
Because you want crunchy, briny oysters without the mess and fuss, this air fryer recipe delivers—fast, tidy, and seriously addictive. You’ll love it because it keeps the oyster’s natural flavor front and center while giving you that deep-fried crunch, minus the heavy oil. It’s a Healthier Alternative that trims fat and splatter but doesn’t skimp on texture or satisfaction. If you’re short on time, the Quick Preparation means you’ll go from shell to plate in minutes, perfect for weeknights or last-minute guests. Cleanup’s simple, so you’ll actually make these more often. You’ll appreciate consistent results from even cooking and a golden crust that stays crisp. Serve them hot, squeeze a lemon, and watch everyone reach for seconds. This method makes fried-oyster cravings totally doable at home, delivering restaurant-style bites with less guilt and less effort. It’s casual, impressive, and addictive—your new go-to for seafood nights any night, really.
Ingredients and Substitutions
You’ll only need a handful of essentials—fresh oysters, breadcrumbs, an egg, and a mix of seasonings—to get that crispy, golden finish. If you don’t have panko, use crushed crackers or cornflakes, and swap regular flour for a gluten-free blend without losing texture. I’ll also suggest dairy-free swaps and alternate flavorings so you can customize these air fryer oysters to your taste.
Essential Ingredients
Fresh oysters are the star, but a few pantry staples turn them into irresistible air-fried bites: melted butter (or olive oil/vegan butter), minced garlic, a squeeze of lemon, and a crunchy coating like panko or seasoned breadcrumbs (swap gluten-free crumbs or cornmeal if you need GF). You’ll want fresh shucked oysters, a beaten egg or milk wash, flaky salt, and pinch of cayenne for heat. Pay attention to ingredient sourcing— buy oysters from reputable markets and check allergen labeling on crumbs and sauces. Keep flavors simple so the oyster shines; the coating should crisp without overpowering. Below are the essentials to prep before you start cooking:
- Fresh shucked oysters
- Melted butter or oil + garlic
- Panko/seasoned crumbs (or GF alternative)
- Egg/milk wash, salt, and cayenne
Substitution Options
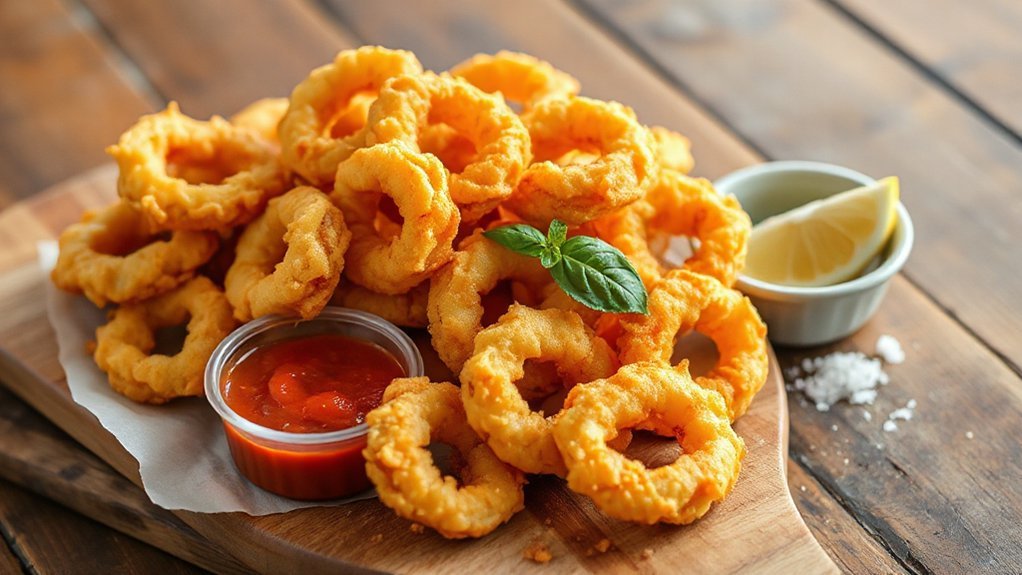
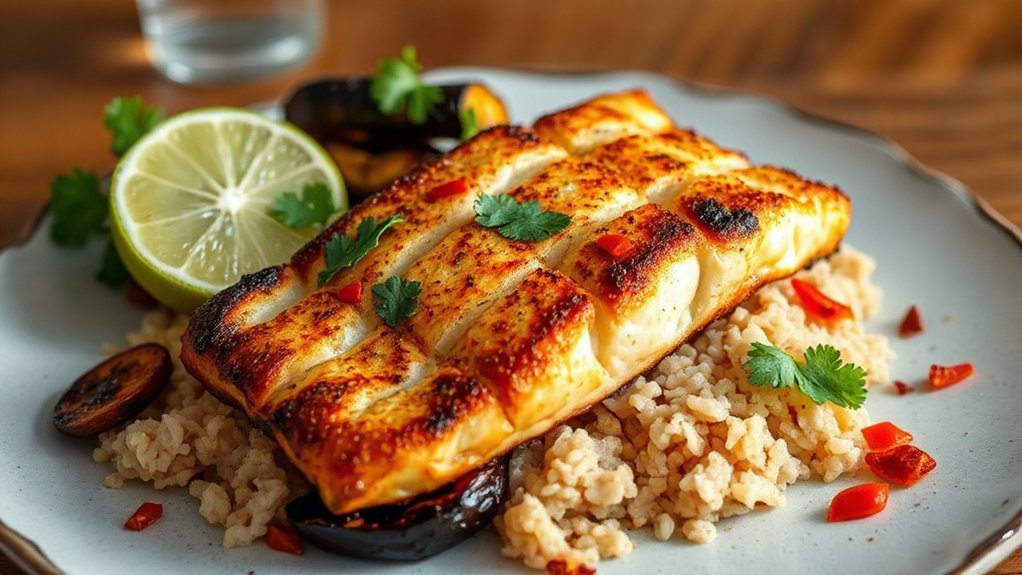
Want to swap ingredients? You can tweak this recipe without losing that crispy, briny bite. If oysters are pricey or out of season, use canned clams or firm white fish for a similar texture—smart budget substitutions that keep flavor and crunch. Prefer gluten-free? Swap panko for crushed cornflakes or rice crackers. For dairy-free, use aquafaba or a thin egg wash alternative. Want local flair? Try regional alternatives like cornmeal dredge in the South, or tempura-style batter for an East Asian twist. Adjust seasoning to match substitutions, and keep an eye on air-fry time—denser coatings may need a minute or two more. These swaps keep the dish accessible and fun wherever you cook. Experiment confidently; small tweaks often make big, delicious differences at home today.
Preparing and Shucking Oysters Safely
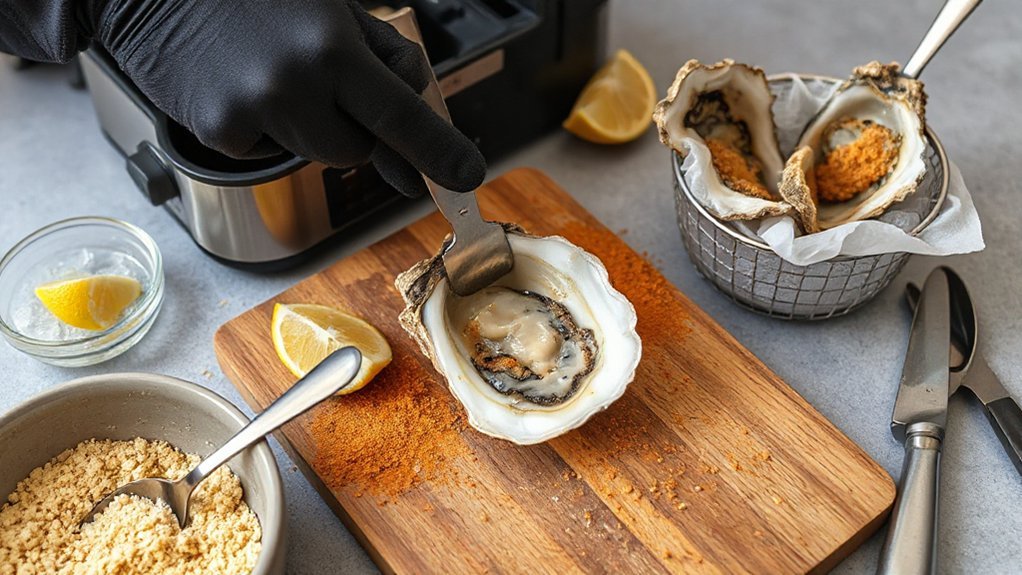
Before you fire up the air fryer, get your oysters cleaned, chilled, and secure—shucking’s easier and safer when the shells are cold and your grip is steady. You’ll want Sanitation Gear—gloves, a clean towel, and a dedicated cutting board—to reduce slips and contamination. Hold each oyster with the hinge toward you, insert a sturdy oyster knife, and twist gently until the shell pops. Work slowly so you don’t spill the liquor; that briny juice keeps flavor and signals freshness. After opening, run the knife along the top shell to free the meat, then loosen it from the bottom.
Chill, secure, and shuck carefully—use gloves, a towel, and a sturdy knife to preserve liquor and safety.
- Wear cut-resistant gloves and use a folded towel for a steady grip.
- Keep a bowl nearby for shells to contain Shell Disposal and avoid mess.
- Rinse oysters briefly in cold water to remove grit, not to soak.
- Sanitize surfaces and tools immediately after shucking to prevent cross-contamination.
Stay safe.
Breading Station: Tips for an Extra-Crispy Coating
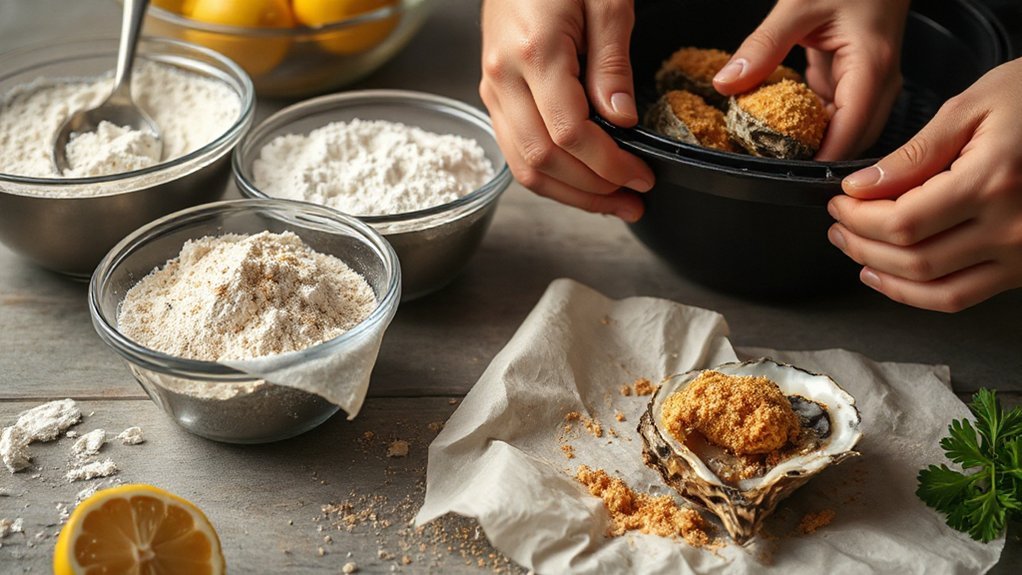
If you want an ultra-crispy crust, set up a simple three-part station—seasoned flour (mix in a little cornstarch), beaten egg (or egg plus a splash of milk), and panko mixed with a bit of cornmeal or crushed crackers—and keep everything cold so the coating clings. Work with a towel-covered tray of shucked oysters, dry them briefly, then dredge: flour, egg, and panko. For even more crunch, try double dredging—dip back into the egg and panko for a thicker shell that holds up to handling.
Use varied breadcrumb textures: fine crumbs for adhesion, larger flakes for crunch, and a touch of crushed crackers for flavor. Press coatings firmly but gently, shake off excess, and rest oysters on a rack for 10 minutes so the layer sets. Keep your station tidy, replace soggy crumbs, and you’ll get a consistent, extra-crispy bite every time. Serve soon to preserve the crunch always.
Air Fryer Temperature, Time, and Technique
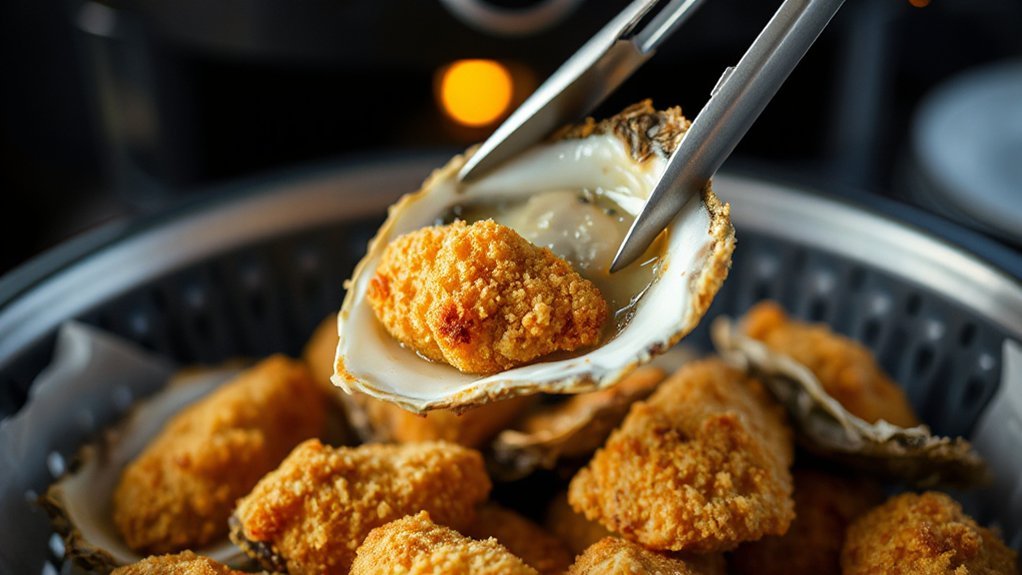
Now that your oysters have a rock-solid crust, the next move is getting heat and timing right so that coating turns golden and the interior stays silky. Preheat the air fryer to 400°F (204°C) to jump-start crisping; you’ll lower to 360°F (182°C) for the remainder so crumbs brown without overcooking. Use a quick flip halfway and check doneness at 8–10 minutes depending on oyster size. Temperature Calibration matters: an oven thermometer or built-in probe helps you trust the display. Airflow Optimization is key: don’t overcrowd the basket and arrange oysters in a single layer for even circulation.
- Preheat 3–5 minutes for stable heat
- Flip at halfway to promote even browning
- Spray light oil mist for uniform color
- Rest 1–2 minutes so juices settle
You’ll get that deep crunch and tender center every time when you control heat, timing, and space. Trust your instincts and adjust for your fryer.
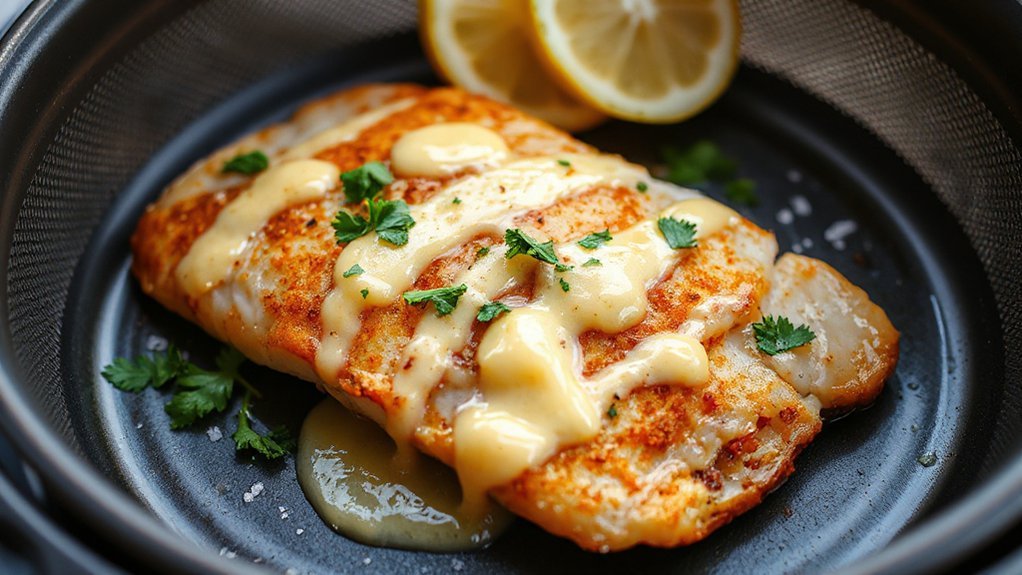
Dipping Sauces and Serving Ideas
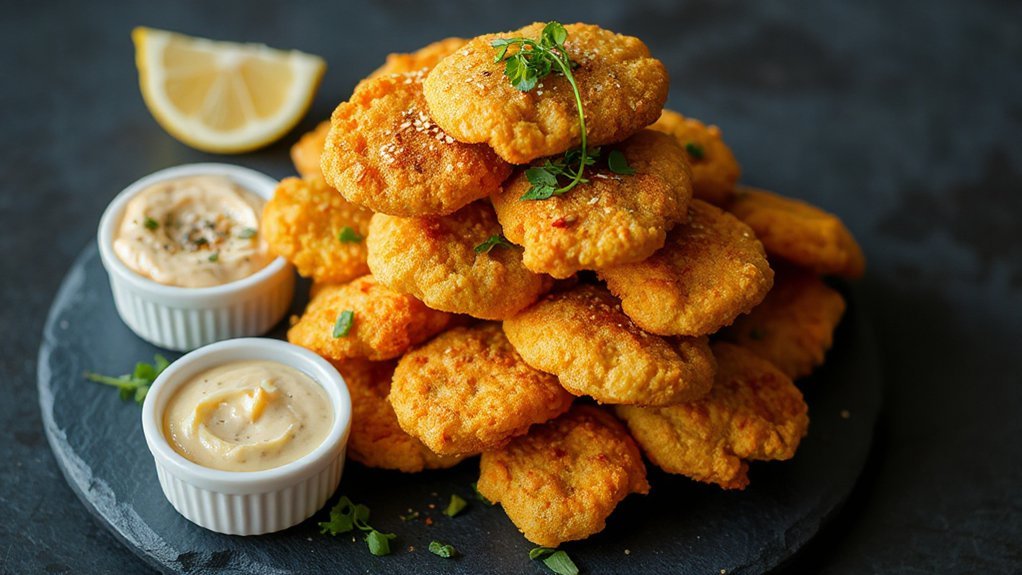
Looking for the perfect partner for your crispy oysters? You’ll love dipping them into bright Citrus Aioli, spicy remoulade, or a tangy cocktail sauce. Serve on a platter with lemon wedges, microgreens, and flaky salt so guests can customize each bite. For a lighter touch, try a cucumber-yogurt dip or a smoky chipotle mayo.
| Sauce | Serving Idea |
|---|---|
| Citrus Aioli | Dollop with lemon zest |
| Spicy Remoulade | Pair with shredded lettuce |
| Classic Cocktail | Add horseradish kick |
| Cucumber Yogurt | Chill for contrast |
| Chipotle Mayo | Garnish with cilantro |
Consider Wine Pairings: a crisp Sauvignon Blanc or a dry Rosé brightens the briny flavors; for richness, a lightly oaked Chardonnay works. Offer small forks and napkins, stack oysters over crushed ice, and encourage people to savor hot, crunchy bites. Try alternating sauces so everyone finds a favorite flavor combination quickly and enjoy.
Make-Ahead, Storage, and Reheating Instructions

Those dipping sauces will keep guests happy, but you’ll want a plan for making the oysters ahead and keeping them crisp. You can bread and air-fry them, then cool on a rack before storing to preserve crunch. For short-term, keep oysters in a single layer in an airtight container in the fridge up to 2 days; for longer storage freeze them flat on a tray then transfer using Vacuum Sealing to prevent freezer burn. Reheat from chilled by returning to the air fryer at 375°F (190°C) for 4–6 minutes, or from frozen for 8–10 minutes, flipping once. Let rest 1–2 minutes.
- Cool completely on a rack so steam doesn’t soften the breading.
- Use Vacuum Sealing for best long-term texture and to block odors.
- Follow Labeling Tips: date, contents, and cooked/frozen status.
- Reheat in a single layer; overcrowding makes them soggy.
Serve immediately after reheating for peak crunch and flavor. Don’t let them sit long. —enjoy!
Troubleshooting Common Oysters-and-Air-Fryer Issues
If your oysters come out soggy, uneven, or overbrowned, don’t worry — you can usually fix it with a few simple tweaks. First, make sure your oysters are dry before breading; pat them with paper towels so the coating sticks and they crisp. Arrange them in a single layer with space between pieces to promote even air flow. If edges darken too fast, lower the temperature by 10–15°F and add a minute or two to the cook time. To avoid shell fragments, inspect and trim any bits before coating. If you get smoke, wipe away excess oil, avoid overcrowding, and check for drips in the drawer—good smoke prevention often means a clean basket and slightly lower oil. Use a thermometer for consistent doneness and flip halfway for balanced browning. With these small adjustments, you’ll get golden, crunchy oysters every time. Keep notes so you refine results each batch.
Conclusion
You’ll laugh at how these crunchy, golden oysters — browned as if sun-kissed by a chef’s ego — prove you don’t need vats of oil to get that perfect crisp. You’ll grab one, steam turning to steamier applause, and wonder why you ever feared the air fryer. Go on: dip, bite, hear the satisfying crack, and relish the tiny, briny surprise that looks fancy but comes together like a cheeky weeknight triumph you’ll repeat it every week.