
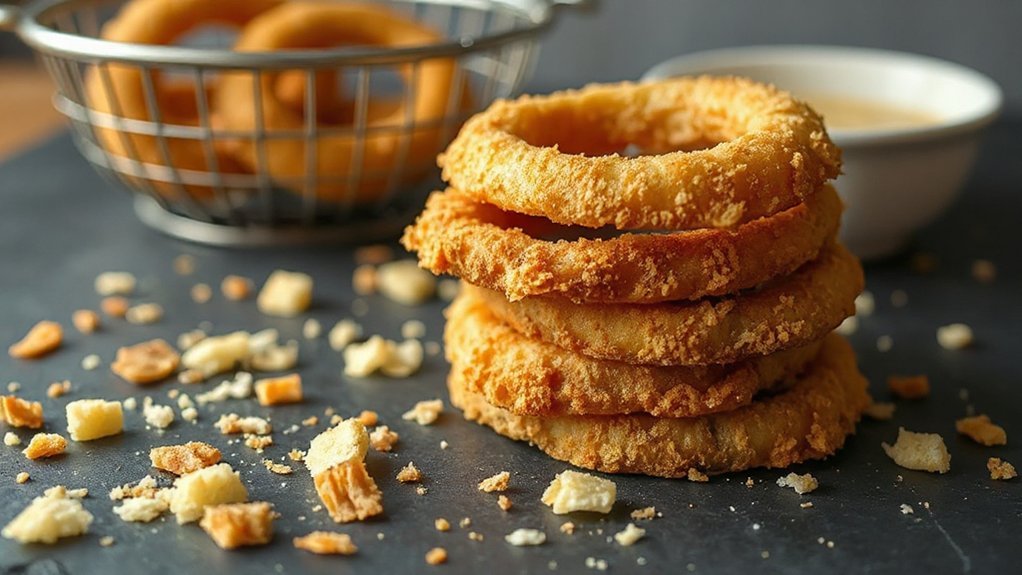
You’ll get golden, ultra‑crispy onion rings with minimal oil by choosing firm sweet or yellow onions, slicing uniform 1/4–1/3″ rings, patting them dry, and priming each ring with a seasoned dry mix (flour, panko, cornmeal, spices) before a cold, bubbly batter and double-dip for adhesion. Spray lightly with high‑smoke‑point oil, air fry at ~375°F in single layers, shake once, and finish on a rack. Keep going and you’ll quickly pick up timing, tweaks and fixes.
Choosing the Right Onions
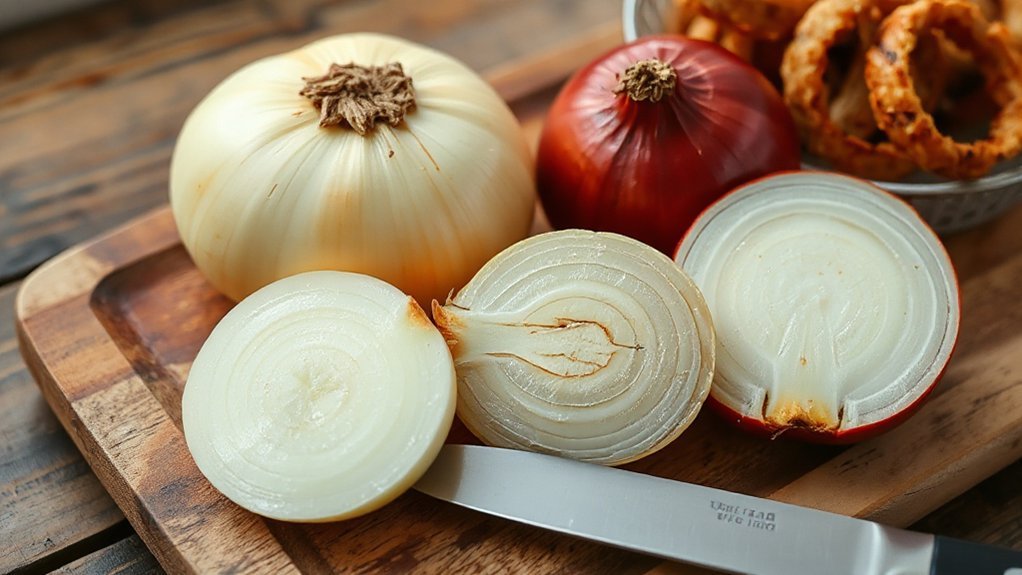
When you’re making air fryer onion rings, pick onions that give you a sweet, meaty bite and hold their shape—think large sweet or yellow onions. You’ll want bulbs that resist crushing and have tight skins; freshness means crisper rings and cleaner flavor. Consider how flavor intensity varies: sweet onions yield milder, caramel-like notes, while yellow ones deliver balanced sharpness that browns nicely. If you like a bit more zing, red onions add punch and pop; they also bring vivid color and slightly firmer texture. Experiment with blends—mixing two varieties lets you control sweetness versus bite without extra oil. Pay attention to seasonality and local produce; peak onions have better texture and stronger, more predictable flavor. Finally, choose onions with uniform size so heat cooks evenly, and avoid ones with soft spots or sprouting tops. With the right selection, your air fryer rings start out with the best base.
Prepping and Slicing for Even Rings
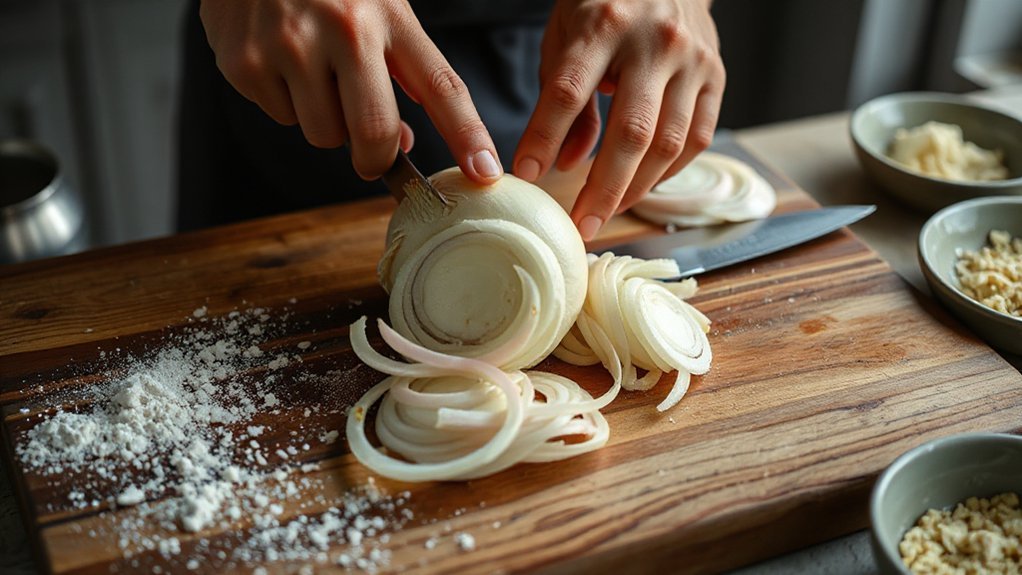
When you’re prepping onion rings, pick a sweet, large onion so you get big, flavorful rings. Use a sharp knife or mandoline to make uniform slices—about 1/3 to 1/2 inch—so they’ll cook evenly. Toss the slices in cold water for 10 minutes to help the layers loosen, then gently separate the rings before breading.
Choose the Right Onion
How do you pick an onion that’ll give you big, even rings? You want large, firm bulbs with tight skins and no soft spots — they dehydrate into sad, floppy rings. Yellow onions are your go-to for balanced sweetness and strong flavor; sweet varieties like Vidalia or Walla Walla, from regional varieties, give milder flavor intensity if you want gentle bite. White onions are sharper and crisp, while red add color and a peppery note. Smell it: a sharp nose means higher sulfur and punchier taste. Choose onions that feel heavy for their size; that means juicier layers that hold up in the batter. Store them in a cool, dry spot until you’re ready to slice and fry. You’ll thank yourself at crunch time.
Uniform Slice Thickness
Slicing your onions into even-thickness rings guarantees every piece cooks the same, so you don’t end up with some floppy middles and some burnt edges. Use a sharp knife or mandoline set to about 1/4 inch (6 mm) and stick to tight slice tolerances across the whole onion. Work steadily: trim ends, halve the onion if needed, then slice with confident, even strokes. Keep a guide—cut one ring, match the next slices to it. That small discipline pays off in batch consistency; every tray finishes at the same time, so you avoid juggling stages. If you’re prepping multiple onions, check thickness periodically and adjust the blade. Consistent slices mean predictable crunch and a cleaner cooking rhythm. Your results will look professional and taste amazing.
Soak to Separate Rings
Now that you’ve got even-thickness rings, give them a quick soak to coax the layers apart and make handling a breeze. Drop the slices into an ice bath for five minutes to firm them and reduce onion bite; the cold stiffens the layers so you can separate rings cleanly. For extra lift and crunch, try a short carbonated soak—club soda or beer separates layers and adds tiny bubbles that help batter cling. Use tongs, nudging rings apart gently; don’t mash. Drain thoroughly on a towel so batter isn’t diluted. If any stubborn doubles remain, slide a paring knife between layers. This simple step saves time when breading and yields crisp, airy rings in your air fryer every time. You’ll notice crisp, light results always.
The Ultimate Dry Coating Blend
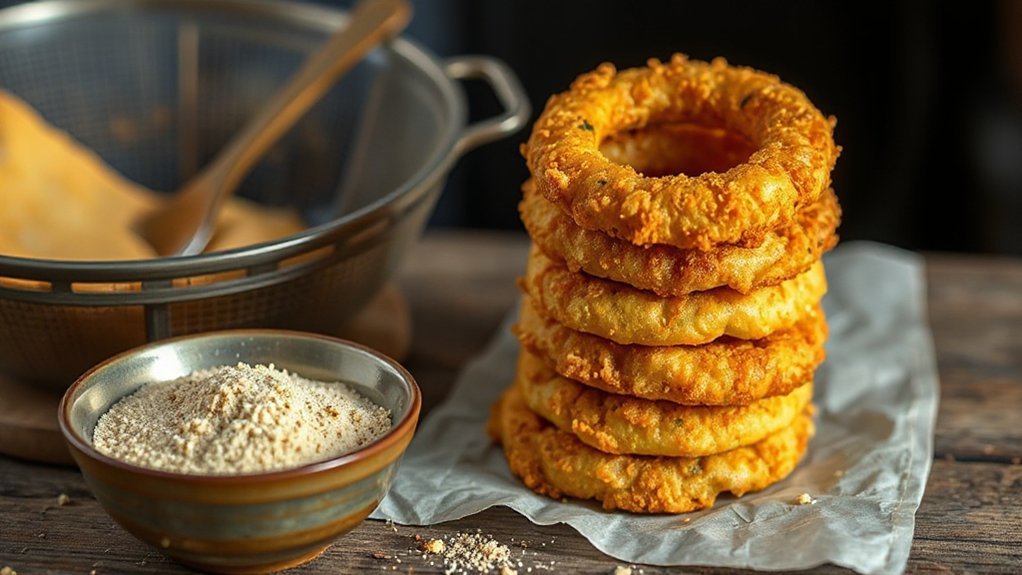
Although you could skip it, a thoughtful dry blend makes your onion rings crisp, flavorful, and reliably non-soggy. You’ll coat rings in a mix that balances spice ratios with crunchy texture enhancers — think fine panko, cornmeal, a pinch of baking powder for lift. Salt, smoked paprika, garlic powder, and a little cayenne give punch without overpowering the onion. Keep measurements simple: equal parts flour and panko, half part cornmeal, season to taste.
| Base | Seasoning | Crunch |
|---|---|---|
| All-purpose flour | Smoked paprika | Panko |
| Cornmeal | Garlic powder | Cornflakes |
When you’re ready, dry the rings well, toss in this blend, then shake off excess before dipping (or using your batter later). This dry mix primes surface adhesion, boosts crunch, and helps you hit consistent results every batch — no soggy disappointments. Swap herbs seasonally to keep things exciting and fresh always.
Foolproof Batter for Maximum Crunch
Whisking together a simple batter is the quickest way to get onion rings that stay crisp and light — you’ll want a base of all-purpose flour with a splash of corn starch for extra crunch, an egg for adhesion, and either cold sparkling water or beer to keep things airy. Keep batter slightly thin so it clings without weighing rings down. Watch hydration ratios: roughly 1 cup flour to 3/4 cup liquid, adjusted for onion moisture. Add a pinch of baking powder and a touch of baking soda to hit leavening balance—light lift without blowouts. Chill batter 10 minutes to tighten gluten and trap bubbles. Dip rings twice: batter, shake off excess, then batter again for an even coat.
Whisk a thin, chilled batter with flour, cornstarch, egg and cold sparkling water for crisp, airy onion rings.
- Use cold liquid for maximum snap.
- Don’t overmix; lumps are fine.
- Adjust salt and spices to taste.
- Work in small batches for even coating.
- Pat rings dry before battering.

Enjoy.
Breadcrumbs and Panko: Tips and Alternatives
Because panko’s airy flakes give you extra crunch while finer breadcrumbs cling more uniformly, you’ll want to pick and prep your coating to match your onion’s moisture and how sturdy you want the crust. Use panko for big, light shards that crisp fast; toss crushed cornflakes or toasted breadcrumbs in to vary texture. If you need gluten free substitutes, try crushed rice cereal, ground almonds, gluten-free panko—press them gently so they adhere. For seasoning, mix grated parmesan, smoked paprika, and garlic powder into the crumbs, or create herb infused crumbs by pulsing fresh parsley, thyme, and lemon zest with breadcrumbs for bright flavor. Test a single ring to check adhesion; damp batter holds chunks better than dry dredge alone. For even cooking, keep coatings consistent thickness and shake off excess. Store leftovers dry in an airtight container; they’re perfect for topping salads or re-crisping in the air fryer.
Oil Sprays and Air Fryer Prep
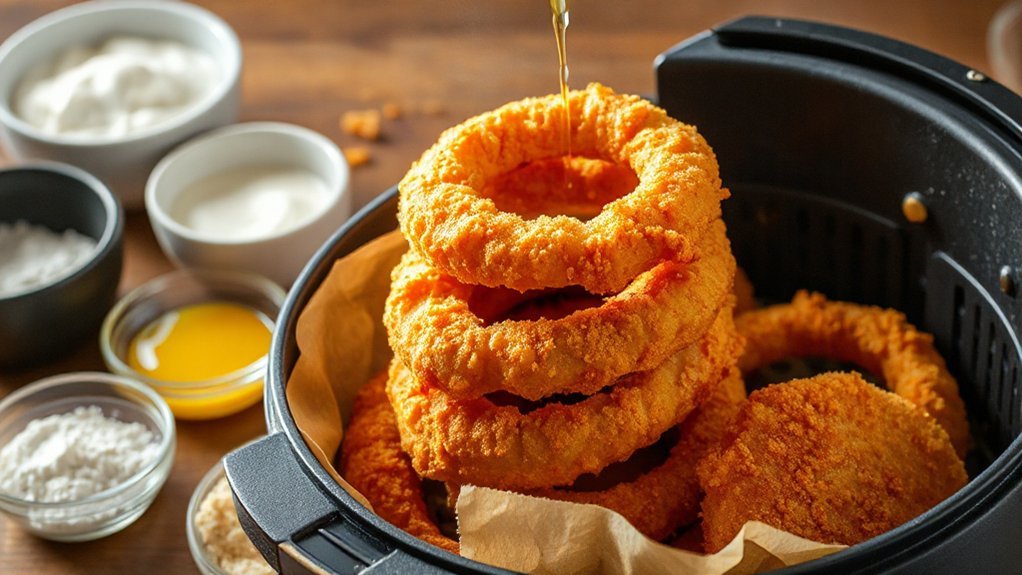
Choose a high-smoke-point spray or an adjustable oil mister so you get even coverage without propellant nasties. You should preheat the air fryer for 3–5 minutes so the basket’s hot and your rings start crisping right away. Spritz a light, uniform layer—enough to coat each ring but not pool—because too much oil makes soggy rings and too little won’t brown.
Choosing the Right Spray
If you want crisp, golden onion rings without pooling grease, pick a spray that gives an even, light coat and stands up to high heat. You’ll want a spray with neutral oil and minimal additives; check propellant types to avoid off flavors and reduce flavor transfer from the can. Choose an oil with a high smoke point (avocado, refined olive, or canola) and consider an oil mister for control. Use short, even bursts from about 8–10 inches away so crumbs don’t sog.
- Use oils labeled high smoke point
- Prefer food-safe misters over aerosol for control
- Avoid sprays with strong propellants
- Test a small batch for taste impact
- Reapply sparingly between batches
These moves keep your rings crunchy and light and ready in minutes every time.
Air Fryer Preheating Tips
Preheating your air fryer for 3–5 minutes gets the basket hot so coatings crisp up on contact, and you’ll want to spritz a light, even coat of a high–smoke-point oil (avocado, refined olive, canola) from about 8–10 inches away before loading; use a food-safe mister when you can to avoid propellant flavors, wipe any old crumbs or residue from the basket, and don’t overcrowd the rings so hot air can circulate for even browning. After that, do a quick calibration check on temperature so you know the readout matches actual heat; kitchens vary, and a simple surface thermometer test improves preheat safety. Load rings in a single layer, give them space, and shake halfway for consistent crunch without guesswork. Enjoy quicker, crunchier onion rings.
Oil Quantity and Coverage
A few quick mists of oil go a long way — aim for an even, light coat rather than drenching the rings. You’ll control crispness by balancing oil viscosity and droplet dispersion: thinner oils spray finer, thicker oils coat heavier. Hold the spray six to eight inches away, move constantly, and flip halfway so each side gets equal coverage. Don’t overload the basket; overlap causes sogginess.
- Use a pump spray or aerosol for consistent atomization.
- Test sprays over a paper towel to judge droplet dispersion.
- Choose light oils with low oil viscosity for finer mist.
- Spray before and briefly after breading for adhesion.
- Reapply sparingly between batches to maintain crunch.
You’ll love the crunch when you get coverage just right every time. Seriously try it.
Cooking Times and Temperature Guide

Usually you’ll get perfectly crisp onion rings at 375°F for 8–10 minutes, flipping once halfway; thicker rings call for 10–12 minutes at 380°F, while thinly sliced rings crisp up in 6–8 minutes at 350–360°F. Start with this baseline, then adjust for your air fryer model and batch size. If you crowd the basket, add 2–3 minutes and increase airflow by shaking more often.
Remember convection effects: rapid air movement browns faster, so watch the last minute to avoid burning. For very large rings, raise temp by 5–10°F and add a minute or two; smaller rings need less heat and time.
Make altitude adjustments if you live high above sea level—air is drier and cooks faster, so reduce time slightly. Use a digital probe or test one ring mid-cycle to dial it in. Once you nail your combo of temp, time, and spacing, you’ll get consistent crunch every batch.
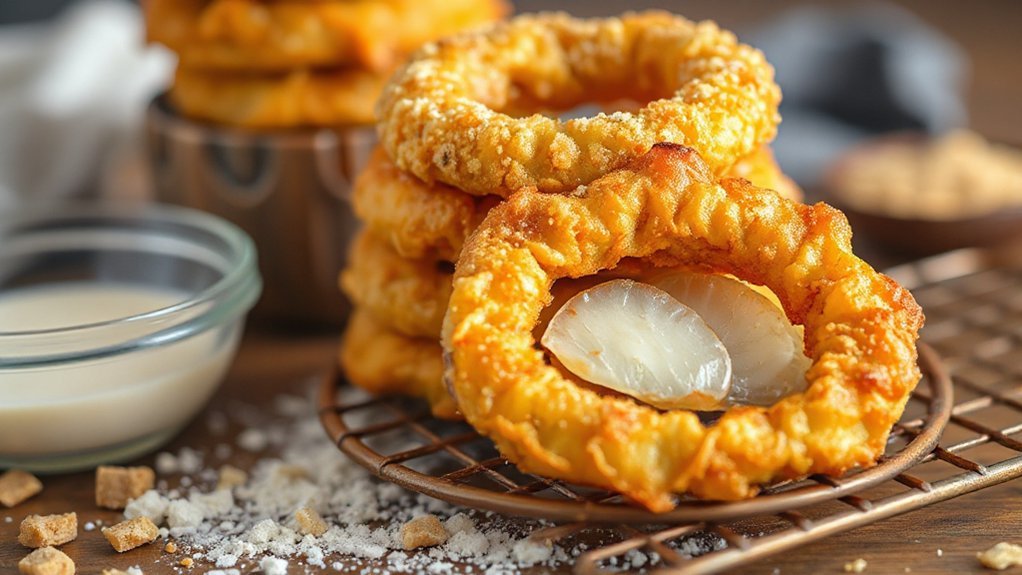
Serving, Storage, and Reheating to Keep Crunch
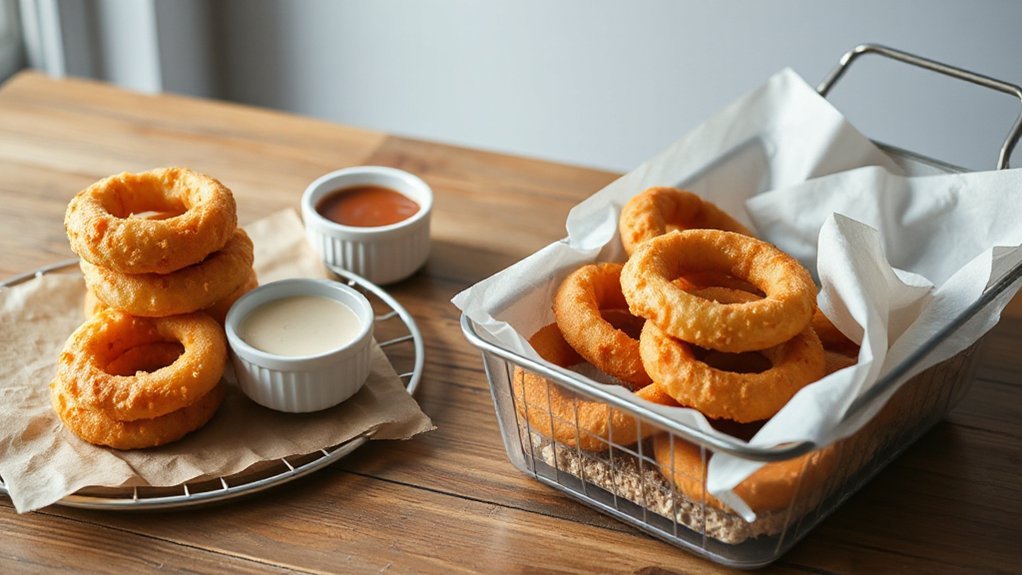
Now that you’ve nailed temp and timing, here’s how to serve, store, and bring them back to life so they stay crunchy: serve straight from the fryer on a wire rack or paper-towel-lined platter to keep air circulating and avoid soggy bottoms, pair with bold dipping sauces (spicy mayo, tangy ranch, or chipotle ketchup), and keep portions small so everyone gets peak crispiness. Cool fully, then layer rings in an airtight container with paper towels; refrigerate up to two days. For Serving Suggestions, add citrus wedges, flaky salt, or bold sauces. Reheat Methods: preheat air fryer to 375°F and crisp a layer 3–5 minutes, flipping once. Avoid microwaves.
- Serve in small batches to stay hot.
- Use wire rack, not direct plates, for airflow.
- Offer spicy mayo, tangy ranch, or chipotle ketchup.
- Reheat a layer for maximum crunch, flip once.
- Eat leftovers in two days for best texture.
Troubleshooting Common Problems

If your onion rings come out soggy, over-browned, or falling apart, don’t panic — most problems are fixable with a few simple tweaks. First, sogginess usually means excess moisture or too-heavy batter; pat onion slices dry, use a thinner batter or double-dip with dry crumbs, and preheat the air fryer so the crust sets fast. For over-browning, lower the temperature and extend cook time, or tent with foil for the last minute. If rings fall apart, make sure slices are thick enough and batter sticks—press coating firmly and chill briefly before cooking. For presentation fixes, arrange rings on a cooling rack to keep bottoms crisp and reheat quickly at high heat for immediate serving. If flavor seems flat after reheating, boost with a quick seasoning dust or a squeeze of lemon for taste recovery. Small adjustments will get you consistently crunchy, tasty results. Try one tweak at time.
Conclusion
You’ll see, you were right to wonder if less oil means less crunch. You tested it, and the truth surprises you: with the right batter, coating, and a quick spray, less oil makes more crunch. You get golden rings faster, cleaner, and lighter. Use hot air, clever coatings, and brief misting, and you’ll keep texture, save oil, and prove the theory—crisp wins, without the greasy loss. Celebrate crunchy success and share them with friends now.


