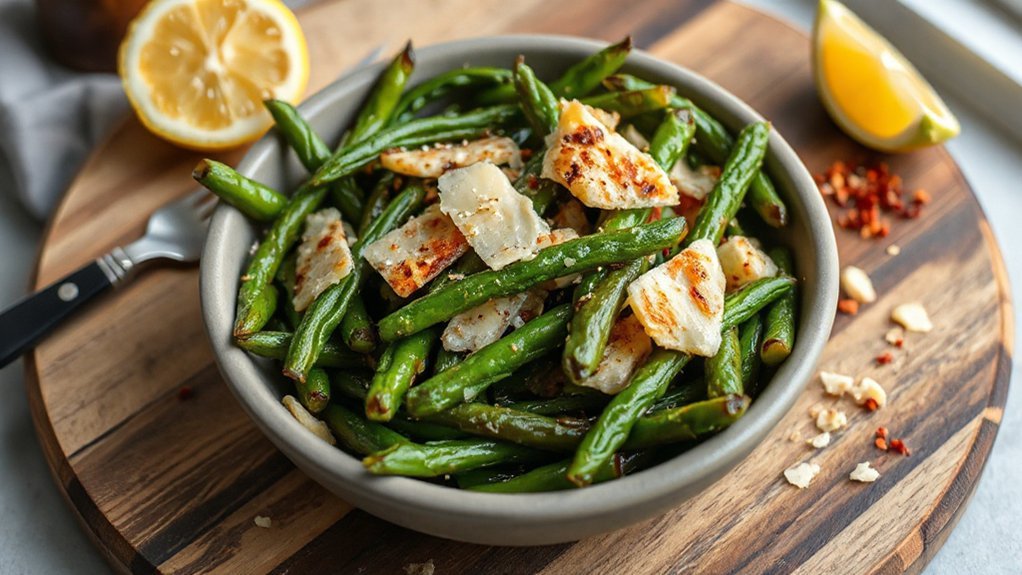
You’ll get blistered, ultra-crisp green beans in about ten to twelve minutes using your air fryer. Trim and dry one pound, toss with a little olive oil, garlic powder, salt and pepper, then spread single layer. Air fry at 400°F, shake at five minutes, finish four–six minutes until browned. Toss with grated Parmesan and lemon zest while hot. Keep going and you’ll find tips, variations, and reheating tricks to perfect them for restaurant-quality results today.
Ingredients
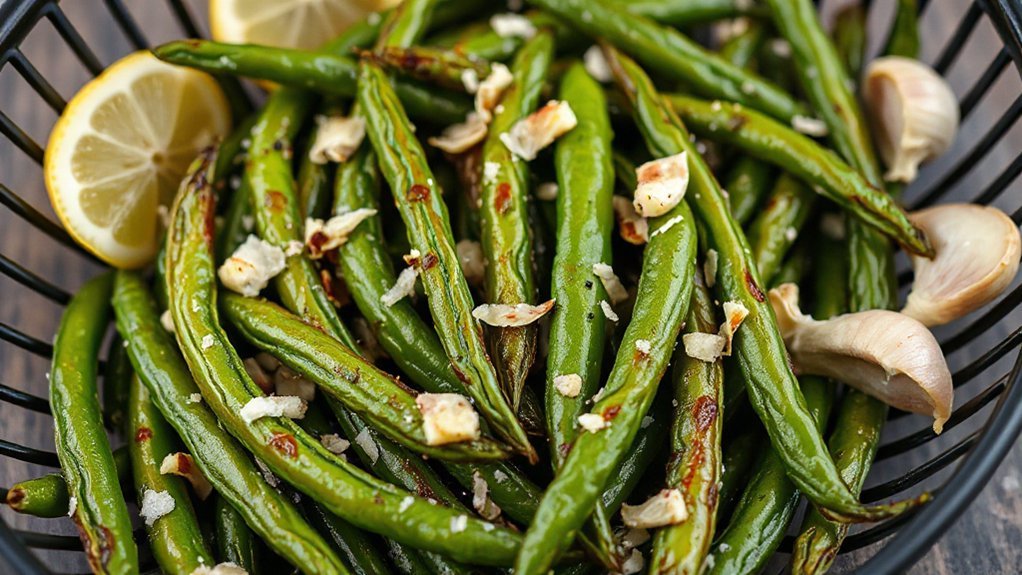
You’ll need a handful of simple, fresh ingredients to get perfectly crispy air fryer green beans: fresh green beans (trimmed), a little olive oil to help them crisp, salt and pepper for basic seasoning, and garlic powder for quick savory depth. Beyond those essentials, grab freshly grated Parmesan for a nutty finish and a squeeze of lemon to brighten each bite; both accent the beans without overpowering the natural snap. If you like heat, add a pinch of crushed red pepper or smoked paprika from your pantry staples. For extra texture, toss in a tablespoon of panko or finely chopped toasted almonds. Use seasonal produce when possible — early summer beans are sweeter and crisper — and buy only what you’ll use to keep flavors vibrant. These ingredients pair simply and confidently so you can focus on timing and taste. They make a quick, impressive side anytime you want friends over.
Equipment and Tools
Choose the right air fryer size so your green beans cook in a single layer—you’ll find a quick size guide below. Pick recommended accessories like a perforated basket and parchment liners to boost crispiness. Grab a few essential tools—tongs, a mixing bowl, and a thermometer—so you’ll have everything for easy, foolproof results.
Air Fryer Size Guide
How big of an air fryer do you really need? Think about servings: a 2–3 quart model fits one to two people and works great for small batches of green beans, while 5–6 quarts suit families. Do a Capacity Comparison: smaller units heat faster and save counter space, bigger ones let you cook more at once without crowding. Check Basket Dimensions when shopping — shape and depth affect how many green beans lie flat for even crisping. If you often batch-cook or entertain, go larger; if you usually make sides for one or two, a compact fryer will do. Balance your counter space, storage, and how many crispy, garlicky green beans you want per go. Measure your kitchen and realistic portions before choosing today.
Recommended Accessories
What small tools make the biggest difference when you’re aiming for perfectly crispy air fryer green beans? You’ll love a sturdy silicone spatula for gentle tossing and a mesh air fryer basket liner to keep beans from slipping through. A small handheld oil mister gives even coating without saturating. Use countertop organizers so these bits stay handy; they make prep calmer and faster. Keep favorite tweaks and temperatures in recipe binders or a tucked notebook for consistent results. Table below captures the feeling these accessories bring:
| Tool | Feeling |
|---|---|
| Silicone spatula | Confident control |
| Oil mister | Light, even crisping |
| Basket liner | Worry-free texture |
Grab these, and you’ll cook with less fuss and more joy. Savor the results daily.
Essential Kitchen Tools
A sturdy air fryer and a handful of smart tools make crisping green beans effortless. You’ll want a roomy basket-style air fryer with good heat circulation, a silicone spatula for gentle tossing, and tongs with non-slip grips so you can shake without spilling. Choose tools emphasizing Tool Ergonomics so long handling sessions stay comfortable. A microplane grater speeds garlic and Parmesan right onto hot beans. Use a small bowl for oil and seasoning, and a silicone brush to apply it evenly. Pick items made from Sustainable Materials like bamboo handles and recycled stainless steel to reduce waste. Keep a thermometer handy to check air-fry temperatures. With these essentials, you’ll cook faster, cleaner, and with more joy. You’ll wow family and friends with perfect crunch.
Prep Steps

First, trim and rinse about 1 pound of green beans—snip the stem ends and remove any stringy bits—then pat them dry so they’ll crisp up properly. Next, sort the beans by size: set aside any thick ones to cook in a separate batch. That Batch organization keeps cooking consistent and prevents some beans from over- or under-cooking. Toss the beans in a bowl with a light coating of oil, minced garlic, salt, and pepper, but don’t overcrowd the bowl when you season; work in small portions. Check your garlic for fresh aroma and peel it before use to preserve flavor. For Safety handling, use tongs when transferring hot beans, wash hands after touching raw produce, and keep knives and cutting boards clean and separate. Finally, line up your bowls, tools, and serving platter so you’re ready to move when it’s time to air-fry—organized prep makes recipe a breeze.
Step-by-Step Instructions
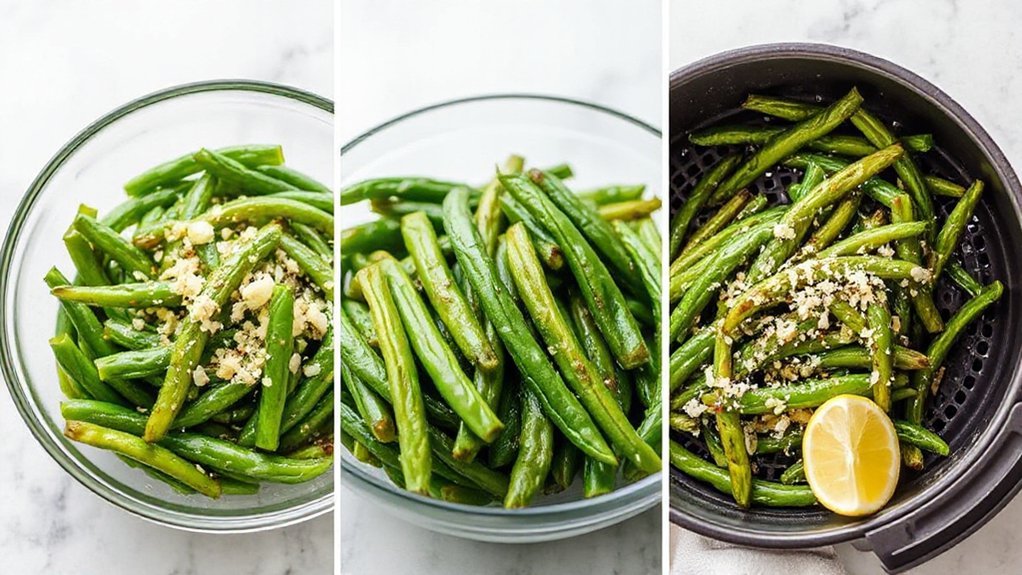
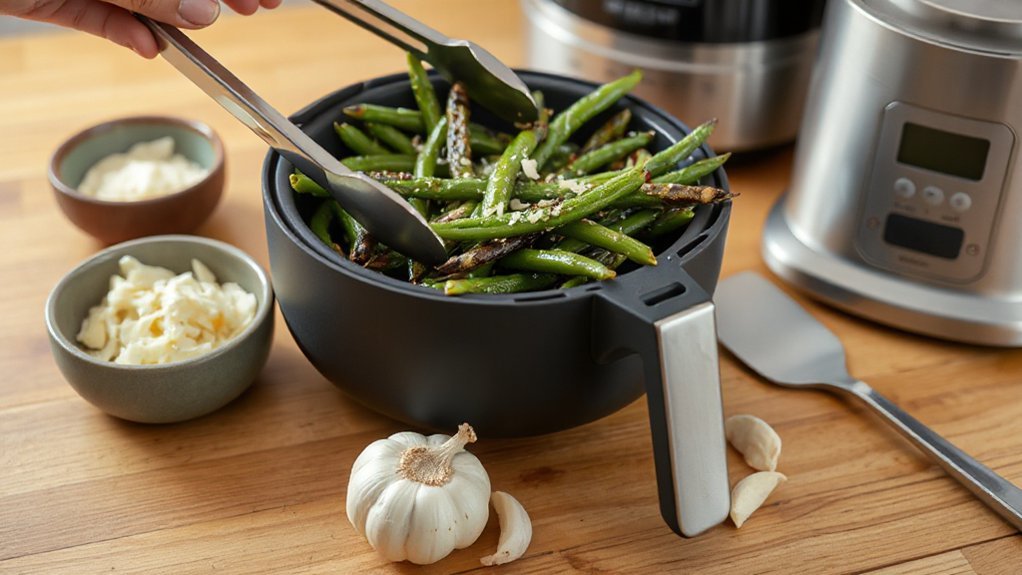
Now that your beans are prepped and sorted, you’re ready to load the air fryer. Arrange beans in a single layer so hot air circulates; you can work in batches if needed. Set temperature to 400°F and start with a 10-minute run, shaking the basket midway. Use these steps:
- Preheat air fryer for 2 minutes.
- Place beans evenly and spray lightly with oil.
- Cook 5 minutes, shake, then cook another 5 minutes.
- Finish with garlic and Parmesan, then toss.


Watch for timing cues: beans should be bright, blistered, and crisp-tender, not limp. If they’re underdone, add 1–2 minute increments; if they brown too fast, lower heat by 25°F. Keep a simple troubleshooting guide nearby for common issues like crowding or uneven crisping. Serve immediately for best texture and flavor—you’ll love the results. Use tongs to monitor doneness and transfer beans quickly to avoid steam softening the crust immediately.
Tips for Extra Crunch
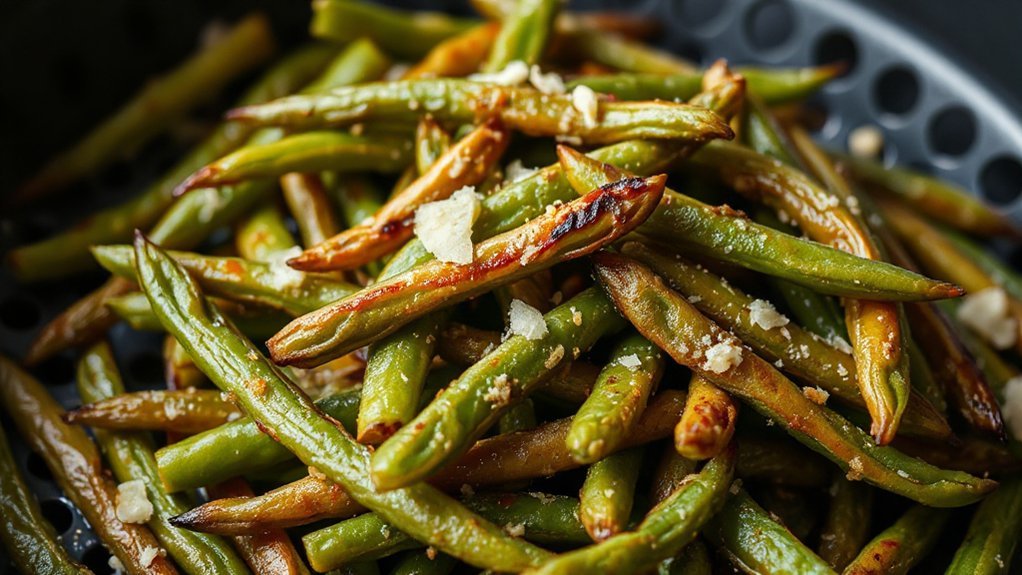
Boost crunch by drying the beans thoroughly before oiling—any surface moisture will steam them and soften the crust, so pat them completely dry with paper towels or a clean kitchen towel. You want to Dry Thoroughly, avoid overcrowding, and use just enough oil; cook at High Heat so edges blister quickly. Preheat the fryer, shake the basket mid-cycle, and resist overcoating with batter. A light spray near the end revives crispness.
| Tip | Why it helps | When to use |
|---|---|---|
| Single layer | Maximizes airflow | Every batch |
| Preheat | Immediate searing | First batch |
| Shake basket | Even browning | Mid-cycle |
These simple moves make your beans pop with crunch without extra fuss. You’ll get that satisfying snap and golden edges every time. Watch closely, tweak timing for size differences, and apply a light parmesan dusting after air frying for immediate crisp retention every single time indeed.
Variations and Add-Ins
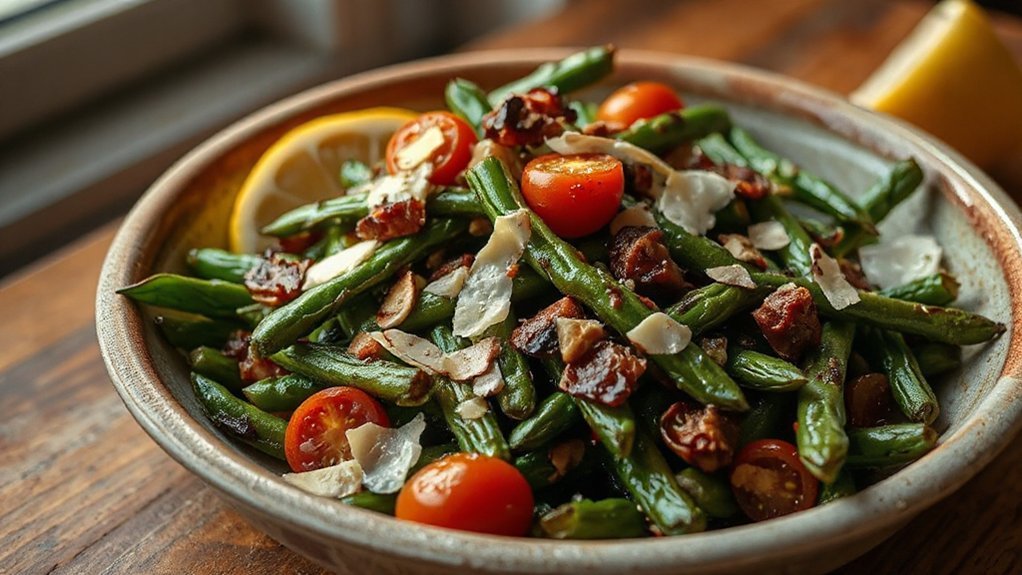
You can dress up your crispy green beans with savory cheese and crunchy nuts for extra texture and flavor. Try bold spice blends or a touch of chili—it’s great for adding heat. Finish with bright citrus zest and a light drizzle of lemon or orange to brighten every bite.
Cheese and Nut Toppings
A handful of grated Parmesan or crumbled feta and a scattering of toasted nuts can turn crispy air-fryer green beans into a snack or side with real personality. You’ll love the contrast of salty cheese and crunchy almonds or pecans—easy upgrades you can sprinkle right after cooking. Pairing suggestions include a squeeze of lemon or a drizzle of honey for balance. If you need nut-free or dairy-free options, consider sunflower seeds and nutritional yeast as allergen swaps. Try these ideas:
- Parmesan + toasted almonds
- Feta + chopped pistachios
- Nutritional yeast + sunflower seeds
- Ricotta dollop + crushed walnuts
Mix and match quantities to suit your taste—you’ll have a crowd-pleasing riff in minutes. Swap toppings freely; you’ll discover favorite combos in just a few tries.
Spice Blends and Heat
Smoked paprika and garlic powder make a smoky-spicy rub that’ll crisp up beautifully in the air fryer; tweak the heat with crushed red pepper, cayenne, or chipotle for warm, lingering heat, or go fresh with minced jalapeño or serrano for an instant kick. You can build blends: cumin, coriander, and smoked salt add depth while mustard powder gives a sharp edge. Think about Capsaicin chemistry — hotter peppers deliver more punch, and oil helps distribute heat evenly on each bean. If you want milder options, use sweet paprika or Aleppo pepper. For balance, layer Cooling contrasts like a dollop of yogurt-based dip or a scattering of cool herbs after cooking. Mix bold spices confidently; they crisp, flavor, and elevate every bite. Savor and enjoy.
Citrus Zest and Drizzle
Brighten the smoky-spicy rub with citrus zest and a finishing drizzle that wakes up the beans. You’ll love how a little lemon or orange adds an aromatic lift and seasonal brightness without overpowering the garlic and parmesan. Try these simple options to finish your batch:
- Lemon zest, extra-virgin olive oil drizzle.
- Orange zest, honey-thin drizzle for sweet-tart contrast.
- Lime zest, chile oil for bright heat.
- Meyer lemon zest, browned butter for richer notes.
Zest over hot beans so oils bloom, then drizzle lightly. Taste and adjust—start small; citrus is potent. These finishes make the green beans feel fresher and livelier, perfect for weeknights or company. You can mix zests or reserve a pinch to sprinkle at the table for an extra pop of aroma.
Serving Suggestions
When you pull these out of the air fryer, serve them hot so they stay crisp—you’ll love them next to grilled chicken, steak, or a juicy burger. For easy Meal pairings, think simple mains that benefit from crunch: roasted salmon, lemon-herb chicken, or a hearty pork chop. They also brighten pasta nights or veggie-forward bowls. For Plating ideas, arrange beans in a neat bundle beside the protein, sprinkle extra parmesan over the top, and add a lemon wedge for squeezing. Toss some toasted almonds or chili flakes on half the tray if you want contrast. If you’re hosting, serve them family-style on a warm platter with tongs so everyone can help themselves. For a lighter approach, pile them atop mixed greens for texture. Finish each plate with a few grinds of black pepper and a quick drizzle of olive oil small touches that make the dish feel restaurant-ready.
Storage and Reheating
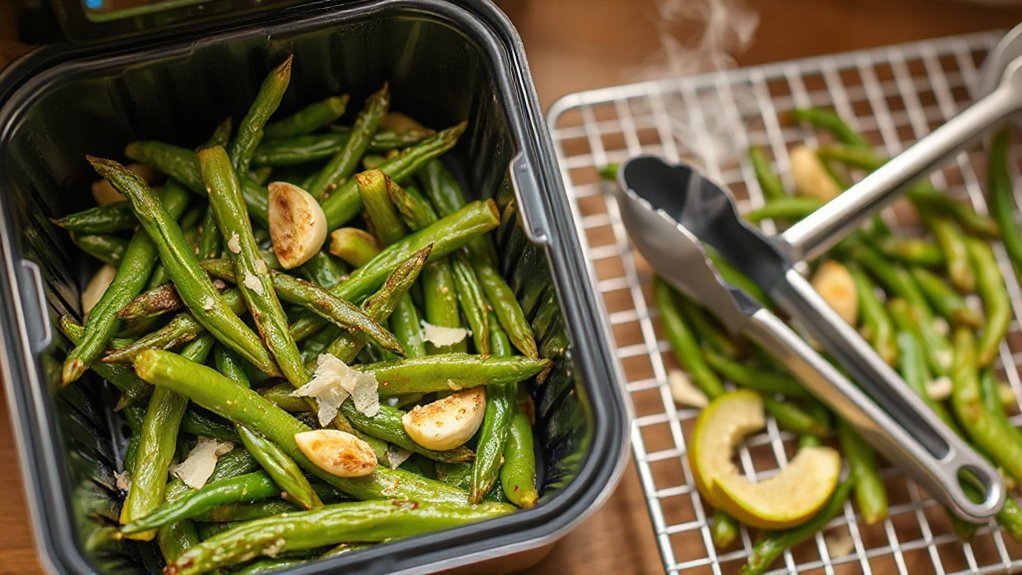
If you’re saving leftovers, let the green beans cool to room temperature, then tuck them into an airtight container or a resealable bag and pop them in the fridge — they’ll keep well for about 3–4 days. Store on a middle shelf away from raw meat, and label with the date so you track shelf life and follow safety guidelines. When you’re ready to reheat, aim to restore crispness rather than steaming them.
Cool green beans to room temp, seal in an airtight container, refrigerate three to four days, label and reheat for crispness.
- Reheat in the air fryer at 375°F for 3–5 minutes, shaking halfway.
- Oven method: 400°F on a sheet for 6–8 minutes, flipping once.
- Stovetop: medium heat in a skillet with a teaspoon of oil, 3–4 minutes.
- Microwave only for quick warm-ups—expect softer beans.
Always check for off smells or sliminess before reheating. If anything seems off, toss it—don’t risk food safety. You’ll enjoy near-fresh crispness when you reheat them properly every time.
Conclusion
You’ll love how easy these crispy air fryer green beans with garlic and Parmesan are — they’re fast, flavorful, and endlessly tweakable, so you can make them your own in minutes. Want a little heat or extra crunch? Try chili flakes or panko. They brighten weeknight dinners, impress guests, and hold up well for leftovers, too. Give them a go and enjoy a simple, delicious veggie everyone asks for seconds? You’ll be making them every week.