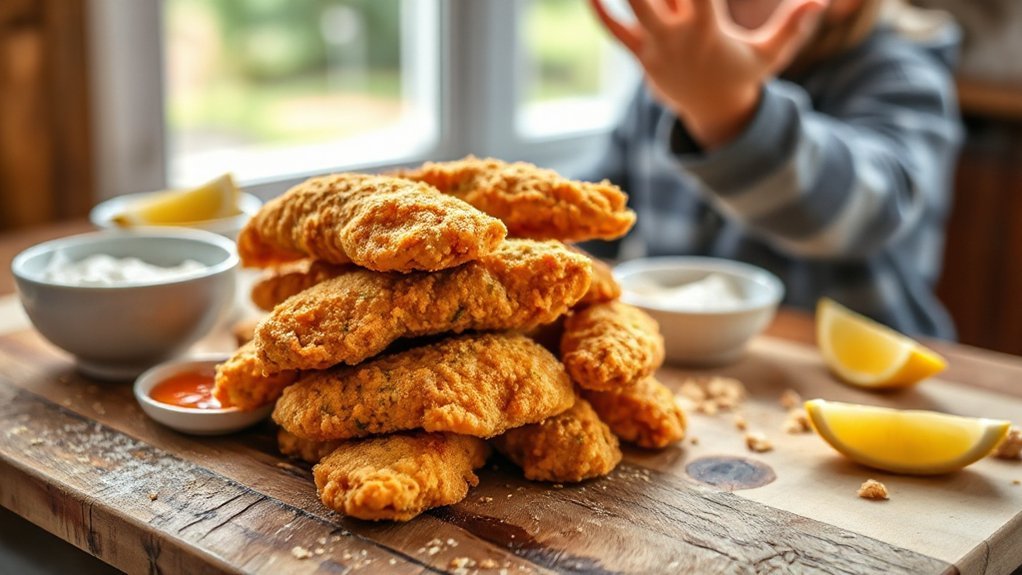
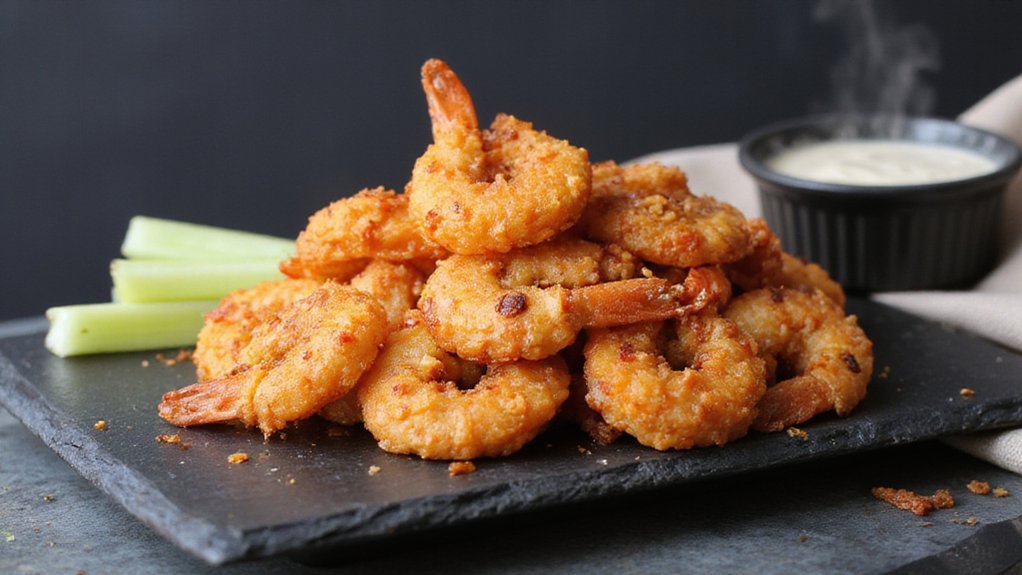
You can make crispy, juicy chicken tenders in your air fryer that kids actually eat and that beat drive‑thru options on calories, sodium, and mystery ingredients. You’ll control seasoning and coating — panko or crushed cereal — and use allergy‑friendly swaps like rice, almond flour, or dairy‑free binders. A quick brine or double‑dredge locks in moisture and crunch. Cook hot for short times, freeze or reheat easily, and keep going to see full steps now.
Why an Air Fryer Beats Fast-Food Chicken
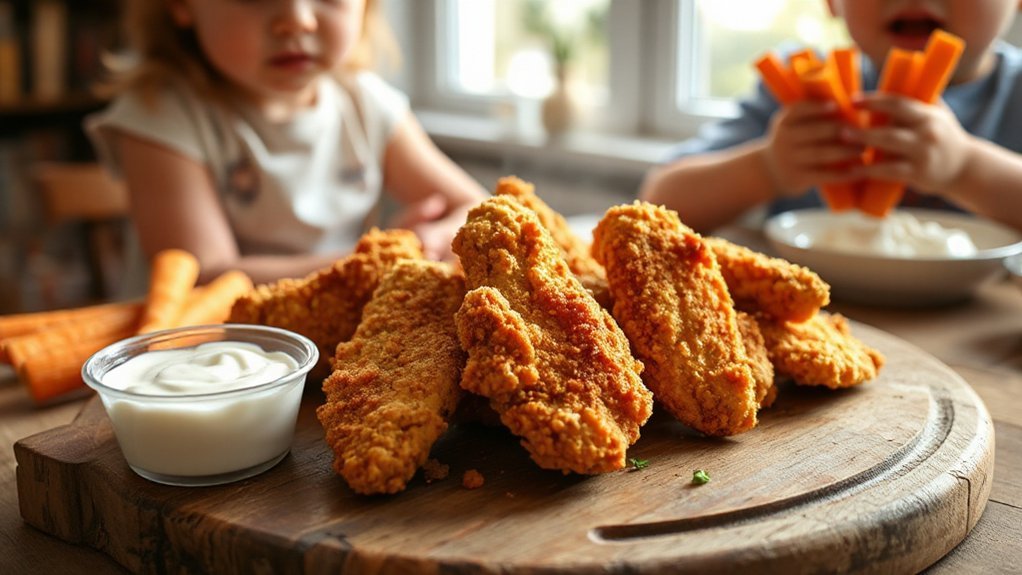
While fast food can be tempting, your air fryer gives you crisp, juicy chicken without the grease and mystery ingredients. You control every step — seasonings, breading thickness, cook time — so Ingredient Transparency isn’t an afterthought but a built-in advantage. Kids get golden, crunchy tenders that aren’t soaked in oil or hidden additives, and you can point out exactly what’s on their plate. You’ll shave calories and sodium compared with drive-thru options, and that adds up over weeks. There’s also real Cost Savings: batch-cooking, reheating, and skipping pricey combo meals stretch your grocery dollars. Cleanup’s faster too, and you avoid extra calories from frying oil. Bottom line: choosing your air fryer means healthier, tastier tenders you can trust, plus more money in your pocket and less worry about what’s sneaking into those fast-food boxes. You’ll feel proud serving a meal that’s quick, family-approved, and better for long-term habits daily.
Simple Ingredients You Probably Have on Hand
Usually you’ve already got everything you need in your kitchen: chicken breasts or tenders, an egg, a little flour, breadcrumbs (or crushed crackers/pretzel crumbs), salt, pepper, and a few basic spices like paprika and garlic powder — plus a bit of oil or cooking spray for crisping. Beyond that, your pantry staples cover most swaps: panko for crunch, cornmeal for extra texture, grated Parmesan for flavor, and a splash of mustard or hot sauce to boost the binder. Keep dried herbs and spice mixes within reach; they rescue bland dinners.
If you grow fresh herbs, simple Herb storage matters—trim stems, wrap in damp paper towel, and tuck in a sealed bag in the fridge. Olive oil or butter in small jars also extends freshness. These tiny habits mean you’ll whip up crispy tenders without special shopping, using what’s already on hand and keeping weeknight cooking stress-free every time.
Prepping the Chicken: Cutting, Seasoning, and Brining Options
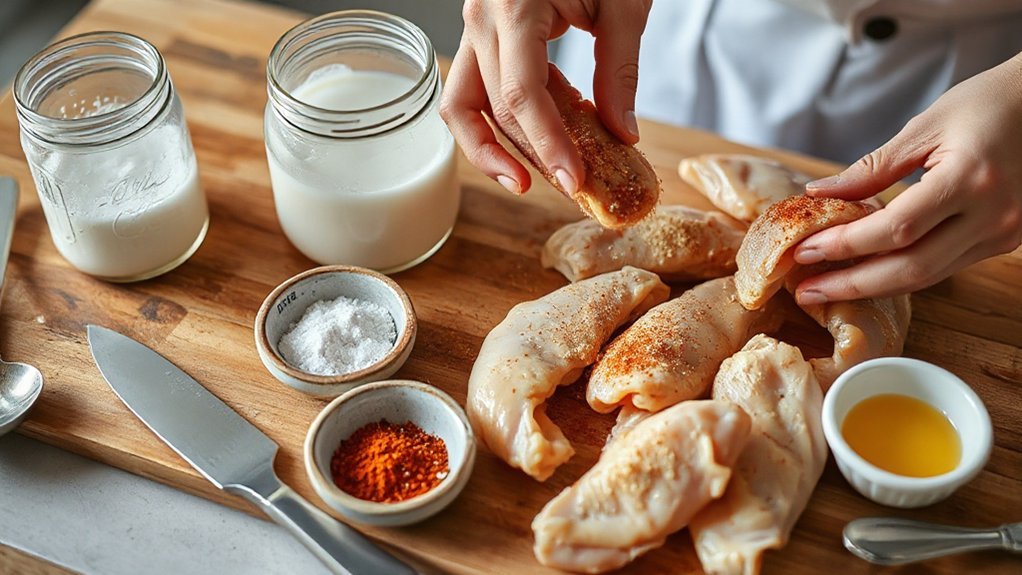
Cut your chicken into uniform strips so they cook at the same rate and crisp evenly in the air fryer. Choose a wet brine for guaranteed juiciness or a dry-brine with salt and spices for concentrated flavor and easier prep. You’ll get simple slicing tips and guidance on which brine suits your time and taste.
Cutting for Even Cooking
Get your chicken to a uniform thickness so every piece cooks evenly and stays juicy — that means trimming ragged edges, halving thick tenders, or gently pounding breasts between plastic wrap to about 1/2-inch. Next, match pieces by size: lay strips side by side and trim any that stick out so you get reliable thickness consistency and predictable timing. Pay attention to strip orientation when you cut—cut with the grain for longer tenders or against it for tender bites—and keep similar shapes together so they brown at the same rate. If a piece is too small, combine it with another; too big, split it. You’ll save time, avoid underdone middles, and make crisping in the air fryer consistent and kid-approved. Dinner comes out perfect.
Brining: Wet Vs Dry
When you want juicier, more flavorful tenders, brining is the trick — and you’ve got two solid options: wet or dry. Wet brines dissolve salt (and sugar, herbs) in water, and you’ll soak tenders for 30 minutes to a few hours. This gives excellent moisture retention and quick flavor penetration, so bites stay juicy after the air fryer crisps them. Dry brines mean rubbing kosher salt and spices directly on the meat and resting it uncovered in the fridge. You’ll get concentrated seasoning, firmer texture, and improved browning. Choose wet when you’re short on time or want maximum juiciness; pick dry for crisper crust and deeper surface flavor. Either way, rinse lightly if needed and pat dry before breading and enjoy kid-approved crunch every time.
Breading Techniques for Extra Crunch
Mastering a few simple breading tricks will give your air fryer chicken tenders that irresistible, extra-crispy bite. You’ll use double dredging and smart texture enhancers to lock in crunch without grease. Start with seasoned flour, dip in egg wash, then press panko or crushed cereal firmly—repeat the egg and coating for double dredging that creates a sturdy crust. Toss in a sprinkle of cornstarch or grated parmesan for extra crisp and flavor. Let tenders rest briefly so the coating adheres.
| Step | Coating | Tip |
|---|---|---|
| 1 | Seasoned flour | Press firmly |
| 2 | Egg wash then panko | Use panko or cereal |
Spray oil lightly to brown and avoid sogginess. You’ll get golden, crunchy tenders kids love, and they’ll be healthier than takeout. Try adding smoked paprika, garlic powder, and a pinch of cayenne for kid-friendly flavor that still feels fun; adjust seasonings to suit picky eaters and your family’s tastes every time.
Air Fryer Temps and Cook Times by Thickness
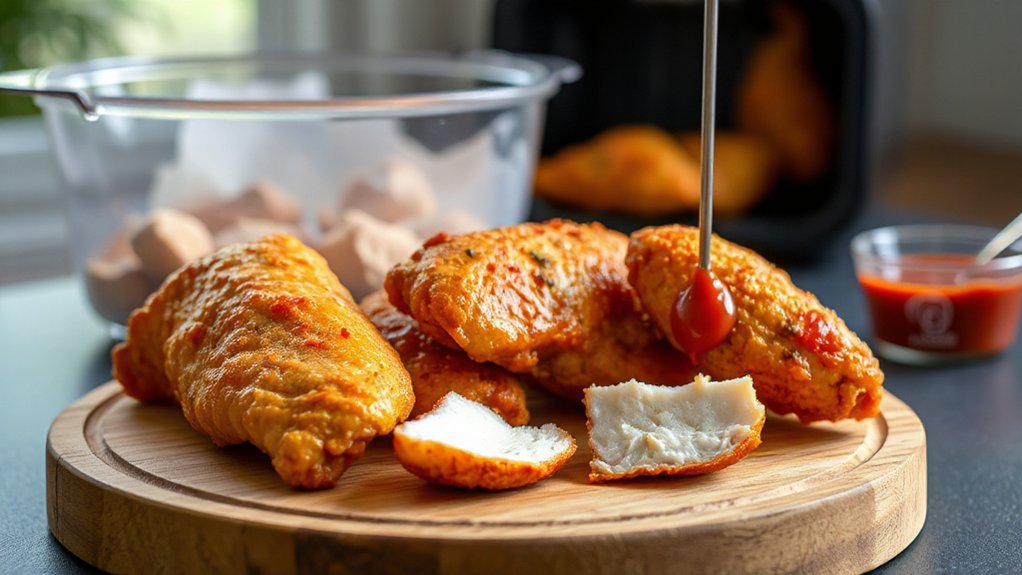
Once you’ve got your tenders coated and resting, pay attention to temperature and thickness so they cook through without drying out. For half-inch strips, set the air fryer to 400°F and cook 6 to 8 minutes, flipping halfway; for three-quarter-inch pieces, aim for 8 to 10 minutes. Thicker 1-inch tenders need 11 to 13 minutes at 380 to 400°F to brown evenly. If you’re starting from frozen, use frozen adjustments and add about 4 to 6 minutes, checking internal temperature more often. Use an instant-read thermometer—target 165°F pulled from the basket—then rely on carryover cooking during a 3 to 5 minute rest so juices redistribute. Don’t overcrowd the basket; work in a single layer for consistent airflow. If edges brown too fast, lower temp by 10 to 20°F and extend time. With these simple tweaks, you’ll get juicy, crispy tenders every batch without guessing, every kid will devour.
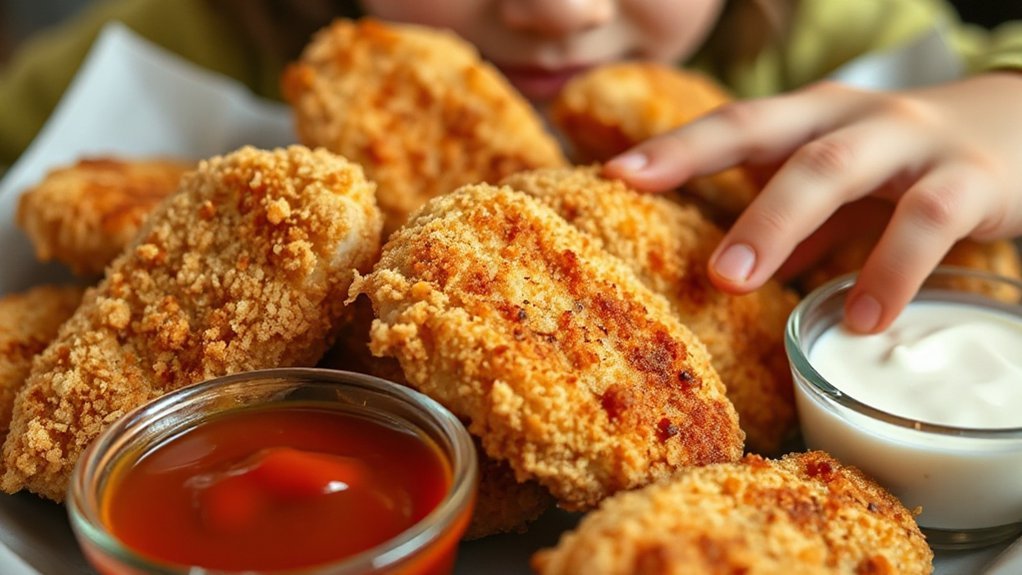
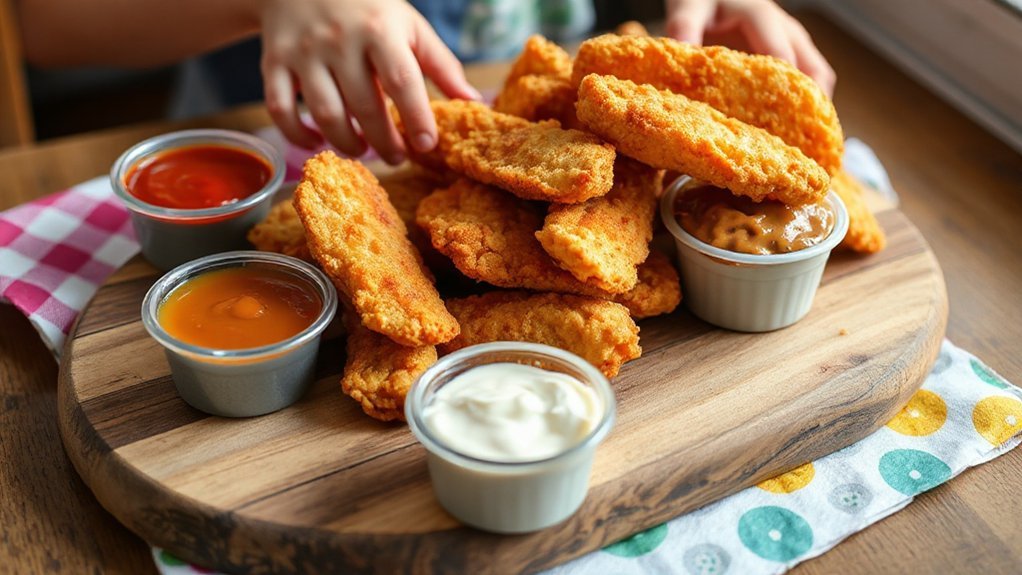
Kid-Approved Dipping Sauces and Flavor Variations
Keep a trio of easy sauces on hand to please picky eaters: creamy honey mustard, tangy BBQ maple, and mild buffalo ranch. You can whisk honey and mustard with mayo for the first, stir maple into your favorite BBQ for the second, and tone down hot sauce with buttermilk or ranch for the third. Try one at a time or set them out together and let kids pick their favorite.
Creamy Honey Mustard
Whipping up a creamy honey mustard is one of the easiest ways to get kids excited about dipping their chicken tenders—mix equal parts mayo and honey, add a generous spoon of Dijon (or yellow mustard for milder taste), and finish with a splash of lemon or vinegar to brighten it. You’ll also impress by mentioning its historical origins as sauce evolution, and how emulsification science keeps it smooth. Stir, don’t whisk wildly, to keep texture stable. Toss in a pinch of paprika or Greek yogurt for tang. Serve cold; kids love dunking. Quick reference:
| Tip | Why it works |
|---|---|
| Equal parts | Balanced sweetness and cream |
| Dijon vs yellow | Dijon adds bite, yellow is milder |
| Splash acid | Brightens flavor, stabilizes emulsion |


Now dip and watch them devour with big smiles.
Tangy BBQ Maple
How about a sauce that’s smoky, sweet, and just tangy enough to get kids asking for seconds? You’ll love Tangy BBQ Maple — a quick blend that nails Smoky balance with a touch of apple cider vinegar for bright Maple acidity. Whisk together ketchup, real maple syrup, a dash of smoked paprika, and a splash of vinegar; simmer briefly to meld flavors. It’s sticky, spoonable, and fridge-friendly.
- Kid-tested: familiar ketchup base with a grown-up twist
- Easy swap: mix less syrup for milder sweetness
- Dipping tip: warm slightly for extra gloss
- Make-ahead: stores up to 5 days, reheats in seconds
Serve with tenders and watch them come back for more. Parents approve, and you’ll feel great serving a smarter treat daily.
Mild Buffalo Ranch
If your crew loved the sticky-sweet Tangy BBQ Maple, try Mild Buffalo Ranch next for a little zing without tears—this combo tames buffalo heat with creamy ranch so even cautious kids ask for a dunk. You’ll mix hot sauce, melted butter, and a touch of honey, then fold in ranch for balance; that sauce chemistry mellows vinegar bite while keeping tang. Adjust heat for tiny eaters by swapping mild cayenne or using more ranch. Serve warm alongside crunchy air-fried tenders so flavors cling. Mention regional origins if kids ask: buffalo style comes from upstate New York, but this gentle version travels well. It’s fast, kid-friendly, and gives a familiar kick without scaring anyone off. Pack leftovers for lunches; it reheats nicely and stays tasty.
Batch Cooking, Freezing, and Reheating Tips
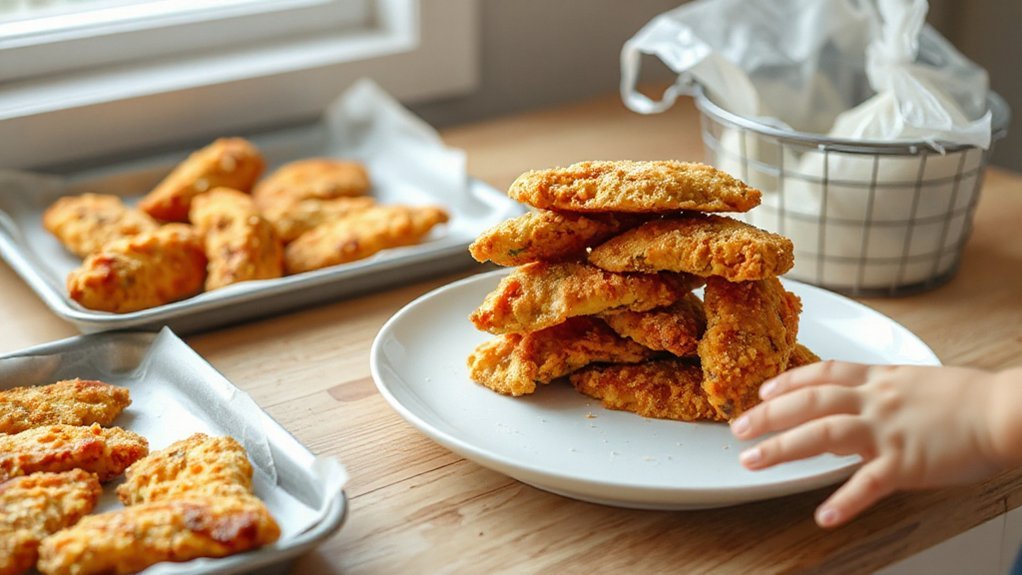
Batch-cooking your tenders saves time and keeps weeknight dinners effortless: cook them in a few big batches, let them cool, then flash-freeze on a tray before tucking portions into labeled freezer bags. Use a simple labeling system with dates and contents, and keep a freezer rotation so older batches get used first. When you reheat, you’ll keep crispness and avoid drying out.
- Freeze flat in single layers for easy portioning.
- Label each bag with date, quantity, and cook notes.
- Reheat from frozen at 375°F in the air fryer for 10 to 12 minutes.
- Defrost overnight in the fridge for gentler reheating if preferred.
You can refresh texture by spritzing a little oil before reheating. Check internal temperature reaches 165°F. With this plan you’ll save time, reduce waste, and always have a fast, kid-friendly dinner ready. Store tenders up to three months for best flavor and texture anytime.
Packing Tenders for Lunches and School-Safe Ideas
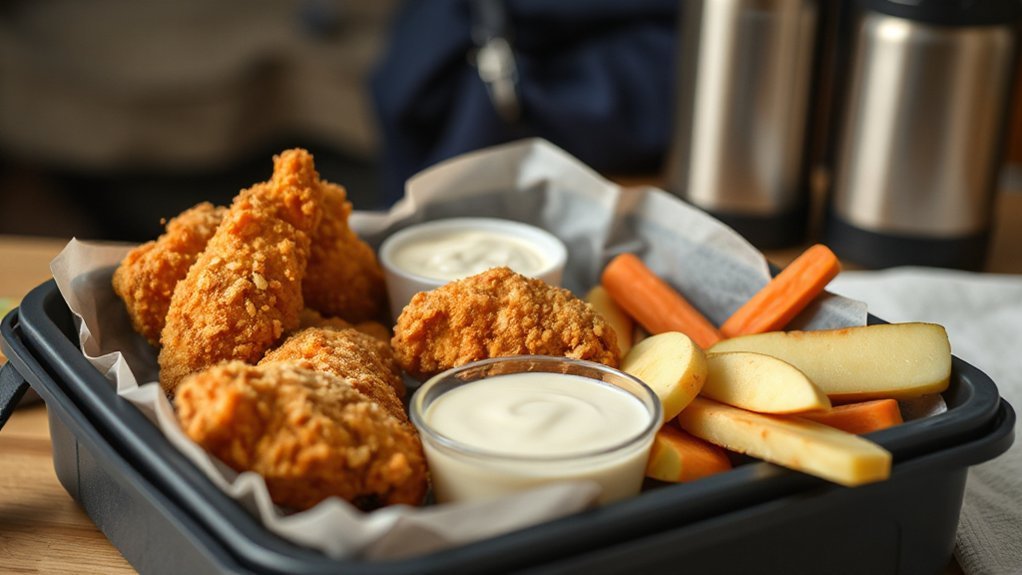
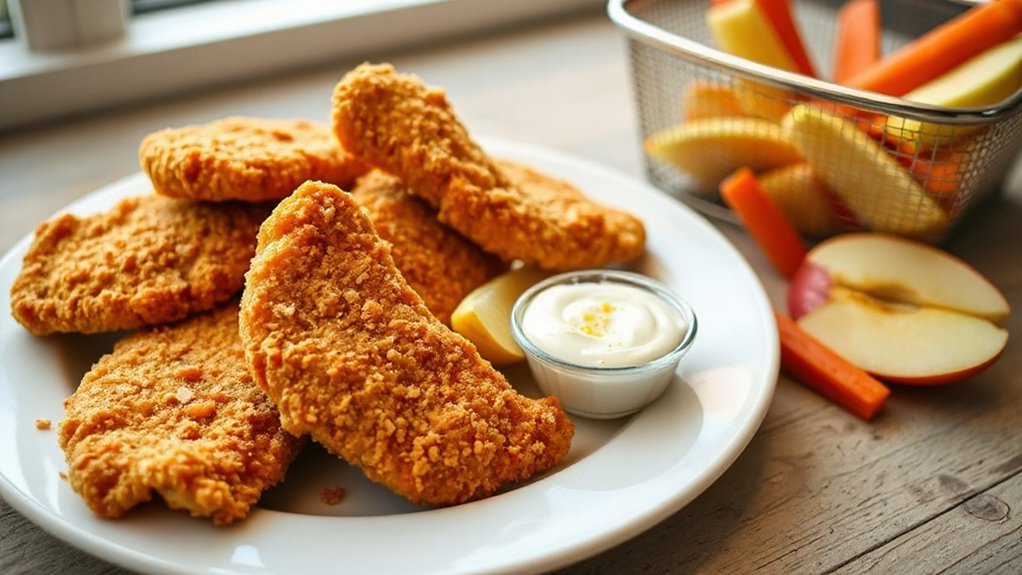
Packing tenders for school lunches doesn’t have to be fussy — tuck a few cooled or chilled tenders into an insulated container with a small ice pack, add a separate tiny sauce cup to keep breading crisp, and throw in easy sides like carrot sticks, apple slices, and whole-grain crackers for balance. Aim for Portion Control by packing two to three tenders for younger kids or three to four for older ones, paired with a mix of veggies and a fruit to round out the meal. Use silicone cups to separate sides, and include a cold thermos of yogurt or hummus for dipping when permitted. For Snack Pairings, add a handful of trail mix or a cheese stick for extra protein and crunch. Label containers, include napkins and utensils, and remind your child how to keep the sauce separate until lunchtime so everything stays tasty. everyday lunch wins, always.
Healthier Swaps and Allergen Substitutions
You’ll find simple swaps to make your tenders work for gluten-free, dairy-free, or nut-free diets without losing crunch or flavor. For gluten-free coatings try crushed gluten-free panko, cornmeal, or puffed rice, and switch dairy with plant milks, dairy-free yogurt, or vegan butter. If you need nut-free crunch, go for toasted oats, crushed crispy rice or cornflakes, or ground sunflower or pumpkin seeds.
Gluten-Free Coating Options
While going gluten-free doesn’t mean sacrificing crunch, you can still get crisp, flavorful tenders using almond or rice flour, crushed gluten-free cereal, or certified gluten-free oats as a coating base. You’ll swap regular breadcrumbs for nut flours or panko alternatives, and you’ll do careful Label Reading so you don’t grab hidden gluten. Protect against Cross Contamination by using separate prep bowls, clean surfaces, and dedicated utensils. Try coatings that kids love and that brown well in the air fryer.
- Almond flour with a touch of paprika for flavor and crunch
- Crushed certified gluten-free corn flakes for a classic taste
- Ground oats combined with savory seasoning for kid-friendly flavor
- Rice flour plus a light egg wash for extra crispness
You’ll win snack time, truly guaranteed.
Dairy-Free Dairy Replacements
How can you keep chicken tenders dairy-free without losing flavor or texture? Swap buttermilk for oat milk mixed with a splash of apple cider vinegar to mimic tang and help the coating stick. Use coconut cream thinned with water as a rich binder for panko or gluten-free crumbs when you want creamy mouthfeel. For cheesy notes, stir nutritional yeast into your oat milk soak or breadcrumb mix—kids won’t notice the difference. Season boldly: garlic powder, smoked paprika, and a pinch of salt brighten dairy-free mixes. Let tenders marinate briefly so flavors penetrate. Air fry at the usual temperature until golden and crisp. You’ll get juicy, satisfying tenders that skip dairy but keep all the comfort. Serve with your favorite dipping sauce for kid-approved fun.
Nut-Free Crunch Alternatives
You can keep the same juicy, crispy results without nuts by swapping in seeds, grains, and legumes that give big crunch and nutrition. Try pumpkin seeds, crushed pretzels, panko mixed with cornmeal, or roasted chickpeas as coatings. These alternatives deliver similar crunch mechanics and boost fiber, protein, and flavor, so kids won’t miss nuts. You’ll notice improved sensory perception—the snap, the mouthfeel, the aroma—because air frying amplifies textures. Mix and match coatings to balance taste and allergy needs, and toast seeds lightly for extra depth.
- Toasted pumpkin seeds (pepitas), finely chopped
- Crushed pretzels or whole-grain crackers
- Panko combined with cornmeal for extra crunch
- Roasted chickpeas, pulsed to coarse crumbs
You’ll find simple pantry swaps keep kids happy and allergy-safe while staying fast-food worthy always.
Troubleshooting Common Problems (Soggy, Unevenly Cooked, or Overbrowned)

If your tenders come out soggy, unevenly cooked, or overbrowned, don’t panic—most issues have simple fixes you can apply next time. You’ll want to check timing, overcrowding, and airflow maintenance, and keep a regular cleaning schedule so hot air flows and sensors stay accurate. Par-breaded pieces stick? Dry them a few minutes before frying.
| Problem | Fix |
|---|---|
| Soggy | Increase temp 5–10°F; avoid overcrowding |
| Uneven | Flip halfway; single layer, same size pieces |
| Overbrowned | Lower temp; reduce sugar in coating |
Also, skim oil, preheat, and pat chicken dry. Use a thermometer to confirm 165°F and rotate trays if needed. These small tweaks get you crispy, evenly cooked tenders kids love. If your model runs hot, use lower temp and shorter times, test one batch, and note times. Spray oil lightly, avoid sugary glazes early, and give tenders a minute to rest; they crisp more as they cool before serving for best.
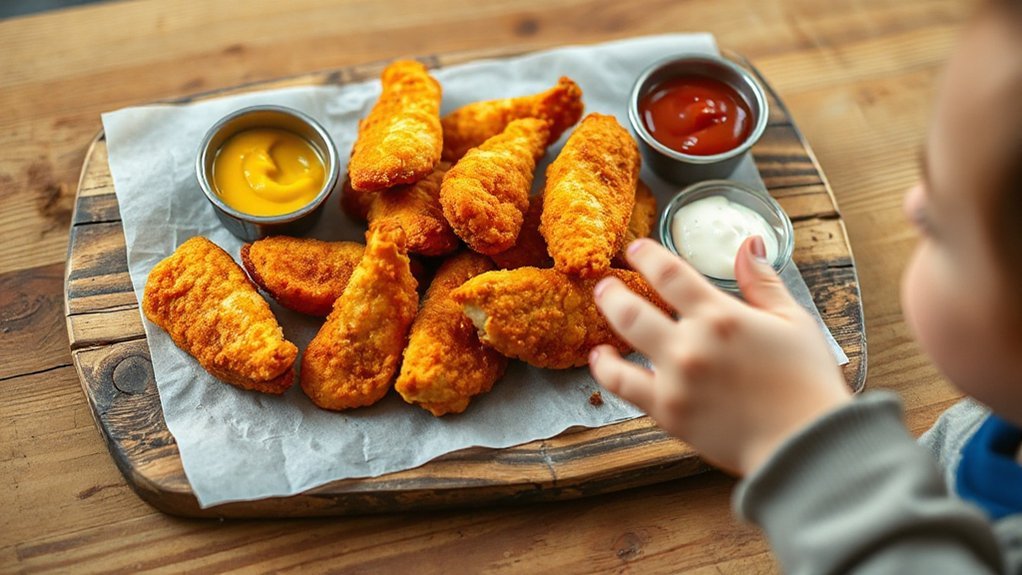
Conclusion
You’re going to love how easy these air fryer chicken tenders are — they’re crunchy as a chip yet way healthier than fast food, and kids actually ask for seconds. With simple pantry ingredients, quick breading tricks, and straightforward temps, you’ll have dinner on the table fast. Prep, freeze, or pack them for lunches without fuss. Follow the troubleshooting tips and swaps, and you’ll breeze past soggy or overcooked results every time with confident, happy hands.