You can make restaurant‑crisp chicken katsu in your air fryer in about 20 minutes using pounded boneless chicken, a three‑bowl dredge of flour, egg and lots of panko, and a light oil spray for golden color. Preheat, don’t crowd the basket, flip halfway and rest briefly for juicy interiors. Whip up quick tonkatsu sauce from ketchup, Worcestershire and soy, and save leftovers. Keep going to get tips on double‑coating, reheating and perfect sides and plating.
Why Air Fryer Chicken Katsu Works

Crisping the panko in an air fryer gives you that satisfyingly crunchy exterior without drowning the chicken in oil, and you’ll get even, fast cooking because the circulating hot air browns every inch of the cutlet. You’ll also tap into Maillard chemistry — dry heat promotes those savory, toasty flavors without excess grease — so the crust tastes deep, not greasy. The air fryer’s rapid circulation keeps the breading light and crisp while the meat stays juicy, so you don’t compromise texture. You’ll save time and skip splatter, making cleanup easier. Beyond technique, this method nods to Cultural history: it respects tonkatsu’s origins while adapting to modern kitchens and grocery habits. You’ll get consistent results even if you’re not a pro, and you can scale portions without changing method. In short, the air fryer simplifies and preserves what makes chicken katsu great: crisp, flavorful crust and tender meat.
Ingredients You’ll Need
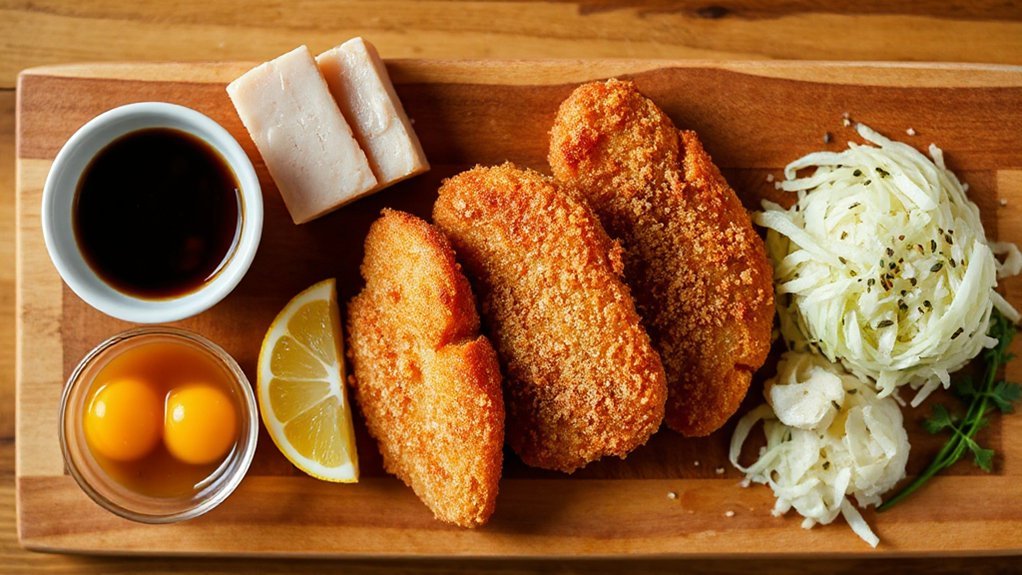
You’ll need a few simple components to pull this off: boneless chicken cutlets (breasts or thighs, pounded thin), all-purpose flour, beaten eggs, lots of panko breadcrumbs, salt and pepper, and a light mist of oil for the air fryer — plus optional extras like Japanese-style tonkatsu sauce, lemon wedges, and cooked rice or shredded cabbage for serving. Pick chicken that smells clean and has firm flesh; those are key Freshness indicators. For Ingredient sourcing, hit a trusted butcher or quality supermarket for evenly sized cutlets — consistent thickness makes cooking predictable. Buy panko for true crunch, and use large eggs and plain flour you already trust. Keep tonkatsu sauce or make a quick mix if you like tangy-sweet notes. Don’t forget a neutral oil spray for even browning. That’s it: simple pantry staples and a few smart choices will set you up for crispy success without fuss today.
Step-by-Step Preparation
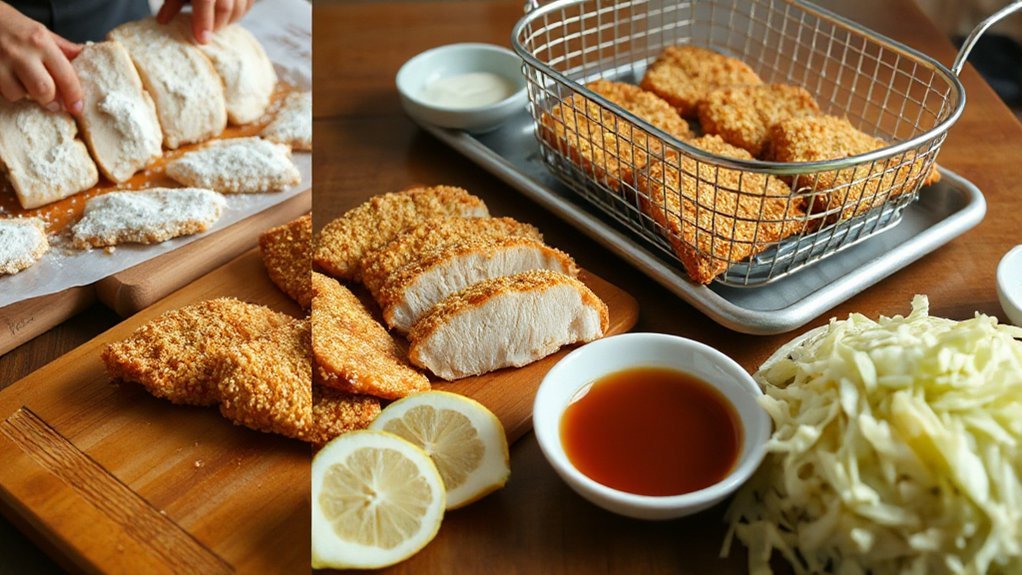
Now that you’ve gathered your cutlets, panko, eggs and flour, it’s time to get hands-on: pound the chicken to even thickness, set up a three-bowl dredging station (flour, beaten eggs, panko seasoned with salt and pepper), and preheat the air fryer so everything moves quickly once you start breading. Work methodically: trim excess fat, use Knife Techniques to score or halve for uniform cooking. Pat each cutlet dry so the coating adheres. Flour first, shake off excess, dunk in egg, then press into panko, covering edges. Use a baking sheet or wire rack to hold finished cutlets; stack on parchment to avoid sticking. For crisp, spray both sides with oil before air-frying. Aim for consistent spacing in the basket to let air circulate. Focus on Workflow Optimization—prep pans, tongs, timer, and crumb tray to move smoothly from dredge to air fryer without chaos. Finish with rest before slicing.
Tonkatsu Sauce From Scratch
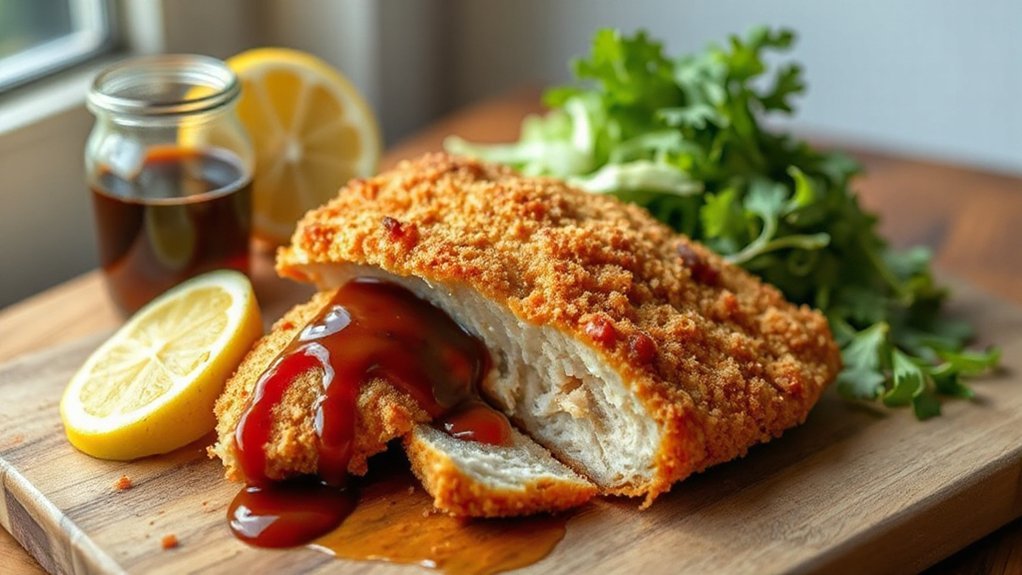
You’ll whip up tonkatsu sauce with pantry staples—ketchup, Worcestershire, soy sauce, and sugar—in roughly a 4:2:1:1 ratio for a bright, balanced base. Taste as you go and tweak sugar or vinegar until the sweetness and tang complement the crunchy katsu. Make a batch ahead, store it in the fridge for up to two weeks, and bring to room temp or thin with a splash of water before serving.
Essential Ingredients and Ratios
A few pantry staples will turn into a classic tonkatsu sauce: ketchup, Worcestershire sauce, soy sauce, a sweetener (mirin or sugar), a touch of mustard, and an acid like rice vinegar or lemon. You’ll assemble them with clear ratio guidelines: start with 3 parts ketchup, 1 part Worcestershire, 1 part soy, 1/2 part sweetener, a teaspoon mustard per cup, and a splash of acid. Treat the ingredient hierarchy practically—ketchup and Worcestershire set the base, soy and sweetener adjust depth, mustard and acid sharpen. Mix, taste, and tweak within those proportions. This keeps the sauce reliable every time you make it for your air fried chicken katsu, and you’ll feel confident scaling quantities up or down. Store leftovers refrigerated; it improves after a few hours.
Balancing Sweetness and Tang
How sweet should your tonkatsu sauce be depends on what you’re pairing it with and how bold you want the flavor. You’ll want a clear palate equilibrium: sugar and fruitiness lift richness while umami and vinegar keep it grounded. Taste as you go—start slightly less sweet than you think, then build. For acidity dynamics, balance bright rice vinegar with a touch of Worcestershire or soy to add depth without sharpness. If the sauce reads flat, a pinch more acidity wakes it up; if it’s biting, soften with mirin or brown sugar. Keep adjustments small; a little changes the whole sauce. Trust your taste, tweak in small steps, and aim for lively, harmonized flavor that complements crispy chicken. Don’t overthink—let your instincts guide you, confidently.
Storage and Serving Tips

When stored right, your homemade tonkatsu sauce will keep its bright, balanced flavor for about 2–3 weeks in the fridge. Chill it in a clean jar with a tight lid, label with date and batch, and use a simple labeling system so you know what’s freshest. Keep sauce toward the back of the fridge where temperature stays steady and practice shelf rotation: move newer jars behind older ones so nothing gets forgotten. When serving, give the sauce a quick stir or shake; flavor can settle but revives easily. Reheat lightly if you prefer warm, but don’t boil. If you see off smells, cloudiness, or mold, toss it. These habits keep your katsu dipping-ready and safe. Store leftovers separately from raw foods for extra safety.
Air Frying Tips for Maximum Crispiness
Preheat your air fryer and don’t crowd the basket so hot air can crisp every piece. Give the cutlets a light spray of oil to boost browning without making them soggy. For extra crunch, double-coat with panko—press it on firmly and air-fry in a single layer until golden.
Preheat and Avoid Crowding
Because air fryers rely on fast, even air circulation, you’ll get the crispiest katsu if you let the basket heat up and give each cutlet room to breathe—no stacking or crowding. Preheat for a few minutes so cooking starts at the right temp; you’ll avoid soggy centers and uneven browning. Lay pieces single-layer with space around edges, flipping halfway for balanced color. If you’re making extra portions, use batch scheduling: cook in successive batches rather than cramming the basket. That actually improves texture and maintains energy efficiency, since each batch cooks predictably and finishes properly. Don’t rush by overfilling; patience pays off with golden, crunchy katsu that’s consistent from edge to edge. You’ll love the results and serve it immediately for best crunch always.
Light Oil Spray
You’ve got your basket arranged—now give the cutlets a light mist of oil to kick-start browning and crisp the panko without greasiness.
| Feeling | Result |
|---|---|
| Excited | Golden |
| Confident | Proud |
Use an even spray so crumbs toast, not soak; you’ll get golden crunch with minimal oil. Pick aerosol selection wisely—choose high-heat food sprays. Check labels and follow safety precautions: don’t spray near the element, hold can upright, and ventilate. Flip halfway for even color. You’ll be proud when pieces emerge bronzed, not greasy. Small measured mists lift texture and aroma, making dinner feel special. Don’t overdo it; a couple short bursts around each cutlet deliver consistent coverage, and you’ll avoid soggy spots while getting that irresistible, restaurant-style crunch at home every single week with minimal fuss and oil.
Double-Coat With Panko
Double-coat your cutlets for ultra-crispy, restaurant-style katsu that holds up in the air fryer. First dip in seasoned flour, then beaten egg, press a generous layer of panko, repeat egg and finish with another panko press so the crumbs adhere. That double layer locks moisture, prevents early browning, and gives you an even golden crust that echoes katsu’s culinary origins. Use coarse panko for extra crunch and don’t pack it too tight — you want airy texture and maximum visual appeal. Work quickly so the coating stays dry, and let cutlets rest briefly before air frying to set the crust. Lightly spray oil between coats for color without sogginess. You’ll get crispy, authentic-looking katsu every time. Serve immediately with tangy tonkatsu sauce on side.
Serving Suggestions and Side Dishes

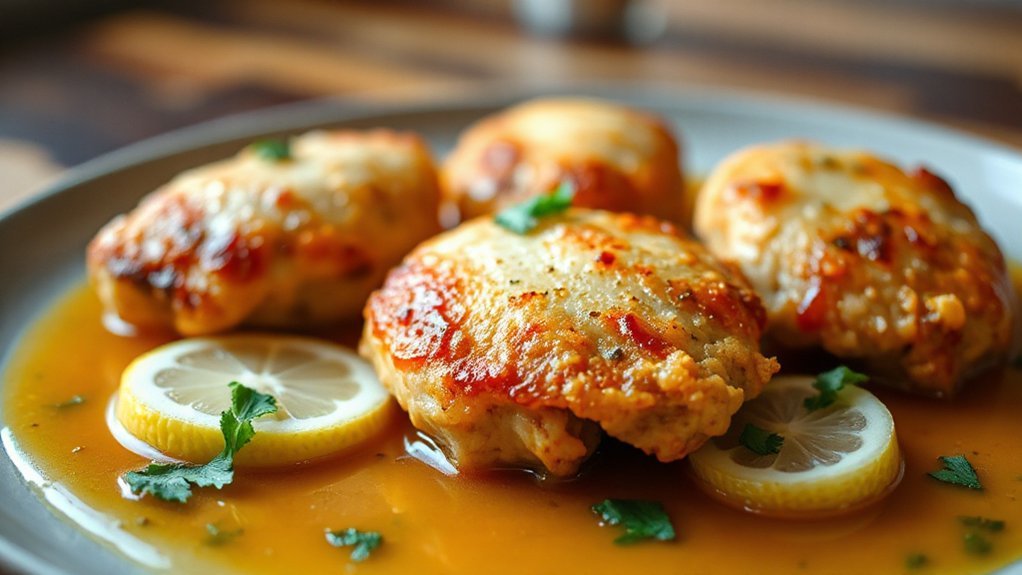
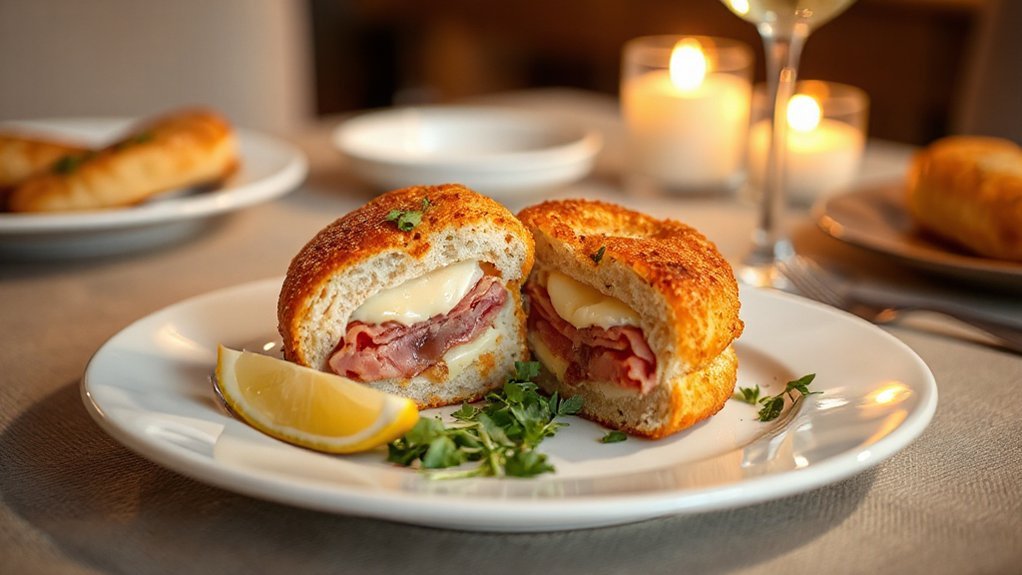
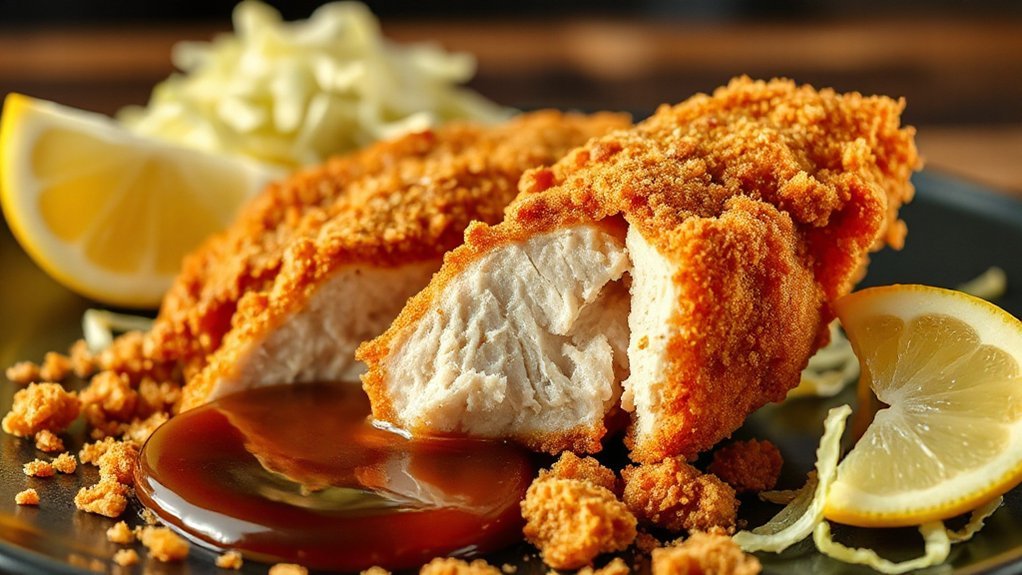
For a classic combo, serve hot chicken katsu on steamed rice with tangy tonkatsu sauce, a mound of shredded cabbage, and a squeeze of lemon so every bite stays bright and crunchy. Add Pickled Garnishes—quick pickled cucumber, daikon, or ginger—to cut richness and add color. Offer miso soup or a light seaweed salad for a comforting base, and toss edamame or blanched broccolini with sesame for texture.
Think about contrast: silky rice, crisp katsu, acidic pickles, and crunchy veg. For Drink Pairings, choose cold lager, a crisp dry riesling, or iced green tea to refresh the palate between bites. If you want a casual spread, slice katsu for sliders with slaw and spicy mayo, or serve family-style with bowls of rice and shared condiments. Keep plates simple, balance flavors, and let the katsu shine. Finish with sesame seeds and scallions for aroma and a satisfying visual pop always.
Make-Ahead, Storage, and Reheating
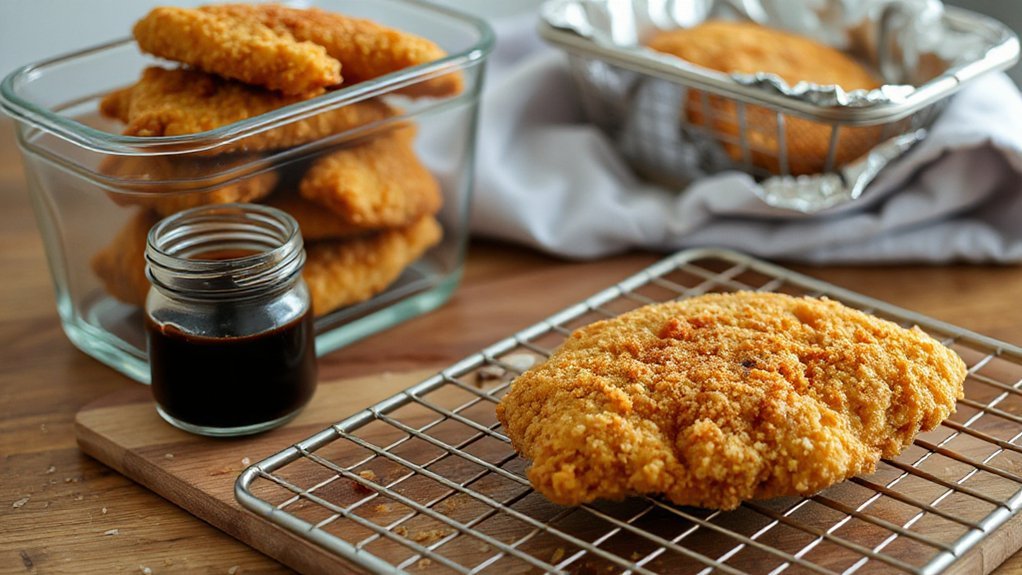
When prepping katsu ahead, plan so you can keep the crust crisp and the meat juicy: cook and cool the cutlets, then store them in a single layer in an airtight container with paper towels between pieces in the fridge for up to 3 days, or freeze on a tray then transfer to a freezer bag for up to 1 month. When you refrigerate, follow simple Labeling Protocols: date and contents so you use oldest first. For reheating, air fryer restoration is best—preheat to 375°F and heat 5–7 minutes until hot and re-crisped. If you must use a microwave, use Microwave Crisping hacks: zap briefly then finish in the air fryer or under a broiler. Pack lunches with a paper towel to absorb steam. Quick tips:
- Reheat from frozen: 390°F, 8–10 minutes.
- Thawed: 375°F, 4–6 minutes.
- Store sauce separately to avoid sogginess.
Enjoy crispy katsu.
Conclusion
When you bite into your golden air‑fried katsu, you’re holding more than dinner — you’re cradling a little bridge between busy days and calm nights. The crisp crust is a crisp flag, the tangy tonkatsu like a sunset dipping into soy-sweet seas. Keep this ritual handy: it’s quick comfort that sings, folds leftovers into lunches, and reminds you that simple, crunchy joy is always within reach. Make it, share it, brighten your ordinary evenings together.