
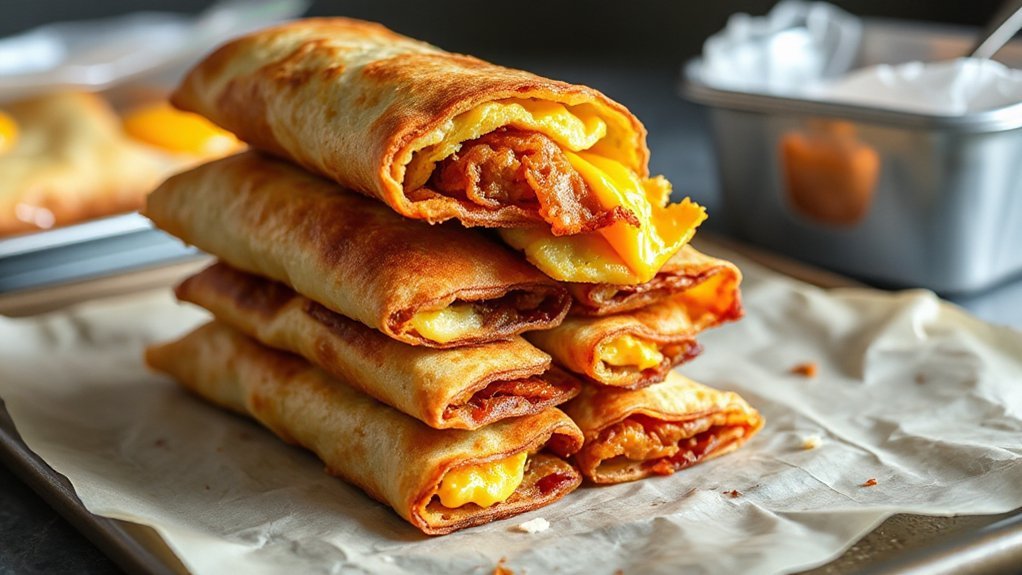
You can batch‑make crispy, freezer‑friendly breakfast taquitos in the air fryer that reheat golden and crunchy all week. Use warmed tortillas, modest portions of cooked fillings (eggs, sausage, tofu, or sweet potato + beans), and a light brush of oil to avoid soggy seams. Flash‑freeze single layer, bag or vacuum‑seal, then air fry frozen at 375°F about 10–14 minutes, flipping halfway. You’ll get consistent results and meal‑prep ease—keep going to see tips, times, and troubleshooting.
Why Air Fryer Taquitos Work for Meal Prep
Crisping taquitos in the air fryer gives you reliably crunchy, evenly cooked results that hold up well for several days. When you’re prepping breakfasts ahead, the air fryer shines because it cooks fast, uses less oil, and re-crisps frozen taquitos better than ovens or microwaves. You’ll appreciate the Batch Scalability: you can double or triple trays, keep timing consistent, and still get uniform browning without babysitting. That predictability makes portioning and labeling a snap, so breakfasts stay grab-and-go. Portability Benefits matter too — once cooled and packed, taquitos travel without sogginess, fitting lunchboxes, work bags, or weekend coolers. Reheating in the air fryer restores texture in minutes, so you’re not stuck with limp leftovers. Overall, this method saves time during busy weeks, reduces waste by storing extra servings, and gives you a dependable, tasty option for quick mornings. It’s simple to scale and reliably delicious every single time indeed.
Ingredients You’ll Need
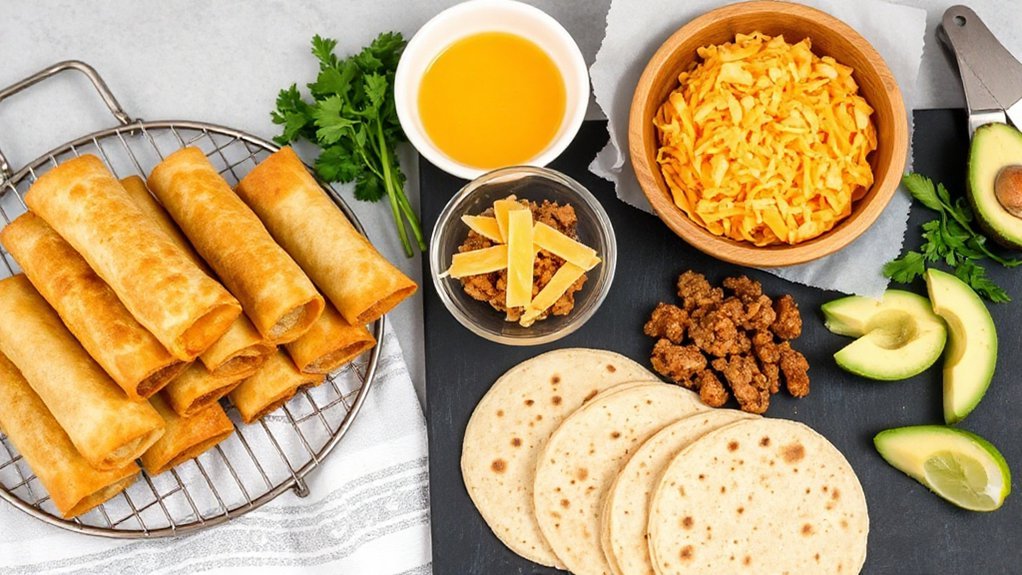
You’ll only need a handful of staple ingredients to get started: small flour or corn tortillas, eggs (or a plant-based scramble), shredded cheese, and your choice of cooked fillings like breakfast sausage, bacon, or sautéed veggies. Add a little oil or cooking spray to crisp them, salt and pepper, and any simple spices you like—cumin or smoked paprika work great. If you prefer cleaner labels, look for organic options for tortillas, eggs, and cheese to reduce additives. For meal prep, grab resealable bags or freezer-safe containers so portioning’s easy. You’ll also want basic tools: a bowl, whisk, spatula, and an air fryer basket. Before you assemble, consider a quick nutritional breakdown per taquito so you know calories, protein, and fat for smarter meal planning. These basics keep the recipe flexible, fast, and firmly freezer-friendly without complicating your mornings. You’ll love how simple prepping these becomes over busy weeks.
Filling Ideas and Variations
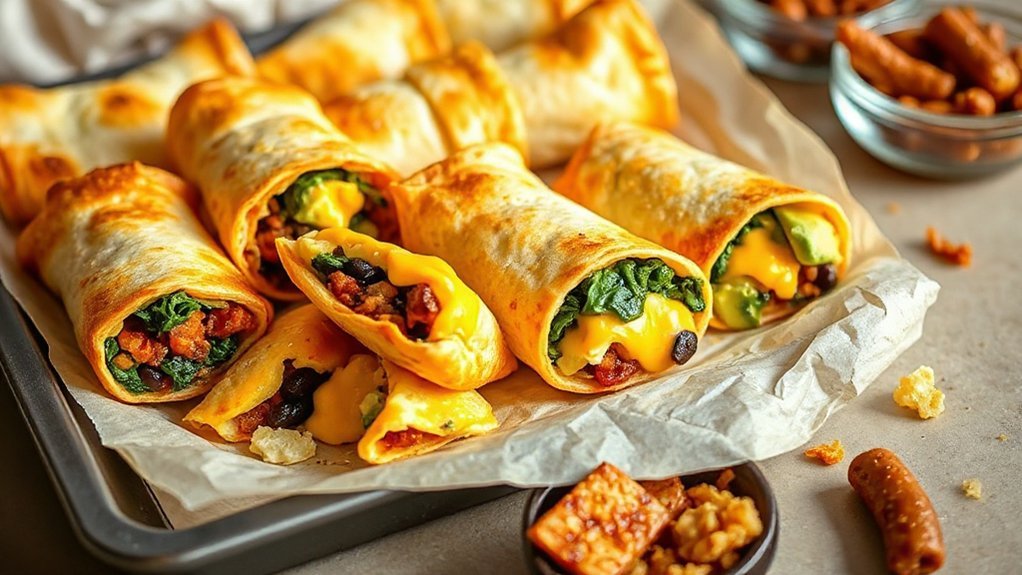
Many tasty fillings will keep your breakfast taquitos interesting all week—mix and match proteins like scrambled eggs, chorizo, sausage, or tofu scramble with cheese, sautéed peppers and onions, spinach, or roasted sweet potato. You can explore Global flavors by adding curry-spiced tofu, Mexican-style chorizo with cilantro and lime, or Mediterranean feta with olives. For comfort, lean on Cheesy combos—pepper jack with green chiles, cheddar and scallions, or queso fresco with roasted corn. Keep fillings balanced: protein, veg, and a touch of fat for flavor. If you prep for the freezer, cool fillings completely and portion modestly to avoid soggy centers. Want inspiration? Try these combos:
- Mexican: chorizo, scrambled egg, pepper jack, salsa verde.
- Veg-forward: tofu scramble, spinach, mushrooms, feta.
- Sweet-savory: roasted sweet potato, black beans, cheddar, chipotle.
Rotate fillings through the week so you never get bored. Freeze portions flat; reheat until crisp and warmed.
Step-by-Step Assembly Guide

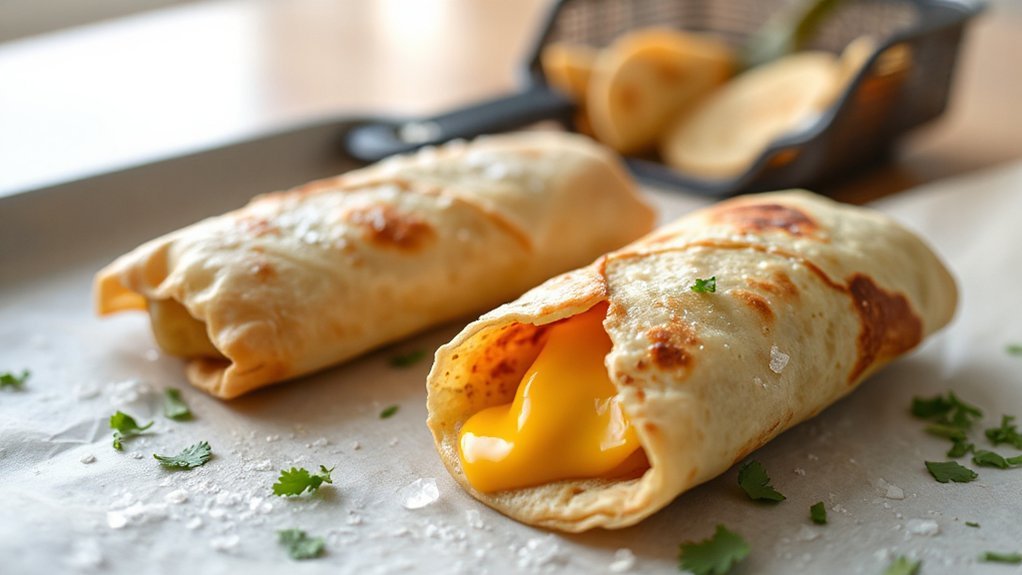
Start by warming your tortillas so they bend without cracking—heat them in the microwave for 15–20 seconds wrapped in a damp towel or briefly in a skillet. Set up an assembly station with your fillings, a bowl of water, and a lined baking sheet. Spoon about 2–3 tablespoons of filling onto each tortilla near the edge, leaving room to roll. Dip your fingertip in water and run it along the far edge to seal. Fold the edge over the filling, then roll tightly toward you, maintaining a steady Rolling rhythm so each taquito looks uniform. Place seamside down on the sheet. Repeat, working in batches to keep the tortillas pliable. If you want crispier results, brush or spray lightly with oil before air frying. Clean as you go and adjust filling amounts if a taquito bulges. You’ll have a neat, efficient process that makes meal prep quick and satisfying.
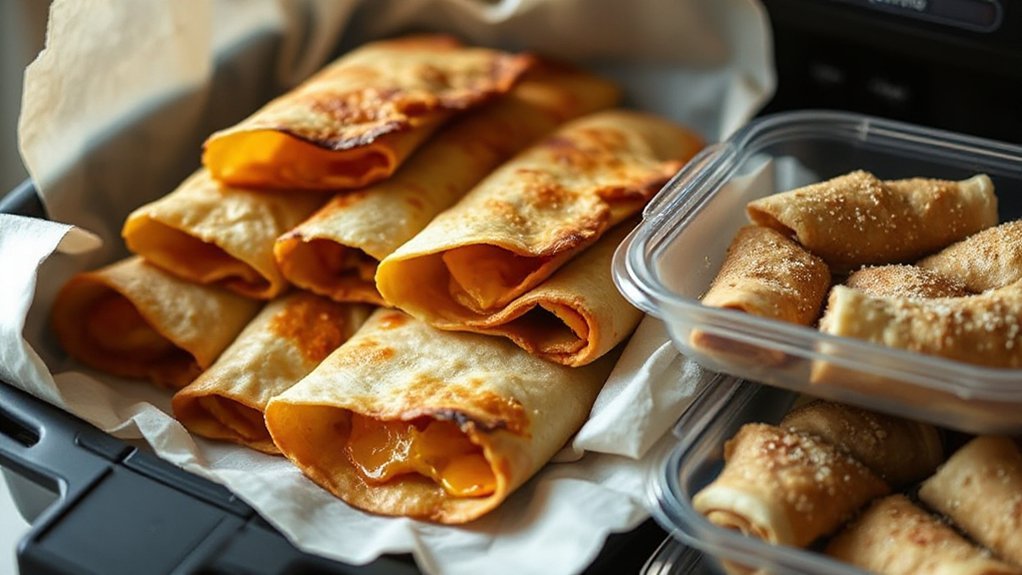
Freezing and Storage Tips
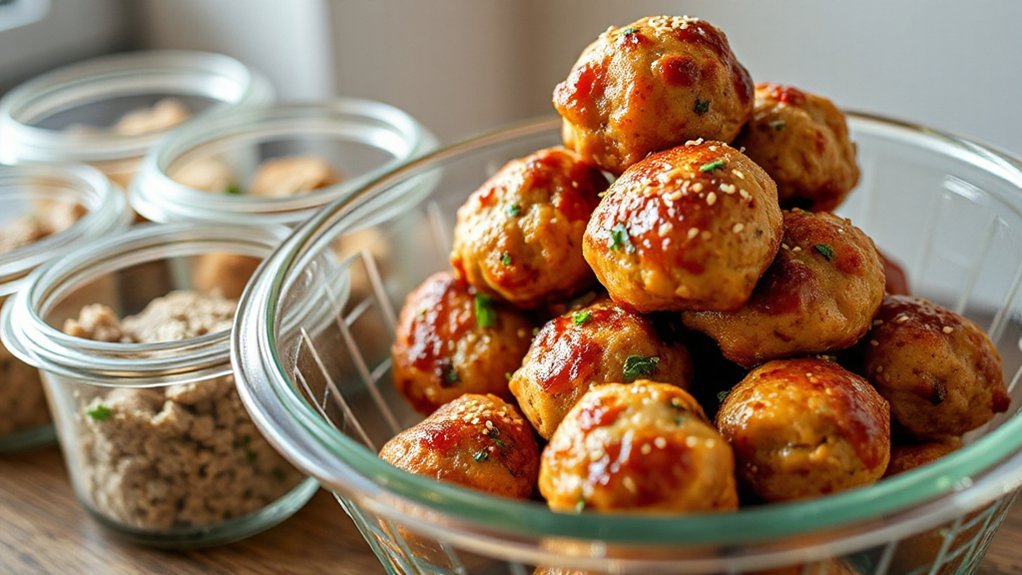
You can freeze taquitos for quick breakfasts—flash-freeze them on a tray, then transfer to a labeled airtight bag so they don’t stick. When you’re ready to eat, thaw overnight in the fridge or go straight from frozen for a faster option. Reheat in the air fryer at 375°F for about 6–10 minutes, flipping once, or finish in the oven if you want extra crispness.
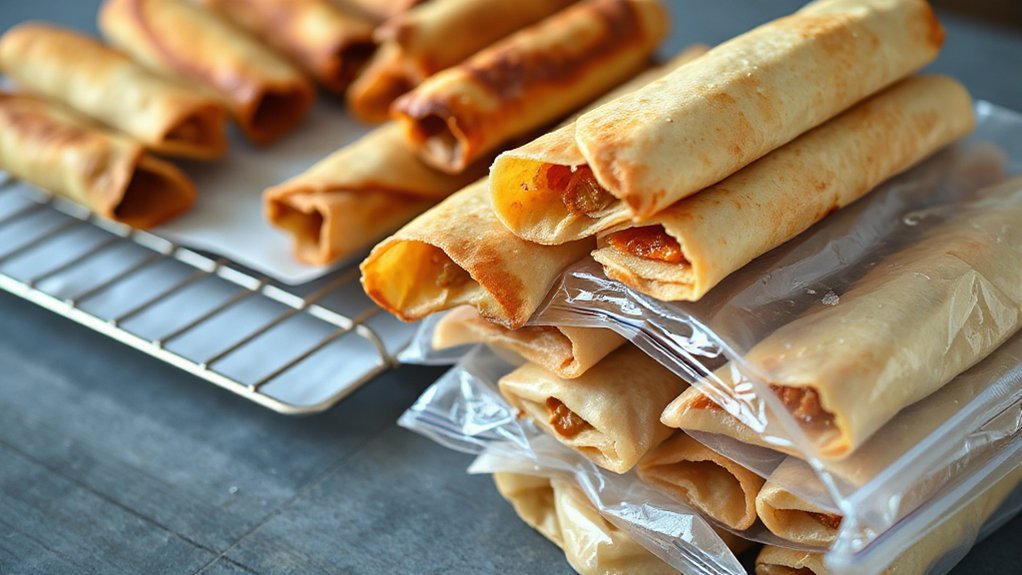
Proper Freezing Steps
Prepping taquitos for the freezer keeps them tasting fresh and prevents sogginess later: lay cooled, fully cooled taquitos on a parchment-lined sheet without touching, flash-freeze until firm (about 1–2 hours), then transfer them to a zip-top bag or airtight container—squeeze out as much air as you can or vacuum-seal, label with the date, and store flat in the freezer for up to 1–2 months for best quality. To avoid big ice crystal formation that ruins texture and encourages protein denaturation, freeze quickly and keep packages airtight.
- Flash-freeze single layer until firm.
- Remove air, seal tightly or vacuum.
- Label date and organize flat.
Handle gently and keep portions meal-ready so you can grab-and-go without extra fuss. It’s easy and saves you time.
Thawing and Reheating
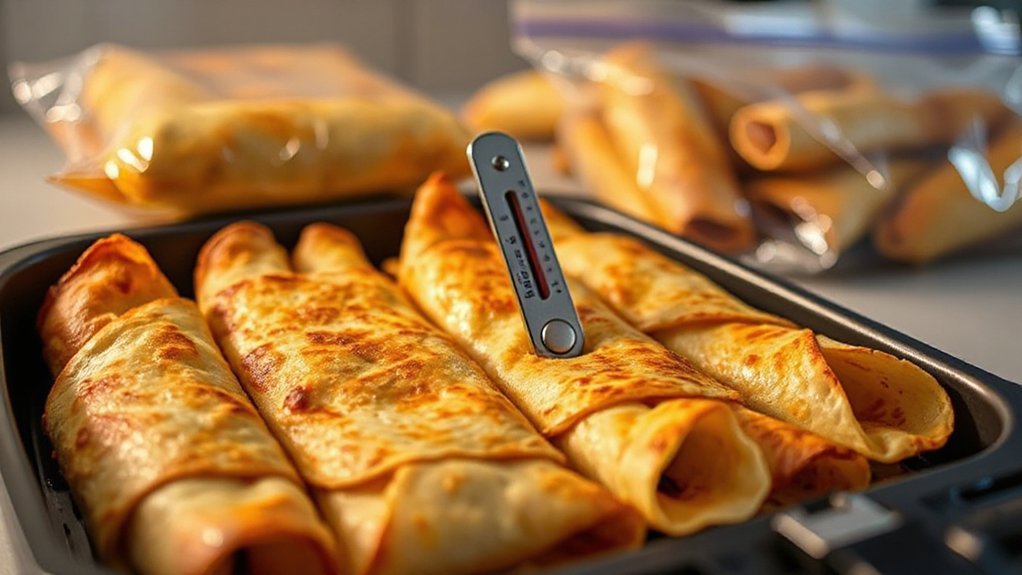
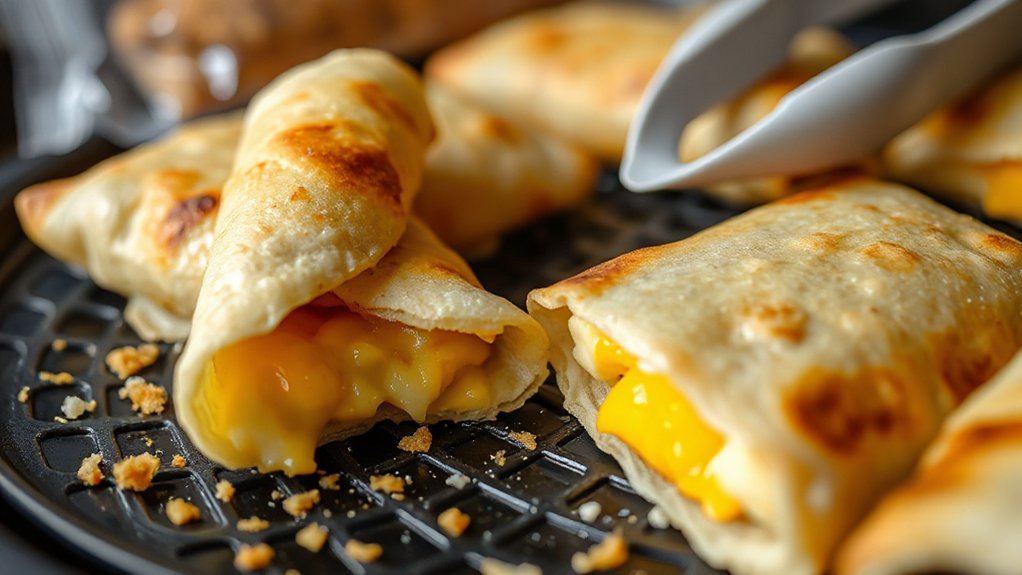
Once your taquitos are packed and frozen flat, reheating is fast and forgiving—whether you pull them straight from the freezer or thaw them first. If you’re short on time, reheat frozen taquitos in the air fryer at 375°F for about 10–14 minutes, flipping halfway, until crisp and hot. For gentler reheating, thaw in the fridge overnight, then air fry 6–8 minutes. If you must use a microwave, follow microwave safety: zap briefly to warm the center, then finish in the air fryer or oven to restore crunch. Let taquitos sit a minute after cooking; carryover cooking will raise internal temperature a few degrees. Store leftovers in the fridge up to four days or freeze again for two months. Reheat only once for best quality.
Air Fryer Cooking Times and Temps
Temperature controls texture, so you’ll dial it higher for extra-crispy shells and lower if you want a softer bite. You should also shorten or lengthen cook time depending on wet, chunky, or frozen fillings to avoid soggy centers or scorched edges. Preheat the basket, don’t overcrowd it, and give the taquitos space (or a quick shake) so hot air can circulate evenly.
Temperature Vs Texture
If you want crispy edges and a tender filling, dial in the right heat and time. You’ll use temperature to control texture: higher temps promote rapid moisture loss and browning; moderate temps let proteins and starches transform without drying out. Protein Denaturation firms eggs and meats; Starch Gelatinization softens and binds fillings. Aim for balance so tortillas crisp while interior stays moist.
- 375°F — fast crisp, watch closely.
- 350°F — steady browning, reliable moisture.
- 325°F — gentler cook, softer tortilla.
Try one setting, observe color and feel, then tweak. You’ll learn the sweet spot for your air fryer and get consistent, craveable taquitos every batch. Keep a light spray of oil handy to boost browning without overwhelming the filling or adding sogginess at home.
Time Adjustments for Fillings
Because fillings vary so much in moisture and density, you’ll need to tweak cook times more than temps to get the interior hot without overbrowning the tortilla. You’ll test denser fillings like potatoes or sausage about 2–3 minutes longer; wetter fillings like ricotta or salsa need shorter bursts and a brief resting interval so steam evens heat. Use scheduling buffers when planning batches so frozen taquitos warm fully without rushed crisping. Check centers with a thermometer or break one open midway. Adjust by 25–50% of a baseline time for thicker fillings. Let rested taquitos sit 1–2 minutes after cooking to finish heating. Repeat and note times for each filling so you nail consistent results every prep day.
| Filling | Adjustment |
|---|---|
| Potato | +2min |
| Sausage | – |
| Ricotta | -1min |
| Salsa | – |
Preheat and Airflow Tips
After you’ve dialed in filling times, nailing preheat and airflow will make those adjustments consistent every batch. You should preheat your air fryer for a few minutes so baskets reach temp. Good airflow crisps shells evenly; don’t overcrowd. Watch Rack placement — middle gives balanced browning, top gives extra crisp, bottom gives gentler finish. If your model offers Convection settings, use standard convection but lower temperature 10–15°F if things brown too fast. Flip taquitos halfway for uniform color. Quick checklist:
- Preheat time consistent.
- Space: single layer, gaps between taquitos.
- Controls: use Convection settings smartly, adjust temp down if needed.
Practicing these steps will shave guesswork, keep texture consistent, and let you batch-cook freezer-friendly taquitos with dependable crispness every time without extra effort now.
Reheating From Frozen or Thawed
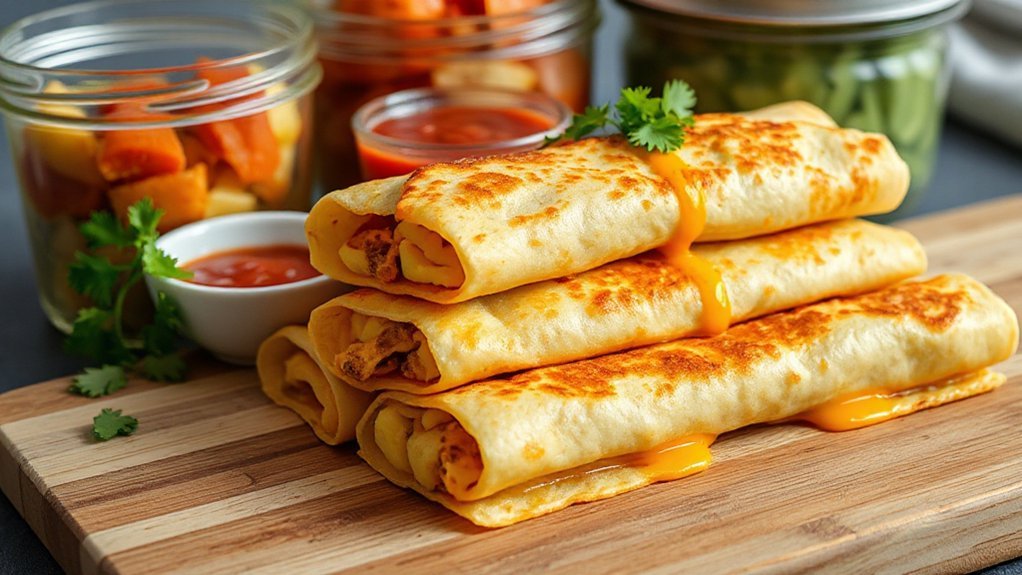
When you’re ready to reheat taquitos, the air fryer gets them crisp again fast — just adjust time and temperature based on whether they’re frozen or thawed. For frozen taquitos, preheat to 400°F and arrange in a single layer with space for airflow; heat for 10–12 minutes, flipping halfway, until internal temp reaches 165°F and shells are golden. For thawed ones, drop temp to 350°F and crisp for 6–8 minutes, checking at 5 to avoid over-browning. Don’t overcrowd the basket — do batches if needed. If you packed them stacked, separate before reheating so steam doesn’t sog them. Once hot, let them rest a minute; fillings settle, avoiding burns. Pair them with Sauce Pairings like chipotle crema, salsa verde, or tangy yogurt dip. For Serving Presentation, line a platter with greens, arrange taquitos upright, and add small bowls of sauces and lime wedges. Enjoy away for best texture.
Make-Ahead Weekly Meal Plan Ideas
If you love the convenience of reheating a batch of taquitos for busy mornings, planning your week around make-ahead breakfasts will save time and stress. Set aside one cooking session to prepare taquitos, egg muffins, and yogurt parfait components so you’ll grab-and-go. Use grocery batching for shopping—buy proteins, tortillas, and toppings in bulk—and organize your fridge so items are visible and ready. Keep a pantry rotation so older staples get used first and nothing goes to waste.
- Prep: Cook taquitos, portion, and freeze labeled for each weekday.
- Mix-and-match: Pair taquitos with fresh fruit, salads, or smoothies.
- Reheat routine: Thaw overnight or air-fry from frozen for crisp results.
You’ll feel calmer each morning with meals prepped, a simple reheating plan, and ingredients rotated. This approach keeps variety, saves money, and turns hectic breakfasts into an easy, tasty habit. Switch themes weekly to keep breakfasts exciting always.
Troubleshooting Common Issues
While a batch of perfectly crispy taquitos is totally achievable, you’ll sometimes hit issues like soggy centers, split seams, or uneven browning—here’s how to fix them fast. If centers stay soggy, cut fillings dryer next time: drain excess moisture, cool any cooked eggs completely, and use a touch of shredded cheese to absorb liquid. For split seams, don’t overfill and brush edges with a little beaten egg to seal. Uneven browning usually means overcrowding; give taquitos space and shake the basket halfway through. If your air fryer seems faulty, check for cleaning residue on heating elements and racks, which can block airflow; unplug before wiping with a soft cloth. Keep the manual handy so you’re aware of warranty coverage and safe-cleaning steps. If problems persist, contact customer support before attempting repairs. These quick fixes keep your meal prep smooth and your taquitos consistently crispy every single time enjoy
Conclusion
You’ve got this—crispy air fryer taquitos make meal prep feel like a breeze, saving mornings and satisfying cravings all week. Mix and match fillings, freeze in batches, and reheat straight from frozen for a fast, flavorful breakfast. With a little practice, you’ll nail cooking times and avoid soggy shells. Keep tips handy and treat your freezer like a breakfast treasure chest; small prep now means big wins later. Enjoy quick, crunchy bites every single morning.


