Pull up a chair — we’ve got a friendly, no-fuss plan for crisp, speedy weeknight meals. We’ll show you how hot air works faster than a slow roast and why a compact cooker often gives better browning. Shortcuts, simple math, and a handy conversion chart mean less guesswork — and more dinner on the table.
We keep it plain: drop your temp about 25°F and shave roughly 20% off the time. Peek mid-cook and give space around pieces so that air can swirl. Use a perforated or raised tray for even browning — that trick helps mimic the crisp you love.
We’ll walk through recipes like roasted potatoes and quick chicken — and flag small fixes that make a big difference. This guide is warm, practical, and ready for real kitchens. Try our air fryer conversion tips, then tweak for your model and taste — y’all will feel confident fast.
Key Takeaways
- Lower temp ~25°F and cut time by ~20% as a starting point.
- Keep food spaced so hot air circulates for even crisping.
- Perforated or raised trays improve browning in convection setups.
- Use a simple conversion chart and check mid-cook for best results.
- Small tweaks — spritz oil, preheat, avoid crowding — boost texture.
Why convert oven recipes to the air fryer right now
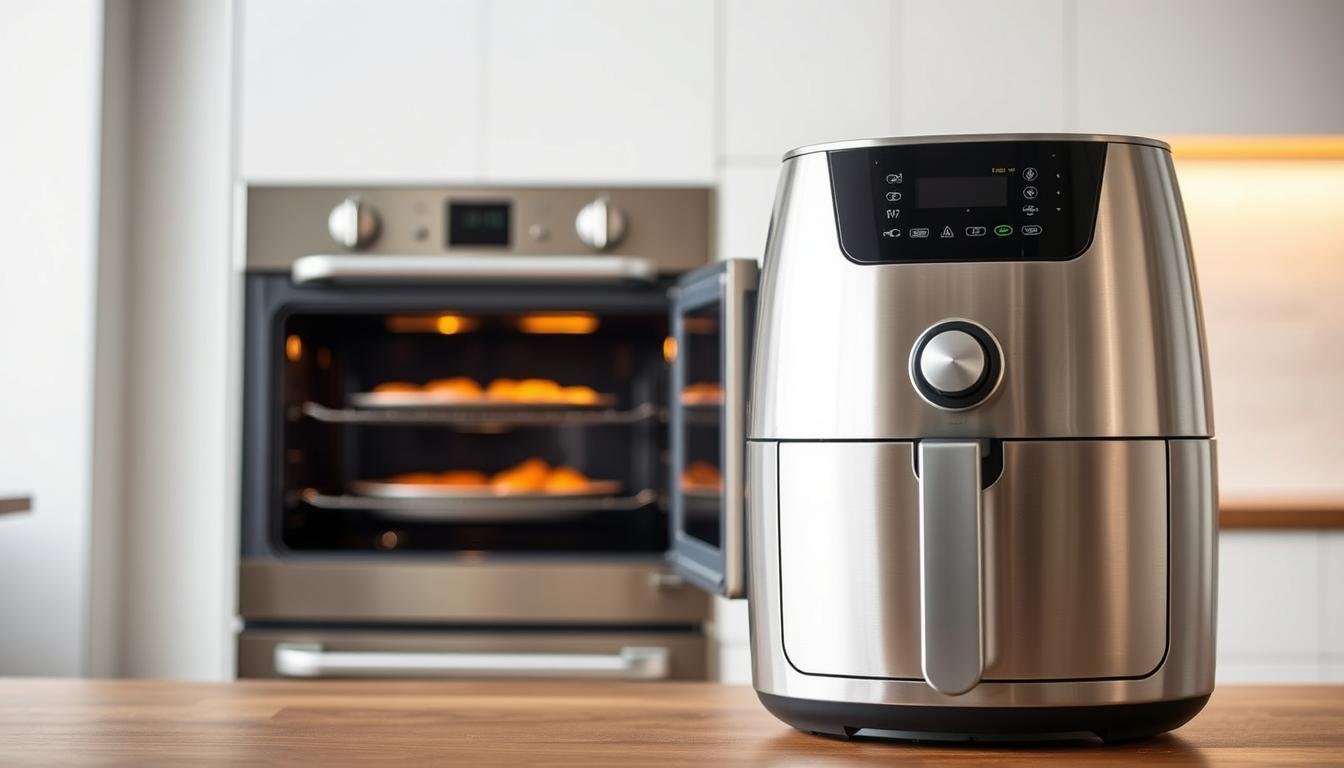
If you want dinner faster and lighter, this switch is a small, mighty win. We love how an oven air fryer setup chops the cooking time and trims oil without stealing crunch.

Air fryers heat fast and use a compact chamber, so food browns evenly with less fuss than a conventional oven. That fan action means about a 20–25% time savings on many dishes—hello, faster weeknights!
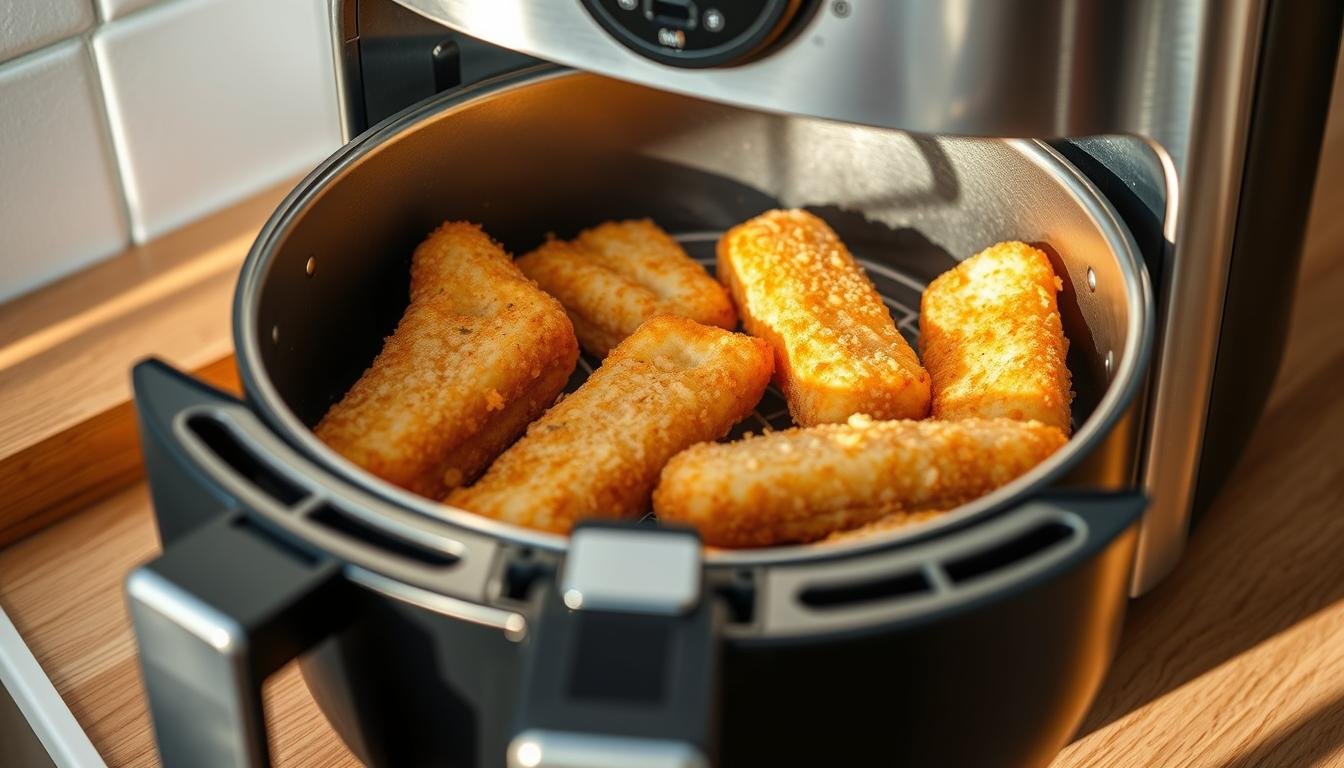
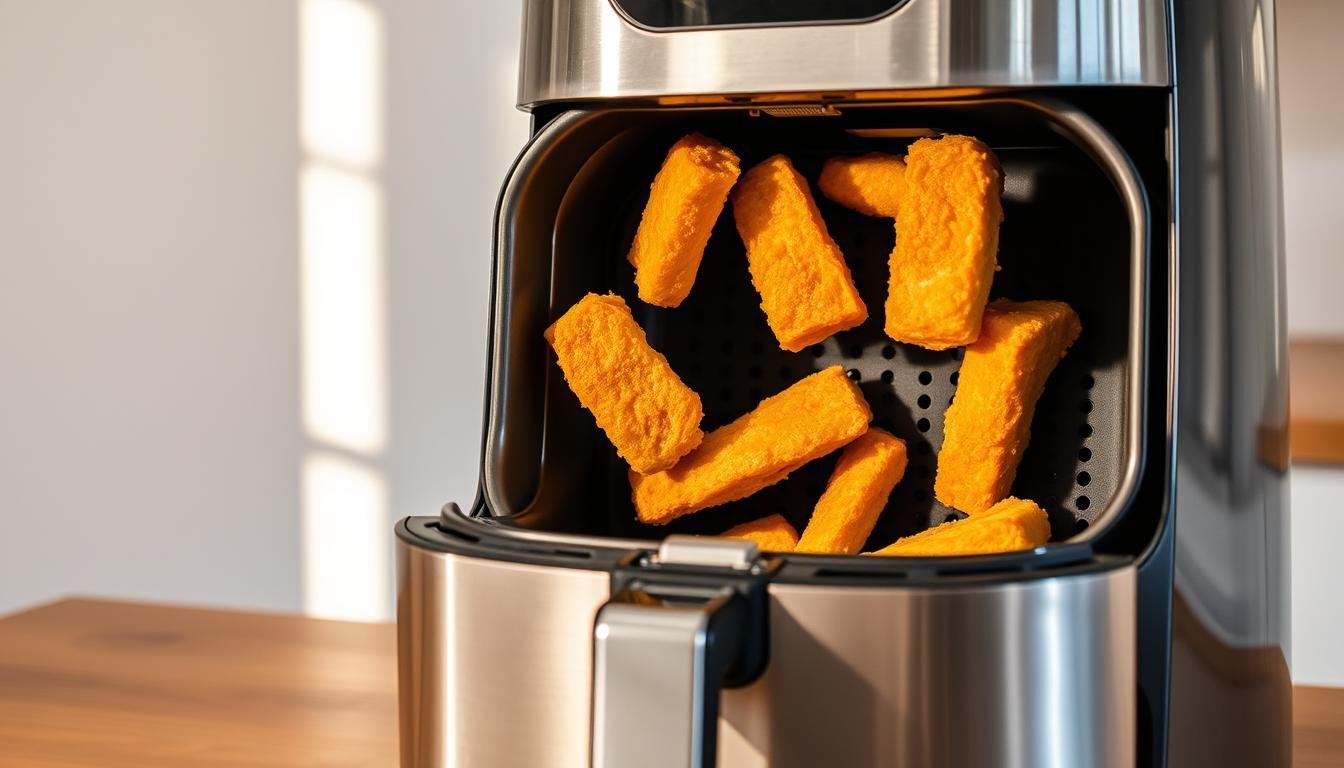
They’re energy-smart and versatile. We toss in veggies, chicken, and even small baked treats. Frozen bags work great here—crispy edges, soft centers, and minimal babysitting.
- Less oil, same crunch: Great when you want fried-style texture without deep-frying.
- Cleaner and quicker: Non-stick baskets wipe down fast, so you relax sooner.
- Big flavor, small fuss: From snacks to full meals, fryer recipes stretch pantry staples.
Quick guide tip: Lower temperature a bit, shave some time, and check early. That simple trio keeps you confident while you’re getting used to using air for frying and cooking.
Converting oven to air fryer: the core rules and what changes
Here’s the short list of changes that give you crisp, quick results every time. We’ll explain why hot air speeds things up and the simple swaps to keep food from over-browning.

Hot air circulation vs. conventional heat: why food cooks faster
Hot air moves constantly inside a compact chamber. That steady flow transfers heat faster than still air in a conventional oven. The result? Faster browning and even cooking.
The golden rule: lower temperature and reduce cooking time
Drop the cooking temperature by about 25°F (15–20°C). Then shave roughly 20–25% off cooking time. Start checking early so you don’t overdo it.
“Drop temp first, then cut time. Flip or stir mid-cook for even color.”
- Thicker cuts may need a bit more time despite the faster heat.
- If browning runs ahead of doneness, lower temperature a notch and add a few minutes.
- Use this conversion as a baseline and jot down your best times for each recipe.
| Change | Why it helps | Quick tip |
|---|---|---|
| Lower temperature ~25°F | Prevents over-browning | Check 5–10 minutes early |
| Cut time 20–25% | Faster hot air transfer | Flip half-way for even crisp |
| Single layer & space items | Allows air circulation | Use raised tray or basket |
Step-by-step guide: how to convert your oven recipe for an air fryer
Let’s walk through each step so your next meal comes out crisp and confident. We’ll keep it simple — small changes, big payoff.

Preheat and set temperature
Preheat first. A few minutes warms the chamber so food starts crisping right away. Then set your temperature about 25°F (15–20°C) lower than the recipe calls for. That lower temperature helps prevent over-browning while the air moves fast.
Cut time and check midway
Trim the cooking time by roughly 20–25%. Plan a midway peek — flip, stir, or shake so heat reaches every piece. This is where using air fryer technique really shines.
Load in a single layer and space the basket
Keep food in a single layer. Crowding traps steam and slows browning. If needed, cook in two batches so everything gets that lovely crisp.
Verify doneness
Grab a digital instant-read thermometer and make sure internal temps hit safe numbers. A light oil spritz helps color and stops sticking — no heavy drenching needed.
“Lean on small tweaks — lower temp, less time, and a halfway check — and you’ll hit golden, every time.”
| Step | Why it helps | Quick tip |
|---|---|---|
| Preheat | Even starting temperature | 2–3 minutes before loading |
| Lower temperature ~25°F | Prevents over-browning | Use recipe temp minus 25°F |
| Cut time 20–25% | Matches faster heat transfer | Check at 2/3 of original time |
| Single layer & space basket | Promotes air circulation | Cook batches if needed |
Air fryer conversion chart and real-world examples
We’ve put the math into a tidy chart so you can get dinner right the first time. Use this as a quick starter for temp and time swaps and then tweak for your model.

Quick chart: common temp swaps (°F/°C)
| Oven temp | Set air fryer | Why |
|---|---|---|
| 150°C / 302°F | 135°C / 275°F | Gentle heat, same browning |
| 175°C / 347°F | 165°C / 330°F | Quicker crisp, less burn |
| 205°C / 401°F | 190°C / 375°F | High heat without over-browning |
Time conversion and worked examples
Time math: 60→48, 45→36, 30→24, 20→16, 15→12, 10→8 minutes.
Roasted potatoes: Conventional oven 200°C/400°F for 30–35 min → air fryer conversion 180°C/356°F for 20–25 min. Toss with a little oil, salt, and pepper.
Chicken: If an oven recipe lists 20 min at 400°F, start near 16 min at 375°F and check internal temp.
“Drop about 25°F (15–20°C) and shave ~20% off the cooking time as your baseline.”
- Veggies: single layer, shake once, light oil spritz.
- Use this chart as a baseline — fan strength and load change final times.
- Keep notes of your favorite recipes and times for fast weeknight wins.
Dialing in time and temperature for best results
Nailing timing and heat is the secret to golden, juicy results every night. We’ll show simple, friendly steps so you get crisp outsides and tender insides.
Portion size and basket load matter. Bigger pieces need more time. Thick cuts take longer than thin ones. If you crowd the basket, hot air slows and browning stalls.
Portion size, basket crowding, and model variability
Different air fryers run hotter or cooler. Learn your model’s mood by testing once or twice. Leave gaps so air can dance around the food.
When to check early, flip/stir, and adjust on the fly
Check at about halfway. Pause, flip, or stir for even color. If you see fast browning, lower temperature a notch and add a minute or two.
- Thicker cuts and big portions: add gentle minutes from baseline.
- Crowded basket slows airflow—cook batches if needed.
- Light spritz of oil fixes pale spots—just a kiss, not a soak.
- Keep a digital thermometer handy to hit safe temps without drying food out.
“Start with the conversion baseline, check halfway, and tweak—small changes make a big difference.”
Know your air fryer type and essential tools
Start by spotting what kind of unit you own, then gather a few small tools that do big work. We’ll walk through models and must-have bits so you feel set up and calm.
Basket, dual-zone, paddle, and oven-style: what changes in use
Basket models heat quick and shake well — great for everyday cooking. Dual-zone units let us run protein and sides on separate timers.
Paddle-style machines stir for you. They’re perfect for fries and small veggies, but skip them for delicate bakes.
Oven-style units hold more. Use a perforated or raised tray so hot air moves under the food for even color.
Perforated trays, parchment, and silicone-tipped tongs
Parchment liners save sticky bottoms on cookies and fragile batters. A raised tray improves browning and airflow.
Silicone-tipped tongs are our handy friend — flip without scratching and control pieces in tight spaces.
Thermometers and pause features for precision and safety
A digital instant-read thermometer gives peace of mind. Hit safe temperature points without overcooking.
Use the pause feature for mid-cook checks. It keeps things neat and lets us flip or stir without a rush.
| Type | Best use | Airflow note | Tool tip |
|---|---|---|---|
| Basket | Everyday crisping | Strong, direct flow | Shake or flip midway |
| Dual-zone | Multi-item meals | Independent zones | Stagger timers |
| Paddle-style | Fries & small veg | Auto-stir action | Use for hearty pieces |
| Oven-style | Large batches | Layered racks need gaps | Perforated trays help |
“Know your model and pack a small kit — it’s the quickest path to steady, tasty results.”
Recipe-specific tactics: proteins, vegetables, and baked goods
We’re zooming in on recipe-level tips so your chicken, veggies, and cookies turn out just right. Small shifts in handling and timing make a big difference for different foods.
Chicken, fish, and meats: temps, single layer, and flipping
Keep proteins in a single layer. Flip once about halfway and verify doneness with a digital thermometer for juicy results.
Vegetables and frozen foods: shaking vs. stirring, light oil spritz
Veggies love a light oil spritz—shake or stir mid-cook so edges brown instead of steaming. Frozen foods cook fine from frozen; give them room and shake once.
Cookies and cakes: pans, foil covers, and shorter bake times
For cookies, preheat to 350°F and use a parchment-lined basket for 6–8 minutes in small batches. For cakes, pick a tall metal tin, cover with vented foil, then uncover and finish for about five extra minutes.
Convection oven “air fry” settings: how close you’ll get
Convection units can mimic air fry results if you use a perforated or raised tray. Note your cooking temperature and check the first run—then jot favorites for quick weeknight wins.
- Quick tips: chicken and meats—single layer; fish—gentle times; veggies—oil and shake.
| Food | Key move | Why |
|---|---|---|
| Proteins | Single layer & flip | Even heat, juicy inside |
| Vegetables | Spritz oil & shake | Bronzed edges, not steamed |
| Bakes | Small pans, vented foil | Stable rise, even finish |
“Make sure you watch the first run—note cooking temperature and flips for consistent success.”
Avoid these common mistakes when doing fryer conversion
A quick misstep can turn a crispy win into a soggy mess—so here’s what to avoid. We’ll keep it plain and helpful so you get steady results every time.
Don’t skip preheat. Cold starts make food pale and limp. A warmed chamber gets that first sear fast and helps reduce cooking time.
Keep the basket roomy. Crowding traps steam and kills crisp. Better to run two small batches than one sad, steamed plate.
Check halfway and mind your model
Stop and peek about halfway. Flip, shake, or stir so every side browns. Use the pause feature if your unit has it.
Not all units behave the same. Some run hot. Some are gentler. Use the conversion chart as a starting point, then peek early and tweak. A little machine-specific note saves experiments later.
Small oil, big payoff
A light brush or spritz of oil helps browning and keeps breading from drying. Don’t drown food—just a kiss will do.
- Watch sugary glazes—they darken fast; lower temperature if they rush to brown.
- Use a thermometer for proteins—no guessing, just safe, juicy results.
- Keep parchment weighed down; don’t block airflow with liners.
“A tiny tweak — preheat, space your pieces, and check halfway — fixes most problems.”
| Problem | Quick fix | Why it works |
|---|---|---|
| Cold chamber | Preheat 2–3 minutes | Immediate browning, less soggy food |
| Crowded basket | Cook in batches | Better air flow; even crisp |
| Fast browning | Lower temp slightly | Finish inside without burning |
Final tip: Use tools—thermometer and pause—lean on your notes, and treat the conversion as a friendly guide rather than gospel. We’ll keep tweaking with you until it’s just right.
Conclusion
Here’s the friendly recap — the few rules that make weeknight meals sing. Drop the temp about 25°F and shave roughly 20–25% off the time. Use the conversion chart as a starting point and check early with a digital thermometer.
Give food breathing room so hot air can move. Oil lightly for color and crunch. Whether you’re cooking chicken, potatoes, or cookies, small tweaks pay off.
Quick example: potatoes at 400°F for 30–35 min become about 356°F for 20–25 min in an air fryer. Convection or oven air setups get close with a raised, perforated tray.
Save your best times and trust your senses. Preheat, season, and make supper sing — we’re cheering you on!