We’ve tested settings so you don’t have to—and found a sweet spot that gives a golden outside and a tender inside. Set the unit to 375°F for boneless, skinless breasts and you’ll get reliable, juicy chicken with crispy edges.
Why this works: convection heat circulates faster than a regular oven, so a slightly lower degree gives better results. Aim for an internal doneness of 165°F. Many cooks pull at 155–160°F and let carryover raise it while the meat rests.
Flip halfway for even browning. Timings change by cut and size, but this way keeps dinner on time. We’ll walk you through minutes by piece, seasoning tips, oil amounts, and the top mistakes to avoid.
Key Takeaways
- 375°F is our go-to for boneless breasts—crispy outsides, tender insides.
- Pull at 155–160°F and rest to reach 165°F via carryover.
- Flip once midcook to brown evenly.
- Convection cooking often needs a lower setting than an oven.
- Avoid overcrowding, preheat, and guesswork for best results.
Why Temperature Matters for Juicy, Crispy Air Fryer Chicken
Temperature runs the show—set it carefully, and your meat comes out juicy inside with a crunchy outside every time. We rely on hot air circulation in these machines, so they cook faster and more evenly than an oven. That means you often need 25–50°F less heat for the same results.
The golden rule: make sure the internal temperature hits 165°F. Use an instant-read thermometer to prevent overcooking. Quick reads save moisture and worry.
- Higher heat crisps surfaces fast—best for thin pieces.
- Lower, steady heat protects thick pieces from drying out.
- Short preheat helps browning and consistent texture.
| Cut | Recommended Heat vs Oven | Why it Matters |
|---|---|---|
| Thin pieces | Medium-high (lower than oven) | Fast browning; prevents drying |
| Thick pieces | Moderate heat, longer time | Even doneness without burnt exterior |
| Frozen starts | Moderate heat, add minutes | Allows interior to reach safe internal temperature |
Best chicken air fryer temp: the sweet spot for consistent results
A single sweet spot hits golden edges without drying the meat out. We tested settings and found 375°F gives the best balance for boneless, skinless chicken breasts.
Why 375°F works: convection heat browns fast while keeping the inside tender. Start with even thickness—pound lightly if needed—so the breasts cook the same from edge to center.
Timing guide: small breasts 7–10 minutes, medium 10–12, large 12–16—flip halfway. Pull at 155–160°F and let rest 5–10 minutes so carryover reaches a safe 165°F.
Rub a touch of olive oil and season with salt, pepper, paprika, garlic, and onion powder. Preheat air fryer for a few minutes to kick-start crispness. Cook smooth side down first for prettier browning when you flip.
Remember—air fryers use convection, so you often need lower temperature than an oven. This simple recipe approach keeps things foolproof and tasty every time.

| Step | Setting | Why it matters |
|---|---|---|
| Preheat | 3–5 minutes | Helps surface brown fast and evenly |
| Cook | 375°F; flip halfway | Golden outside; juicy inside |
| Finish | Pull at 155–160°F; let rest | Carryover raises to 165°F for safe, juicy results |
Step-by-Step: How to Cook Chicken in the Air Fryer Today
Let’s walk through a simple, no-fuss method to get juicy breasts every time. We keep things steady so you can relax and enjoy supper.
Prep and pound for even thickness
Pound the breasts just a touch so they’re the same thickness. Even pieces cook steady and finish in the same minutes.
Dry brine and season
Sprinkle salt and chill 30 minutes to overnight for deeper flavor. Bring to room temp briefly before cooking.
Season with paprika, garlic powder, onion powder, and black pepper. Add a light kiss of oil so the rub sticks.
Set time and cook
Preheat to 375°F and place smooth side down. Start about 6 minutes, then flip chicken and cook 2–8 more depending on size.
Finish and verify doneness
Remove at 155–160°F and let rest 5–10 minutes so carryover reaches 165°F. Use an instant-read thermometer to avoid overcooking.
“A quick rest makes all the difference—juicier meat and less worry.”
- Pound lightly for even cook.
- Dry brine if you can—big payoff.
- Flip halfway to finish pretty side up.
- Check early—thickness, not clock, drives time.
Time and Temperature by Cut: From Breasts to Wings
Different cuts need different heat and minutes — here’s a quick map to help. Use these as guidelines and watch the internal temperature to finish safely.

Boneless and bone-in breasts
Boneless breasts: 375°F for about 8–14 minutes depending on size — thinner pieces cook fast. Pull at 155–160°F and rest so internal temperature reaches 165°F.
Bone-in breasts: 375°F for 30–35 minutes — flip halfway for even browning.
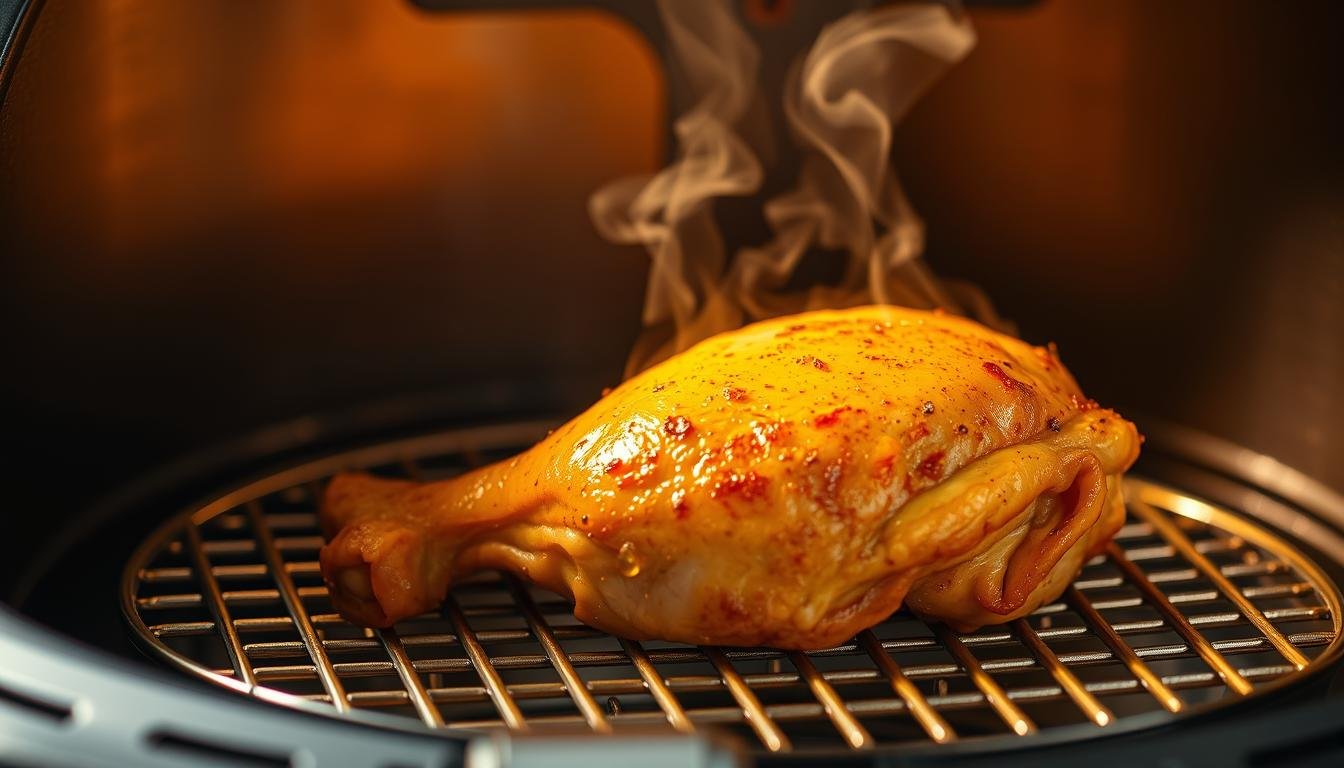
Thighs, wings, drumsticks, and whole birds
Thighs: 380°F — boneless 18–22 minutes; bone-in 25–30 — they stay forgiving and juicy.
Wings: 400°F for 20–25 minutes — shake the basket halfway for crisp skin.
Drumsticks: 380°F for 25–30 minutes — flip once and spot-check the thickest part.
Whole chicken: 360°F for 60–75 minutes — flip carefully and verify the breast hits 165°F.
- Give pieces room in the air fryer basket — crowding causes steaming, not crisping.
- Use minutes and heat as a guide — let the internal temperature call the final shot.
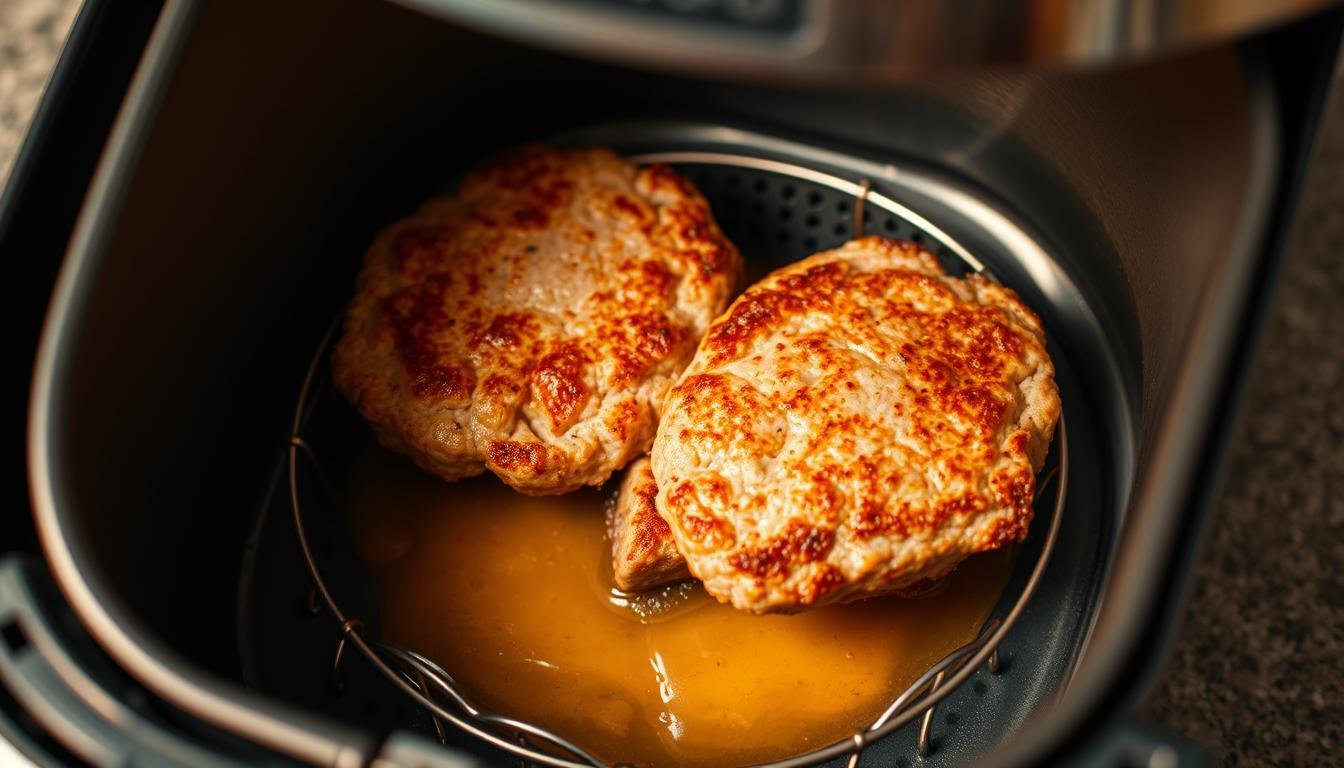
Cooking Chicken from Frozen in the Air Fryer
No thaw? No problem — we’ll walk you through a straight-from-freezer routine that works every weeknight.
Go-to method: preheat to 360°F. Drizzle a touch of olive oil on each frozen breast, season simply, and place in a single layer.
Set the unit for about 18–20 minutes and flip once at the halfway mark. That flip helps even browning and brings the center up toward a safe internal temperature.
- Forgot to thaw? No sweat — 360°F will get you there.
- Light oil helps seasoning stick on frosty surfaces.
- Expect about 18–20 minutes, but start checking early — thickness drives the finish.
- Since we can’t pound or dry-brine, texture is slightly less juicy, but still tasty.
- Always confirm 165°F in the thickest spot and let rest a few minutes before slicing.
| Step | Setting | Why it matters |
|---|---|---|
| Preheat | 360°F | Warms basket for quicker browning |
| Cook | 18–20 minutes; flip halfway | Even surface color; safer internal finish |
| Finish | Pull at 165°F; rest 5 min | Carryover keeps meat moist and safe |
Seasoning, Marinades, and Oil: Maximize Flavor and Crunch
Seasoning is where simple meets spectacular—don’t skip it. A quick dry blend lifts browning and keeps the meat juicy.

Our go-to rub: paprika, garlic powder, onion powder, black pepper. Salt works best as a dry brine when you have time—helps texture and depth.
Rub or soak?
Use a dry rub for weeknight speed. Use a marinade when you want richer flavor—fat, acid, salt, and herbs make thighs sing.
Oil and basket care
Keep the oil light. Use an oil mister instead of aerosol sprays to protect nonstick coatings and help spices cling.
- Season before cooking; finish with lemon or honey-hot sauce for contrast.
- Add herbs like oregano or thyme for an earthy note; add cayenne for heat.
- Match method to mood—quick rubs or slow marinades both work great.
| Method | Key ingredients | Best for |
|---|---|---|
| Dry rub | Paprika, garlic powder, onion powder, salt, pepper | Weeknight breasts and fryer chicken pieces |
| Marinade | Oil, acid (vinegar/lemon), salt, aromatics | Chicken thighs or weekend recipes |
| Oil mister | Light oil spritz | Crispy finish; basket safety |
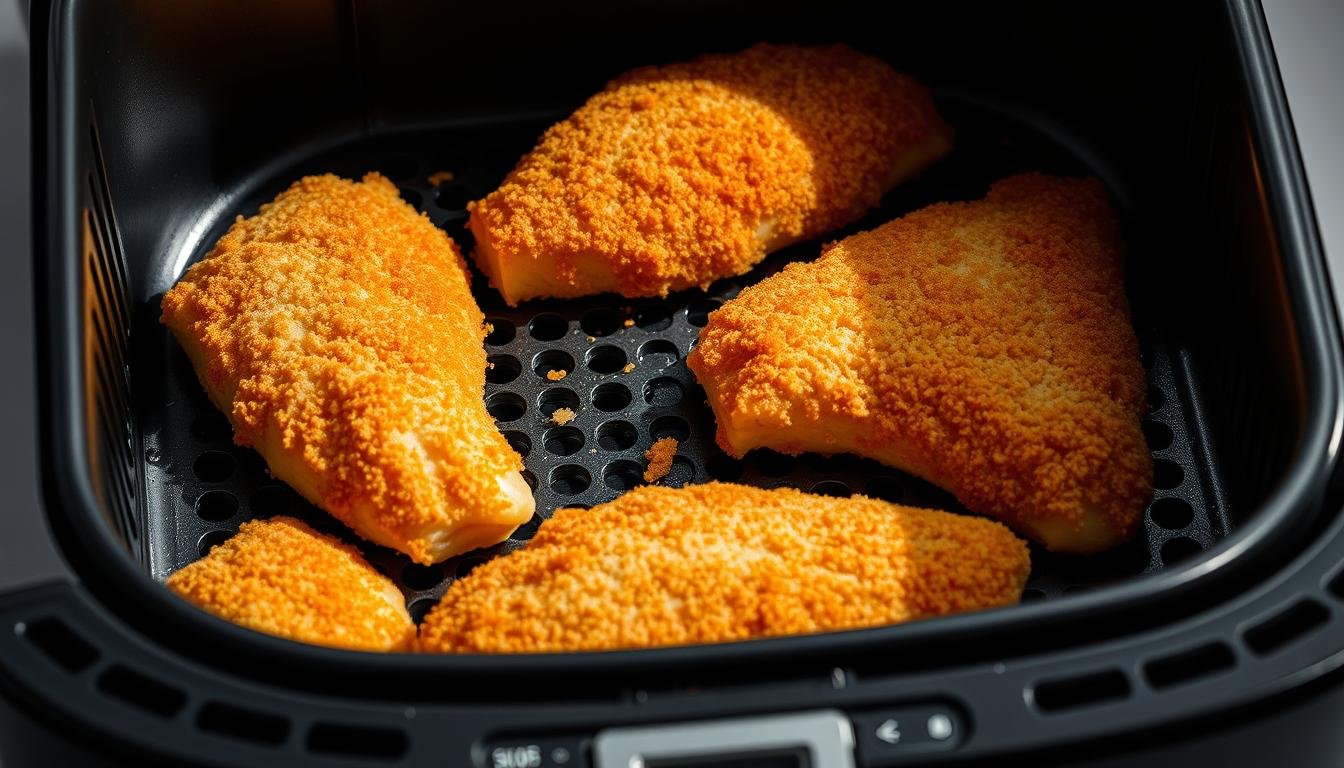
Crispy Breading in the Air Fryer: Panko and Parmesan Approach
If you want a golden, crunchy crust without deep-frying, a proper dredging station is your secret weapon. We keep the steps simple so you can get picture-perfect breading tonight.
Set up a clean dredging station for better adhesion
Line up three bowls: flour first, beaten egg next, then a panko-Parmesan mix. Combine freshly grated Parmesan, lemon zest, dried oregano, and a pinch of cayenne into the panko.
Season with salt and pepper at each step so flavor soaks in. Press the panko mix on firmly — good adhesion means less fallout and bigger crunch.
375°F timing and flipping for golden results
Air fry at 375°F about 10 minutes, then flip chicken and cook roughly 5 more minutes. The crust should be golden and the center cooked through. Keep the pretty side up for the last stretch so it browns picture-perfect.
Use this panko-Parmesan trick on breasts, wings, or fryer chicken breasts for a no-fuss, crisp finish that rivals the oven method.
- Set three bowls: flour, egg, panko-Parmesan with lemon and oregano.
- Press crumbs on—firm contact equals lasting crunch.
- Cook ~10 minutes, flip chicken, then ~5 minutes until golden and done.
- Leftovers refrigerate up to 4 days; freeze up to 6 months for easy reheats.
“A good dredge and a quick flip give you the crunch without the mess.”
Tools and Setup: Small Upgrades for Big Results
Good tools turn guesswork into steady wins—start with the right kit and you’ll smile at dinner. We keep things simple and useful so the recipe works even on busy weeknights.
Must-haves: grab an instant-read thermometer so you stop poking and guessing. It tells you doneness fast and saves precious moisture.
Use a sturdy, non-slip cutting board for safe prep. Line up tongs and a small tray so flipping is tidy and quick. Trust us—these tiny moves cut stress in half.
- Space pieces out in the air fryer basket so hot air can do its job.
- Swap aerosol sprays for an oil mister — even sheen, no ruined coating.
- Cook the prettier side down first, then finish presentation-side up for a great look.
- Preheat and keep batches modest—crowding steals crisp from your fryer chicken and sides.
“A well-set station gets you crisp edges and calm hands—small upgrades, big returns.”
Common Mistakes to Avoid with Air Fryer Chicken
Small mistakes add up—here’s how to dodge the common pitfalls that steal crispness.
We see the same missteps in kitchens everywhere. Fix these and your next meal will be way better.
Overcrowding the basket and skipping the flip
Don’t pack the basket. Give pieces room so hot air can move and crisp the surface.
Flip once halfway. Skipping that step leaves one side pale and the other overdone.
Not preheating or using the wrong temperature
Always preheat air fryer or at least preheat air for a few minutes. A warm unit browns faster.
Wrong temperature scorches outsides or leaves middles lagging. Use our recommended settings by cut and watch the clock.
Overcooking past 165°F and not resting the meat
Make sure the internal temperature reaches 165°F, then stop. Extra minutes dry things out.
Let the meat rest a few minutes so juices settle back in. Rely on a thermometer—not only time.
- Give space in the basket—no crowding.
- Flip halfway for even color.
- Preheat for better crust—use a mister, not aerosol spray.
- Use an instant-read probe so the internal temperature calls the finish.
“A little patience—heat, space, and a quick rest—makes dinner sing.”
Make-Ahead, Storage, and Reheating for Best Texture
Make-ahead meals save time and keep weeknights calm—here’s how to store and reheat so texture stays right.
Fridge and freezer basics: Cool cooked meat to room temp and pack into airtight containers. Store in the refrigerator up to 4 days. For longer keeps, freeze up to 3 months; some breaded versions last to 6 months.
Tip: Thaw frozen portions overnight in the fridge for best texture before reheating.

Reheating for juicy results
Reheat gently at 350°F in the air fryer or oven until warmed through. That temperature brings heat up without drying the interior.
Before reheating, give a light mist of oil to revive the crust. Slice larger pieces after you rewarm them so juices stay put. When done, let rest a minute or two so hot juices settle and flavor evens out.
- Cook once, eat twice—airtight container for up to 4 days.
- Freeze up to 3 months; thaw overnight for best texture.
- Reheat at 350°F in air fryer or oven—keeps things juicy, not rubbery.
- Light oil mist before reheating perks up crusts and breading.
| Storage | Duration | Best Reheat Method |
|---|---|---|
| Refrigerator | Up to 4 days | 350°F in oven or air fryer; let rest 1–2 minutes |
| Freezer (plain) | Up to 3 months | Thaw overnight, reheat 350°F |
| Freezer (breaded) | Up to 6 months | Thaw overnight, mist oil, reheat 350°F for crisp crust |
Conclusion
Follow this easy formula and you’ll stop guessing and start enjoying reliable results.
We found the sweet spot—375°F for tender, tasty chicken with crisp edges. Preheat, don’t crowd, and flip once for even browning. Trust an instant-read thermometer; pull at 155–160°F and let rest so carryover finishes the job.
This recipe keeps things simple. Use a light oil mister, season how you like, and reheat low at 350°F for leftovers. Compared to the oven, the air fryer is faster and cuts cleanup—perfect for weeknight meals.
Now it’s your turn—pick a cut, set the temperature, and cook with confidence. Save this method as your go-to way to great fryer chicken results.