We’re making a weeknight-friendly tuber that feels like a cozy, baked favorite—minus the fuss. Y’all, this trick gets a tender, silky interior with skin that can be crisp or soft, depending on your mood.
Here’s the deal: medium spuds usually take about 40–45 minutes at 375°F to become fork-tender. Poking a few holes stops any surprise pops, and a light oil rub gives a softer jacket while skipping oil keeps the skin snappy.
We’ll walk through the foil vs. no-foil choices, when to preheat, and simple rotation tips so everything cooks evenly. Leftovers stash well in the fridge for up to five days and reheat quickly when you need a reliable side.
Key Takeaways
- Count on roughly 40–45 minutes for medium examples at 375°F.
- Poke holes to vent steam and prevent bursting.
- Oil gives tender skin; no oil yields a crisp bite.
- Foil = fluffier interior and easier cleanup; skip foil for crispness.
- Refrigerate leftovers up to 5 days; reheat briefly for best texture.
Why Make Baked Sweet Potatoes in the Air Fryer
Short version: we get the same cozy, baked texture faster and with less fuss.
Convection heat circulates hot air quickly, so medium examples finish in about 40–45 minutes at 375°F. That compares to roughly 60 minutes or more in a 425°F oven. The result is moist, tender interiors and a lightly crisp exterior—just like an oven bake, only quicker.
It’s perfect for busy weeknights and holiday spreads. Use this method to free oven space for big roasts or pies. Pop the tubers in, give them a quick rotate halfway, and go check on something else.

- We shave precious minutes while keeping them creamy inside.
- Energy-wise, heating the small chamber saves on bills.
- Scale it up—just leave room for good airflow.
Bottom line: same comfort, less waiting—great for batch cooking, reheats well, and the basket cleans up fast.
Air Fryer Whole Sweet Potato
When we leave the skin on and skip slicing, the game changes—here’s how to make that work every time.
Whole means cooking the tuber intact after a good scrub and dry. Give it 6–8 pokes all over with a fork so steam can escape. No soaking—just clean and pat.

Doneness is simple to test. Slide a thin paring knife or fork to the center. It should glide with little resistance.
Use mitts to give a gentle squeeze—soft equals ready; firm means a few more minutes. Pick medium or long, slender examples for even cooks; big round ones take longer.
Quick reference
| Characteristic | Tip | Why it matters |
|---|---|---|
| Size | Choose medium or long | Even heat, predictable timing |
| Skin | Keep dry; leave on | Better texture and nutrients |
| Doneness | Knife or fork glide | Ensures silky interior |
Ingredients and Tools You’ll Need
Before we heat things up, we’ll round up what you need — nothing fancy, promise.
Plan on one medium sweet potato per person (about 1/3 lb / ~150g). Pick tubers that feel heavy for their size and have smooth, clean skin. Long, slender shapes cook more evenly than big rounds — handy on busy nights.

Oil, salt, and seasoning
Oil is optional. Rub a little high-heat oil like avocado or grapeseed if you want softer jackets. Skip oil for extra crisp.
A pinch of salt rubbed on the outside boosts flavor and gives snack-worthy skins.
Which fryer model to use
Basket models heat fast — leave space between tubers so hot air can circulate. Oven-style units are great for batch cooking; rotate racks halfway for even cooks.
Simple tools
- Fork for poking holes
- Small brush or your hands for oil
- Potholders for safe handling
Keep it simple: good produce, a bit of salt, and a steady heat are all you really need.
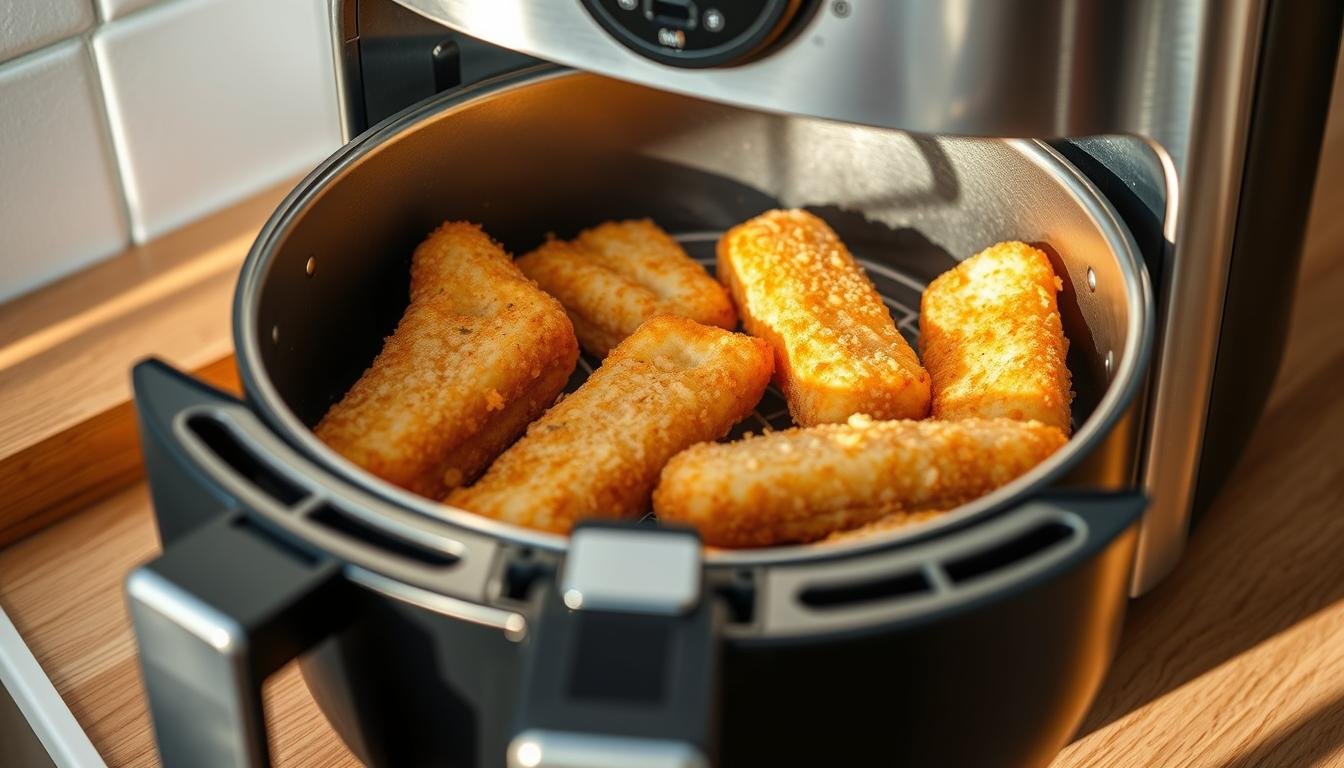
How to Air Fry a Whole Sweet Potato (Step-by-Step)
Let’s roll up our sleeves and tackle this step-by-step so your tubers come out flaky and flawless. We keep things simple and friendly — no cowboy cooking here.
First, prep: scrub each tuber well to remove grit, then dry it good. Pierce about 6 times with a fork so steam can escape through the holes. This keeps clean-up easy and prevents any pop-and-sizzle surprises.
For tender skin, rub roughly 1/2 teaspoon oil on each one and sprinkle a little salt. Skip the oil if you want extra crisp skin.

- No-foil: 375°F for 40–45 minutes (or 400°F for 40–50). Flip or rotate halfway for even browning.
- Foil-wrapped: 400°F for 40–50 minutes. Rotate once; unwrap and air fry 2–3 minutes to crisp the skin if you like.
Test doneness with a fork or a paring knife — it should glide to the center. If it’s still firm, add 3–5 minute increments until tender.
| Step | Action | Why it matters |
|---|---|---|
| Prep | Scrub, dry, poke 6 times | Removes grit; vents steam |
| Season | Use 1/2 tsp oil for tender skin | Softens skin; boosts flavor |
| Cook | No-foil or foil at listed temps | Choose crisp vs. extra fluffy |
| Finish | Test with fork; rest then fluff | Ensures silky, baked sweet interior |
Let them rest a few minutes. Split, fluff with a fork, and top as you please. We promise — simple steps, big comfort.
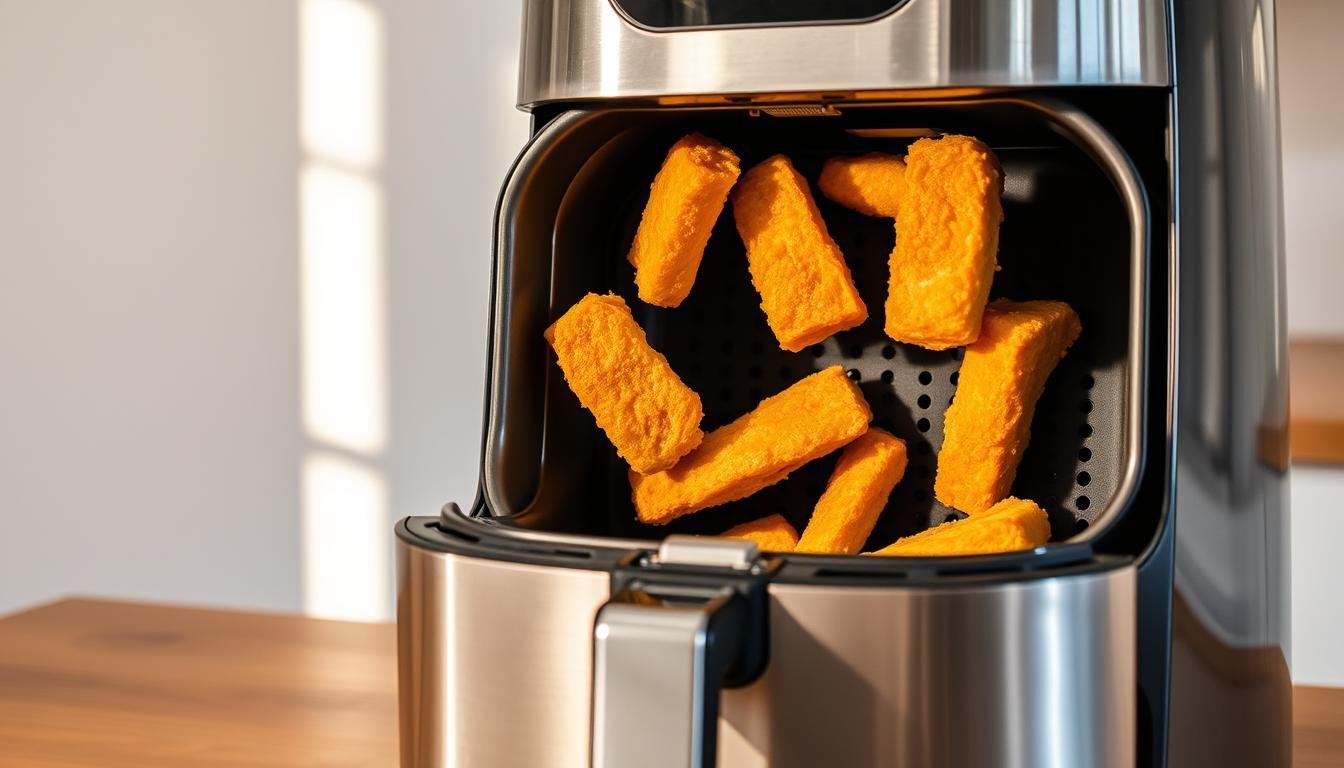
Time and Temperature: Getting It Perfect
Timing makes all the difference—let’s match heat and minutes so you get that perfect creamy center.
Our steady setting: 375°F for 40–45 minutes gives a tender interior and the classic baked texture we love. That’s the safe bet for medium tubers that are not too large.
Want a crisper jacket or a faster finish? Try 400°F for 40–50 minutes. You may get a quicker sear on the skin while keeping the center soft.
Adjust for size and crowding: big, round examples take longer; slim ones finish sooner. If you pack the basket or use multiple racks, expect added minutes—hot air needs room to move.
- Rotate racks or flip halfway so every piece gets even heat.
- Start checking earlier for smaller items—peek, don’t overcook.
- Use the fork-slide test before you call it done; if the center is firm, add 3–5 minute bursts.
| Setting | Temp | Typical minutes |
|---|---|---|
| Classic baked | 375°F | 40–45 |
| Quicker crisp | 400°F | 40–50 |
| Large or crowded loads | Any | Add 3–10 minutes; rotate |
Pro Tips for the Best Results

We’ve learned a few must-do steps that cut chance and boost success in the basket. These quick tricks keep your bakes tidy and reliable—every time.
Poke, vent, and prevent pops
Use a fork to pierce each tuber about 6–8 times. The holes let steam escape and stop any surprise bursts.
Skin care: oil or dry
Rub a little oil on the outside if you want tender skin. Leave them dry when you want extra crisp jackets.
Heat, rotation, and spacing
Preheat only if your model’s manual says to. Flip or rotate once so no one piece hogs the heat.
Don’t crowd the basket—air needs room to move. Keep sizes similar for even timing.
| Tip | Action | Why it helps |
|---|---|---|
| Vent | Poke 6–8 holes | Prevents bursting; evens cook |
| Skin | Oil for soft; dry for crisp | Controls texture and flavor |
| Rotate | Flip or move racks halfway | Even browning and doneness |
| Space | Don’t crowd the basket | Better airflow, consistent cooks |
Serving and Topping Ideas for a Crowd-Pleasing Side Dish
We love simple finishes that amplify comfort—here are ideas that feed a crowd without fuss. Make a topping bar and folks can build their own plate. These options keep things flexible for dinner, brunch, or a potluck.
Classic savory finishes
Keep it classic: split and fluff, add a pat of butter and a light sprinkle of salt. That warm, melty combo is pure comfort and crowd-pleasing every time.
Bright twist: stir minced herbs and garlic into Greek yogurt or sour cream for a herby, tangy topping.
Sweet finishes and dessert-style ideas
Cinnamon and brown sugar are a match made in heaven. Or swipe on maple butter for a glaze-like finish that tastes decadent with no fuss.
Hearty meals and breakfast builds
Pile on black beans, shredded chicken, or bacon with caramelized onion to make it a full meal. For breakfast, top with scrambled eggs, melty cheese, and diced avocado—hearty and happy.
- Add crunch: toasted pecans or walnuts.
- Try sweet-heat: a drizzle of hot honey or chipotle sour cream.
- Leftovers? Use them in recipes—mash into pancakes or stir into chili for extra body.
Pairing tip: this side dish plays nice with roast chicken, grilled steak, or salmon—simple and satisfying.
Storage, Reheating, and Meal Prep
Stash them right and you’ve got weeknight winners ready in minutes. Cool the cooked tubers fully, then tuck them into airtight containers. Refrigerate for up to 5 days—easy meal prep magic.
For longer keeps, freeze cooled pieces or mashed flesh for up to 3 months. Thaw overnight in the fridge before reheating so texture stays pleasant.
- Reheat at 350°F in the air fryer for 5–10 minutes to warm through and perk the skin.
- In a hurry? Microwave in 1-minute bursts until steaming hot—check between bursts so they don’t dry out.
- Freeze whole or scoop and mash first—both reheat well and work great in other recipes.
“Cool promptly and reheat until steaming hot for food safety.”
Label containers with dates. Batch-cook on Sunday, then pull out quick sides or lunch bowls all week. If you wrapped them in foil, unwrap before crisping to get that fryer baked finish back.
Conclusion
, One last pass — simple steps that make this recipe a weeknight winner.
Keep it basic: scrub, dry, poke about six holes, and choose 375°F for 40–45 minutes (or 400°F for a crisper finish). Rotate once for even cook time.
Oil for tender skin or skip it for extra snap. Wrap in foil if you want a fluffier interior; leave unwrapped for crackly jackets.
Cool and store up to 5 days in the fridge or freeze for months. Reheat at 350°F for 5–10 minutes or use short microwave bursts. Add a pat of butter, a pinch of salt, and your favorite toppings to make it shine.
We kept this recipe fuss-free so you can feed folks fast and with real comfort. Y’all ready to cook and enjoy!