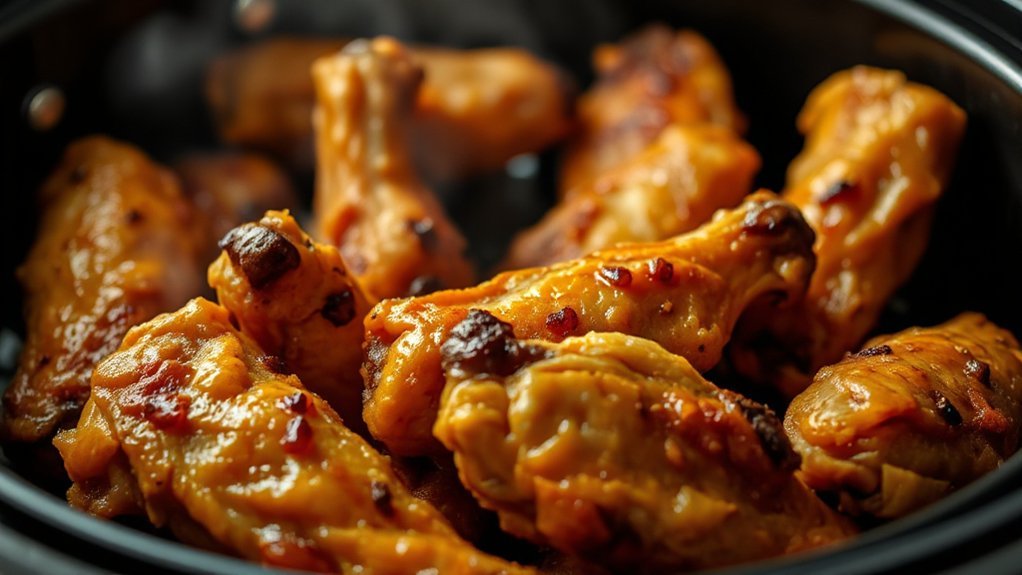
We’re taking bold, seasoned pieces and letting the countertop gadget do the heavy lifting—fast cook time, big flavor, and that shatter-crisp skin y’all crave!
Prep is simple: pat dry, oil lightly, and lay each piece single-layer for even browning. Cook at 350°F for about 40–45 minutes or bump to 375°F for 30–35 minutes. Flip halfway so both sides crisp up nice.
Use a reliable thermometer and aim for 165°F at the thickest spot without touching bone. Rest 5–15 minutes so juices settle—this step keeps the meat juicy, not dry.
We’ll cover rub ideas, reheating tricks (warm low, then blast high to re-crisp), and fridge/freezer storage so leftovers taste fresh. Stick with us—this recipe makes weeknight cooking easy, friendly, and downright tasty!
Key Takeaways
- Cook at 350°F for 40–45 min or 375°F for 30–35 min; flip halfway.
- Dry, oil lightly, and cook single-layer for best crisp.
- Use a thermometer; target 165°F at the thickest part.
- Rest 5–15 minutes before serving to lock in juices.
- Reheat low to warm, then high to re-crisp; store airtight 3–4 days or freeze 2–3 months.
Why You’ll Love These Air Fryer Turkey Wings
Crisp, savory bites come fast when we let convection do the heavy lifting. These turkey wings brown up quicker than oven roasting and give you that satisfying crunch without deep-frying. Cleaner kitchen, less babysitting, and oven space freed for sides.
Big flavor, small fuss. Swap a Cajun rub for lemon pepper and you’re still golden. The recipe is forgiving—simple pantry seasoning and a splash of oil do the trick.
We love how this method delivers game-day crunch on weeknights. Small batches cook faster. Clean-up is easier than roasting a whole bird. Perfect for get-togethers when you don’t want a huge roast.
“Air flow is your friend—stick with our steps and you’ll nail the crisp every single time.”
- Fast, crispy results with tender meat—no deep-frying needed.
- Flexible seasoning options for bold or zesty flavor.
- Simple cleanup and fewer dishes—more time to enjoy the meal.
turkey wings in air fryer
Let’s map out two sure-fire paths so you get that crunch and juicy center every single time.
Choose the lower-temp route: 350°F for about 40–45 minutes, flipping at the halfway mark. Or pick the faster lane: 375°F for 30–35 minutes, flip halfway and finish with a quick visual check.
Prep matters: dry pieces thoroughly, rub a little oil, and tuck seasoning under the skin where you can. Cook single-layer so hot air circulates — no stacking, no steaming, all crisp.
Timing cues: plan minutes around piece size. Bigger pieces lean to the longer end. Flip once for even browning and trust visual doneness plus a thermometer.
“A slick of oil helps the seasoning cling and gives you that golden, crackly skin.”
- We keep the method steady for two or two dozen — just batch and repeat.
- This quick recipe delivers crisp outside and tender inside — dinner done.
Ingredients & smart substitutions for maximum flavor
Let’s gather the pantry staples that turn simple pieces into something mighty tasty. Keep it simple—measure, mix, and massage. A small bowl does most of the work and makes seasoning easy to control.

Classic dry rub
Mix brown sugar, salt, smoked paprika, garlic powder, onion powder, thyme, cumin, and black pepper. This blend gives sweet-smoky-savory notes that cling to skin and boost meat flavor.
Lemon pepper route
Use lemon pepper seasoning with olive oil, parsley, bouillon, onion powder, garlic powder, dried thyme, and a splash of lemon juice.
Finish with lemon-pepper butter—soft butter, lemon juice, grated garlic, and lemon pepper—for a bright, buttery glaze.
Oil options and salt notes
Olive oil or a light spray helps the powder stick and the skin crisp. No smoked paprika? Swap regular paprika and add cayenne for heat.
- Mind the salt—bouillon or salted butter may mean no extra salt needed.
- Get some rub under the skin for deeper flavor.
“Measure, mix, and massage—this little TLC makes those turkey wings taste like you fussed all day.”
Step-by-step: from prep to crispy perfection
Let’s walk through the simple steps that turn plain pieces into irresistible, crackly-good bites. Short moves, big payoff—follow these and you’ll make air fryer magic at home.
Prep and dry
Give the basket a head start. Preheat to 350°F for about 5 minutes if your unit has no preheat setting.
Rinse and pat dry each piece like you mean it. Dry skin equals crisp skin—no exceptions.
Season
Toss the pieces in a bowl with a light slick of olive oil. Coat them with your seasoning—lift the skin and get some rub underneath for deeper flavor.
Air fry
Lay pieces in a single layer in the air fryer basket. Give space between items so hot air can move freely.
Slide the fryer drawer in and cook, flipping halfway through the minutes. Watch for bronzed color and that mouthwatering aroma.
Rest
Pull them when done and let wings rest minutes so juices redistribute. For larger pieces, rest 10–15 minutes—don’t rush this part.
- Quick checklist: preheat, dry, oil, season under skin, single layer, flip halfway, rest.
- If you cook in batches, loosely tent finished pieces so they stay warm and crisp.
“Prep, season, flip, and rest—steady steps make a winner every time.”
Time and temperature guide for the air fryer
Timing and heat are the backbone of every crisp, juicy batch—let’s map out two foolproof paths.
350°F approach
Start at 350°F. Cook about 20 minutes, flip, then finish 15–20 more minutes. That nets roughly 40–45 minutes total for average pieces.
Give bigger pieces extra minutes. Crowded baskets add time, too. Keep a little flexibility and check color after the flip.
375°F approach
Want it faster? Set 375°F and plan about 30–35 minutes total. Flip halfway so both sides get that golden crust.
This route shortens time but still rewards a quick check mid-cycle to avoid over-browning.
Doneness: what to trust
Always confirm doneness with a meat thermometer. Aim for an internal temperature of at least 165°F at the thickest spot. Don’t press the probe against bone.
- If skin needs more color, finish hotter for a couple minutes—watch closely.
- Seasoning—think garlic powder, paprika, pepper and other spices—won’t change safe temp targets.
- Later batches may cook a bit faster as the unit stays hot—adjust minutes as needed.
“Temperature beats the clock—trust your thermometer over the timer every time.”
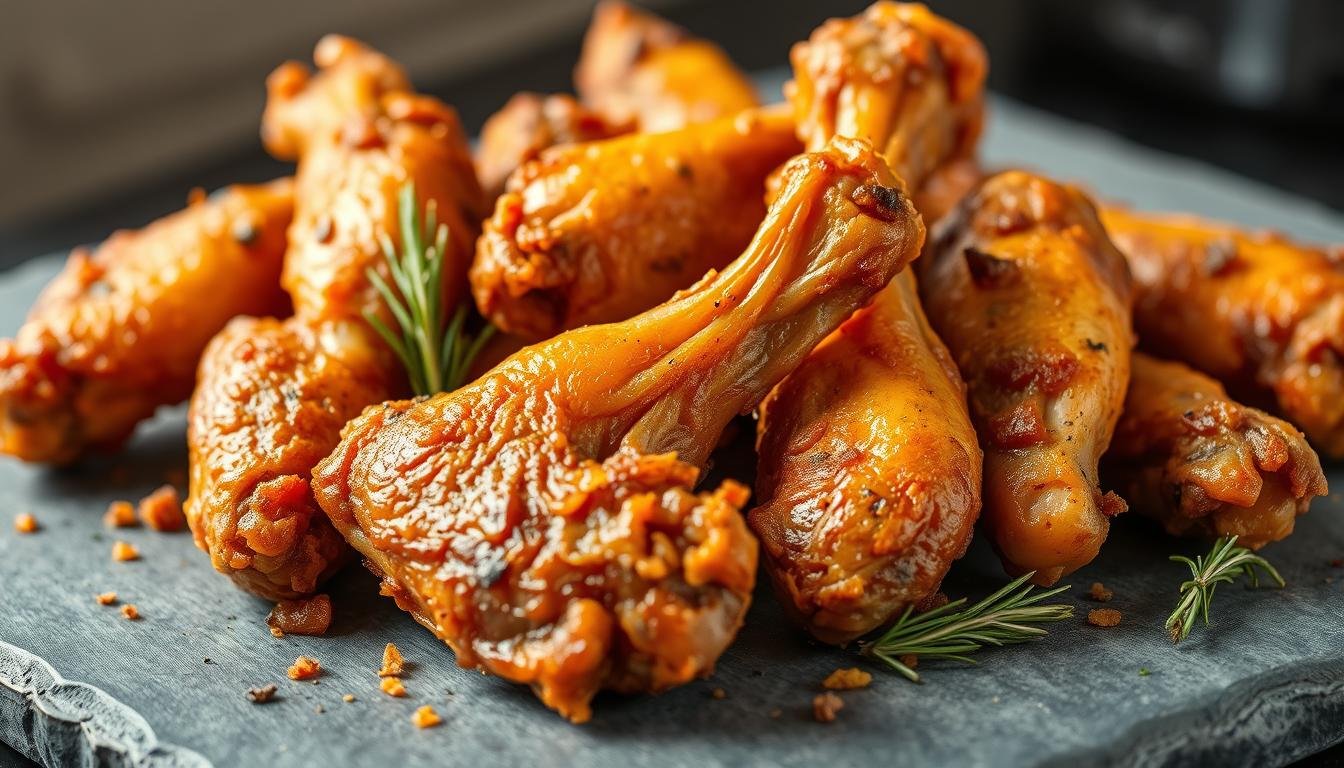
Pro tips for ultra-crispy skin
Think circulation first: dry the skin, space the pieces, then let hot air do the rest. These simple tips help us get golden, crackly results every time.
Dry and space for success
Pat those turkey wings bone-dry. Moisture fights crisp. Drying is the single best move you can make.
Don’t overcrowd the air fryer basket. Give each wing breathing room so hot air can move and brown the skin evenly.
Flip, finish hotter, and oil lightly
Flip halfway so both sides brown. If skin needs extra snap, bump the temperature for the last 1–3 minutes and watch closely.
Use a light touch of olive oil—just enough to help browning without adding extra fat.

- Preheat the fryer basket so dry skin meets hot air fast.
- Keep batch sizes consistent for even cook times.
- Rest briefly on a rack so steam won’t soften the crust.
- Season under the skin for deeper flavor without greasy surface oil.
“Stay nearby near the end—the difference between golden and too dark is just a minute.”
Common mistakes to avoid
We’ve all been there—doing everything right but missing one small move that ruins the finish. These quick fixes keep texture and flavor where they belong.
Overcrowding causes steaming, not crisping
Give each piece space. Hot air needs room to circulate. Crowding traps steam and leaves skin soft.
Too-low temperature or skipping the flip
Low heat will cook through but never brown. Flip halfway so both sides get even color and heat.
Skipping the rest leads to drier meat
Let cooked pieces rest a few minutes. Cutting too soon spills the juices and leaves meat dry.
- Pack the basket tight: makes steam, not crisp—cook in batches for best texture.
- Temp too low: skin won’t snap—bump heat when needed.
- No flip: leaves one side pale and rubbery—turn midway.
- Rush final minutes: you lose golden color—patience pays.
- Cut rest time: juices run out—rest to keep meat juicy.
- Dry pieces first—surface moisture fights browning.
- Avoid heavy sauces before cooking—sauce after to protect crust.
- Watch mixed sizes—smaller pieces may need fewer minutes.
- If holding food, keep it on a rack so crispness stays put.
- Trust spacing, proper heat, and a quick rest—those are the real tips.
| Issue | Effect | Fix |
|---|---|---|
| Overcrowding | Steaming, soft skin | Cook in batches; leave gaps between pieces |
| Low temp | Pale, limp crust | Raise heat toward end for 1–3 minutes |
| No flipping | Uneven browning | Flip at the halfway mark |
| Skipping rest | Dry meat, juices lost | Rest 5–10 minutes before serving |
“Smart spacing, proper heat, and a quick rest make fryer turkey turn out right.”
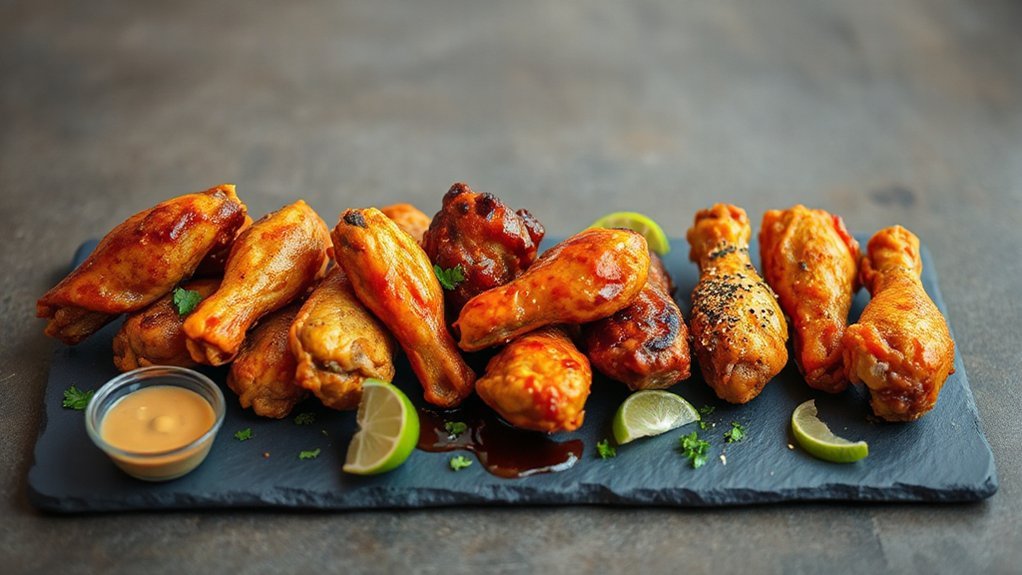
Flavor variations to try
Grab a small bowl and let your seasoning game go a little wild. We’ll show three easy paths that change the whole mood—heat, bright butter, or herbal richness. Mix rubs in a bowl and coat each piece thoroughly so every nook gets love.
Cajun-spiced with a little heat
Turn up the heat with Cajun spices. A blend of smoked paprika, cayenne, black pepper, and a touch of thyme gives a smoky, peppery kick. Toss the rub with a drizzle of olive oil so it clings and roasts to a deep color.
Lemon pepper with a buttery garlic finish


Go bright with lemon pepper. After cooking, toss hot wings in melted butter, lemon juice, grated garlic, and extra lemon pepper for a quick sauce. Pucker and butter—best friends forever.
Herb butter under the skin for richer flavor
Slide softened herb butter under the skin—garlic, parsley, a pinch of paprika, and onion powder. It melts and bastes from the inside for deep savory flavor.
- Prefer milder? Ease back on cayenne and lean on lemon and herbs.
- Swap these rubs on chicken wings if needed—same great flavor and similar timing.
“Balance salt, acid, heat, and herbs so every bite tastes lively and complete.”
Equipment and setup: make your air fryer work for you
Right tools and a short preheat make the difference between meh and magnificent. We’ll walk you through picking the right basket and a quick routine that saves time and fuss.

Choosing the right basket size and preheat routine
Pick a basket that holds a single layer of turkey wings. No crowding means better crisp and even cooking.
If your unit won’t auto-preheat, set it to 350°F and run about five minutes. That little warm-up gets hot air moving fast — and that’s the trick.
- Have your ingredients ready before preheat — season quick, load quick.
- Lightly oil the basket if sticking is a worry — a whisper of oil goes a long way.
- Plan time by basket capacity — small baskets mean extra batches, same great results.
- Rotate the basket once mid-cook if your model has hotspots for even browning.
| Tip | Why it helps | How to do it |
|---|---|---|
| Single layer | Better circulation and crisp | Cook in batches; leave space between pieces |
| Quick preheat | Stable temp from the start | 350°F for ~5 minutes if no auto-preheat |
| Light oiling | Prevents sticking, aids browning | Brush or spray sparingly on the basket |
| Keep ingredients handy | Smooth workflow, less heat loss | Season and load right after preheat |
“A sensible setup makes cooking smoother — and the results sweeter.”
Serving ideas: the best sides for air fryer turkey wings
Pairing the main dish with the right sides makes the whole meal sing—let’s pick a few winners.
Lean into comfort: creamy mashed potatoes (dairy or dairy-free) and bubbling baked mac and cheese turn this recipe into home-supper magic. Add Cajun rice for a spicy, savory boost that complements rich crusts.
Comfort classics
Mashed potatoes—fluffy or whipped—soak up gravy and pan juices. Mac and cheese brings melty richness. Cajun rice adds a peppery lift that pairs perfectly with bold rubs.
Lighter picks
Go fresh with crisp Brussels sprouts or a tangy vinegar or pineapple slaw to cut through richness. Roasted acorn squash offers sweet, buttery notes that balance peppery flavors.
- Oven or fryer teamwork: keep casseroles and big sides in the oven while the air fryer handles the main pieces—less waiting, more warm plates.
- For game-day spreads, add cornbread, pickles, and a few dipping sauces.
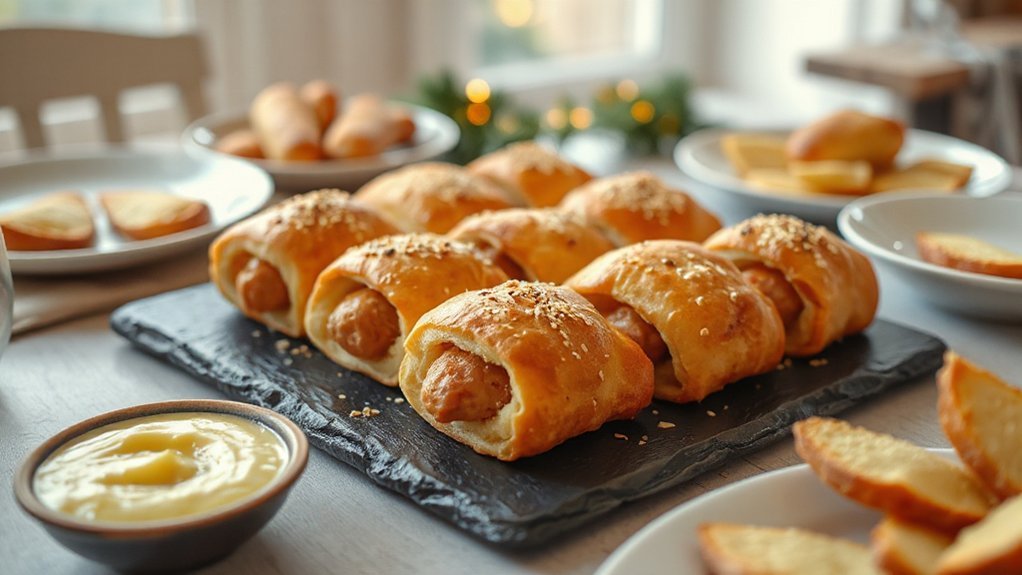
- Hosting mixed eaters? Toss a tray of chicken alongside so everybody’s happy.
- Add a quick pan gravy or lemon-butter drizzle to tie the plate together.
“Mix textures—creamy, crunchy, and bright—and every bite stays interesting.”
Make-ahead, storage, and freezing
Prep now, relax later—season and chill so the meat soaks up every tasty note.
Make ahead: Season raw pieces the night before for deeper flavor. Marinating overnight helps spices sink into the meat and saves you precious minutes at dinner time.
Refrigerate safely: Store cooked pieces in an airtight container and keep them chilled for 3–4 days. Label the container with the date so you know when those days are counting down.
Freeze for later: Use labeled freezer bags and press out extra air. Properly packed, they hold quality for 2–3 months. Thaw overnight in the fridge before reheating for best texture.
- Keep sauces separate before freezing—saucing fresh keeps crust crisp.
- Portion into meal-size packs so you only thaw what you need.
- Batch-cook now and enjoy quick lunches or snacks later.
| Item | Storage method | Time | Tip |
|---|---|---|---|
| Cooked pieces | Airtight container | 3–4 days | Keep chilled; reheat gently, then crisp |
| Cooked, frozen | Labeled freezer bag | 2–3 months | Press out air; thaw in fridge overnight |
| Raw, marinated | Sealed container | Overnight | Marinate in fridge for deeper flavor |
“Batch now, breathe easy later—future you will thank you.”
Reheating without drying out
Reviving leftovers takes two short steps—gentle heat first, then a quick blast to bring back the snap. We’ll show both the fast countertop route and the slow oven way so your pieces stay juicy and crisp.

Air fryer method
Warm low, finish hot. Set the air fryer to 330–350°F and reheat for 4–5 minutes to warm through. Then raise to 400°F for a couple of minutes to re-crisp the skin.
Keep pieces spaced so hot air circulates. Use a meat thermometer if you’re unsure—target piping hot without overcooking.
Oven method
Low and slow keeps meat tender. Wrap pieces loosely in foil and place on a rack at 275°F for about 20 minutes. Uncover briefly at the end to brown and crisp.
- Don’t overdo the minutes—reheating is shorter than the first cook.
- Brush a tiny bit of oil or a lemon-garlic butter drizzle after reheating for shine and flavor.
- If you’ve got mixed sizes, pull smaller pieces first so nothing dries out.
- For saucy fans, toss after crisping—sauce last protects the crust.
- Pro tip: garlic powder mixes well into a light oil brush if you want a quick flavor boost.
| Method | Temp / Time | Finish |
|---|---|---|
| Air fryer | 330–350°F for 4–5 minutes, then 400°F a few minutes | Quick crisp, best texture |
| Oven | 275°F for ~20 minutes (wrapped) | Uncover to brown briefly |
| Quick notes | Minutes vary by size | Use meat thermometer; keep spaced |
“Reheat gently, finish hot, and your leftovers will taste like they just came off the rack.”
Nutrition snapshot and protein perks
Here’s the lowdown on how this meal stacks up for protein and calories. Portion size changes everything — a smaller serving can land near 20g protein, while a hearty plate may reach about 62g.
Skin and finishes matter. Skin-on pieces and buttery glazes raise fat and calories — so do larger portions. Keep oil light or skip heavy sauces if you want to trim fat without losing flavor.
Air frying uses far less oil than deep frying — that keeps added fat lower and the texture crisp. This recipe still gives a protein-forward plate that fills you up.
- Protein benefit: great for satiety and recovery after a busy day.
- Fat tip: manage richness with minimal butter and measured oil.
- Balance the plate with greens and roasted veg for a fuller meal.
“Measure oil and butter if you track macros — small shifts add up.”
Troubleshooting texture and doneness
If your crust is stubbornly soft, a short blast of higher heat usually wakes it up fast. We’ll walk you through the quick fixes so your pieces come out tender and crisp.
Don’t stack. Hot air needs room to work. Cook a single layer so circulation browns the surface evenly.
If the skin won’t crisp
Bump the temp for 1–3 minutes and watch closely. A light brush of oil before the finish helps color and sheen.
If one side looks pale, flip more reliably next time—equal time on both sides gives even browning.
If the meat feels tough
Tough usually means overcooked. Pull at an internal temperature of 165°F and let pieces rest so juices move back through the meat.
Use a thermometer—poke the thickest spot without touching bone for a true read. A good meat thermometer tells the whole story.
- Trust the thermometer over the clock.
- Smaller pieces need less time—pull them early.
- Seasoning won’t fix dryness—adjust cooking and temperature instead.
| Problem | Cause | Quick Fix |
|---|---|---|
| Soft skin | Crowded basket or low finish heat | Single layer; raise heat 1–3 min; brush oil |
| Tough meat | Overcooked, no rest | Pull at 165°F internal temperature; rest 5–10 min |
| Uneven browning | Skipped flip or hotspots | Flip halfway; rotate basket if needed |
“Keep an eye on the thermometer—it’s the honest friend in the kitchen.”
Conclusion
One last friendly recap—follow these small moves and you’ll always get crisp, juicy results.
Pick your path: 350°F for about 40–45 minutes or 375°F for 30–35 minutes. Flip once at the midpoint, check 165°F with a reliable thermometer, and rest 5–15 minutes.
Season how you like—classic brown sugar and smoked paprika or lemon-pepper with garlicky butter. A light brush of olive oil helps spices hug the meat without extra fat.
Keep the basket roomy for good air flow. Reheat low, finish hot, or use the oven wrapped then uncover. Store cooked pieces 3–4 days or freeze up to 2–3 months.
Now it’s your turn—heat the air fryer, grab your favorite rub, and bring a platter to the table!