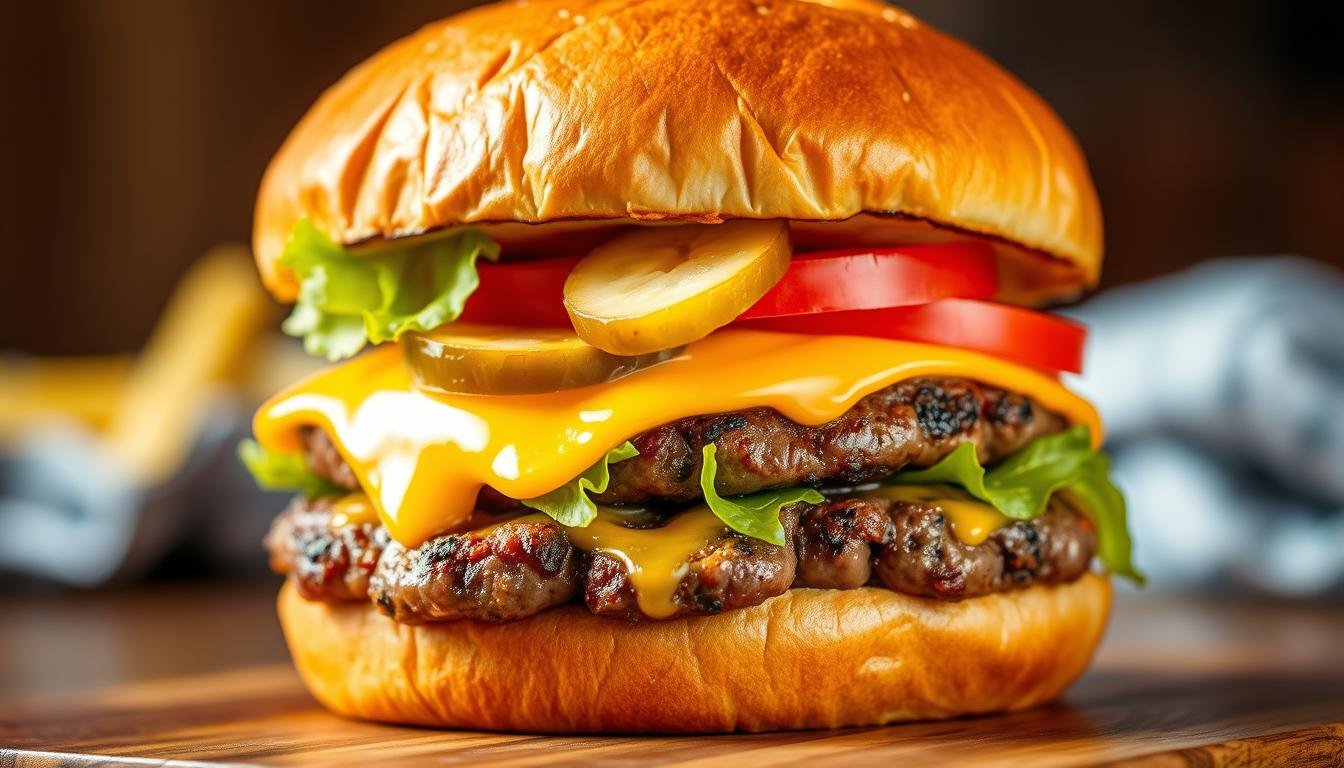
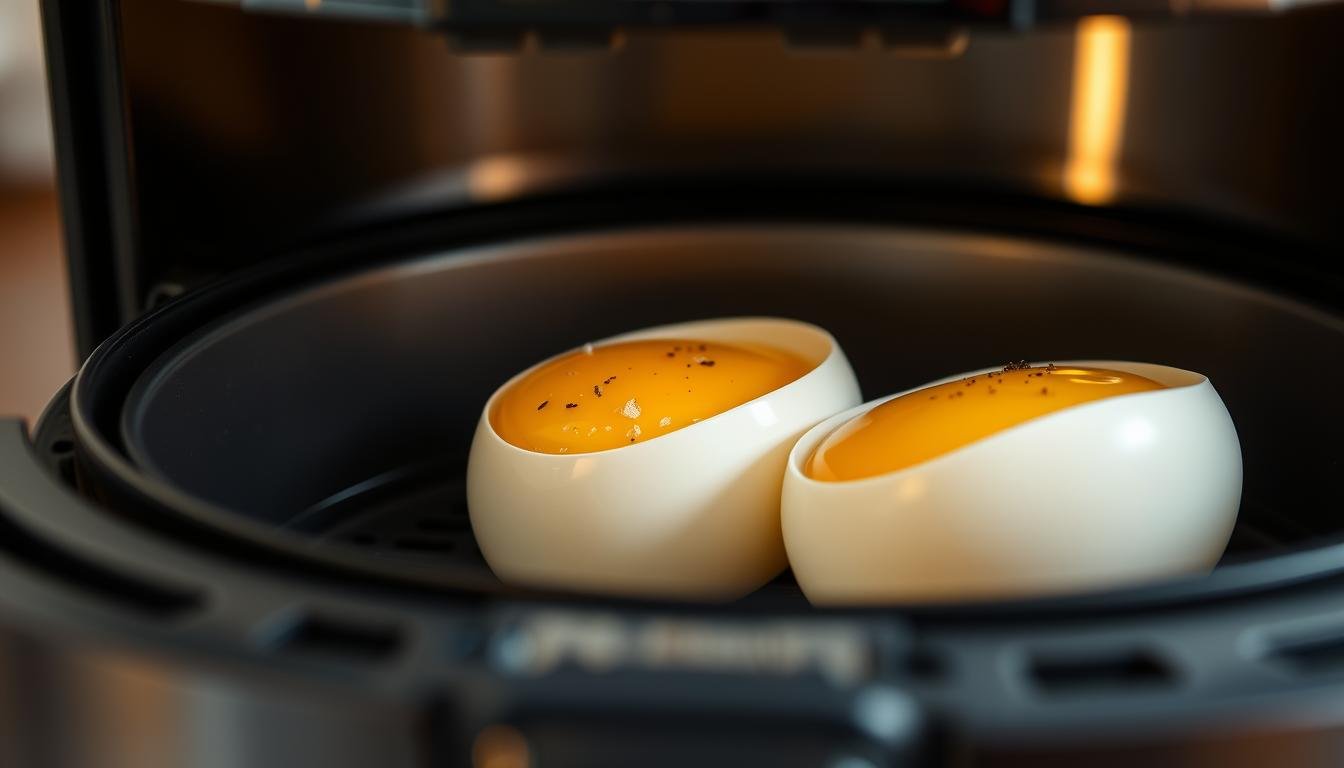
We’re kicking things off with our go-to, fuss-free take on making silky yolks fast. This little trick skips the pot, cuts the mess, and gives you steady results for busy mornings.
Preheat near 270–275°F to mimic a gentle simmer. If your unit only reaches 300°F, shave about 1–2 minutes from the cook time. For doneness, shoot for 9–11 minutes for tender yolks, 11–13 for jammy, and 14–17 for hard.
Quick tip: Move the eggs straight into an ice bath for 4–5 minutes to stop cooking and make peeling easier. Start peeling from the fat end where the air pocket sits.
Storage is simple: Keep them in an airtight container in the fridge for 5–7 days. Freezing isn’t recommended.
Key Takeaways
- We get silky yolks without boiling water—fast and reliable.
- Preheat to about 270–275°F; shorten cook time if your unit runs hotter.
- Timing guide: 9–11 min tender, 11–13 min jammy, 14–17 min hard.
- Use a 4–5 minute ice bath to halt cooking and ease peeling.
- Peel from the fat end and store chilled for up to a week.
Why make air fryer soft boiled eggs right now
We’ll save you time and a sink full of dishes. Skip the wait for a pot to boil and let circulating dry heat handle the job. It’s simple, fast, and forgiving.
Faster than boiling water and virtually mess-free
There’s no kettle to mind and no splattering hot water. The hot air moves like a tiny convection oven, so shells cook evenly. That often makes peeling easier, too.
Present-day convenience for busy mornings
With about 9–11 minutes at 270°F you get tender centers. We can make a dozen without babysitting a pot. That means breakfast, lunch add-ins, or a grab-and-go snack in minutes.
- Less cleanup: no dripping ladles or pan water.
- Hands-off: brew coffee and pack lunches while the unit runs.
- Meal prep friendly: one batch or twelve — results stay consistent.
This cooking process is perfect for busy folks who want reliable results fast. Try it and you’ll reach for this trick again and again.
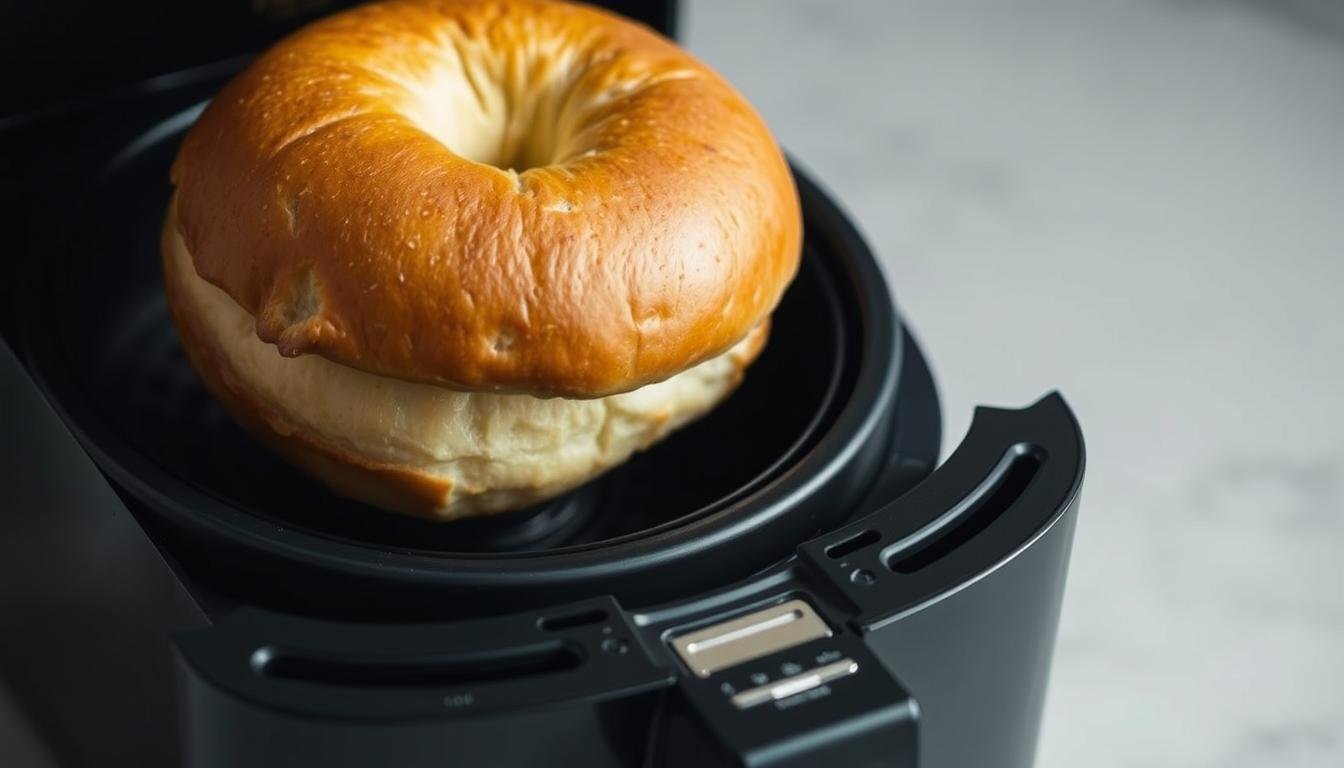
Air Fryer Soft Boiled Eggs: the step-by-step how-to
Start by warming the machine for five minutes — steady heat means predictable results. Preheat air fryer to 270–275°F for best texture. If your model only hits 300°F, set it there and shave 1–2 minutes off the cooking time.
Arrange the eggs
Place each egg in a single layer in the air fryer basket. Give them a little breathing room so hot air can move freely. Crowding makes uneven doneness.
Cook and time
For tender yolks try 9–11 minutes. Want custardy centers? Aim 11–13 minutes. Need fully set yolks? Go 14–17 minutes. Use tongs to lift eggs right away.
Ice bath to stop cooking
Move eggs into an ice bath of water and ice for 4–5 minutes until cool to the touch. This quick chill locks the texture and makes peeling from the fat end much easier.
“Test 1–2 eggs first to learn how your unit runs — small tests save big headaches!”
| Doneness | Minutes | Finish |
|---|---|---|
| Soft | 9–11 | tender yolk |
| Jammy | 11–13 | custardy center |
| Hard | 14–17 | fully set |
Cook times and doneness: soft, jammy, and hard boiled
Let’s nail down timing so your yolks do exactly what you want — runny, custardy, or fully set. We’ll give clear minutes and quick tweaks so you can stop guessing and start enjoying breakfast faster.
Soft hits that runny-to-jammy sweet spot at about 9–11 minutes. That’s perfect for toast-dunking and quick snacks. Try a 4–5 minute ice bath right after to lock texture and ease peeling.
Jammy centers fall in the 11–13 minute range. Those are custardy and slice clean for salads and grain bowls. They look pretty and hold together when you halve them.
Hard means fully set yolks and sturdy whites — plan for 14–17 minutes. Great for meal prep and snacks that need to travel.
Quick notes: Cooler settings like 250°F stretch these minutes a touch. At 300°F, subtract 1–2 minutes. A green ring around the yolk is harmless — it just means the temperature or time ran high. Keep a small notebook; your model’s personality will help you perfect each batch.
| Doneness | Minutes | Finish | Best use |
|---|---|---|---|
| Soft | 9–11 | runny to jammy yolk | toast-dunking, quick snacks |
| Jammy | 11–13 | custardy center | salads, bowls, slicing |
| Hard | 14–17 | fully set yolk & tender whites | meal prep, snacks |
Temperature matters: dialing in your model
Dialing the heat on your unit changes everything about texture and safety. We aim for a gentle 270–275°F to mimic a low simmer and treat yolks kindly. That lower temperature helps prevent burst shells and keeps centers from turning gray-green.

When your unit won’t drop below 300°F
If your air fryer only hits 300°F, don’t panic. Cut the cook time by about 1–2 minutes and test one or two first. We always try a small batch to learn how our model runs.
Why staying under 300°F reduces bursting risk
Lower heat gives shells less violent pressure changes. That means fewer cracks and fewer surprise messes. Cooler settings also lower the chance of that unpretty green ring around the yolk — still safe, but not what we want on toast.
- Every unit runs different — dial the temperature first.
- Keep eggs spaced so hot air circulates and don’t crowd the basket.
- Once you find the sweet spot, you’ll nail soft, jammy, and hard boiled results every time.
Gear and setup: air fryer basket, tongs, and a cold water ice bath
Grab your tools and let’s get the basket, tongs, and ice bath ready—this setup keeps things smooth. We like to lay everything out before the unit reaches temp so the finish is calm.
Quick setup steps:
- Grab the air fryer basket or fryer basket and a sturdy set of tongs.
- Preheat air fryer for about 5 minutes so hot air is steady and even.
- Arrange eggs in a single layer with space between each—no stacking, no crowding.
- Fill a big bowl with ice and cold water before the timer dings.
Tongs make moving fryer eggs easy. Use gentle, steady lifts so shells don’t crack early. Keep a towel handy for drips—cleanup is a snap.
“Set up once, cook calmly—little prep saves a lot of fuss at the finish.”
| Gear | Purpose | Tip |
|---|---|---|
| Air fryer basket | Holds eggs in a single layer | Space eggs for full circulation |
| Tongs | Transfer hot items safely | Grip gently at the ends of shells |
| Ice bath bowl | Stops cooking and eases peeling | Have it ready before cook time ends |
| Dish towel | Catch drips and protect counters | Quick clean, no slips |
Eggs and seasonings: keeping it simple and tasty
We keep things humble here—simple seasonings, big flavor. A couple of small choices make your morning bite sing.

Large eggs and size adjustments
We use large egg size for all our timing. If you have smaller ones, drop the cook time by about a minute.
Got jumbo? Add a minute or two and test one or two first so you don’t overdo it.
Salt, pepper, and everything bagel seasoning ideas
Keep seasonings simple and craveable: a pinch of salt and fresh-cracked pepper does wonders. Sprinkle everything bagel seasoning for that classic savory hit.
Want heat? A few drops of hot sauce or a shake of chili flakes wakes things up right before serving.
- Timing rule: large for standard timing; adjust ±1–2 minutes for other sizes.
- Soft boiled eggs shine with quality and a light sprinkle of salt.
- These bites deliver solid protein for breakfast, bowls, or quick snacks.
- Try smoked salt, lemon pepper, or a Cajun blend for a fun twist.
“Make it yours—our recipes are guides, your tastebuds lead the way.”
Pro tips for perfect results every time
A few small habits save a whole lot of breakfast fuss—promise. We’ll walk through easy moves that make your results steady, peelings easy, and yolks centered and pretty.

Keep space between each egg. Don’t crowd the basket—space lets hot air circulate so every egg cooks evenly. That little gap keeps shells from rubbing and helps doneness stay consistent.
- Test 1–2 eggs first: Run a short trial to learn your model’s minutes and cooking time.
- Ice bath right away: Move eggs to cold water for 4–5 minutes, then peel from the fat end to use that air pocket.
- Cool, not frozen: Let eggs warm slightly after the bath so shells release without tearing whites.
- Center yolks trick: Turn your carton on its side in the fridge a day before—yolks settle centered for prettier halves.
- Green ring? That means too much heat or time—safe to eat but shorten the next run by a minute or two.
- Stubborn shells: Tap, roll, then peel under a trickle of water or in a bowl of cold water to help the shell slip.
- Keep notes: Write your model’s sweet spot so you nail it every time when breakfast’s on the clock.
“Tiny routines make busy mornings calm and breakfast reliable.”
Peeling, storing, and food safety
Cool, then peel. After a 4–5 minute ice bath, let the items come to cool-to-the-touch before you peel. Too cold and the shell can cling and tear the white.

Start at the fat end. That air pocket gives you a natural lift point and makes removing the shell easier. If a bit stubborn, peel under a tiny stream of cold water to help the shell slip away cleanly.
Once peeled or left whole, tuck everything into an airtight container and slide it into the refrigerator within two hours of cooking. We like labeling the container with the date—future you will thank you.
Storage and reheating
- Keep them up to 5–7 days in the airtight container.
- Don’t freeze cooked items—whites get watery and yolks turn mealy. Fresh is best.
- To warm gently, nestle one or two in a bowl of hot water for a few minutes — it’s quick and kind to texture.
- Note: a green ring means overcooked; still safe, but shorten the next run a minute or two.
“Cool right away, peel while just-cool, and store in a sealed container—simple steps that keep breakfast tidy and tasty.”
Serving ideas: quick breakfasts, snacks, and bowls
Let’s talk about how these little delights slide into quick breakfasts and hearty bowls. We keep it simple—small swaps, big rewards.
Toast, avocado, and hot sauce pairings
Slice one on buttered toast and finish with a pinch of salt. That classic hit is Southern comfort in a minute.
Mash avocado, top with a halved egg, and add a drizzle of hot sauce for a creamy, spicy bite. It’s fast, filling, and packs that little kick we love.
Salads, breakfast tacos, and grain bowls
Drop warmed halves into salads—Caesar or Cobb—or stuff them into breakfast tacos with salsa and lime. They boost flavor and add real protein.
- Build a grain bowl with greens, pickles, and a jammy center for texture.
- Sprinkle everything bagel seasoning for crunch and garlic notes.
- Enjoy warm for cozy mornings or chilled for a light afternoon snack.
- Kid-friendly: halve gently and season lightly for little hands.
“Simple pairings make every bite feel like home.”
Variations beyond soft: jammy and hard boiled eggs in the air fryer
A tiny bump or cut in minutes changes texture big time—jammy, custardy, or fully firm is up to you.

Want jammy? Aim for about 11–13 minutes for a custardy center that slices pretty. Bump the minutes a hair from our soft setting and test one first.
For hard boiled eggs, plan 14–17 minutes until the yolk is fully set and the whites are firm. Use the same method: single layer, space each well, and start the ice bath ready.
- Pull one minute early for a warm center—check the yolk and adjust next run.
- If the whites feel rubbery, shorten the minutes or lower the temperature slightly.
- Air fried results peel easier after a quick ice bath—great for deviled or snack boxes.
- Once we know our unit, these variations are just a minute or two apart—easy peasy!
“A little timing practice gives you every texture you crave—trust the minute, not the guess.”
Meal prep made easy: batch, store, and grab-and-go protein
We love to cook once and eat well all week. Batch cooking saves you morning hassle and gives locker-ready bites for busy days. A quick run on Sunday sets you up—trust us, it’s worth it.
How many fit and cook evenly
Cook as many as your basket holds in a single layer with small gaps so hot air can circulate. Larger units take a dozen; smaller ones do 6–8.
Keep timing the same as you would for a single item — just don’t crowd the tray. Straight from the machine to an ice bath stops carryover in a few minutes.
Airtight containers for the week ahead
Peel once cool, then tuck into an airtight container. Label the lid and slide the box into the refrigerator. Stored this way, they stay good for 5–7 days.
- Pack snack boxes with fruit, nuts, and a salt packet for fast grabs.
- Drop halves into lunch bowls and salads for instant protein.
- Save a few minutes on the weekend and reclaim busy mornings all week long.
“Batch it up, chill it fast, and your week just got a whole lot easier.”
Conclusion
You’ve got the timing—now let’s turn it into a simple habit for weekday wins. We nailed the minutes: soft at 9–11 minutes at ~270–275°F, jammy 11–13, and hard 14–17. Ice bath immediately stops carryover and makes peeling easy.
Quick checklist: preheat, single layer, time for your doneness, ice bath, then chill in an airtight container for 5–7 days. Prep a batch on Sunday and coast through the week with grab-and-go protein.
Y’all now have a mess-free way to make perfect boiled eggs using an air fryer. Go on—preheat that air fryer, and let’s make some tasty, reliable bites!