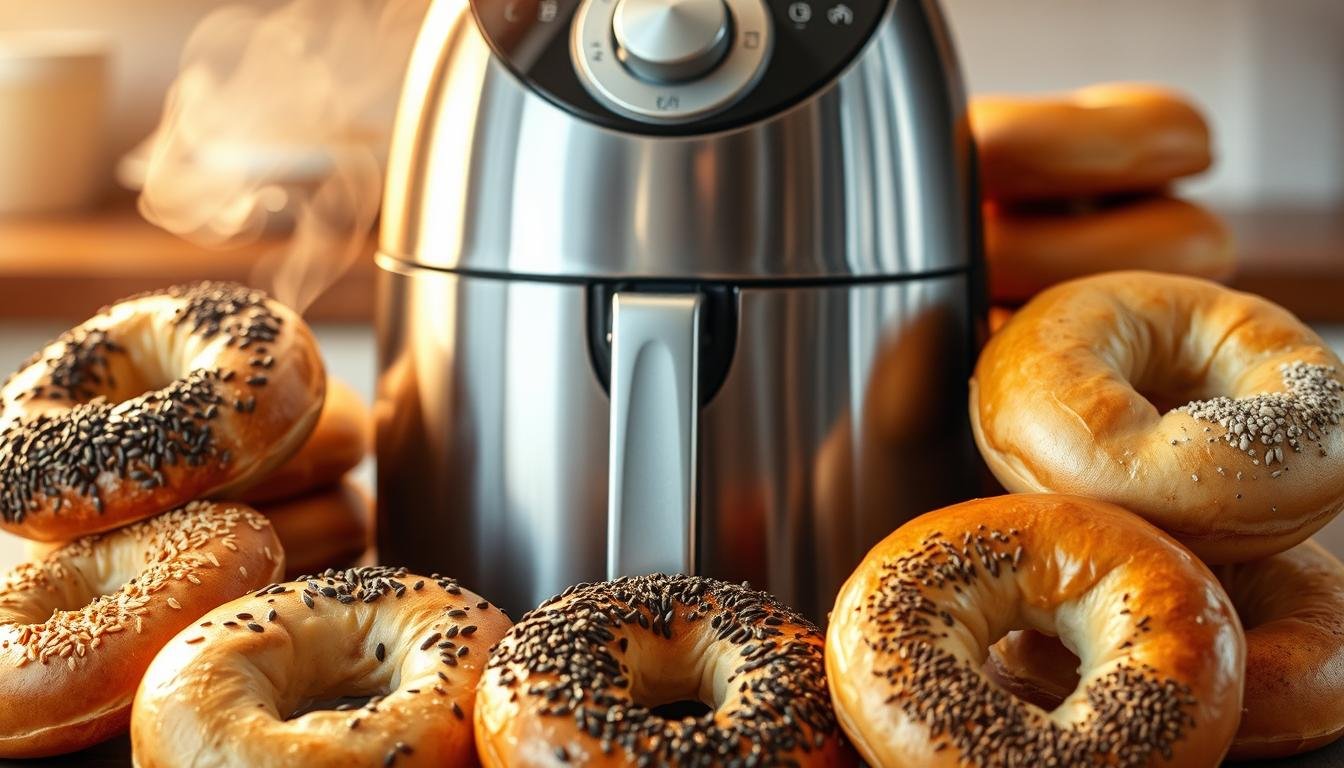
We’re kicking off pizza night the easy way—straight from frozen to the basket in just minutes. We’ll show you how to set the temp, time the cook, and get a golden, lightly crisp base with melty cheese on top. No thawing. No fuss.
Set your gadget to about 400°F for common singles and start with five minutes, then add a minute or two if you like deeper browning. Stouffer’s-style brands often work at about 390°F for roughly six minutes. Air frying beats the oven for speed — and the microwave? Fast, but it makes the loaf soft and gummy.
We’ll walk you through single-layer loading so hot air flows, when to add extras, and how to avoid burned edges or cold centers. Let pies cool for one to two minutes before serving — that keeps the cheese set and your fingers happy.
Key Takeaways
- Preheat to ~400°F and start with five minutes for Red Baron singles.
- Add 1–2 minutes for deeper browning; no defrosting needed.
- Air fryer cooks faster than the oven; microwave softens the loaf.
- Cook in a single layer and let pizzas cool 1–2 minutes before serving.
- Use common brands and simple tips to avoid burned edges or cold centers.
Quick answer: Time, temperature, and the no-thaw rule
Quick answer — dial the temp, track the minutes, and don’t bother thawing first. We like to keep this simple so you can get supper on the table fast.
From frozen to fabulous: set the air fryer to 400°F and start with 5 minutes. Peek, then add 1–2 minutes if you want deeper browning. For Stouffer’s-style loaves, many folks hit about 390°F for roughly 6 minutes.
- Always preheat air fryer — that first blast of hot air crisps the crust and bubbles the cheese.
- Cook in a single layer so hot air can circulate all the way around.
- Let rest 1–2 minutes after cooking so cheese settles and your tongue stays safe.
| Situation | Temp | Minutes |
|---|---|---|
| Standard frozen | 400°F | 5 (then +1–2 if needed) |
| Stouffer’s-style loaf | 390°F | ~6 |
| Extra toppings | 400°F | Add 1–2 minutes |
“An air fryer is just a small convection oven — it moves hot air faster, so timing matters.”
What you need for air fryer french bread pizza
Before we fire up the basket, here’s what to grab so dinner comes together quick.
Ingredients: Red Baron singles and alternatives
Grab the singles you like — pepperoni, supreme, cheese & garlic, or 3 meat all cook well. If your store is out, Stouffer’s and Mama Cozzi’s from Aldi are solid swap-in brands with similar timing.

Equipment: simple tools that matter
All you need is an air fryer and the basket or rack that came with it. Use a spatula or tongs to lift pies so you don’t burn your fingers or slide toppings.
- Use the air fryer basket in a single layer — no stacking.
- A light nonstick liner or a quick spritz helps when cheese runs.
- If you have a fryer basket insert, it works fine for even heat.
Optional add-ons
Want to jazz things up? Extra mozzarella, parmesan, banana peppers, jalapeños, or olives are all winner choices. Add cooked sausage or bacon crumbles before cooking for a heartier bite.
Pro tip: Keep toppings spread and press them in gently so they don’t blow around. No flipping needed — the loaf crisps and the toppings stay put.
Step-by-step: How to air fry frozen French bread pizza
Let’s break the cook down into simple steps so your frozen loaf comes out hot and crispy every time. We keep it short and friendly — preheat, load, time, and cool. Follow along and you’ll be set.
Preheat the air fryer to 400°F (why it matters)
Preheat air fryer to 400°F. That first blast jump-starts crisping and helps cheese melt just right without the center staying cold. Think of it like a mini oven getting ready to work.
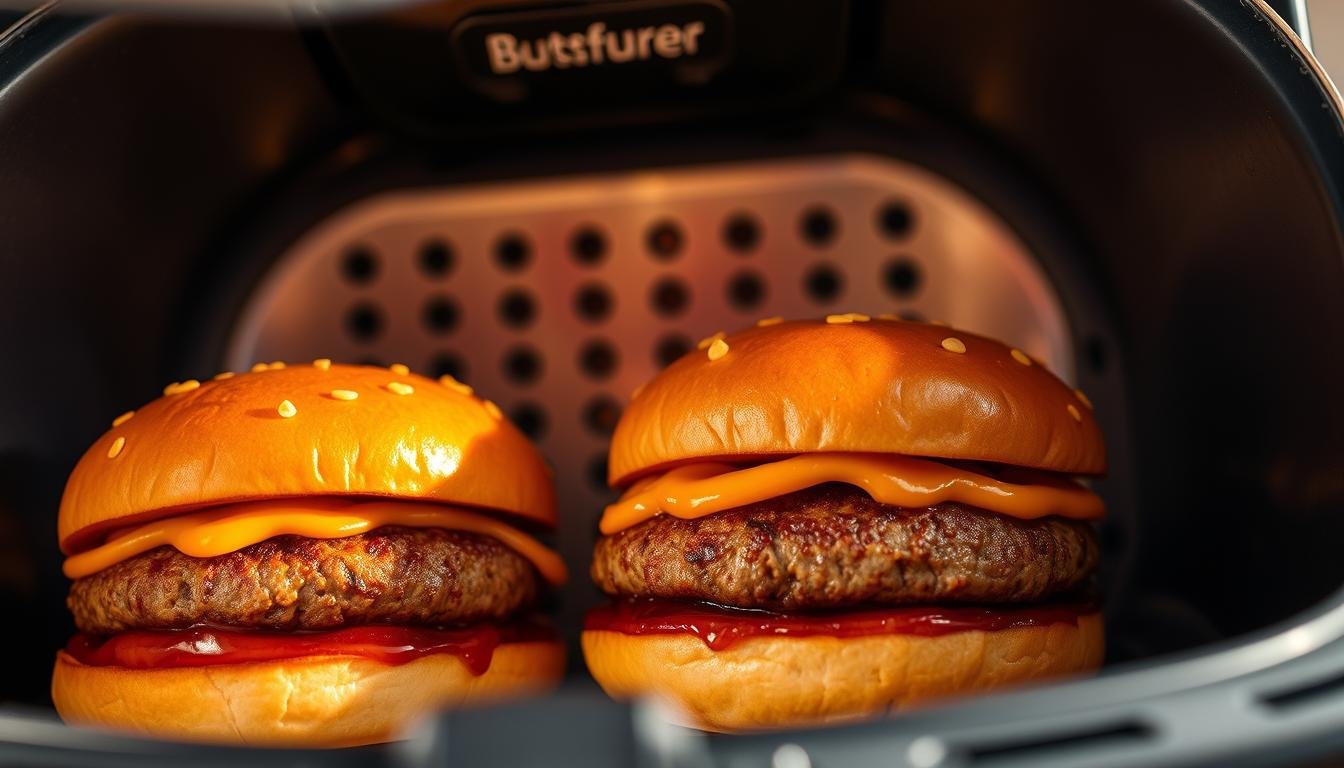
Load the basket in a single layer
Unwrap and place pies face-up in the air fryer basket with breathing room. Use a single layer so hot circulation hits every edge. If toppings try to wander, press them down or add a sprinkle of cheese to hold them.
Cook for 5–7 minutes, then add time in 1-minute intervals if needed
Start at 5 minutes. Peek, then add one-minute bursts until the top is bubbly and golden. For Stouffer’s-style loaves try 390°F for about 6 minutes—same check-and-add routine.
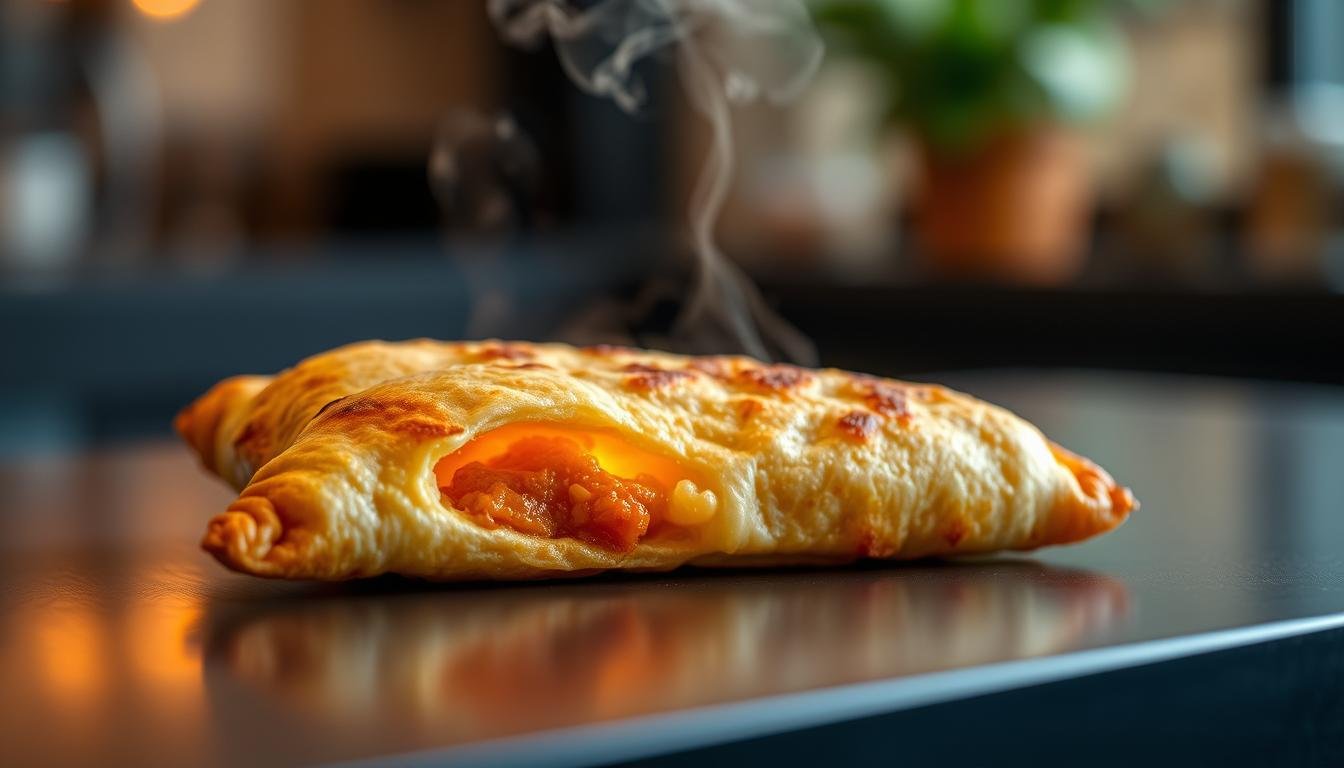
Cool for 1–2 minutes, slice, and serve
Let pies rest 1–2 minutes so the cheese firms up. Use a spatula or tongs to lift — that keeps your fingers safe and toppings in place. Slice across the loaf for bite-size pieces and enjoy!
| Step | Temp | Minutes | Notes |
|---|---|---|---|
| Preheat | 400°F | — | Jump-start crust crisping |
| Standard cook | 400°F | 5 (+1–2) | Check at 5 minutes, then add 1-minute bursts |
| Stouffer’s-style | 390°F | ~6 | Same check routine; adjust for browning |
“Let it rest a minute — the cheese sets and slices cleaner.”
Dialing in timing and temperature for your air fryer
Timing and heat are the two knobs we tweak to get steady results across different machines and brands. Many singles hit a sweet spot at 400°F for about 5–7 minutes, while some thicker loaves do better a hair cooler.
Basket models vs. dual-zone units:
Standard basket air fryers vs. dual-zone models
Basket-style machines move hot air fast. They crisp the bottom quick and often need 5–7 minutes at 400°F. Dual-zone units—like the Ninja Foodi Dual Zone—tend to be a touch gentler. We found a perfect cook at 6 minutes on that model.
When to use 390°F vs 400°F
Try 390°F if your loaf is thicker or you use a denser brand. Stouffer’s-style loaves usually like that cooler setting. For most singles, stick with 400°F and check at five minutes.
- Preheat air fryer to keep timing consistent — preheat air for a crisp base.
- Cook in a single layer; crowding forces longer cooks or uneven browning.
- Add one minute for heavy toppings so the top re-bubbles.
| Fryer Type | Temp | Minutes | Notes |
|---|---|---|---|
| Standard basket | 400°F | 5–7 | Quick crisp; check at 5 |
| Dual-zone (Ninja Foodi) | 400°F | 6 | Even browning across zones |
| Thicker loaves / Stouffer’s | 390°F | ~6 | Slower browning; watch cheese |
“Test once and you’ll know your house timing by heart.”

Crispy edges or softer bite: how to choose your crust finish
Decide how you like the crust before you hit start. We keep the baseline simple — 5 minutes at 400°F is your go-to. From there, a tiny time adjustment changes the whole result.
For extra crisp:
For extra crisp: extend by 1-2 minutes
After the initial 5 minutes, add 1–2 more minutes and watch for a deep golden glow. That extra minute or two gives the crust a satisfying snap while the cheese bubbles higher.
For softer texture: reduce a minute and rest
Prefer a tender bite? Trim about a minute off the cook and let pies rest 1–2 minutes. Resting traps steam inside the crumb so it stays soft while the edges still crisp a touch.
Foil tradeoff: control flyaway toppings vs browning
Light foil tents stop toppings from flying in the basket, but they cut browning. If you tent, expect a much longer cook and paler color — sometimes nearly double the minutes.
- Cheese looking pale? Add a 60–90 second bump and check often.
- Press loose toppings in and add a pinch of shredded cheese to hold them.
- Don’t crowd the basket — space equals airflow, and airflow equals crunchy crust.
- If the bottom lags, pop the loaf on a rack position for an extra minute to boost under-crust browning.
“Softer inside, crisp on the edge — that’s the sweet spot we’re aiming for.”
red baron french bread pizza air fryer
Here’s the simple timing trick that gives you crispy edges and gooey cheese with zero thawing.
Preheat to 400°F and start with 5 minutes. Peek at the five-minute mark and add 1–2 minutes if you want deeper color.
Choose your flavor—pepperoni, supreme, cheese & garlic, or 3 meat—and pop the loaf face-up. No thawing. No flipping. Let the hot air do the work.
Have a Ninja Foodi Dual Zone? We hit a sweet spot at 6 minutes for even browning and melt.
Keep pies in a single layer. If two fit without crowding, your timing usually stays the same. Cool for 1–2 minutes so toppings settle and slices hold together.
- Add extra cheese or a sprinkle of oregano before cooking for a little upgrade.
- Peek early when trying a new model—five minutes tells you what to tweak next time.
- This way saves time and beats delivery on busy nights.
| Step | Temp | Minutes | Notes |
|---|---|---|---|
| Preheat | 400°F | — | Essential for crisp base |
| Standard single | 400°F | 5 (+1–2) | Check at 5; add time for color |
| Ninja Foodi Dual Zone | 400°F | 6 | Even finish across zones |

“Fast, crispy comfort without the wait — that’s our favorite way to feed a hungry house.”
Toppings, brands, and variations the whole family will love


Let’s talk toppings — the kind that make a quick frozen loaf feel like a family feast. We keep it simple so kids and grown folks both get happy plates.
Favorite toppings: pepperoni, sausage, veggies, and more
Load up favorites like pepperoni, cooked Italian sausage, bacon bits, bell peppers, onions, mushrooms, jalapeños, or olives. Add toppings before cooking so the cheese melts around them and locks everything in place.
Heavier add-ons may need an extra minute so the top re-bubbles. No flipping — those toppings would tumble right off, and we’re not chasing pepperoni in the basket today.
Brand swaps: Stouffer’s, Mama Cozzi’s, and others
If you swap brands like Stouffer’s or Mama Cozzi’s, timing stays close. Try one test loaf and you’ll know what your model likes.
No-flip rule and how to add toppings before cooking
For a garlicky twist, pick cheese & garlic and finish with fresh basil after the cook. Want heat? Toss on diced jalapeños or red pepper flakes before or after. Make it deluxe with extra mozzarella and a dusting of parmesan — perfect for pizzas the whole family enjoys.
“Half-and-half loaves are a lifesaver for picky eaters — split the loaf and top each side just how folks like it.”
Serving ideas: Easy sides and finishing touches
A few small sides and a sprinkle or two can elevate the whole plate fast. We keep things simple so supper comes together without fuss. These pairings are fast, flexible, and crowd-pleasing.

Quick sides that make dinner feel planned
Toss a garden or Caesar salad while the main cooks—fresh greens take minutes and add balance.
Warm garlic knots in the air fryer and set out marinara for dipping. Roast broccoli or zucchini on another rack to keep things bright and easy.
For game night, throw wings or fried mozzarella on the table. A bowl of tomato soup or spinach-artichoke dip makes it cozy.
Finishing flavors to boost cheese and crust
Shower on parmesan, red pepper flakes, dried oregano, or tear fresh basil over top. Want a garlicky finish? Brush the edges with a touch of garlic butter after cooking for gloss and flavor.
- Make a dipping trio—ranch, pesto, and warm marinara.
- Slice into strips for a shareable snack board with bruschetta and antipasto.
- Keep it family-style: pile on a platter, sprinkle herbs, and let everyone dig in.
“Simple sides and small finishes turn quick recipes into a proper supper.”
Batch cooking, safety, and common mistakes to avoid
Cooking a bunch at once? We’ll show you how to keep crusts crisp and toppings put.
Smart layout and batch tips
Keep pieces in a single layer. Crowding kills airflow and leaves pale tops or soggy bottoms.
If two loaves fit without touching, cook them together—no extra time needed. For big groups, work in batches; the fryer still beats the oven for speed.
Tools and burn prevention
Use a spatula or tongs to lift hot loaves — that helps prevent burns and keeps toppings from sliding off. Keep kids back from the hot basket; those edges and cheese are steamy and dangerous.
Watch timing and toppings
Some toppings may blow off — scoop them from the fryer basket and pop ‘em back on. Foil tucks loose bits in, but it cuts browning and can add many minutes to the cook.
- Start checking at 5 minutes the first time you try a new model — Ninja Foodi Dual Zone liked 6 minutes for us.
- Minimal added fat is needed — air circulation does the crisping without greasy bottoms.
- Don’t refreeze cooked leftovers — chill and reheat for best texture.
“Steady layout and a careful lift keep supper simple and safe.”
Leftovers: Storage and air fryer reheating
Save tonight’s slices and make tomorrow’s lunch sing with a quick reheating routine.
Let leftovers cool, then tuck them into an airtight container. Store in the fridge for about 3–5 days. That window keeps flavor and food safety in balance. Do not refreeze cooked slices — the texture and safety can suffer.
Reheat in the air fryer for best results. For crisp bread and melty cheese, set the unit between 300–375°F and heat until hot and crisp again. Use a rack or perforated liner if you have one to help the bottom crisp.
Quick reheat guide
- 300°F for 2–3 minutes — gentle heat that warms through without over-browning.
- 375°F for ~5 minutes — faster return to crisp, excellent if you want crunch back.
- Add about 1 extra minute for piled-on toppings so everything heats through.
Microwave only when you’re in a rush — it warms fast but makes the loaf soft. No extra fat is needed for reheating; the circulation does the crisping work for you.
| Action | Temp | Minutes | Notes |
|---|---|---|---|
| Gentle reheat | 300°F | 2–3 | Protects cheese from over-browning |
| Quick crisp | 375°F | ~5 | Restores crunch; watch closely |
| Heavy toppings | 300–375°F | +1 minute | Ensure center heats through |
| Fridge storage | — | 3–5 days | Airtight container; no refreeze |
“Write down your best reheat time — your fryer will learn your kitchen’s rhythm.”
Conclusion
One quick routine gives you a crisp crust and melty topping without extra fuss. Cook frozen loaves at 400°F for about 5 minutes, then add 1–2 minutes if you want deeper color. Thicker brands often like ~390°F for close to 6 minutes. No thawing. No flipping. Let rest 1–2 minutes before slicing.
Dress it up with a shower of parmesan, fresh herbs, or extra cheese. Pair with a salad or warm garlic knots and supper’s done. Jot down your perfect house timing so you nail it every time.
Store leftovers tight and reheat low—300–375°F for a few minutes brings back that crisp crust. Got a favorite topping twist or question? Share it with us so we can all eat happy, y’all!