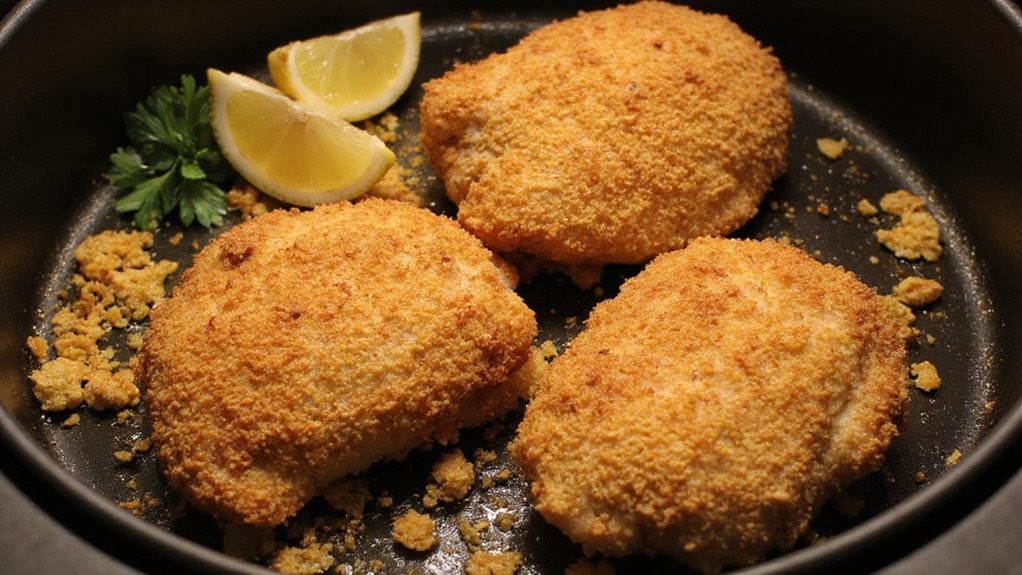
You’ll get panko-crusted chicken thighs with a golden, crackling crust and juicy, tender meat inside. You’ll marinate briefly in Dijon, garlic, and olive oil, then press on a Parmesan-lemon panko for bright, savory crunch. The air fryer makes it crisp without excess oil. Stick around for timing, temp, and a few pro tricks that actually work.
Ingredients
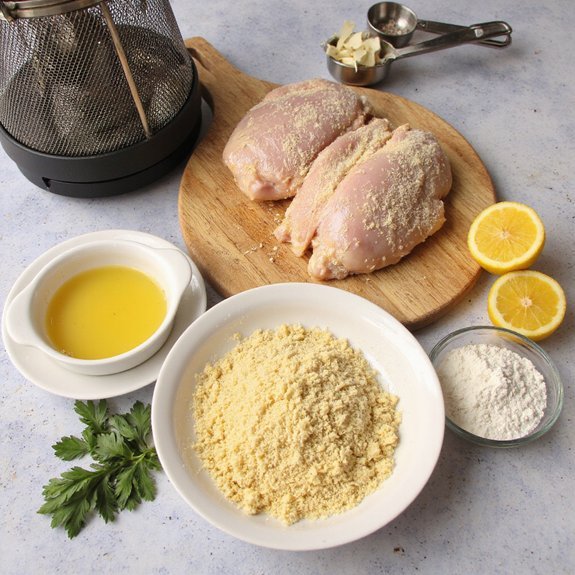
You’ll need 4 bone-in, skin-on chicken thighs (about 1½–2 lb) for tender, juicy meat and a crisp skin; trim excess fat.
For the crust, measure 1 cup panko, ½ cup finely grated Parmesan, and zest of one lemon.
Season the chicken with kosher salt and freshly ground black pepper, then presalt 30 minutes or up to overnight.
Build Flavorful marinades with 2 tablespoons olive oil, 1 tablespoon Dijon, minced garlic, and a splash of soy for umami—pat dry before dredging.
Create bold Spice combinations: smoked paprika, ground coriander, a pinch of cayenne, and a teaspoon of dried thyme.
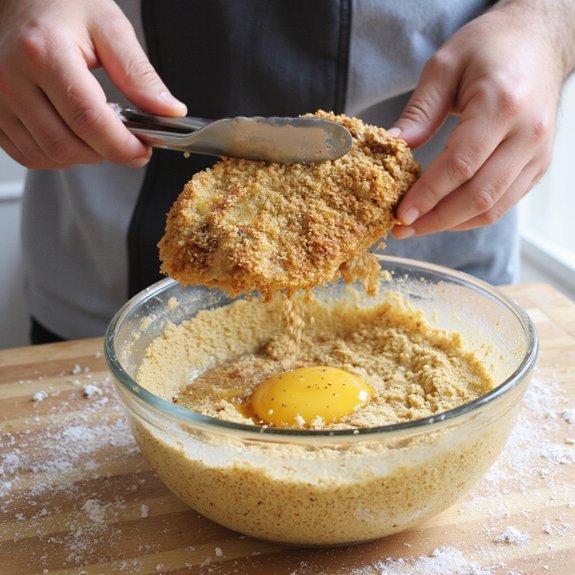
Have an egg wash (2 large eggs beaten) to bind the crust.
Finish with flaky sea salt and chopped parsley for brightness and optional lemon wedges.
Equipment Needed
A dependable air fryer with a roomy basket (about 5–6 qt or equivalent) gives you the hot, circulating air that yields crisp, golden skin and a satisfyingly crunchy panko crust. You’ll choose from air fryer types (basket, oven, or convection toaster) that match capacity and airflow needs. Add basic cooking accessories: tongs, silicone brush, and perforated parchment—each sharpens control and texture. You’ll want an instant-read thermometer for precise doneness and a small wire rack for even browning. Quality matters: metal basket with nonstick coating, solid latch, reliable preheat. Sensory cues—hot dry air, the faint nutty scent of toasted panko—will guide you.
| Tool | Purpose | Note |
|---|---|---|
| Air fryer types | Crisp skin, even heat | 5–6 qt ideal |
| Thermometer | Accurate internal temp | Instant-read |
| Cooking accessories | Handling, coating, airflow | Tongs, rack, brush |
Preparing the Chicken
With your tools ready, prep the thighs so the panko will cling and the skin will crisp. Pat each thigh dry with paper towels; moisture is the enemy of crunch, so press firmly and feel the skin go taut.
Trim excess fat and loose skin to promote even rendering. When choosing thighs, opt for bone-in, skin-on for juiciness and structure, or boneless for faster cook times — your choice alters texture.
Score the skin lightly to let fat render and seasoning penetrate. Salt at least 30 minutes ahead or up to overnight for deeper flavor.
For marinating options, experiment: a citrus-yogurt blend for brightness, soy-miso for umami, or buttermilk for tenderness. Wipe off excess marinade before breading.
Rest chilled thighs briefly to maintain shape.
Breading and Dredging Station
Set up three shallow bowls — seasoned flour, beaten egg with a splash of milk, and panko — so you can move pieces smoothly.
Rub salt, pepper, paprika and a little garlic powder into the flour so each thigh picks up flavor at the first coat.


Press the panko onto the wet chicken with your fingertips, feeling for an even, tacky crust that won’t blow off in the air fryer.
Three-Bowl Setup
When you assemble the three shallow bowls—seasoned flour, beaten eggs, and panko mixed with a pinch of salt and paprika—you’ll create a fast, efficient dredging flow that yields an even, crunchy crust. You set bowls left to right for bowl organization: flour, egg, crumb. Work single thighs: press, coat, shake excess. Use measured motions so crumbs adhere uniformly; you’ll feel the contrast between slick egg and gritty panko.
| Step | Texture | Rhythm |
|---|---|---|
| Flour dusting | Dry, fine | Tap, shake |
| Egg wash | Smooth, slick | Dip, lift |
| Panko press | Coarse, crisp | Press, set |
This three-bowl setup mirrors refined frying techniques and speeds production without sacrificing crunch. Rotate trays as you load the air fryer so heat circulation stays even and coatings remain intact. Trust the rhythm every time.
Seasoning the Flour
After arranging the bowls, turn to seasoning the flour — this dry mix gives the coating its first hit of flavor and helps the egg and panko cling.
You’ll use a base of all-purpose or a light rice flour for a crisper profile; note how different flour types change texture under heat.
Measure precisely: one cup flour to a teaspoon each salt and baking powder, then experiment with fractional amounts of garlic powder, smoked paprika, and ground mustard for depth.
Stir and smell: the mix should smell bright, not dusty. For inventive runs, swap a tablespoon of cornstarch or almond flour to alter crunch and color.
Label variations and test one variable at a time; document results so your seasoning blends evolve predictably.
Refine continuously.
Even Panko Coating
Anyone can build a foolproof breading station: arrange three shallow bowls — seasoned flour, a beaten egg thinned with a tablespoon or two of water for a glossy, clingy wash, and a wide pan of panko — and keep a rimmed tray or rack handy to hold coated thighs.
Work one thigh at a time: dust, dip, press. Use fingertips to bed panko into nooks so panko texture survives air. Shake excess flour before the egg to prevent gummy spots. Press extra panko onto edges, set thighs seam-side down on the rack.
Swap pans if crumbs wet. These coating techniques close gaps, maximize crunch and guarantee even browning. You’ll get a glossy golden crust that snaps and rewards small innovations like citrus zest in the panko.
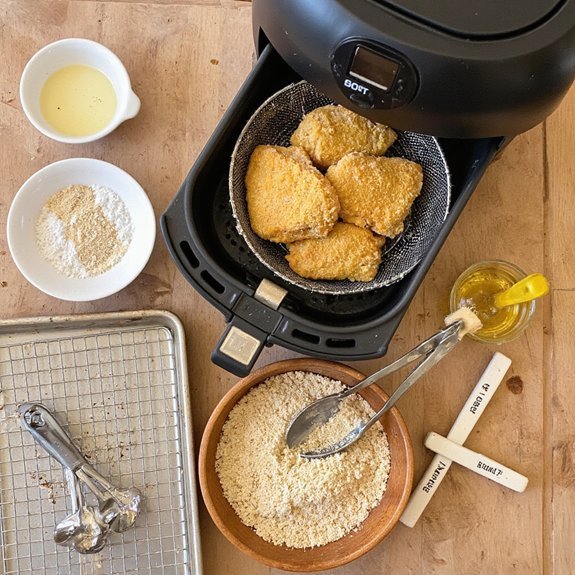
Air Fryer Cooking Instructions
One short preheat gets you a crackling, golden crust: set the air fryer to 400°F and let it run 2–3 minutes. You’ll place thighs skin-side up, spray light oil, and avoid crowding; that preserves crispness and follows air fryer safety and tested cooking times. Flip once halfway; expect 18–22 minutes depending on size. Rest 5 minutes for juices to settle.
| Stage | Temp | Time |
|---|---|---|
| Preheat | 400°F | 2–3 min |
| Cook | 400°F | 18–22 min |
| Rest | ambient | 5 min |
Listen for a steady sizzle, watch for deep golden panko, and use an instant-read thermometer to confirm 165°F. You’ll note aroma, note tactile crispness, and adjust future batches by 1–2 minutes for desired texture. Trust iterative tweaks.
Serving and Pairing Ideas
When plated skin-side up so the crust stays crackling, serve these panko-crusted thighs with something bright and textural to cut the richness: a lemon-garlic aioli, a drizzle of hot honey, or a quick chile-lime slaw all work.
Crisp crust, tender meat, and warm fat call for focused sauce pairings — think an herb-forward chimichurri that lifts herbs and acid, a smoked paprika yogurt for depth, or a miso-maple glaze for umami-sweet contrast.
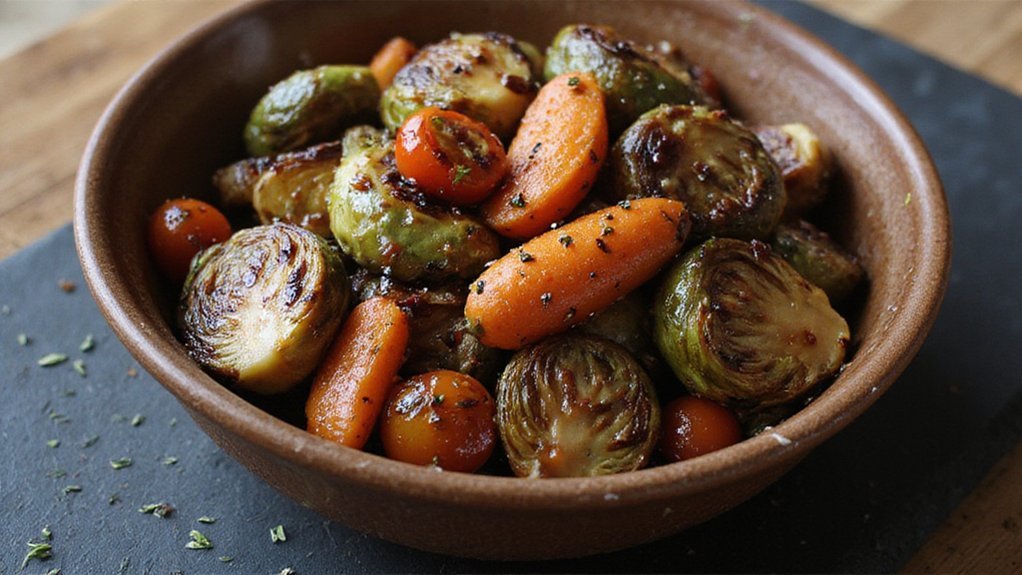
For side dishes choose textures: charred broccolini, tangy cucumber salad, or crunchy farro tossed with herbs and preserved lemon.
Plate with contrasting temperatures and a scatter of citrus zest or toasted sesame to sharpen each bite; you’ll make every forkful sing. Serve family-style to encourage sharing and spontaneous flavor combinations at table.
Variations, Swaps, and Troubleshooting
If you’ve been pairing bright sauces and crunchy sides, you’ll find most adjustments happen at the same few touchpoints: coating, heat, and timing. You can swap panko for toasted breadcrumbs or almond meal; those cooking alternatives shift texture and toasty aroma. Reduce temperature five degrees and extend time for larger thighs; you’ll keep juiciness and sharpen crust. For flavor enhancements, add lemon zest, smoked paprika, or grated parmesan into the crust; press firmly so it adheres. Troubleshoot soggy spots by patting dry and preheating the air fryer. Trust small calibrated changes, taste often, and record results to iterate toward a signature crunch.
| Swap | Benefit | Note |
|---|---|---|
| Panko+herbs | Crisp, aromatic | Press to adhere |
| Almond crust | Nutty, golden | Toasted, watch time |
Measure tweaks, note textures, repeat daily.
Conclusion
You’ll love how these air-fried panko-crusted thighs deliver blistered, golden crunch and juicy, herb-scented meat every time. You marinate briefly, press the zesty, Parmesan-studded panko on, and the fryer hisses to create a crisp shell that flakes with each bite. Rest a few minutes to lock in juices, then serve with a squeeze of lemon. It’s a reliably fast, textural win that tastes restaurant-level at home. You’ll repeat this method again and again, every time.