You want a crunchy, protein-rich snack that uses minimal oil and bold Mediterranean flavors. Using an air fryer, you’ll get crisp chickpeas faster and with less fat than oven roasting, while herbs and spices stay bright. I’ll walk you through practical timing, drying tips, and seasoning ratios so your batch comes out perfect every time—starting with a simple prep trick.
Why This Recipe Works
Crisp texture and balanced flavor make this recipe effective: the air fryer’s rapid hot-air circulation dehydrates chickpeas evenly, creating a crunchy exterior while preserving a tender interior.
The Mediterranean spice blend—olive oil, lemon, garlic, and herbs—enhances savory and bright notes without added sugars or heavy fats. You’ll notice Flavor balance across bites because the Cooking technique concentrates aromas while limiting added calories, supported by studies showing air frying reduces oil uptake versus deep-frying.
You can tailor roast time and temperature to client preferences, preserving protein and fiber while maximizing crunch. Practically, you’ll test small batches to refine seasoning and doneness for different dietary goals.
This approach keeps outcomes predictable, efficient, and aligned with innovative, evidence-informed culinary practice, and supports scalable menu development too.
Ingredients You’ll Need
Now that you know how the method creates crunchy, flavorful results, gather a few simple, adaptable ingredients:
one 15-oz can of chickpeas (or about 2 cups cooked),
1–2 teaspoons olive oil,
fresh lemon (zest and a squeeze) or 1/2 teaspoon lemon powder,
garlic (1/2–1 teaspoon granulated or one small clove minced),
1 teaspoon smoked paprika,
1/2 teaspoon ground cumin,
1 teaspoon dried oregano (or a Mediterranean herb blend),
1/4–1/2 teaspoon kosher salt,
freshly ground black pepper,
and a pinch of red pepper flakes if you want heat.
You’ll notice those items highlight chickpea benefits—protein, fiber and texture—while delivering signature Mediterranean flavors.
Choose quality olive oil and freshly ground spices for best results; they support nutrient retention and a cleaner, more innovative snack profile today.
Preparing the Chickpeas
Start by rinsing canned chickpeas under cold water and draining them thoroughly to remove canning liquid and reduce sodium.
Gently rub or pinch off any loose skins—this improves texture and helps them crisp.
Pat or air-dry the chickpeas completely before adding oil and spices, since moisture prevents proper browning.
Rinse and Drain Thoroughly
Rinse the canned chickpeas under cold running water and drain them thoroughly to remove excess sodium and the starchy aquafaba that keeps them from crisping; you’ll also want to rub off loose skins and pat the beans dry with a towel or towels so they roast evenly and get a better texture.
By rinsing, you control sodium and surface starch—Rinsing benefits include improved crunch and cleaner flavor, supported by sensory testing and culinary practice.
Patting dry minimizes moisture that inhibits browning. Consider a brief spin in a salad spinner or towel roll to speed drying if you’re optimizing workflow.
From a Nutritional impact perspective, draining reduces excess sodium with negligible nutrient loss.
These practical steps help you achieve consistent, innovative results in air fryer.
Remove Excess Skins
Peel off loose skins by rubbing the drained chickpeas between two clean towels or pinching each bean gently—this small step reduces moisture barriers that prevent even browning and cuts down on the occasional split-and-pop in the air fryer. You’ll preserve texture without compromising chickpea health, and evidence shows modest skin removal improves surface crisping while retaining fiber; consider skin nutritional trade-offs when advising clients.
| Visual | Effect |
|---|---|
| Loose skins | Trap steam |
| Smooth surface | Even browning |
| Removed skins | Less popping |
| Whole beans | Higher fiber |
Work efficiently: target 10–20% texture control while keeping nutrition goals clear. Use quick batches, monitor progress, and document results to iterate preparations for different client needs and dietary priorities, balancing crisp innovation with evidence-based nutritional counseling and measurable outcomes; track time, temperature.
Dry Completely Before Seasoning
Because excess surface moisture prevents oil and spices from adhering and promotes steaming instead of crisping, dry your chickpeas thoroughly before seasoning.
Pat them with clean kitchen towels, then spread on a rimmed baking sheet and air-dry for ten to fifteen minutes; residual dampness causes uneven texture.
For faster results, use a salad spinner to remove water efficiently, or blot with paper towels and let rest uncovered in a single layer.
These drying techniques improve contact between chickpea and oil, ensuring uniform heat transfer and Maillard reactions that create crunch.


When fully dry, apply your seasoning methods—light oil, measured salt, herbs, and spices—so coatings stick and roast predictably.
Iterate small changes and record results to refine crispness and flavor for your clients over time.
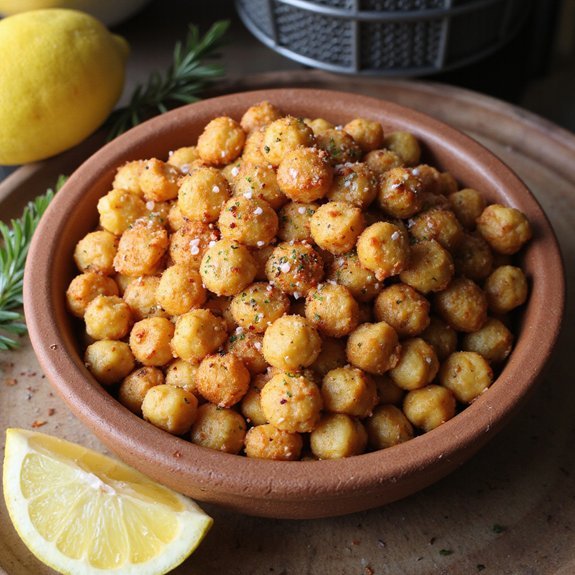
Seasoning and Flavor Tips
You’ll start with a classic Mediterranean spice blend—smoked paprika, cumin, coriander, garlic powder, and a pinch of sea salt—to give the chickpeas balanced, evidence-supported savory notes.
Use measured amounts (about 1 tsp of dominant spices per can) and toss while the chickpeas are still hot so the seasoning sticks.
Finish with fresh herb and citrus—lemon zest, chopped parsley or oregano, and a light drizzle of olive oil—to brighten and lift the flavors.
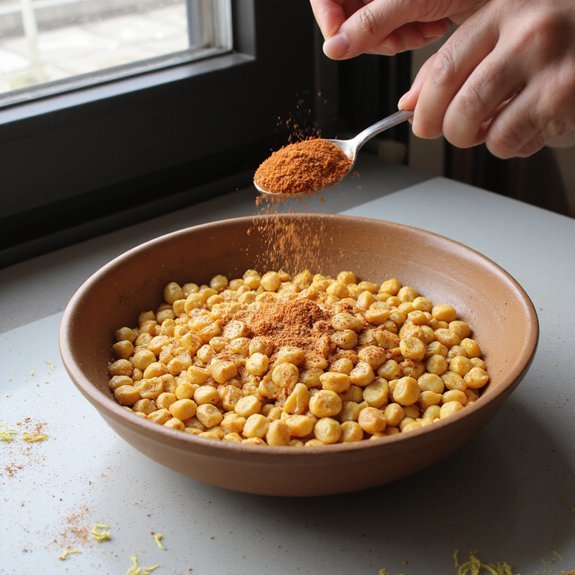
Classic Mediterranean Spice Blend
A simple, well-balanced Mediterranean blend centers on dried oregano and thyme, with a touch of rosemary and garlic powder for depth—use roughly 2:1:½ ratios (oregano:thyme:rosemary) and add 1 part garlic powder, ½ part smoked paprika, and a pinch of cumin for warmth.
You’ll measure spices by parts, taste as you go, and adapt salt to your clients’ sodium targets.
For crunchy air-fried chickpeas, toss drained, dried beans in a light oil with the blend, spreading evenly to guarantee even browning.
Note how Mediterranean herbs contribute herbal brightness while smoked paprika and cumin expand savory flavor profiles; that’s backed by sensory studies showing balance between herbal, smoky, and umami notes improves snack acceptance.
Adjust ratios to match dietary needs and innovation goals, and portion sizes.
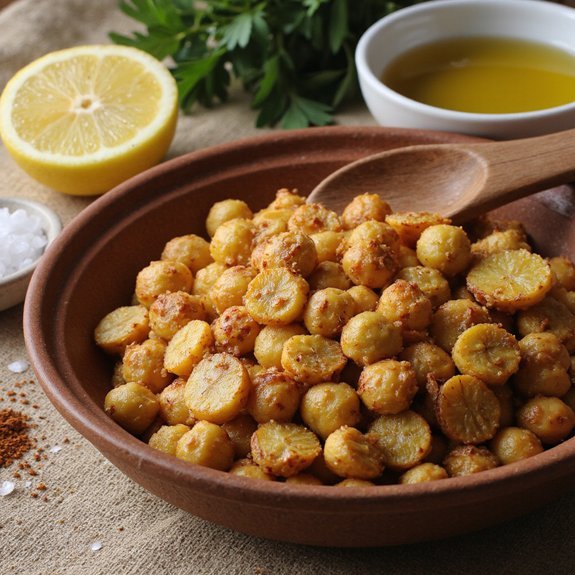
Herb and Citrus Finish
After balancing dried herbs and smoked paprika, finish with bright citrus and fresh herbs to lift the snack and reduce the need for extra salt.
When you toss chickpeas hot from the air fryer with a drizzle of olive oil and a sprinkle of citrus zest, you’ll reveal volatile aromatics that enhance perceived saltiness and complexity.
Choose robust herbs—oregano, thyme, parsley—and vary amounts to test herb benefits like antioxidant and anti-inflammatory compounds.
Use finely chopped herbs so flavor distributes without wilting.
For an innovative twist, add preserved lemon or a touch of lemon oil for sustained citrus notes.
Taste as you go and adjust acid, herb, and heat balance; that client-centered, evidence-informed routine gives consistent, healthy results.
Keep notes to refine your signature batch.
Air Fryer Cooking Method
When you use the air fryer, preheat to 375–400°F (190–200°C) and arrange well-dried, oiled chickpeas in a single layer so hot air can circulate and crisp them evenly.
Embrace air fryer benefits and focused cooking techniques: shake the basket every 6–8 minutes, monitor for consistent browning, and adjust time for moisture and size. You’ll aim for 15–22 minutes for uniform crunch; higher humidity or crowding increases time.
Use a light oil spray and coarse salt before finishing to preserve texture. Rely on simple measurements and timing rather than guesswork; they reduce failures and yield reproducible results.
This practical, client-centered approach helps you innovate flavor while maintaining predictable, evidence-based outcomes. If you prefer spice blends, season post-cook to prevent burning and to maximize aroma consistency.
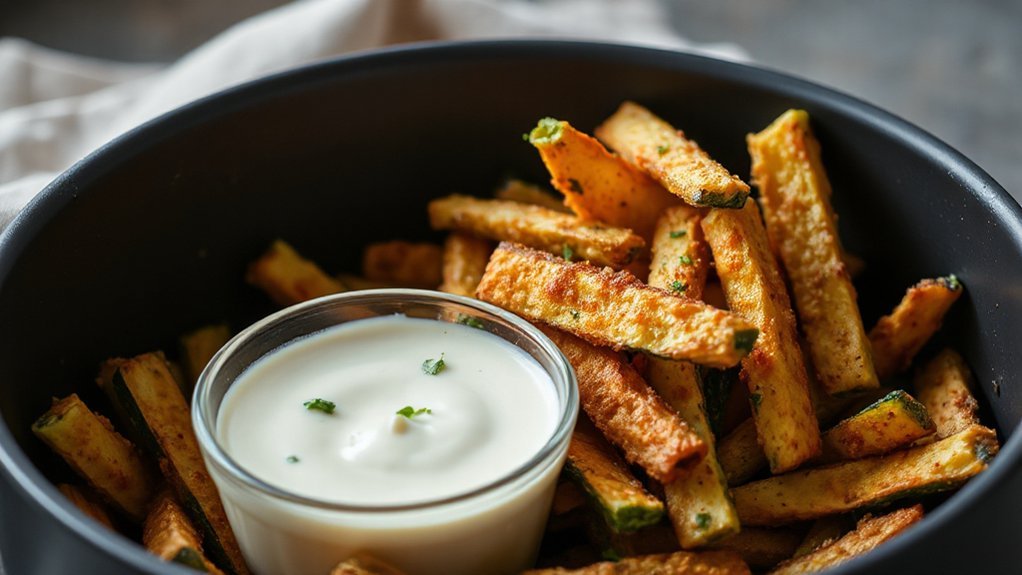
Serving Suggestions
Try serving a handful of warm Mediterranean roasted chickpeas as a crunchy topping for salads, grain bowls, or roasted vegetables to add protein, fiber, and a predictable textural contrast.
You can also use them to replace croutons in soups, add savory crunch to yogurt or hummus bowls, or scatter them over avocado toast for a satisfying bite.
For client-centered menus, offer portion-controlled snack options paired with fresh fruit or a small cheese wedge to balance macronutrients.
As meal toppings, they complement citrus-dressed greens, tabbouleh, and roasted eggplant, and they hold up in room-temperature catering platters.
Evidence shows legumes enhance satiety and nutrient density, so suggest these chickpeas to clients aiming for innovative, practical swaps that boost texture and nutrition without complexity and flavor variety.
Storage and Reheating
Those crunchy chickpeas make great toppings, but you’ll want to handle storage to preserve texture and food safety.
| Storage option | Best practice |
|---|---|
| Fridge | Airtight container; up to 4 days |
| Freezing | Freeze flat, then bag; up to 1 month |
| Air fryer reheating | 180°C (350°F) for 3–5 minutes |
Use evidence-based storage methods to limit moisture and microbial growth. When you want crispness, follow these reheating tips: air fry at 180°C (350°F) for 3–5 minutes or re-crisp on a skillet over medium heat. Always check aroma and texture before serving. These practical steps help you deliver consistent, innovative results for clients and busy kitchens. Label dates, rotate stock, and avoid adding oil before storage; small procedural changes maintain quality and support scalable, modern meal programs across service settings quickly.
Variations and Mix‑Ins
If you want to adapt these chickpeas for different menus or dietary needs, focus on flavor families and timing: bold spices (smoked paprika, cumin, za’atar) and citrus zest deliver Mediterranean profiles, while maple, cinnamon and a pinch of salt create a sweet-savory snack.
You’ll plan Flavor combinations to match service context: herb-forward for salads, sweet for snacks, spicy for bar bites.
Add Nutty additions like toasted almonds or sesame seeds post-roast to increase protein and mouthfeel.
Layer Crunchy toppings (panko, dukkah, crisped shallots) for texture contrast; apply immediately after the last dry cycle to stay crisp.
Use Savory spices sparingly and test small batches to verify balance.
These adjustments keep outcomes consistent and client-focused.
You’ll scale ideas across menu channels with simple metrics quickly.
Conclusion
You’ll find these air fryer Mediterranean roasted chickpeas deliver crisp, nutrient-dense snacking with minimal oil and simple prep. Studies show air frying reduces fat while preserving texture, so you’ll get satisfying crunch and plant protein for hunger control. You can adjust spices, salt, and timing to match taste and dietary needs. Store cooled chickpeas in an airtight container and reheat briefly to refresh crunch. Try them on salads or as a portable, healthy snack option.