Y’all ready? We’re fixin’ to show how we turn a few plain ingredients into a golden, crunchy snack that feels like a hug.
This simple recipe uses breast pieces, panko, a few spices, eggs and a splash of milk. We toss, bread, and give each piece space to breathe so the heat works its magic.
Set the unit to high heat—about 400°F—and plan for roughly 8–10 minutes, flipping once. That short time gets a crispy outside and a juicy middle. We’ll also show a three-ingredient shortcut for nights when time is tight.
Stick with us and you’ll learn why spacing, spray, and a light flip matter. We keep steps friendly, clear, and quick—so supper lands warm and folks keep on smilin’.
Key Takeaways
- Simple ingredients yield big flavor—panko, spices, and eggs do the work.
- Cook at 400°F for about 8–10 minutes; flip once for even browning.
- Arrange in a single layer and cook batches to avoid soggy pieces.
- A quick three-ingredient option saves time on busy nights.
- Light spray on top and tray gives the best browning.
Why Make Air Fryer Chicken Nuggets at Home Right Now
There’s a simple reason we reach for this method when snacks or supper need to land fast. We get a crispy outside and a tender inside without hauling out a big pot or a mountain of oil. That means less mess, less fuss, and more time to sit and eat together.

Crispy outside, tender inside: what to expect
Use breast pieces, panko, flour, and spices and you’ll hear that first crunch. Cook at about 400°F for 8–10 minutes, flip once, and you’ll have golden bites with juicy centers.
Another safe path is 200°C for roughly 10–12 minutes. Both methods deliver dependable results for snacks, appetizers, or a quick supper.
Healthier, faster, kid-approved
- We make fryer chicken nuggets at home so we control the ingredients—real protein, pantry spices, and a light spritz of oil.
- This approach finishes in minutes and keeps the kitchen tidy—no splatters, no lingering smell.
- Kids and adults both dig these little winners. Serve with ketchup or your favorite dip and watch them go.
What You’ll Need: Air Fryer, Basket Setup, and Basic Tools
Before anything else, get your unit hot so the crumbs set quick and the coating stays crisp. We like to preheat to 400°F — or use about 200°C if your gauge reads metric. A hot start helps the coating firm up and keeps the bottoms from soaking.

Lightly mist the basket with olive oil spray so pieces release easy. As you bread each piece, place them without overcrowding. They should be barely touching—no stacking. If your fryer basket is small, cook in batches. Flip once halfway to get even browning.
- Removable air fryer basket or fryer basket works fine—any size will do.
- Tongs, a couple shallow bowls, and a fork keeps the breading station smooth.
- Keep a plate ready for finished pieces so you can keep the cooking moving.
| Step | Temp | Why it matters |
|---|---|---|
| Preheat | 400°F / 200°C | Sets crumbs fast and stops oil soak |
| Arrange | Single layer | Allows hot air to crisp every side |
| Flip | Halfway point | Even browning without tearing coating |
Ingredients and Smart Substitutions
Gather your key ingredients and let’s talk smart swaps that save time without skimping on crunch.

We prefer using chicken breasts cut into even pieces so they cook the same. Canned protein works in a pinch—mix with egg and cheese for a no-crumb route.
Breadcrumbs, flour, and the spice mix
Panko breadcrumbs give the big crunch. A little flour helps the crumbs stick. Stir salt, paprika, garlic powder, and onion powder together—add cayenne if you want a kick.
Eggs, milk, and oil for finishing
Two eggs whisked with a splash of milk makes a slick binding mixture. For browning, use a light oil spray—mist, don’t pour.
“Simple swaps keep the flavor and trim the fuss—use what’s in your pantry and still get great texture.”
| Ingredient | Amount | Swap |
|---|---|---|
| Chicken breasts | 1 lb (cut into 2″ pieces) | 3 cans cooked chicken for quick version |
| Panko breadcrumbs | 2 cups | GF panko for gluten-free |
| All-purpose flour | 1/4 cup | 1:1 GF flour blend |
| Eggs & milk | 2 eggs, 1/4 cup milk | Egg-only for dairy-free |
How to Make home made chicken nuggets air fryer: Step-by-Step
Start with a clean station and two bowls—this keeps the line moving and the breading tidy. Cut 1 lb chicken breast into 2-inch pieces so each one cooks through evenly.

Prep
In one bowl, mix 2 cups panko, 1/4 cup flour, 1 tsp salt, 1/2 tsp pepper, 1 tsp paprika, 1 tsp onion powder, 1 tsp garlic powder, and 1/8 tsp cayenne.
In a second bowl whisk 2 eggs with 1/4 cup milk to make the egg mixture.
Breading
Dip each piece into the egg, then press into the breadcrumbs so the coating sticks. For thicker breading, repeat the egg then the crumbs for a double-dip.
Load
Lightly spray the basket with oil. Place pieces in a single layer—barely touching, not stacked. Give the tops a light spray so the crumbs brown nicely.
Cook
Air fry at 400°F for 8–10 minutes, flipping halfway for even color. Peek at minute eight and add a minute or two if pieces look thick.
- Tip: Work in batches if needed—space beats crowding every time.
- Rest: Let the bites sit a minute after cooking so the crust sets up.
Time and Temperature: Getting Nuggets Perfect Every Time


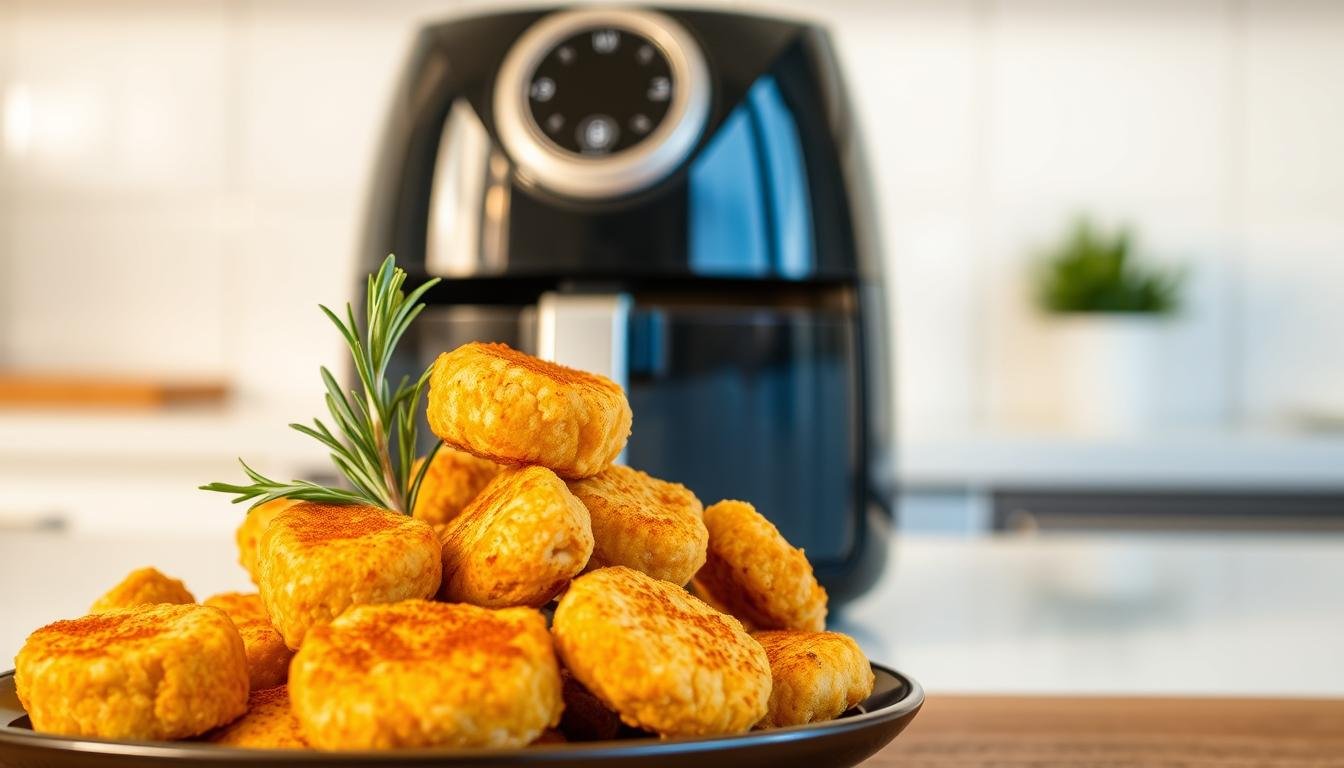
Timing and steady heat are the secret to a golden crust and a juicy inside. Set your thermometer to 400°F and plan for about 8–10 minutes, flipping once at the halfway mark. That flip helps the underside crisp up and keeps color even.
If your unit reads Celsius, use 200°C for roughly 10–12 minutes and watch the last minute closely. Preheat air fryer so the air is hot from the jump — this sets the crumbs fast and keeps bottoms from getting soggy.
Arrange chicken pieces in a single layer and cook in batches if needed. Crowding slows air flow and stretches the cooking time, which can dry edges while centers catch up.
- Watch for doneness: deep golden crust, juices clear, and no pink inside.
- Start checking at minute 8 so you don’t overcook — add a minute or two only if needed.
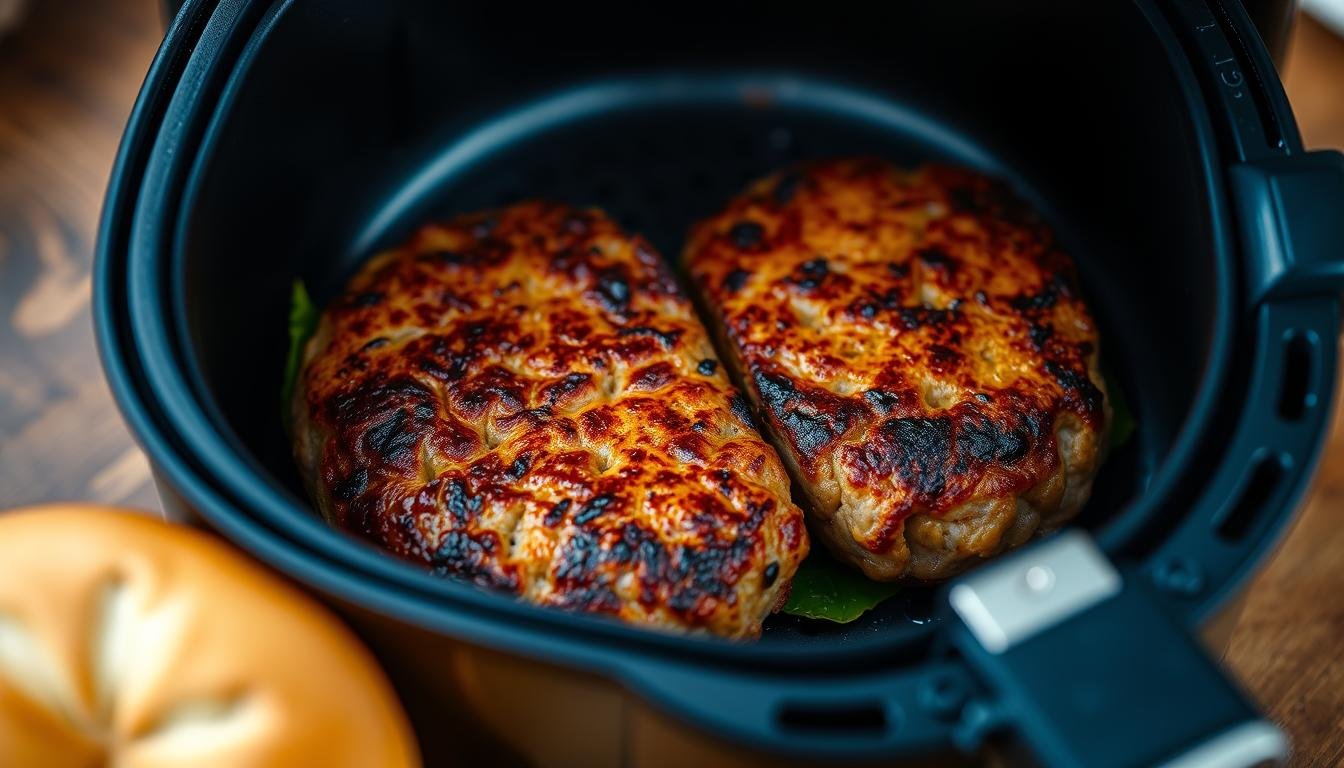
- Canned version note: patties take about 15–20 minutes at 400°F, flipping once since they’re thicker.
- Rest a minute after cooking so steam escapes and the crust firms up.
Pro Tips for Extra-Crispy Nuggets
The secret to a real crunch is simple: spacing, a light mist, and a gentle flip. Do these and you’ll get a golden coat that holds up when you bite.
Don’t crowd the basket
Cook in a single layer and give each piece a little elbow room. Crowding smothers the heat and steals the crunch, so run two rounds if you must.
Use spray and oil the right way
Hit the basket with a light spray before loading, then give the tops a quick mist after they’re set. A tiny amount of oil helps browning without turning them greasy.
Season and handle crumbs like a pro
- Season your breadcrumbs well—salt, paprika, garlic and onion powder make each bite sing.
- Use a shallow bowl for crumbs and keep one dry hand while breading to avoid clumps.
- Press the crumbs onto each piece so the breading latches on and won’t flake off when you flip.
- Flip gently with tongs—lift, turn, and set down softly to protect that crispy outside.
- Shake loose crumbs out between batches so the fryer doesn’t scorch stray bits.
- Serve right away or rest a minute—too long under cover traps steam and softens the crust.
Variations: From Classic to Grain-Free
Simple swaps and a little spice tweak can flip this recipe into a dozen fresh takes. Below are easy routes — the crunchy classic, a quick pantry version, and heat options to suit everyone at the table.
Panko classic with spices
Stick with 2 cups panko breadcrumbs and 1/4 cup flour. Season the mix with paprika, garlic powder, and onion powder. Add 1/8 tsp cayenne if you want a nudge of heat. This keeps the crispy outside and cozy flavor we all love.
Three-ingredient pantry patties
For a fast route, blend 2 cans cooked chicken breasts with 1/3 cup shredded mozzarella and 1 egg. Form 6–7 patties and air fry at 400°F for 15–20 minutes, flipping once. These thicker patties need the extra time to set and brown.
Heat level tweaks
Bump cayenne in the crumbs or stir a splash of hot sauce into the mix. Try smoked paprika or lemon pepper for a different mood. Serve with ketchup, honey mustard, or your favorite sauce and let folks pick their pairings.
Serving, Sauces, and Make-Ahead Storage
Lay out a stack of sauces and a cooling rack — feeding folks is half the fun. Set out ketchup for the kiddos and a few grown-up options like honey mustard, barbecue, ranch, or hot honey. That little spread makes every plate feel special.
To store: let the pieces cool fully. Slide them flat into a labeled freezer bag so they don’t clump. Freeze flat first, then stack the bag to save space and keep crusts crisp.
To reheat: arrange a single layer in the air fryer basket or fryer basket. Avoid overcrowding. Give a light spray if they look dry and heat for a few minutes until the crust wakes up.
- Keep sauces handy for dipping — simple sides finish the meal fast.
- Make a double batch of the chicken nuggets recipe and freeze one for busy nights.
- Write reheating minutes on the bag so future-you doesn’t guess.
| Method | Temp | Time |
|---|---|---|
| Air fryer | 400°F | 3–5 minutes, single layer |
| Oven | 375°F | 8–10 minutes on a rack |
| Skillet | Medium | 4–6 minutes, turn once |
Conclusion
Follow these final tips and you’ll get golden, crunchy bites that hold up to dipping. Preheat air fryer to 400°F, cut 1 lb chicken breasts into 2″ pieces, and set a bowl station with 2 cups breadcrumbs mixed with 1/4 cup flour and the spice powders. Whisk eggs with 1/4 cup milk, dip and press—double-dip if you want extra crunch.
Lightly spray the basket and tops, cook about 8–10 minutes and flip once. For the grain-free swap, mix canned chicken, 1/3 cup mozzarella and an egg, then cook 15–20 minutes. Cool, bag, freeze, and reheat in the air fryer until crisp. Now pass the plate—these fryer chicken nuggets are ready to shine.