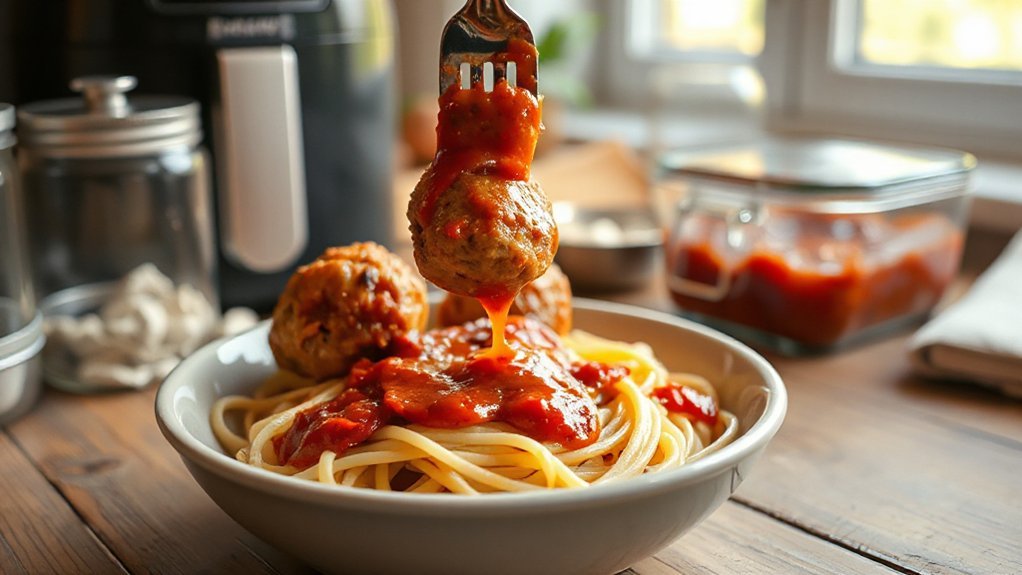
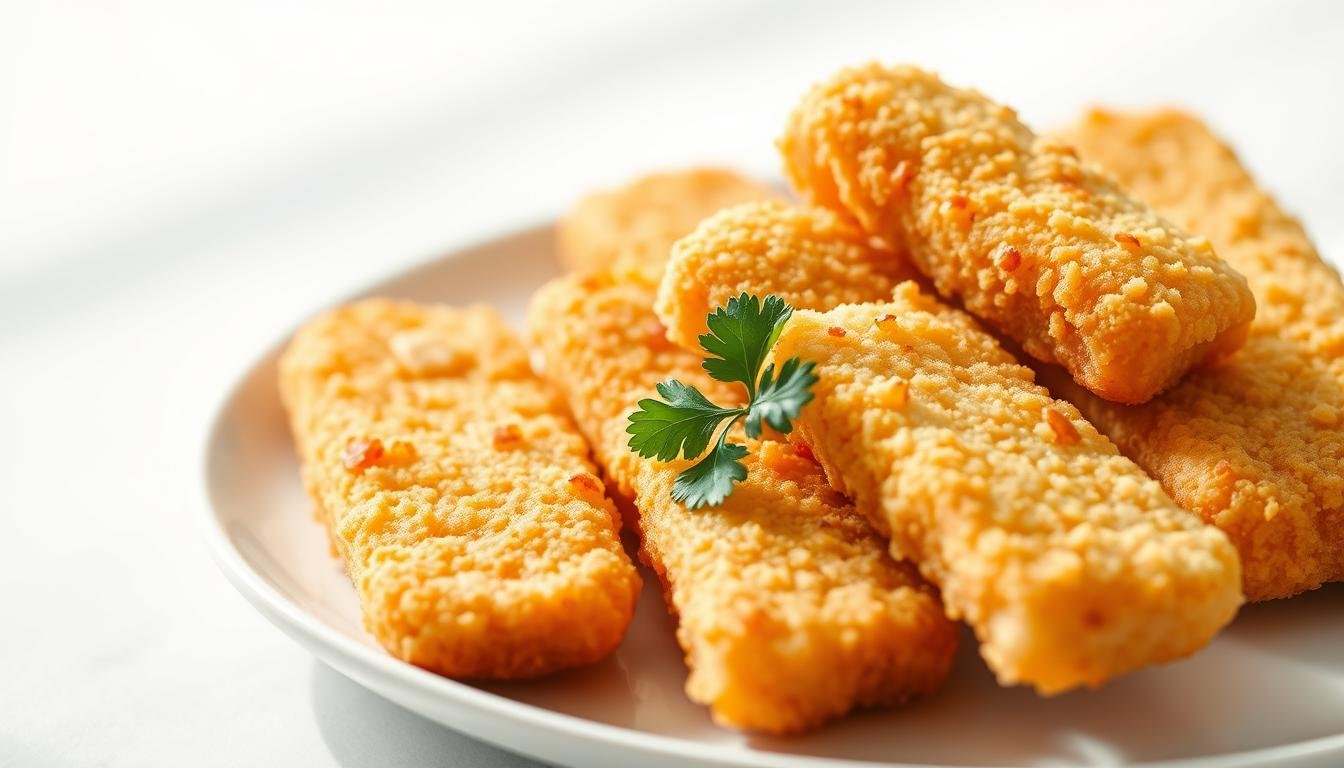
We’re fixing to show y’all how to take frozen turkey burgers straight from the freezer to the bun in about 15 minutes at 375°F—no fuss, no babysitting, just good eats. We’ll guide you to that safe-and-juicy 165°F finish and share the simple trick to melt cheese with residual heat by turning the air fryer off and closing the basket for one minute.
We’ll talk thickness, timing for 1/3‑lb patties, quick reheats, and how to keep these patties moist so your night’s dinner feels like care from the kitchen. Stick with us—we’ll make this recipe fast, friendly, and fuss-free so supper is ready when you are.
Key Takeaways
- Start with 15 minutes at 375°F for 1/3‑lb patties; target 165°F internal temp.
- No flip required if you want simple—both ways work.
- Turn the fan off and close the basket 1 minute to melt cheese.
- Store cooked patties up to 3 days; reheat 350°F for 5–7 minutes.
- Lean protein option—avoid overcooking to keep moisture and flavor.
Why make turkey burgers in the air fryer right now
When time’s tight, we reach for a speedy patty that cooks up in roughly 15 minutes at 375–390°F. This method wins for weeknights—fast, simple, and dependable. We’ll show the tweaks that fit your model and patty thickness so you finish at a safe, juicy temp.
Fast weeknight protein in about 15 minutes
Need protein on the table quick? These turkey burgers go from frozen turkey package to plate in about 15 minutes. It beats ordering out and gives you control over salt and toppings.
Crispy edges, juicy centers, and hands-off cooking
The hot circulating air crisps the outside while keeping the center moist—no splatters, no constant flipping. We love the hands-off vibe: set the timer, get the sides ready, and let the fryer do the work.
- Lean choice: Turkey has less saturated fat than beef, so you get lighter meals without losing savor.
- Consistent results: Hot air gives steady browning across batches.
- Adjustable: Add 1–3 minutes for thicker patties or warmer-running models.
| Patty Size | Temp | Approx. Time | Tip |
|---|---|---|---|
| ¼ lb | 375–380°F | 13–15 minutes | Check at 12 minutes |
| ⅓ lb | 380–390°F | 15–17 minutes | Add 1–2 minutes if thick |
| Batch cooking | 375–390°F | 15–18 minutes | Don’t crowd basket |
What you need: frozen turkey patties, air fryer, and simple add‑ons
We keep it simple—grab a few basics and you’re set. Most frozen turkey patties are ¼–⅓ lb. Trader Joe’s runs about ¼ lb; Jennie‑O packs are usually ⅓ lb but thinner. That matters for timing.
Make sure your air fryer basket is ready with a light mist or a gentle brush of oil. A tiny spray helps patties release and prevents sticking—don’t overdo it. Use silicone‑tipped tongs so you won’t scratch the fryer basket coating.

- Buy patties that cook straight from the freezer—no thawing needed.
- Have buns and slices of cheese ready—residual heat will melt slices in about one minute when you turn the air off.
- Keep toppings handy: lettuce, tomato, onion, pickles, and sauces.
- Optional: a silicone mat or parchment cut for the basket makes cleanup easier—just don’t block airflow.
| Item | Why it helps | Notes |
|---|---|---|
| Air fryer basket | Even circulation and crisp edges | Mist with oil; don’t crowd |
| Silicone‑tipped tongs | Safe handling without scratching | Flip if you want more browning |
| Light oil spray | Prevents sticking | Tiny spritz—no soaking |
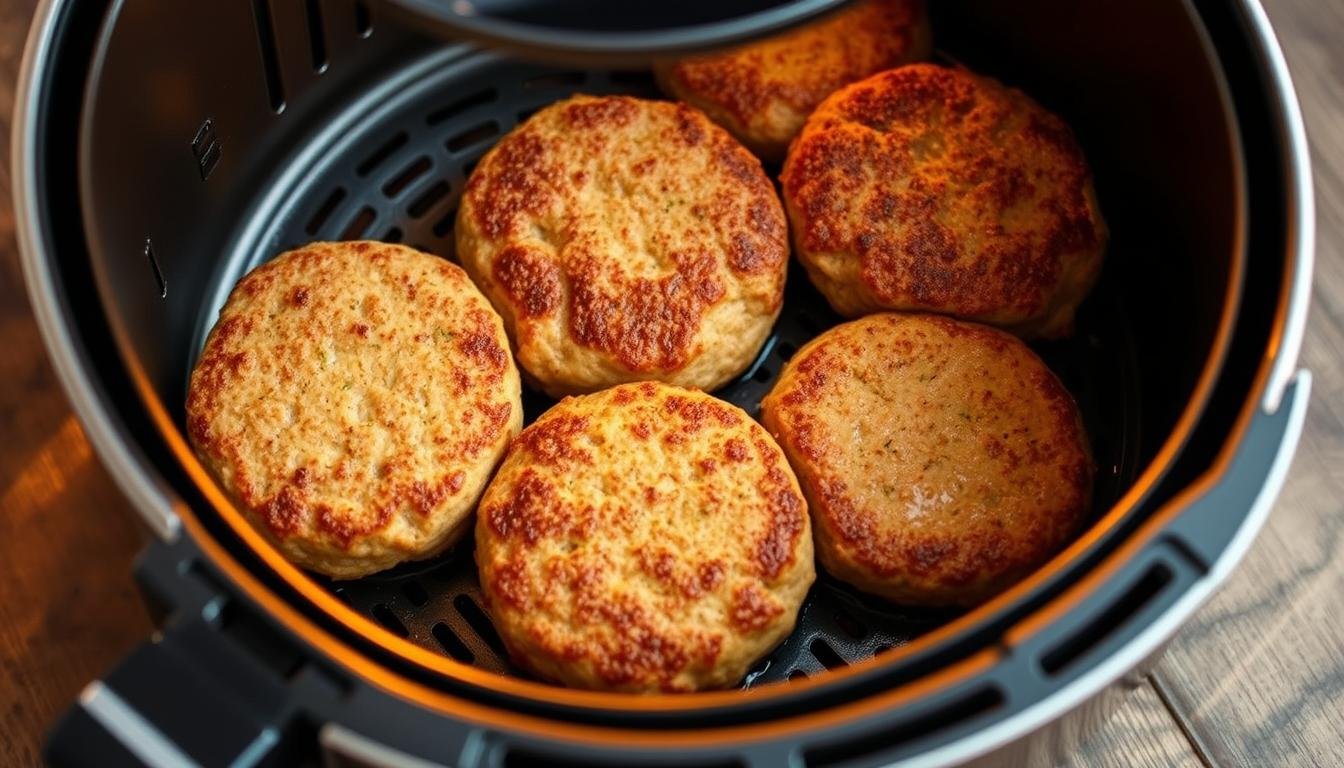
frozen turkey burgers in air fryer: time, temperature, and doneness
Let’s get clear on timing and temp so your patties come out safe and juicy every time. Start with a baseline and adjust for thickness, brand, and your model.
Start here: 15 minutes at 375–390°F, to 165°F internal
Cook at 375°F for about 15 minutes, then check that the internal temperature reads 165°F. Many folks bump heat to 390°F and still finish near 15 minutes.
Patty thickness and brand can add 2–3 minutes
Thicker or denser patties often need an extra 2–3 minutes. Trader Joe’s ¼‑lb patties usually hit 165°F right around 15. Jennie‑O ⅓‑lb packs are thin and often don’t ask for more time.
- Flip at about 10 minutes if you want an even char—helps when your model runs cooler.
- Always aim for a single layer with space so hot air can circulate.
- Keep a quick‑read thermometer handy—doneness is about temperature, not the clock.
- Cooking from frozen is the plan—no thawing needed.
| Scenario | Temp | Approx. Time | Tip |
|---|---|---|---|
| Standard ¼‑lb patties | 375–380°F | 15 minutes | Check at 14, finish to 165°F |
| Heftier ⅓‑lb patties | 380–390°F | 15–18 minutes | Add 2–3 minutes if thick |
| High‑watt vs low‑watt models | 375–390°F | 13–17 minutes | Check early with thermometer |
“165°F is the safety finish—trust the thermometer.”
Step-by-step: from freezer to bun
Grab your basket and a light spray—here’s how we do a quick, no-drama cook. These steps keep things simple so you can tend toppings while the machine does the heavy lifting.

Prep the basket: light oil mist for easy release
Mist the basket with a small amount of oil or a quick spray. This helps patties release and cuts cleanup. Preheat only if your model benefits—most of the time you can skip that step.
Arrange patties in a single layer with space
Place each patty with a little breathing room. Slight overlap is fine since patties shrink as they cook. One layer ensures best air circulation and even cooking.
Cook, optionally flip, and temp-check to 165°F
Set the unit to 375–390°F and cook for about 15 minutes. Flip once at roughly 10 minutes if you want extra browning—no flip works too. Always check the internal temp; 165°F is your green light.
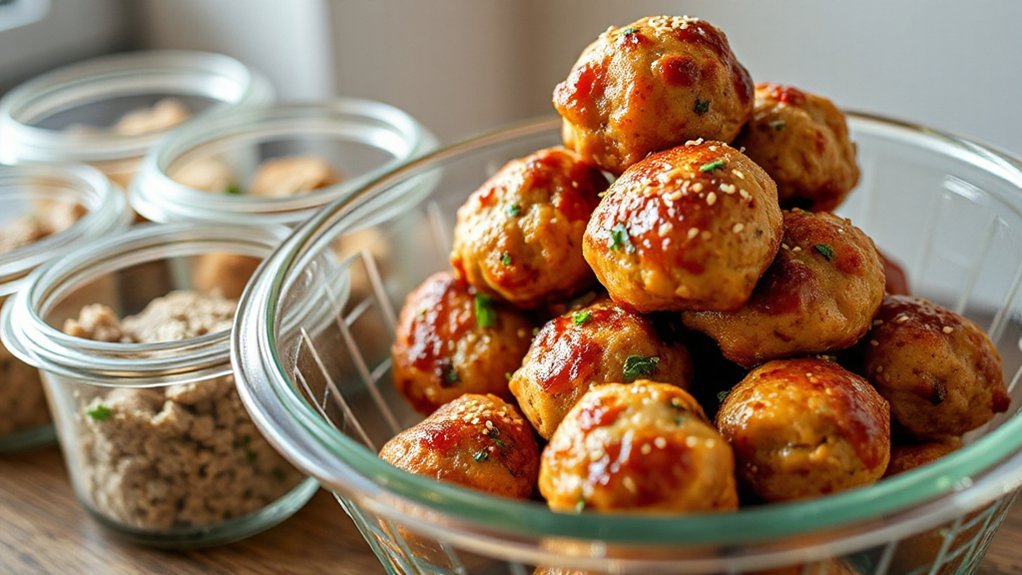
- For cheeseburgers: lay on cheese, turn the unit off, close the basket, and let residual heat melt it for about one minute.
- Toast buns on a skillet with a swipe of butter or warm them for 2–3 minutes in the basket near the end.
- If patties stick, nudge with a silicone spatula—gentle does it to protect the coating.
Keep an eye on juices—clear juices plus 165°F mean you’re ready to stack and serve. Add toppings while patties are hot so every bite is melty and full of flavor.
Flip or no flip? Pros and cons for even cooking
Weigh the trade-offs and pick the way that fits your night. Set‑and‑forget works great for many models. A quick flip gives more color when you want it.
No-flip method for simplicity and speed
For a fuss-free cook, run the air fryer at 375°F for about 15 minutes. Many patties reach a safe 165°F this way. It saves a minute and a utensil—perfect for busy evenings.
Flip once for more even char and browning
If you want extra crust, crank to 390°F and flip at the 10‑minute mark. That gives both sides direct hot air time and a nicer sear.
- Light oil mist on the fryer basket helps prevent sticking and makes flipping smoother.
- If a patty sticks, slide a silicone spatula under the edge rather than yanking.
- Try both ways once—then repeat the method that gives the color and temp you like.
- Trust the thermometer: 165°F is the goal, not just the timer ding.
“Pick the method that fits your night—either one can yield safe, juicy patties.”
Cheeseburger finish and toasted buns, the easy way
Now for the fun part: melty cheese and toasted buns that pull everything together. We keep this simple so dinner stays friendly and fast.

Two easy ways to melt cheese
When patties hit 165°F, turn the air fryer off, set slices on top, and shut the basket. The residual heat melts cheese in about one minute.
Want it extra gooey? Give a quick 30–60‑second blast at 390°F. Watch it—cheese goes from soft to drippy fast.
Warm or toast the buns
Pop buns in the basket at 375°F for 2–3 minutes for a soft, steamy warm. Or toast them on a buttered skillet for golden edges and extra richness.
| Finish Step | Temp | Time | Result |
|---|---|---|---|
| Residual melt | off | ~1 minute | Soft, even melt |
| Quick blast | 390°F | 30–60 seconds | Very melty, drapey cheese |
| Bun warm | 375°F | 2–3 minutes | Soft and warm or lightly crisp |
- Cover patties while buns warm so everything stays hot.
- Pick sturdy rolls for big toppings and saucy burger builds.
- Mix cheeses—American, cheddar, or Swiss—for different moods.
“Build fast while the cheese is molten so every bite’s gooey and glorious.”
Seasonings, sauces, and toppings that make turkey burgers pop
Let’s talk toppings that take a simple patty from plain to plenty-of-wow. We love easy combos that land big on flavor without fuss.
Classic American build
Go classic: cheddar or American, a strip of bacon, ketchup, mayo, lettuce, and tomato. This one comforts every time — simple, familiar, and mighty satisfying.
Greek vibes
Bright and tangy: crumbled feta, cool tzatziki, and roasted red peppers. It’s light, fresh, and makes the whole meal feel Mediterranean-sunny.
BBQ and the “trust me” sauce
For smoky-sweet lovers, add barbecue sauce and a crispy onion ring on top. Our “just trust me” mix is equal parts honey mustard and BBQ sauce — tangy, sweet, and a little sassy.
Spice blends and herb fixes
Sprinkle a taco, Cajun, or Italian blend on before cooking for instant personality. Or make a DIY ranch herb mix with dried chives, parsley, and dill for a cozy, herby note.
- Load up fresh veggies — lettuce, tomato, onion, jalapeños, pickles, or avocado.
- Swap cheeses to change the mood: Swiss, Gouda, or feta work wonders.
- Keep sauces handy: ranch, chimichurri, pesto, buffalo, or a simple ketchup‑mustard duo.
“Mix and match till it tastes like you — there’s no wrong answer in this flavor playground.”
Serving ideas beyond the bun
We love switching gears: same cooked patties, new formats—lettuce wraps, tortillas, or big open‑face stacks that feel like a proper plate. These swaps keep dinner light and lively. They’re fast and friendly for weeknights.


Skip the roll and tuck a warm patty into a butter lettuce leaf or a collard wrap. Slice one over mixed greens with tomato, avocado, and a drizzle of ranch or tzatziki for a high‑protein lunch that won’t slow you down.
Open‑face stacks and rollups
Stack a sliced patty on toasted sourdough with greens and a saucy smear. Or roll strips into a tortilla with crunchy slaw and a squirt of BBQ for quick weeknight tacos.
Side pairings that sing
Pair with fries, tots, or roasted broccoli for comfort. For lighter plates, add kale salad or a crisp slaw. Want cozy? Serve mashed potatoes and gravy or roasted root veggies.
Warm buns: If you do use rolls, warm them at 375°F for 2–3 minutes—soft and toasty, done.
| Serve Style | Best Pairing | Why it works |
|---|---|---|
| Lettuce or collard wrap | Slaw or avocado | Low‑carb, crisp bite |
| Open‑face stack | Greens & tomato | Knife‑and‑fork comfort |
| Tortilla roll | Slaw & BBQ | Weeknight taco vibe |
| Salad topper | Ranch or tzatziki | Protein boost for lunch |
“However you serve ’em, these patties play nice with just about anything.”
Smart air frying tips for best results
A few small habits make a big difference for perfect results every time. We’ll keep this short and friendly—real tips you can use tonight.
Preheating: when to skip it and when it helps
Skip preheat for frozen patties so the center warms evenly with the edges. No rush—cold start helps steady heat through the middle.
If your model runs cool, a short preheat helps with browning. Know your machine and adjust on the fly.
Spacing, slight overlap, and shrinkage
Give patties room so hot air can circulate—but a tiny overlap is fine. They shrink as they cook, so don’t stress a small touch of crowding.
Avoid piling too high. Overcrowding will steam rather than crisp. Rotate or swap positions for batch cooks so everything finishes evenly.
Mats, liners, oil spray, and cleanup
Lightly mist the fryer basket with oil to prevent sticking and help browning. One quick spray goes a long way—don’t soak things.
Use silicone mats or parchment liners made for your basket to speed cleanup. Just make sure the liner allows airflow so circulation stays strong.
- Check a new brand early—the first run tells you if times need a minute or two.
- Keep a thermometer handy—temperature beats timer every time.
- Jot down what worked. You’re building your own air fryer recipes playbook!
“Small tweaks make weeknight wins — try one tip at a time and keep notes.”
Adjusting for patty size, air fryer models, and batch cooking
Small changes to size and wattage make a big difference to finish time—let’s walk through the tweaks. We’ll keep this short and practical so you can cook with confidence.
¼‑lb vs ⅓‑lb: Trader Joe’s ¼‑lb patties usually hit 165°F right about 15 minutes. Jennie‑O ⅓‑lb packs often need 1–3 extra minutes depending on thickness. Thin brands cook faster than compact ones.
Wattage matters: High‑wattage units run hotter. Start checking 2 minutes early until you learn your model. When in doubt, temp to 165°F—not the clock.
Batch cooking tips
- Cook a single layer. Stacking leads to steaming, not crisping.
- For large batches, do rounds and swap racks or rotate halfway for even color.
- If you mix sizes or brands, temp the thickest patty and use it as your guide.
- Want meal‑prep? Cook, cool, and store; reheat in the air fryer for lively texture.
| Scenario | Temp | Approx. Minutes | Quick Tip |
|---|---|---|---|
| ¼‑lb patties | 375°F | ~15 | Check at 14 |
| ⅓‑lb patties | 380–390°F | 16–18 | Add 1–3 minutes if thick |
| Batch cooking | 375–390°F | 15–18 | Single layer; rotate halfway |
“Cook to temp, not just to minutes—165°F is the gold standard.”
Leftovers, reheating, and nutrition notes
Leftovers can be a weeknight hero when you store and reheat them right. Pack cooled patties in a sealed container and refrigerate for up to 3 days. That keeps lunches simple and safe.
Store and reheat the easy way
Reheat chilled patties at 350°F for about 5–7 minutes. Give each piece a little breathing room so hot air can crisp edges without drying the center.
Always check the internal temperature—aim for 165°F before serving. That’s the safety finish every time.
Nutrition and reuse ideas
These patties are leaner than beef and pack plenty of protein with less saturated fat. Avoid overcooking—moisture is the secret to a tasty, light meal.
- If you add cheese, drop a slice on for the last 30–60 seconds to melt without overcooking.
- Slice leftovers over salads, stuff them into wraps, or crumble into a skillet hash for second‑day yum.
- Keep sauces separate when storing so buns and toppings don’t get soggy.
| Action | Temp | Time | Why it helps |
|---|---|---|---|
| Refrigerate | Cold | Up to 3 days | Safe short‑term storage for quick meals |
| Reheat (single) | 350°F | 5–7 minutes | Revives crisp edge without drying |
| Cheese on reheat | 350°F | Last 30–60 seconds | Melt without extra cook time |
| Freeze cooked | 0°F (freezer) | Up to 2–3 months | Possible, but texture best fresh or soon after |
“Store smart and reheat with care—your leftovers will sing again.”
Conclusion
Let’s wrap this up: set the unit to 375–390°F, cook about 15 minutes, and temp to 165°F for a safe, juicy finish. Flip if you want extra char; no flip if you want fuss-free cooking.
For melty cheese, shut the unit off and let residual heat do the work for ~1 minute, or give a 30–60 second burst at temp. Warm buns 2–3 minutes at 375°F. Store leftovers up to 3 days and reheat 350°F for 5–7 minutes.
From freezer to feast, these air fryer turkey burgers are a weeknight win—lighter than beef, flexible on toppings, and fast. Now grab those patties and make it your own—y’all come back and tell us your favorite combos!