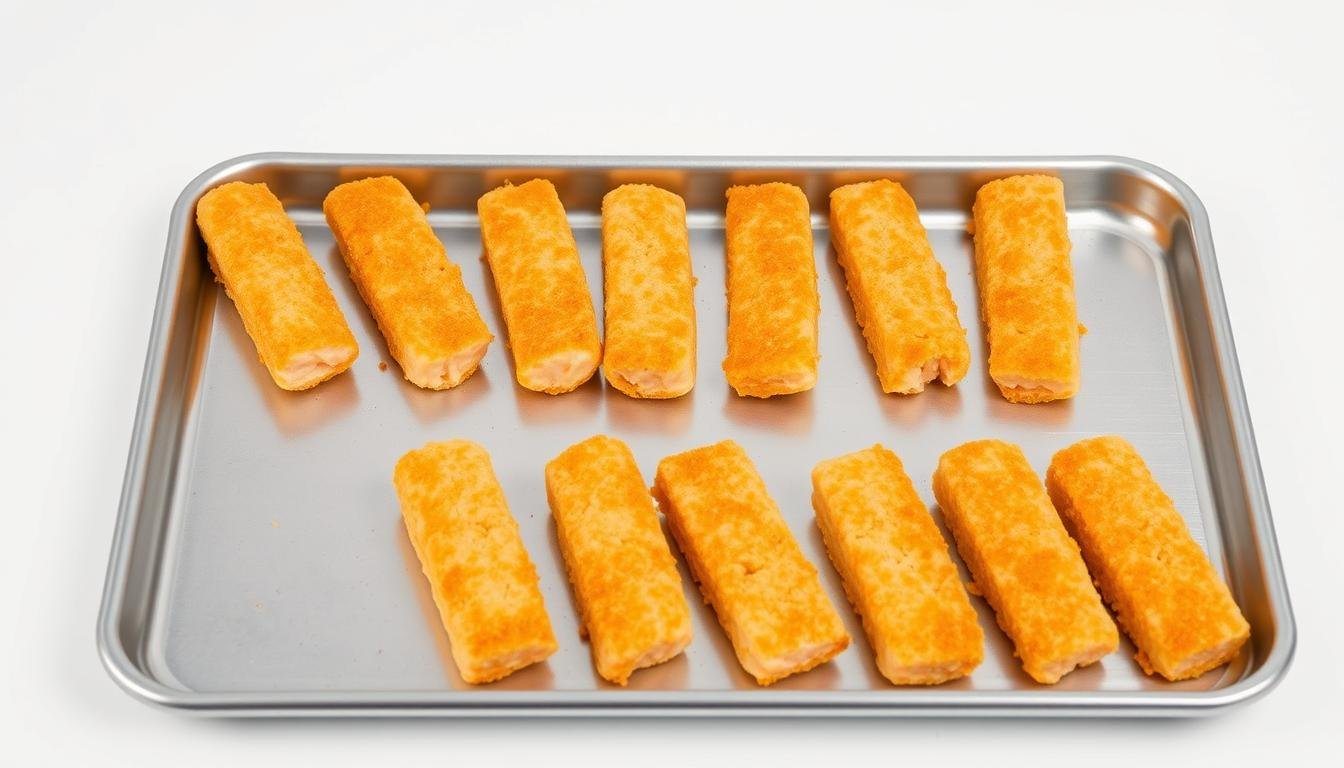
We’re fixin’ to show y’all a no-fuss way to turn frozen fish sticks into a golden, crunchy supper that pleases the whole crew.
We’ll walk you through the short game plan: preheat to 390°F, arrange items in a single layer, and cook 10–12 minutes—flip or shake halfway for even browning. Watch for a deeply golden exterior and a steaming-hot center as your doneness cues.
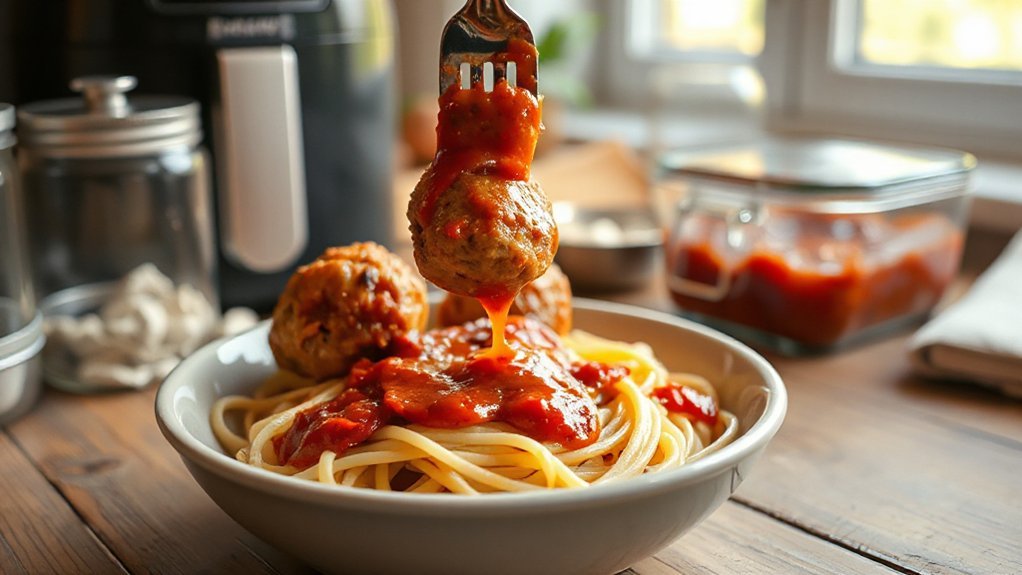
Little tweaks make big differences: a light spray of oil, a 400°F quick method for 7–9 minutes, or a sprinkle of garlic, paprika, Parmesan, or cayenne. A squeeze of lemon and a simple dipping sauce—tartar, ketchup, or spicy mayo—brings it home.
We’ll also share real-world tips on timing, avoiding crowding, and storing leftovers up to three days in an airtight container. Re-crisping later? Pop ’em back in for a few minutes and they’re nearly fresh again.
Key Takeaways
- Preheat to 390°F and cook 10–12 minutes; flip halfway for even crisping.
- Visual cues—golden outside and hot center—tell you when it’s ready.
- Try 400°F for 7–9 minutes with a light oil spray for faster batches.
- Season simply with garlic, paprika, Parmesan, or cayenne; serve with lemon and dipping sauce.
- Store leftovers airtight up to 3 days and re-crisp before serving.
Why the Air Fryer Is Best for Crispy Fish Sticks
Short version: this little countertop marvel brings heat fast, cuts mess, and gives you a consistent crunch without deep frying. We don’t need a big pot of grease to get great results—just a hot basket and a minute of attention.
Quick, low-fuss cooking with less fat than deep frying
Less fat and less cleanup—yep, that’s a win. A light oil spritz can boost browning without heavy frying. Folks often opt for 400°F for 7–9 minutes or 390°F for 10–12 minutes and both work fine depending on your brand.
Consistent crunch compared to oven or microwave
The circulating air hugs each piece so you get even color and a crackly crust. Microwaves make steam that softens breading; this method keeps things dry and crispy. Subsequent batches tend to cook a bit faster once the unit stays hot—handy on busy nights.
- We’ve had good luck with Gorton’s, Van de Kamp’s, and store brand options—most brands crisp up nicely.
- Use simple seasoning and a quick flip for even results.
- Want more ideas? Try other easy air fryer recipes for weeknight wins.
Frozen Fish Sticks Air Fryer: The Step-by-Step Method
Let’s get the basket ready and walk through the simple steps to crisp, dinner-ready pieces. A quick setup makes a world of difference.

Preheat guidance and setup for the air fryer basket
First things first, y’all — preheat air fryer if your model benefits from it. Run it empty for a couple minutes to get that air hot. Give the fryer basket a light mist of oil if sticking’s a worry.
Single layer placement, flipping, and total cooking time
Lay the pieces in a tidy single layer with space between — no stacking. Set the cooking time for about 10–12 minutes at 390°F, flipping halfway so both sides crisp up.
Want faster? Try 400°F for 7–9 minutes. Use tongs and a gentle hand when you flip to keep the breading intact.
Visual doneness: golden exterior, hot center
Look for a deep golden crust and a steamy, hot center when you break one open. If your unit runs cool, add a minute or two. If it runs hot, shave off a minute — subsequent batches often brown quicker.
When they’re done, let the pieces rest a minute on a plate — the crust sets and gets even crispier. That’s it — simple and mighty satisfying.
Time and Temperature: Find the Sweet Spot for Your Brand and Size
Find the sweet spot for heat and time so every piece comes out golden and flaky. We like to keep it simple — most frozen fish do great between 375°F and 400°F for 6–12 minutes, flipping halfway.
Quick starting points
Start here: try 390°F for 10–12 minutes. Prefer hotter and faster? Go 400°F for 7–9 minutes.
Adjusting for size, batch, and unit quirks
Thicker pieces may need a minute or two more. If your basket’s already hot from batch one, the next round will cook quicker — watch the halfway flip.
| Scenario | Temp | Minutes | Note |
|---|---|---|---|
| Typical frozen batch | 390°F | 10–12 | Flip once at halfway |
| Hot & fast | 400°F | 7–9 | Light oil spray helps browning |
| Homemade raw | 375°F | 6–7 | Cook to 145°F internal |
Keep notes on your favorite settings — once you find that brand and basket combo, it’s easy-peasy every time.
Basket Setup: Single Layer, Space, and Airflow
Set up the basket right and half your fuss disappears — that little spacing does the heavy lifting.
We keep it simple: arrange the frozen fish sticks in a neat single layer with a finger-width gap between each piece. That space lets hot air move freely and keeps the coating crackly instead of soggy.

Don’t pile ’em up. When pieces touch, the areas that meet steam and soften. If you’ve got more than fits, work in batches — quick rounds taste better than one crowded cook.
A light oil spritz on the fryer basket or the top of the sticks helps browning and stops sticking without making things greasy. Slide the basket in gently so the crust stays put. Flip once at halfway — that evens the color and texture.
Finish cooked batches on a wire rack so bottoms stay crisp while you run the next load.
| Item | Setup Tip | Why it matters |
|---|---|---|
| Layer | Single layer only | Ensures even hot air contact and crisping |
| Spacing | Finger-width gaps around pieces | Allows air to circulate and prevents steaming |
| Oil | Light spray on basket or sticks | Boosts browning and prevents sticking |
Should You Preheat the Air Fryer?
Want crisper results? Warming the unit first can make a real difference. A hot basket hits the coating right away and helps that crust set fast.
When preheating helps crispiness
Preheat air fryer when you want the maximum crunch, especially with thicker pieces or a single small batch. The preheated basket browns evenly and can shave off a minute or two of total cook time.
Working without preheat and how to compensate
No preheat button? Run the unit empty at cooking temperature for a few minutes to warm it up.
- If you skip preheat, add about 1–2 extra minutes and check early.
- Batch two cooks faster — the basket stays hot, so you can often reduce time by a minute.
- Warm the basket plus a light oil spritz to prevent sticking and boost color.
Preheating’s a tool, not a rule — use it when it fits your kitchen rhythm.
Oil, Seasoning, and Flavor Boosts
A tiny touch of oil and the right spice mix turns simple dinner into a small triumph. We keep this easy so you can do it fast and proud.

Light spray for extra crunch vs. nonstick needs
We like a whisper of oil — a quick mist on both sides adds browning and helps prevent sticking to the basket. Use an aerosol or pump sprayer for even coverage.
Seasoning ideas to boost flavor

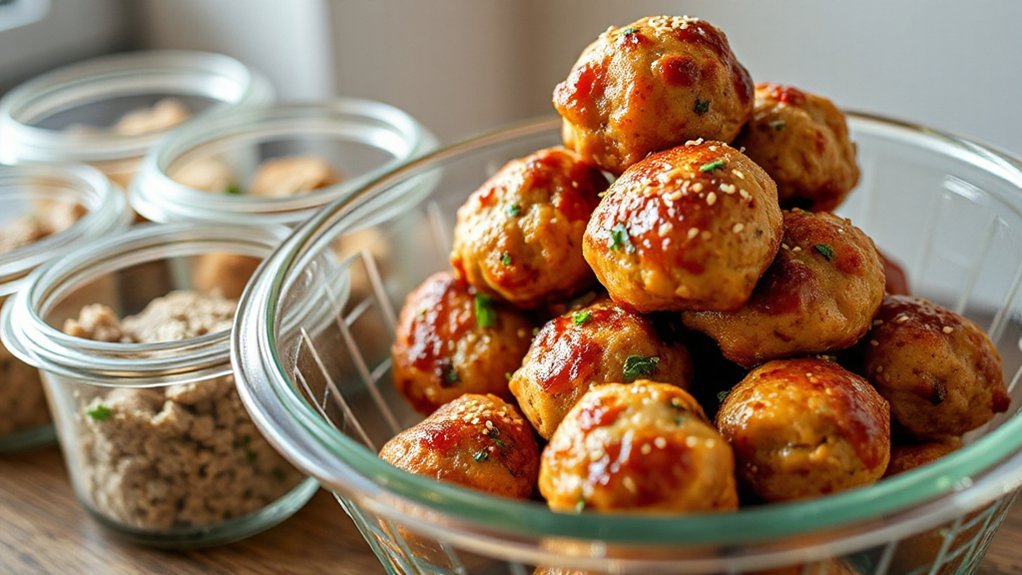
Season before cooking so flavors bloom in the heat. Try garlic powder, paprika, Old Bay, or a pinch of cayenne for heat. Grated Parmesan clings to the breading and browns up nutty.
- Lemon wakes things up — a squeeze or zest at the end brightens the plate.
- For homemade breaded fish, panko gives extra craggy texture.
- Split a batch: mild for the kids, spiced for grownups.
Dip-wise, tartar sauce is classic — but spicy mayo or tangy yogurt are lovely, too.
Want a sweet-heat twist? A tiny drizzle of hot honey after cooking is dreamy with salty, crispy pieces. We tinker, you taste, and dinner comes out just right.
Serve It Right: Dipping Sauces and Easy Sides
Line up a couple of sauces and sides and supper comes together fast. We like to make a small sauce spread so everyone can dunk and grin. Pick a classic and one bold option. That way, picky eaters and spice lovers both win.
Favorite dipping sauce lineup
Start with the usual suspects: tartar and ketchup. Add spicy mayo, ranch, cocktail, and honey mustard for variety. Don’t forget aioli or lemon butter for a richer finish.
Simple sides that pair well
Keep sides easy: coleslaw, a crisp green salad, steamed broccoli, fries, or tater tots. Warm biscuits turn this into a full-on comfort meal in minutes.
Fun twists and serving ideas
Tuck crisp pieces into warm tortillas for wraps or quick fish tacos. Brighten plates with lemon wedges and a sprinkle of parsley. Make-ahead salads and bagged greens save time on busy nights.
Sauces balance the crunch — creamy, tangy, spicy, or buttery — pick a pair and let folks mix-and-match.
| Category | Options | Why it works | Serving tip |
|---|---|---|---|
| Classic sauces | Tartar, ketchup | Familiar flavors kids love | Serve chilled in small bowls |
| Bold sauces | Spicy mayo, aioli, cocktail | Adds heat and creaminess | Offer on the side for tasting |
| Comfort sides | Fries, tater tots, biscuits | Warm, filling, crowd-pleasing | Keep warm in oven while serving |
| Fresh sides | Coleslaw, salad, broccoli | Brightens the plate and cuts richness | Finish with lemon for lift |
Quick tip: If you’re feeding a crowd, set up a small sauce bar. Plate hot and serve right away — the sooner you dip, the crispier it stays.
Leftover Fish Sticks: Storage and Reheating
Saving tonight’s batch for tomorrow? Here’s how to keep that crunch. Let cooked pieces cool fully on a rack before you tuck them away. Hot food in a sealed container makes steam — and steam steals texture.

Store airtight in a bag or container and chill for about 2–3 days. We’ve had good luck with that time window — it keeps quality high and flavor bright.
When you’re ready, revive them in the air fryer. Set the unit to 400°F and reheat for about 4–5 minutes. If your fryer runs hot, try 350°F a bit longer.
| Step | Temp | Time / Notes |
|---|---|---|
| Quick re-crisp | 400°F | 4–5 minutes; single layer, no extra oil |
| Gentle reheat | 350°F | 6–7 minutes; check halfway |
| Big batch | 400°F | Work in waves so each piece gets even air |
| From freezer (homemade) | 375°F | 15–20 minutes; flip halfway |
“Letting food cool first and spacing pieces makes all the difference when you re-crisp.”
Add a fresh squeeze of lemon or a new sauce and your leftover fish sticks feel brand-new. Wrap them for lunch with slaw — that makes a mighty fine handheld.
Troubleshooting Soggy or Uneven Results
When texture goes sideways, a few simple tweaks usually save supper. We’ll walk through the common causes and quick fixes so your batch comes out crisp and even.
Overcrowding, temp, and flipping tips
Give pieces space — crowding traps steam and makes soggy results. Arrange in a single layer with room between each piece so hot air can circulate.
If browning is patchy, try a short preheat. Preheat air fryer or run the unit empty a couple minutes. Flip gently at halfway to protect the breading and get even color.
Too pale but cold inside? Drop the temp a hair and add minutes — lower heat with longer cooking time cooks through without burning the outside.
Stopping sticking and brand quirks
Sticking? Preheat the fryer basket and mist with a little oil before loading. That usually does the trick.
Different brand products brown at different rates. Keep notes on what works for your unit — batch two often cooks faster once the basket stays hot.
| Problem | Quick fix | Why it works |
|---|---|---|
| Soggy coating | Space pieces; single layer | Prevents steaming; lets hot air crisp |
| Cold center | Lower temp + longer time | Even heat through without over-browning |
| Sticking | Preheat basket; light oil spray | Creates nonstick surface and better browning |
“Small changes — spacing, temp, a light oil mist — make a big difference in the crunch.”
Conclusion
To finish strong: a handful of tips that guarantee a crisp, crowd-pleasing result.
Keep it simple: preheat when you can, lay a single layer in the basket, and flip once halfway. Aim for 390°F about 10–12 minutes, or 400°F for 7–9 minutes depending on size and your unit.
Dress up with lemon and tartar, try paprika or Parmesan, and save leftovers in an airtight container for 2–3 days. A quick 400°F reheat for 4–5 minutes brings back the snap. We love this recipe for low-prep weeknight meals—fast, tasty, and easy to make your own. Now go grab that air fryer and make some magic tonight!