
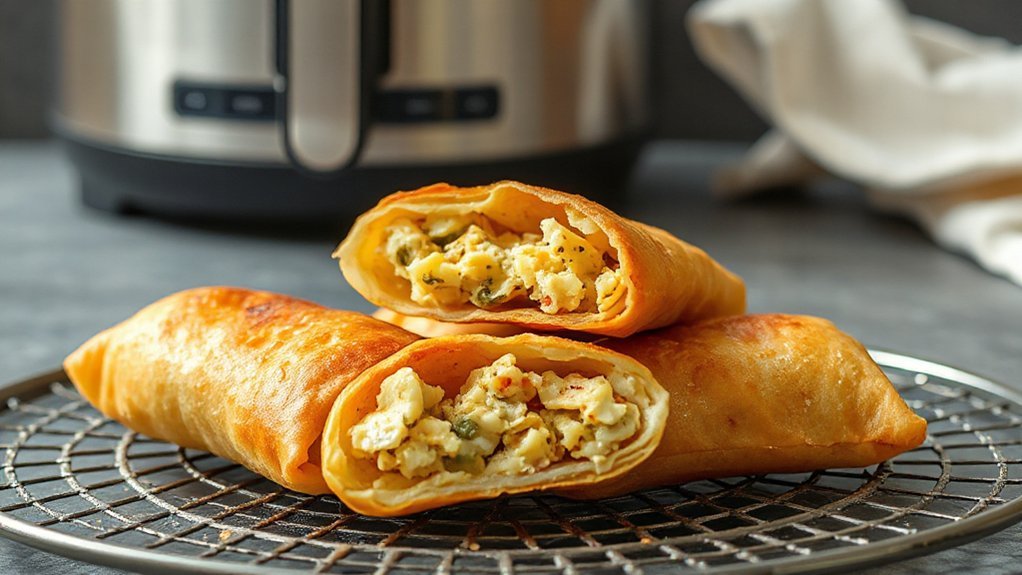
You can get Chinese-takeout–crisp egg rolls in an air fryer with just a tablespoon of oil and tight rolling technique. Pick thin wrappers, pre-cook and very well-drain your protein and veggies, and use a dab of egg or cornstarch to seal. Air fry single layer at 375–400°F, spray lightly, flip halfway and finish until blistered, about 8–10 minutes. Follow a few tricks and you’ll have reliable, crunchy results—and more tips follow if you want them.
Why Air Fryer Egg Rolls Beat Deep Frying
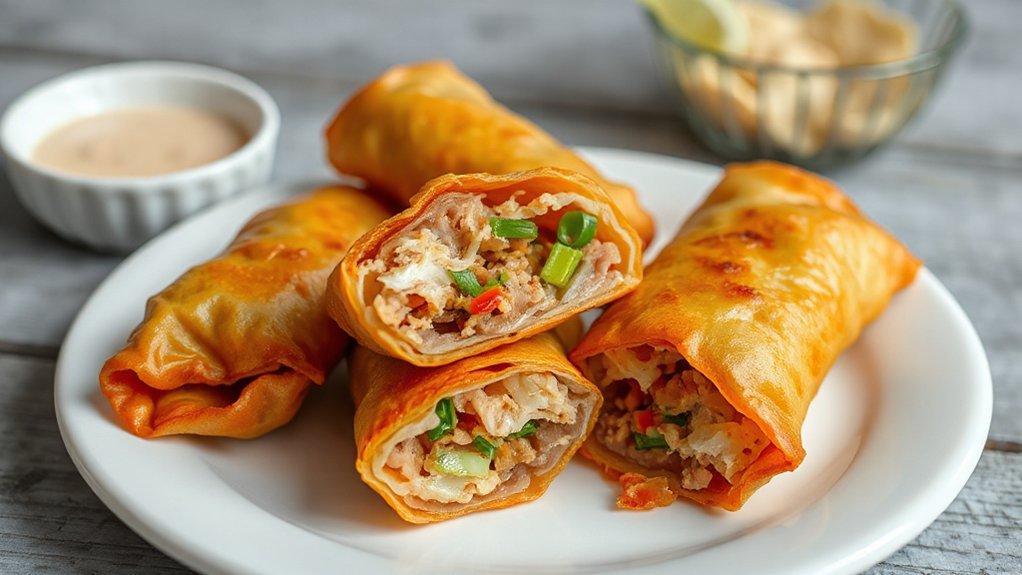
Although deep frying gives that classic crunch, air fryer egg rolls deliver the same satisfying crisp with far less oil, calories, and kitchen chaos. You get the crunch without standing over a vat of hot oil, so Oil Reduction isn’t just healthier — it’s cleaner and faster cleanup. You’ll spray or brush a tablespoon and still achieve blistered, golden skins. Air fryers circulate hot air aggressively, so you can crisp multiple rolls evenly without flipping obsessively. That means fewer ruined batches and more consistent results. You’ll also save time preheating and avoid lingering fried smells. Consider Energy Efficiency: air fryers use less power and shorten cook times compared with full-size ovens or deep fryers, cutting both bills and waste heat. You’ll still turn out crunchy, browned egg rolls that impress guests, but you’ll do it with less mess, lower calories, and smarter cooking choices, every time reliably too
Choosing the Best Wrappers, Proteins, and Fillings
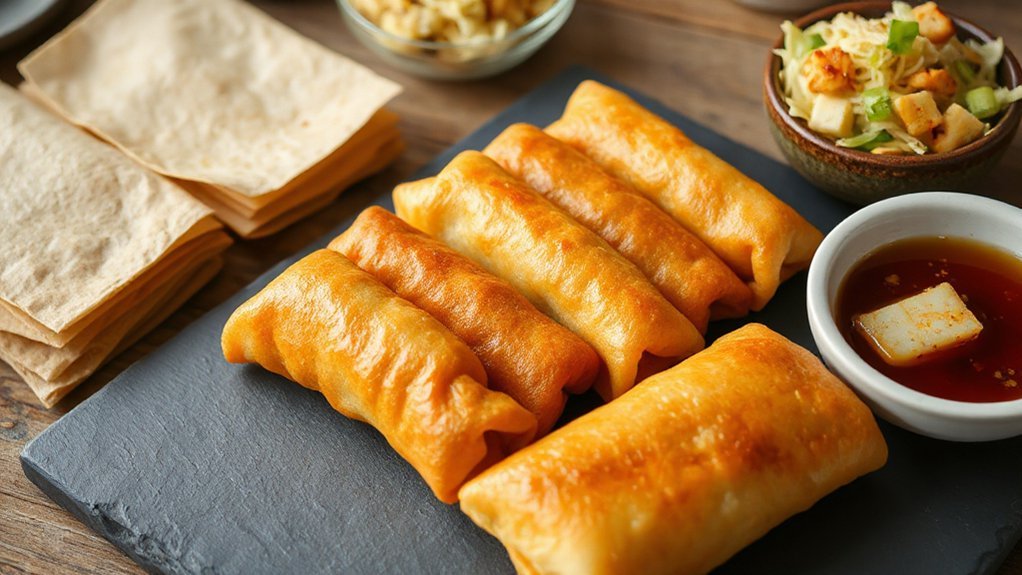
Now that you’ve seen how air fryers cut oil and mess, choosing the right wrappers, proteins, and fillings becomes what really determines your egg roll’s flavor and texture. Pick wrappers based on Wrapper Thicknesses: thin rice or wheat wrappers crisp faster and deliver delicate crunch; thicker egg roll skins hold heavier fillings without sogging. For proteins, lean pork, ground chicken, shrimp, or firm tofu work great—pre-cook to remove excess moisture. Add quick-cooking veggies like shredded cabbage, carrots, scallions, and mushrooms for texture and color. If you or guests have sensitivities, plan Allergen Alternatives: swap soy sauce for tamari or coconut aminos, use gluten-free wrappers, or choose nut-free fillings. Keep fillings well-drained and patted dry so the wrapper seals neatly. You’ll get consistent shells and satisfying bites by matching wrapper strength to filling weight and choosing protein and veggie combos that won’t weep during air frying. every time reliably.
The Ideal Filling Ratio and Seasoning Tips
Aim for a protein-to-veg ratio of about 1:1 to 1.5:1 so each bite has both substance and crunch. Don’t overstuff — about 2 tablespoons of filling for small wrappers or up to 3 for larger ones gives a crisp seal and even cooking. Season with salt, a touch of acid (rice vinegar or lime), and a bold accent like soy sauce or sesame oil, then taste and adjust so the flavors stay bright after frying.
Protein-To-Veg Ratio
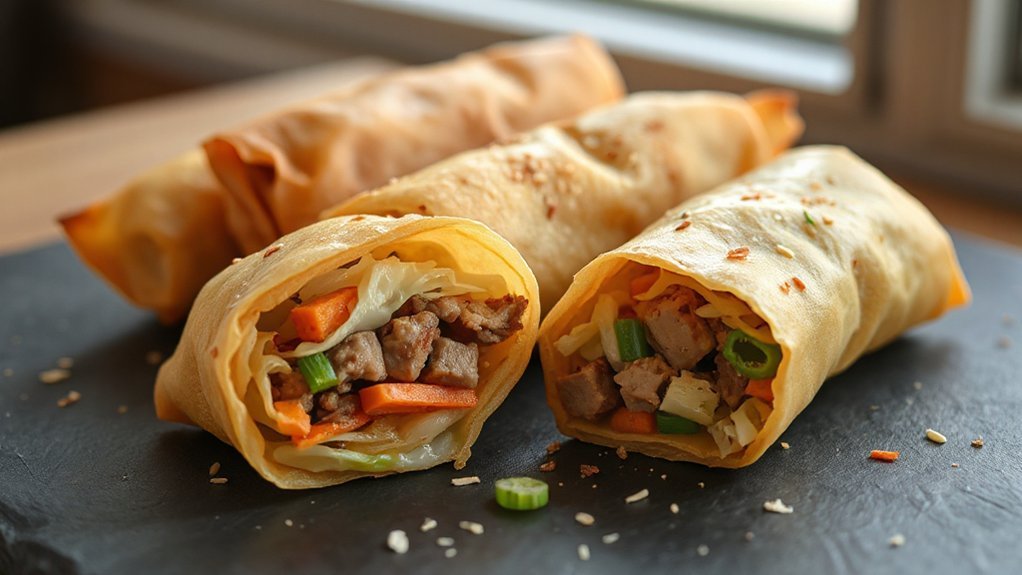
When you balance the filling, shoot for about two parts vegetables to one part protein by weight — that gives you crisp, flavorful egg rolls without them collapsing or tasting meaty-heavy. You’ll get bright textures and a lighter satiety impact so one roll satisfies without weighing you down, and the fiber slows the metabolic response for steadier energy. Use lean ground pork, chicken, shrimp, or firm tofu; finely shred cabbage, carrots, and scallions so everything mixes and cooks evenly. Season conservatively—soy, sesame oil, ginger, and a splash of rice vinegar—tasting as you go. Drain excess liquid from veggies to avoid soggy wrappers. When you wrap, keep fills tight but not overstuffed so each bite stays crisp and balanced. Adjust seasonings for your preferred punch.
Filling Volume Guidelines
A good rule of thumb is to use about 2–3 tablespoons of filling per standard 6-inch wrapper (smaller wrappers take closer to 1½–2 tablespoons) so the roll seals snugly and fries crisp without bursting. You’ll hit consistent portion benchmarks by weighing or spooning each wrapper, keeping each pocket even. Respect volume tolerances: overstuffed rolls split, underfilled ones collapse and brown too fast. Practice with a few to find your sweet spot; wrappers and filling moisture change the feel.
- Visualize a tight, slightly domed center—no sloppy edges.
- Aim for uniform shoulders so seams overlap cleanly.
- Leave a ½-inch dry border for egg-wash glue.
Follow these cues and your air fryer egg rolls will stay reliably crisp. You’ll nail the texture every time.
Seasoning Balance Tips
How much seasoning is enough to make every bite pop without overwhelming the wrapper? You want a filling that’s seasoned but not soggy: aim for roughly 1 cup filling per small wrapper or 2 tablespoons per egg roll edge, then season to taste. Start with salt and pepper, add a splash of soy for depth, then balance with acid—rice vinegar or lime—to sharpen flavors without watering the mix. Use garlic and mushroom powders for umami layering, and taste-cook as you go so flavors concentrate while moisture reduces. Reserve strong ingredients for finishing; sesame oil and hoisin are finishes, not stews. Remember: less liquid, more concentrated seasoning. That keeps the wrapper crisp and every bite lively. You’ll thank yourself when texture and flavor harmonize perfectly.
Step-By-Step Prep and Rolling Technique
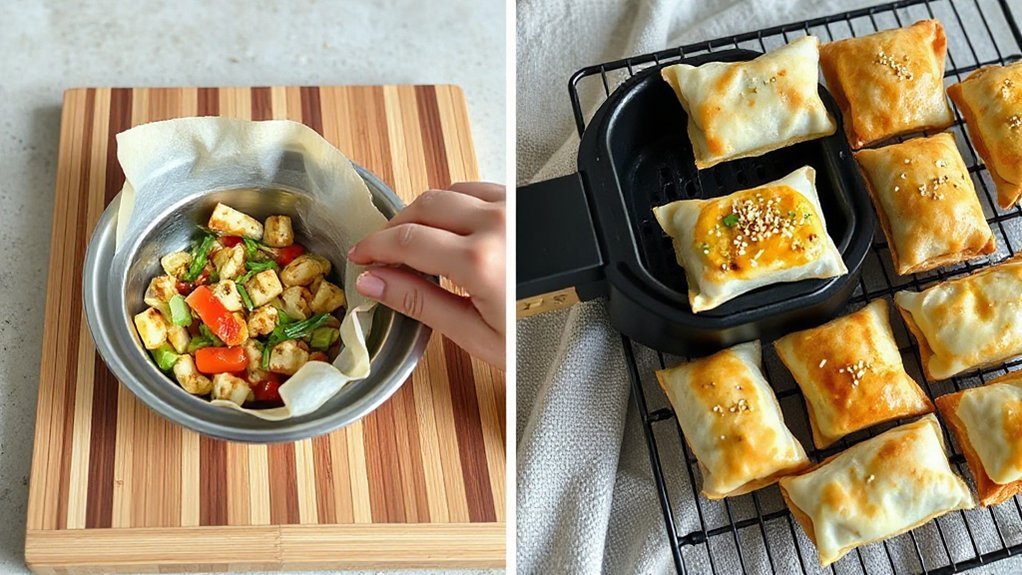
Start by prepping your filling so it’s cool, well-drained, and chopped into small, uniform pieces—this prevents sogginess and helps everything cook evenly. Lay a wrapper diamond-side up, place the right amount of filling near the bottom third, fold the bottom corner over, tuck the sides in, then roll tightly toward the top. Seal the edge with a dab of beaten egg or a cornstarch slurry and press firmly so your egg rolls stay snug while air frying.
Filling Prep Steps

Once your filling’s cooked and cooled, you’ll move quickly but deliberately: drain excess liquid, chop any large pieces so they lay flat, and taste for final seasoning before assembly. Keep a clean station—follow sanitation protocols and verify scale and thermometer with equipment calibration so measurements stay consistent. Blot wet bits with paper towels, cool on a tray so steam won’t sog the wrappers, and portion into equal mounds.
- Bright green scallions, finely sliced, scattered like confetti.
- Compact 2–3 tablespoon mounds, slightly flattened for even rolling.
- A final sprinkle of toasted sesame and cracked pepper for texture.
Work efficiently, keep ingredients cold, and avoid overfilling to guarantee crisp results. Prep sauces separately, label bowls, and keep tongs and a damp towel nearby.
Wrapping and Sealing
Place a wrapper on a clean surface with a corner pointing toward you, spoon a slightly flattened 2–3 tablespoon mound of filling about an inch from that corner, then fold the bottom corner up over the filling and roll once to tuck it snugly. Press sides with damp finger and roll tightly, sealing edge with a dab of water or beaten egg. Work quickly so wrapper stays pliable, follow sanitation protocols and allergen separation by cleaning hands and surfaces between batches. Arrange finished rolls seam-side down on a tray. Use this quick visual guide:
| Step | Action | Tip |
|---|---|---|
| 1 | Fold bottom | Tuck snug |
| 2 | Fold sides | Seal edges |
| 3 | Roll up | Firm motion |
| 4 | Seal edge | Use water |
| 5 | Rest | Seam down |
Air fry accordingly.
Air Fryer Settings, Spray Method, and Timing
Choosing the right temperature and spray technique makes the difference between soggy and perfectly crisp egg rolls, so set your air fryer to 375–400°F (190–200°C) and preheat for 2–3 minutes. Use medium fan speed if your model allows; high fan can brown edges too fast, low may leave them limp. Lightly oil each roll with a consistent spray pattern — quick bursts across the seam and surface — to mimic shallow frying without excess oil. Arrange rolls in a single layer with space for airflow, flip halfway, and watch timing.
Preheat to 375–400°F, lightly spray rolls, single layer, flip halfway for crisp, golden wrappers
- Golden exterior: 8–10 minutes, flip at 4–5.
- Extra-crisp finish: 2-minute blast at higher temp post-flip.
- Smaller rolls: reduce 1–2 minutes and check.
You’ll get evenly browned, crunchy wrappers by controlling fan speed, spray pattern, and simple timing cues; adjust slightly for your model. Keep a thermometer nearby for accuracy and resist overcrowding; crispness depends on airflow and even heat.
Troubleshooting Common Crispiness Problems
If your egg rolls come out limp, patchy, or greasy, don’t panic — most crispiness problems have simple fixes you can try right away. You’ll want to check three things: wrapper prep, filling moisture, and air circulation. Trim wet fillings, pat wrappers dry, and avoid overfilling. Watch for Moisture Sources like sauces or undercooked veggies. Also inspect the basket for Airflow Obstructions—overcrowding, stacked rolls, or crumbs block heat. Use quick fixes: space items, spray lightly, raise temp briefly. If you still see sogginess, try increasing initial heat by 10°F and check oil amount.
| Problem | Fix |
|---|---|
| Soggy center | Cook a bit longer, lower fill moisture |
| Patchy browning | Flip, increase airflow |
| Greasy spots | Use less oil, drain excess |
| Sticking | Light spray, parchment squares |
Test one change at a time so you can pinpoint what works. Keep notes so you learn which tweak works for your fryer and filling. Enjoy crispness.
Make-Ahead, Freezing, and Reheating Strategies
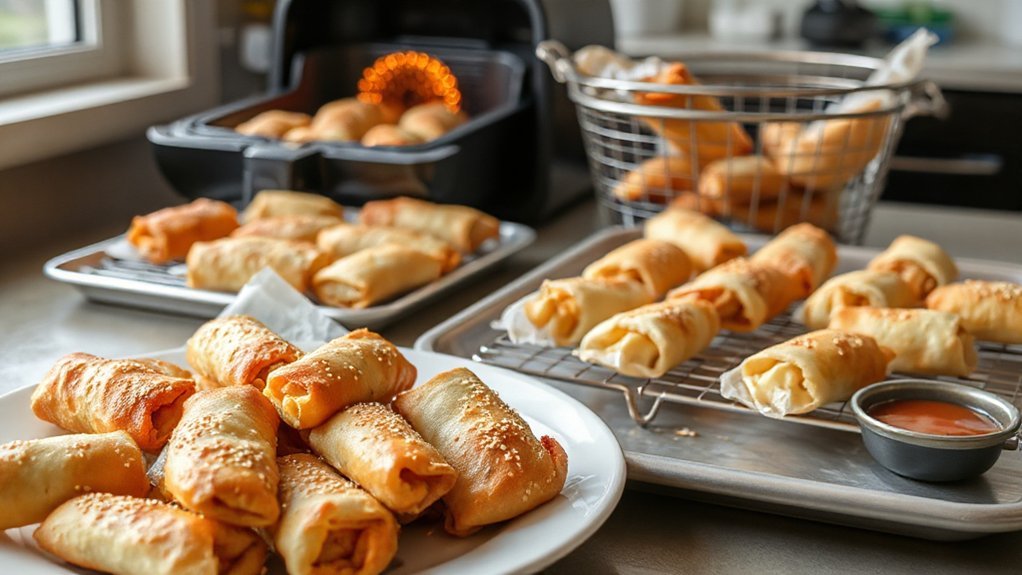
Once you’ve nailed crispiness, planning ahead saves time and keeps that texture intact. You can make a big batch, freeze properly, and reheat so they taste like just-made takeout. Cool egg rolls completely, flash-freeze on a tray, then transfer to vacuum sealing bags or freezer-safe containers—vacuum sealing prevents freezer burn and preserves crunch. Label with date and reheat timing.
Nail the crunch: flash-freeze, vacuum-seal, and reheat from frozen for takeout-worthy egg rolls.
- Visualize rows of golden logs, frozen solid on a tray.
- Picture neat vacuum-sealed stacks, easy to grab.
- Imagine reheating to bubbly filling with crackling skin.
When you’re ready, don’t thaw on the counter; reheat from frozen in the air fryer at 360°F (182°C) for 10 to 14 minutes, flipping halfway—adjust based on size. For thawed rolls cut reheat timing by a few minutes. Let them rest one to two minutes before biting to finish crisping and avoid lava-hot filling. Store leftovers refrigerated up to 3 days.
Conclusion
You’ll love how these air fryer egg rolls give you takeout crunch without the greasy guilt. Instead of drowning in oil like old-school frying, you get light, crackling shells and juicy fillings that actually shine. You’re saving time, calories, and cleanup while serving restaurant-worthy bites. Follow the filling ratio, spray smart, and don’t overcrowd—then enjoy hot, crispy egg rolls that prove homemade can beat takeout every single time. You’ll feel proud and impressed, too, honestly.


