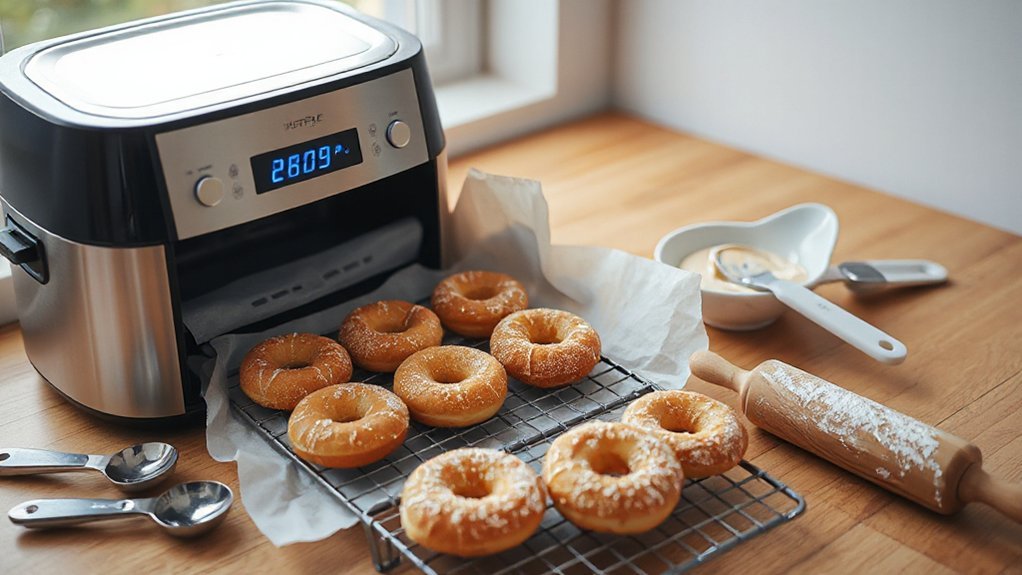
You’ll get tender, golden yeast donuts made like the real thing but with far less oil by using your air fryer. Proof yeast in warm milk, mix in butter, egg, sugar and flour, knead to a soft, slightly tacky dough, cut rings, proof until puffy, then air-fry at 320–350°F for 5–7 minutes, flipping halfway. Finish with a simple vanilla glaze or cinnamon-sugar. Keep going and you’ll pick up pro tips for texture, timing, and storage.
Ingredients and Measurements
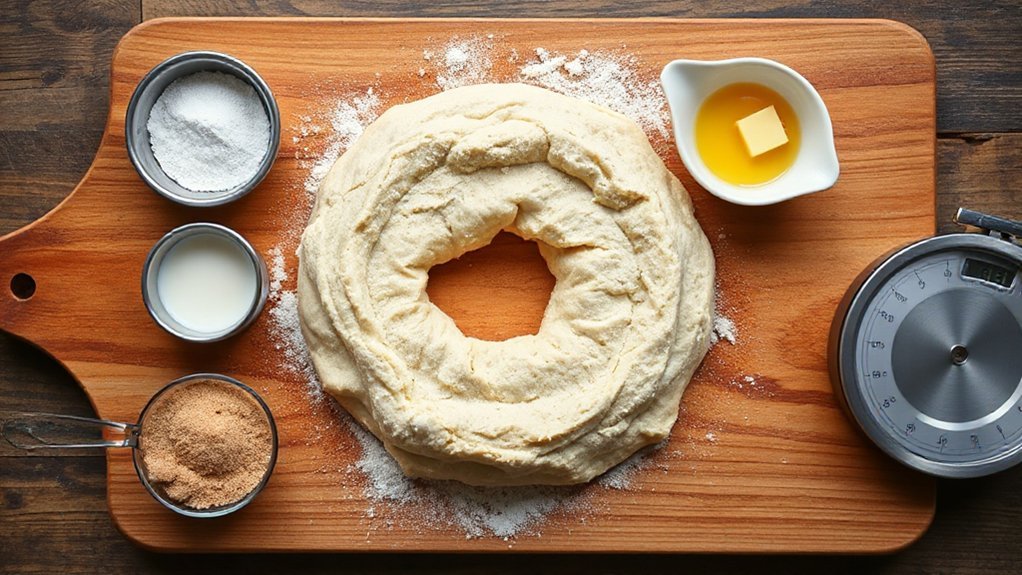
You’ll need a short, specific pantry list to get these air fryer donuts right: 2 1/4 teaspoons active dry yeast (one packet), 3/4 cup warm milk (about 110°F), 1/4 cup granulated sugar, 2 tablespoons melted butter, 1 large egg, 2 cups all-purpose flour, and 1/2 teaspoon salt for the dough, plus a light spray of neutral oil for the air fryer. Start by proofing the yeast in the warm milk with a pinch of sugar until it bubbles; that’s your quick quality check. You’ll mix in the melted butter, egg, salt, and flour to form a soft, slightly tacky dough. If you need swaps, I’ll explain ingredient substitutions like using yogurt or oil for butter, or instant yeast in place of active—just adjust rising time. Keep measurement conversions handy (grams if you prefer precision). With measured ingredients and simple swaps, you’ll get consistent, fluffy donuts every time soon.
Equipment and Air Fryer Setup
You’ll want a short checklist of essentials—mixing bowls, a dough hook or whisk, rolling pin, donut cutter (or biscuit cutter plus a cap), parchment or silicone mat, and an oven-safe rack or your air fryer basket. Pick an air fryer that holds a single, roomy layer of donuts with steady temps and good airflow—5–6 quarts is a solid sweet spot. Preheat to the recipe temp and place donuts spaced in a single layer on the rack or basket so they brown and crisp evenly.
Essential Equipment Checklist
Kitchen-tools checklist time: before you start, make sure you’ve got a few essentials—a digital scale for accurate measurements, mixing bowls, a sturdy whisk or stand mixer with a dough hook, a rolling pin, donut cutters (or two round cutters), and a bench scraper. You’ll also want safety gear like oven mitts and a splatter guard, plus maintenance tools such as a soft brush and silicone oil for baskets. Lay out tools so you can move quickly and keep dough chilled. Visualize your station:
- Clean work surface with flour dusting
- Assorted cutters stacked, ready
- Racks and parchment rounds prepped
- Safety gear and maintenance tools nearby
This setup keeps you organized, efficient, and ready to fry-free bake flawless donuts. You’ll save time and reduce stress always.
Choosing the Right Air Fryer
How big of an air fryer do you really need? You’ll balance batch size, counter space and storage: a 2–3 quart model suits singles or couples, while 5–6 quarts handles family-sized donut batches. Look for reliable temperature control, removable nonstick baskets and accessories that match your donut pans. Check energy efficiency ratings so you save electricity when baking regularly. Compare noise levels and footprint if your kitchen’s cozy. Don’t skip a Warranty comparison: longer, clear warranties and responsive customer service matter when parts fail. Read user reviews for long-term reliability. Ultimately pick a unit that fits your typical batch, offers consistent heat and comes with solid support — that keeps your homemade donuts coming out golden and consistent. You’ll love the results and save time—and money.
Preheating and Rack Placement
Before you start, give the air fryer a few minutes to preheat so it’s up to temperature and ready to give your donuts that even, golden crust. You’ll want consistent Heat Distribution and minimal Surface Contact for crisp edges without sogginess. Position a rack in the middle for balanced airflow; use an upper rack only if you’re doing a quick finish or glaze set.
- a single layer of donuts with breathing room
- a shallow tray to limit Surface Contact
- middle rack for even Heat Distribution
- leave room above for steam to escape
Check donuts early; rotate the rack if one side browns faster. Trust your senses and adjust timing by 1–2 minutes as needed. Small tweaks make them perfect; don’t be afraid to experiment daily.
Making the Dough Step by Step
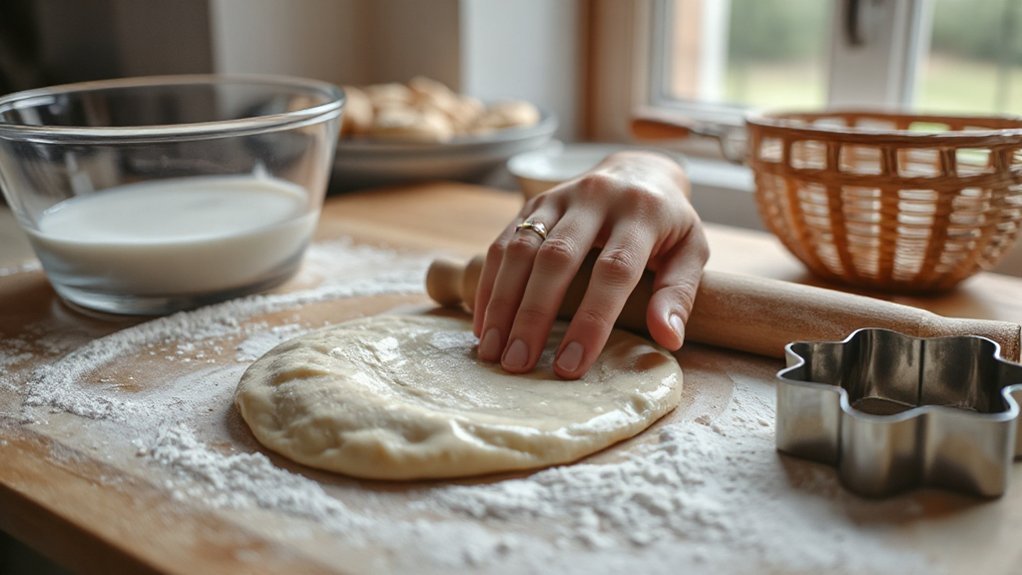
Mixing the dough is simple: dissolve the yeast in warm milk, whisk in melted butter, eggs, sugar, and a pinch of salt, then stir in flour until a shaggy dough forms. You’ll follow a clear mixing order—liquids first, dry ingredients last—so ingredients combine evenly and yeast activates reliably. Scoop onto a lightly floured surface and start working the dough: fold, push, turn. Use a consistent kneading technique, pressing with the heel of your hand and rotating frequently, until the dough’s smooth and elastic, about eight minutes. If it’s sticky, sprinkle a tablespoon of flour at a time; if it’s too stiff, add teaspoon of water. Aim for a soft, tacky feel that springs back when poked. Once kneaded, shape the dough into a tight ball and place it in a lightly oiled bowl. Cover and let it rest until it’s relaxed and slightly puffy—ready for the next stage.
Shaping, Cutting, and Proofing the Donuts
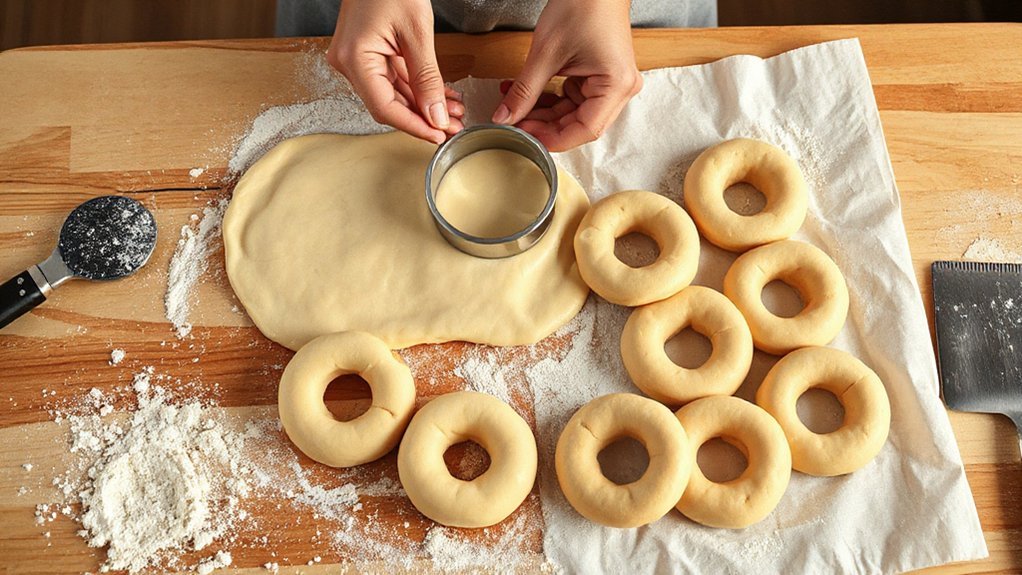
You’ll roll the dough to about 1/2 inch (12 mm) thick so the donuts puff evenly in the air fryer. Use a large cutter for the ring and a small one for the hole, saving scraps to re-roll once or twice. Proof the shaped donuts in a warm spot (around 75°F/24°C) for 45–60 minutes until noticeably puffy.
Rolling and Thickness
Rolling the dough to the right thickness makes the difference between a dense donut and a pillowy one: aim for about 1/2 inch (12 mm) for classic rings and slightly thinner for filled or cake-style donuts. You’ll feel the dough respond as you use a steady rolling technique, keeping pressure even. Use thickness gauges — simple guides or dowels — to keep every piece uniform so they cook evenly in the air fryer. After rolling, rest the sheet briefly; it relaxes and proofs faster. When you press with cutters, lift straight up to preserve the edge and avoid deflating.
- Smooth, even sheet ready to cut
- Rolled edges, not ragged tears
- Damp seam pinched flat
- Uniform thickness for consistent rise
Then proof until puffy, light, and gently jiggly.
Cutting Donut Holes
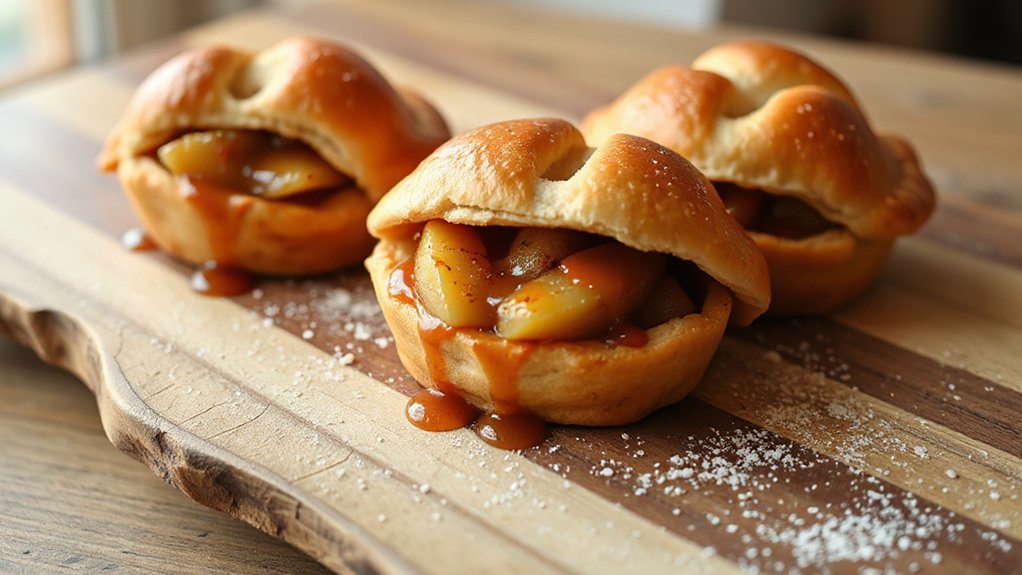
Shaping the rings and holes is simple but essential: press your cutter straight down and lift it up without twisting so the edges stay sharp, then use a smaller cutter for the center or reserve the rounds for donut holes. After cutting, gently handle each piece so they keep their shape; tuck any ragged edges back together with a pinch. Place rings and holes on a lightly floured tray spaced apart so they can relax. If you want Flavor Infusions, add zest, spices, or a dash of extract to the tops before cooking or fold in small inclusions for pockets of flavor. Think ahead about Serving Suggestions — pair glazed rings with coffee, dusted holes with cocoa, or present a mixed platter for brunch.
Proofing Time and Temp
Now that your rings and holes sit on the tray, give them a gentle rest to rise — proofing is where their texture and lift really form. You’ll proof in a warm spot (about 80–85°F) for 30–45 minutes until puffy; adjust for ambient humidity — dryer kitchens need slightly longer. Keep covers loose to trap warmth without sweating the dough. Watch yeast activity: a soft poke should spring back slowly, not collapse. If your kitchen’s cool, pop donuts near a warm oven or use a proofing setting.
- soft, puffy rings, airy but not jiggly
- slightly domed tops with tiny bubble blisters
- warm, faint yeasty aroma
- held shape when nudged
Trust the look and feel over exact minutes; you’ll learn your dough and room quickly. Practice helps.
Air Fryer Cooking Times and Temperatures
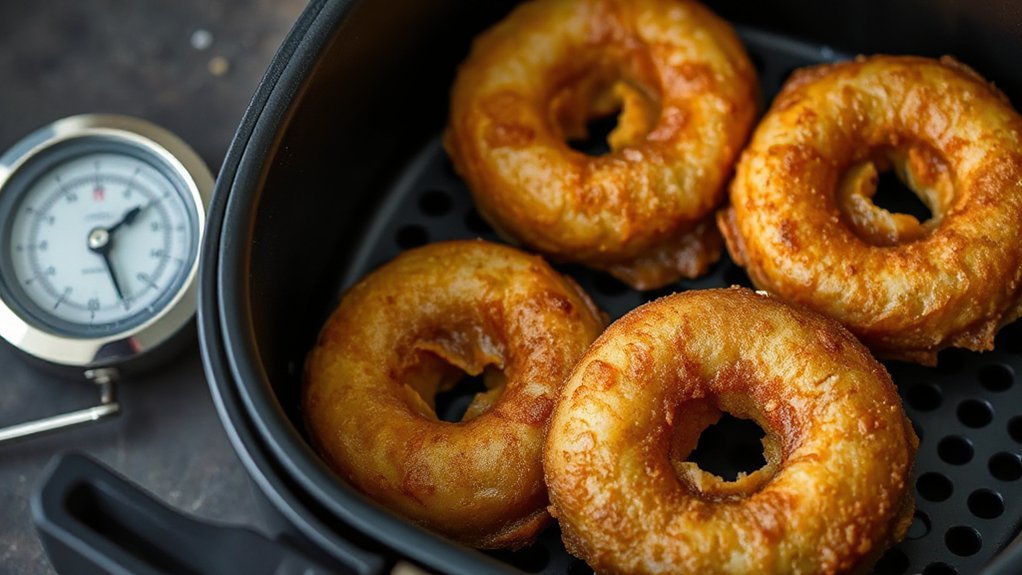
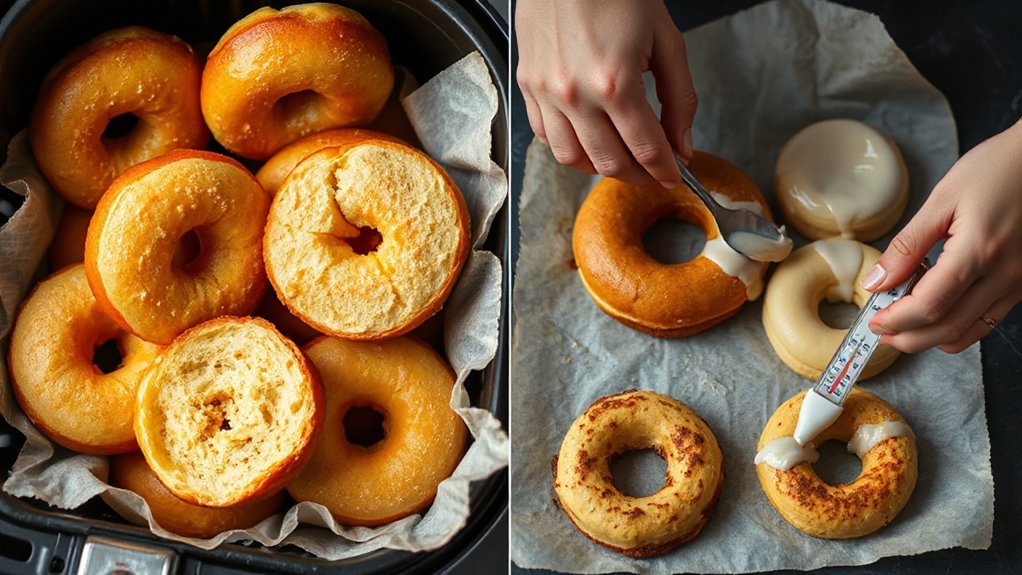
When you’re ready to cook, preheat the air fryer and set it between 320–350°F (160–175°C) for most donut recipes; that range gives you a golden exterior without overcooking the inside. Start with 5–7 minutes, flip or rotate at halfway point, then add 1–2 minutes if needed. Thinner or smaller donuts finish faster; cake-style or denser doughs need the upper end of time. Use doneness indicators like a light spring-back when pressed and a pale-golden color to avoid guesswork. If you’re at high elevation, make altitude adjustments: increase temperature slightly and shorten time to help set structure, or reduce temp if browning too quickly. Always check early—ovens and baskets vary. For batch consistency, mark the best time you hit: that becomes your baseline. With practice you’ll dial in the perfect window so donuts are cooked through, tender, and evenly browned every run. Don’t overcrowd the basket; allow even airflow.
Glaze, Sugar Coatings, and Creative Toppings
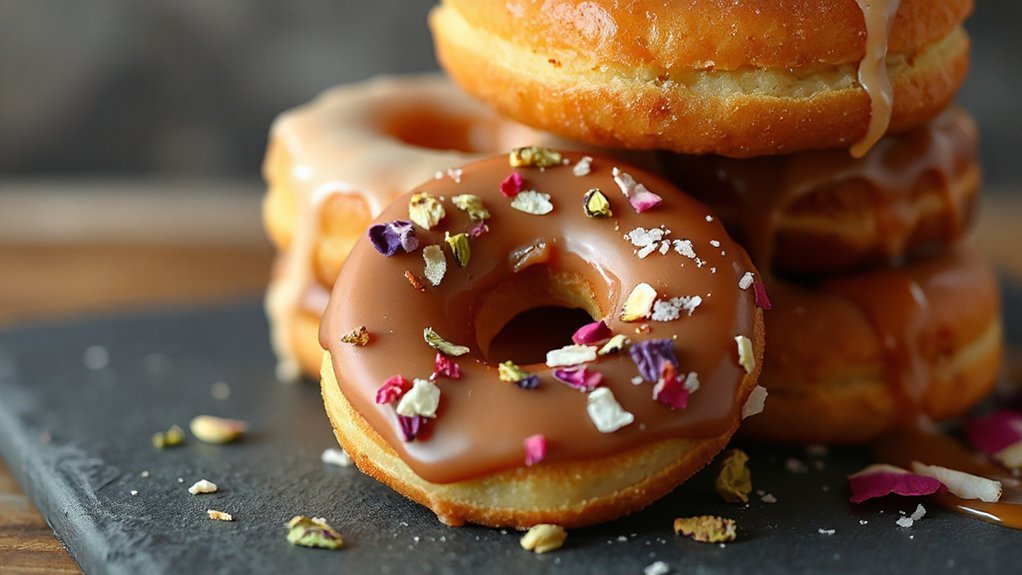
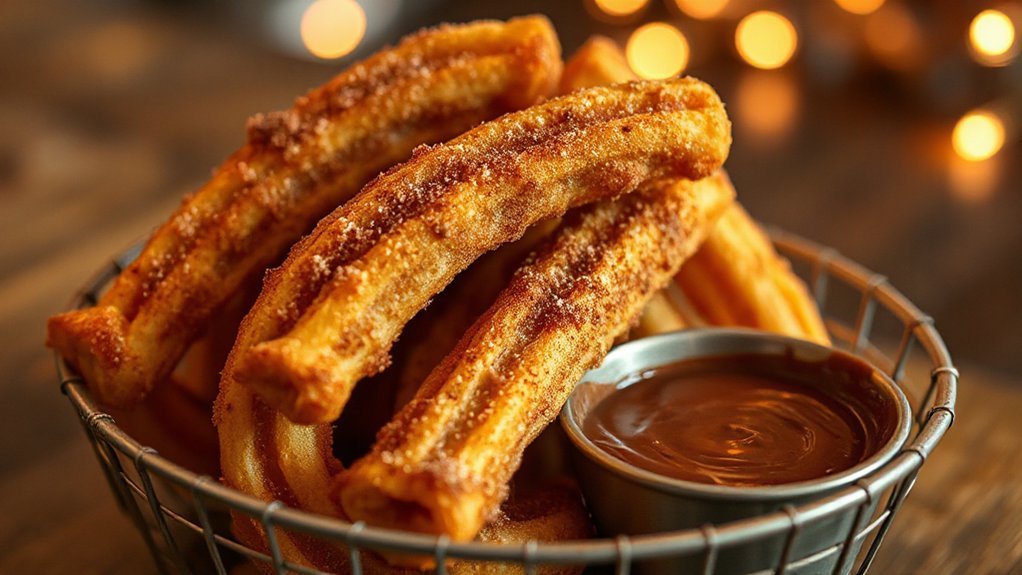
Although air-fried donuts come out tender and slightly crisp, what really elevates them is the topping—glazes, sugar coatings, and creative finishes turn simple rounds into showstoppers. You’ll want a few reliable glazes (classic vanilla, chocolate ganache, glaze with citrus zest) and quick sugar coatings like cinnamon-sugar or powdered sugar for a nostalgic bite. Think about Flavor pairings: espresso with dark chocolate, lemon with poppy seed, or brown butter with maple. Use Seasonal inspirations to guide colors and extracts—pumpkin spice in fall, floral syrups in spring. Don’t overcomplicate; simple techniques give the best results. Add texture and contrast with:
- chopped nuts
- toasted coconut
- sprinkles
- flaky sea salt
When you plate them, vary heights and drizzle patterns so each donut feels deliberate and fun. Experiment with glazes’ thickness and cooling time, and keep a small tasting station so friends can mix and match for instant joy and celebrate every bite.
Common Problems and How to Fix Them
Because air fryers cook faster and drier than traditional methods, you’ll run into a few predictable issues—flat or misshapen donuts, uneven browning, gummy or undercooked centers, and glazes that slide right off. Start by checking dough consistency: too wet makes spread, too dry prevents rise. Use light flouring and gentle shaping to keep forms. Preheat and avoid overcrowding to get even browning.
If centers stay gummy, lower temp 10–20°F and add 1–2 minutes; test with a skewer. Rotate trays halfway for consistent color. For glazing that slips, cool donuts briefly until just warm, then dip—warm glaze clings better. Practice simple Time management: prep toppings and equipment before frying so you work quickly.
Keep Kitchen sanitation in mind—clean bowls and tools between batches to prevent oil or sugar buildup that burns and taints flavor. With small adjustments, you’ll fix most problems fast. Track tweaks so results improve every time.
Storing, Freezing, and Reheating Donuts
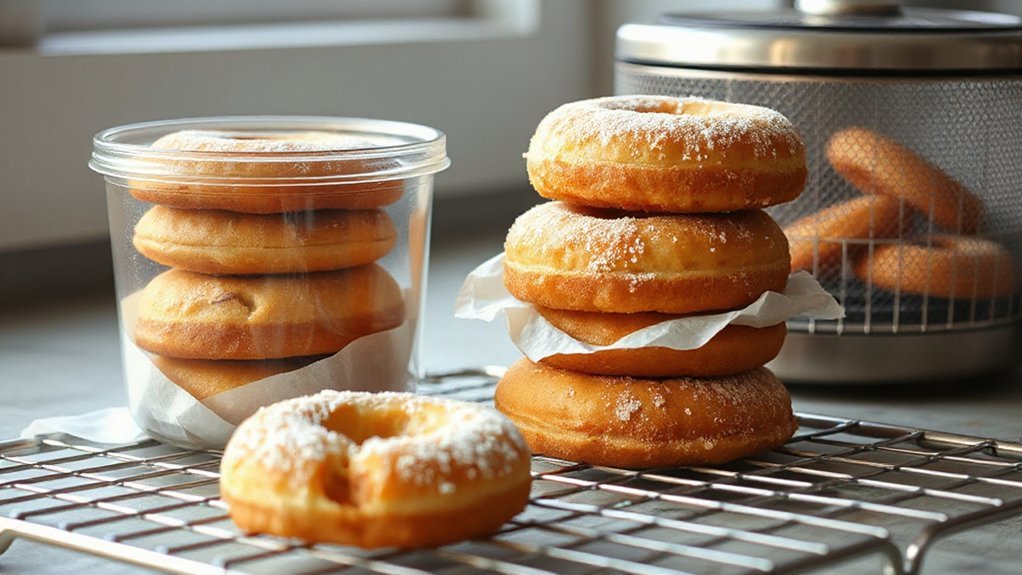
If you want your air-fryer donuts to stay as tasty as the day you made them, treat storage, freezing, and reheating as part of the recipe—not an afterthought. Store cooled donuts in an airtight container with a paper towel to absorb moisture; Ideal Packaging prevents sogginess and keeps glaze intact. If freezing, flash-freeze on a tray, then transfer to a freezer bag to protect shape, flavor. For Texture Preservation, thaw at room temperature inside the bag to avoid condensation. Reheat gently in the air fryer at 300°F for 2 to 4 minutes to revive crisp edges without drying the center. If you’d prefer glaze glossy, warm briefly and brush thin syrup. Picture these:
- A neat row of donuts on a parchment-lined tray ready for freezer.
- A sealed bag labeled date, snuggled upright.
- Steam lifting off a warm donut in air fryer.
- A glossy glaze wobbling as you bite.
Conclusion
You’ll love how easy these air fryer donuts turn out—crispy outside, pillowy inside, and much lighter than deep-fried treats. You’ll smell warm vanilla and butter as they bake, and each bite will feel like a tiny celebration. Follow the steps, experiment with glazes, and don’t be afraid to imperfectly shape them; practice makes perfect. Store leftovers well, reheat gently, and you’ll always have a quick, delightful donut on hand to brighten any morning, every time.