You’ll get fall‑off‑the‑bone air fryer chicken thighs by using a quick brine, patting skins super dry, scoring and pressing in a bold spice rub, then starting hot to crisp skin and finishing to 175–185°F so collagen melts and meat stays juicy. Cook in a single layer with space for airflow, flip once, then tent and rest 8–12 minutes before serving. Keep going for tips on brines, timings, and flavor twists, plus timing, glaze, and cleanup.
Why This Method Works
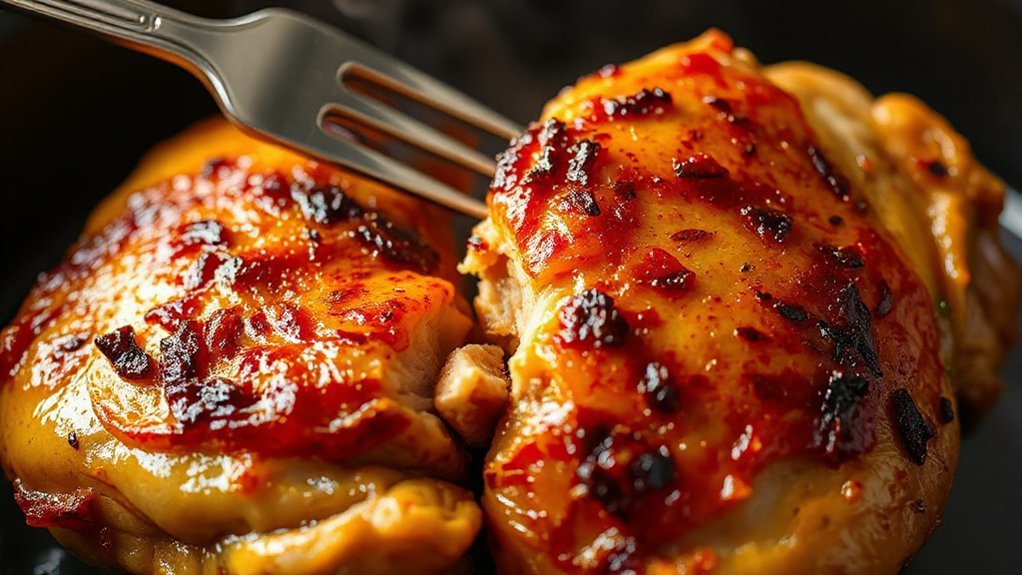
Because the air fryer blasts hot air around the thighs, you get crispy skin without frying in oil, and the short, high-heat cooking seals in juices so the meat stays tender. You’ll notice two science-backed processes at work: collagen hydrolysis breaks down tough connective tissue into gelatin, making the interior silky, while controlled heat triggers protein restructuring that firms the flesh just enough to hold juices without drying. You can rely on quick temperature ramps and steady circulation to create contrast — crackling exterior, succulent inside — every time. That means less babysitting and more predictable results, even if you’re juggling sides. You’ll also save time over low-and-slow methods and avoid excess fat. Follow timing and temp cues, and you’ll consistently get thighs that pull clean from the bone and deliver a satisfying, juicy bite with every serving. You’ll impress guests without fuss, and cleanup’s minimal at once.
Ingredients You’ll Need
You’ll get the best results with bone-in, skin-on chicken thighs that stay juicy inside and crisp up outside. A simple dry spice blend—salt, pepper, paprika and garlic powder—gives instant flavor. For extra depth, coat the thighs in a wet marinade like olive oil, lemon juice and a touch of soy or honey before cooking.
Bone-In, Skin-On Thighs
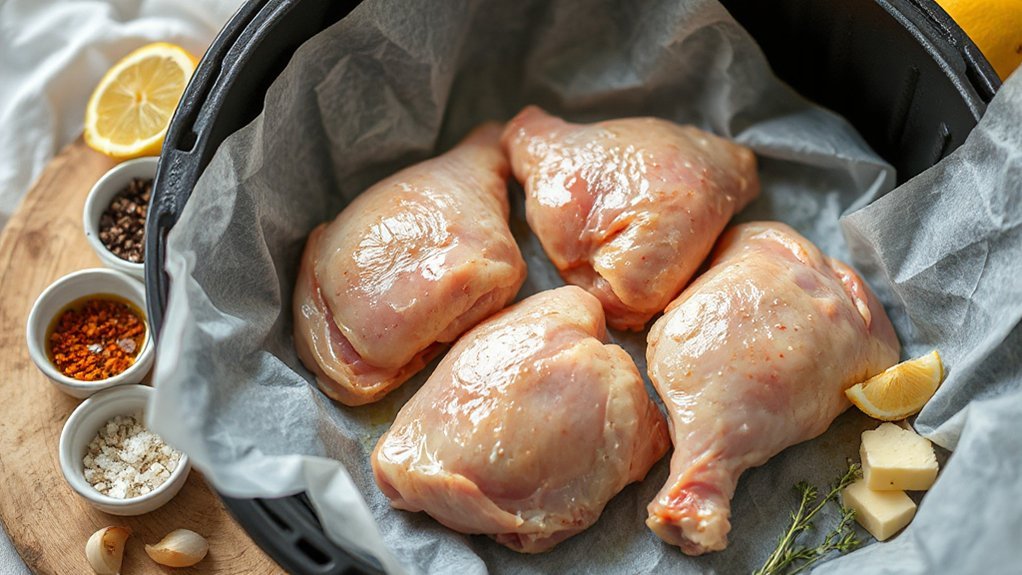
Choosing bone-in, skin-on thighs gives you juicier meat and crispier skin, so start with 4–6 well-trimmed thighs as your base. Pick pieces that feel firm and evenly sized so they cook uniformly. Think about nutritional profile and sourcing ethics when you shop: local farms often offer fresher meat and clearer labels, and the bone keeps flavor and moisture locked in. Handle them chilled and pat dry for best results.
- Plump thighs with intact skin and no bruising
- Similar sizes to guarantee even cooking
- Visible labeling for farm origin and processing
You’ll be ready to season and air fry confidently, knowing your foundation is solid. If you want, trim excess fat but leave skin intact to preserve moisture and crispness during air frying every time.
Dry Spice Blend
With your thighs trimmed and patted dry, let’s focus on the dry spice blend that’ll give you big flavor and crisp skin. You’ll need kosher salt, freshly ground black pepper, smoked paprika, garlic powder, onion powder, ground cumin, and a pinch of cayenne for warmth. Add brown sugar for caramelization if you like a touch of sweet. Use measuring spoons: 1½ tsp salt, 1 tsp pepper, 1 tbsp paprika, 1 tsp garlic, 1 tsp onion, ½ tsp cumin, ⅛–¼ tsp cayenne, 1 tsp brown sugar optional. Consider spice origins for nuance — smoked paprika from Spain, cumin from the Mediterranean—so you pick quality jars. Rub evenly, pressing into skin. Aroma science tells you crushed spices release oils, boosting scent and crisping during air frying quickly.
Wet Marinade Components
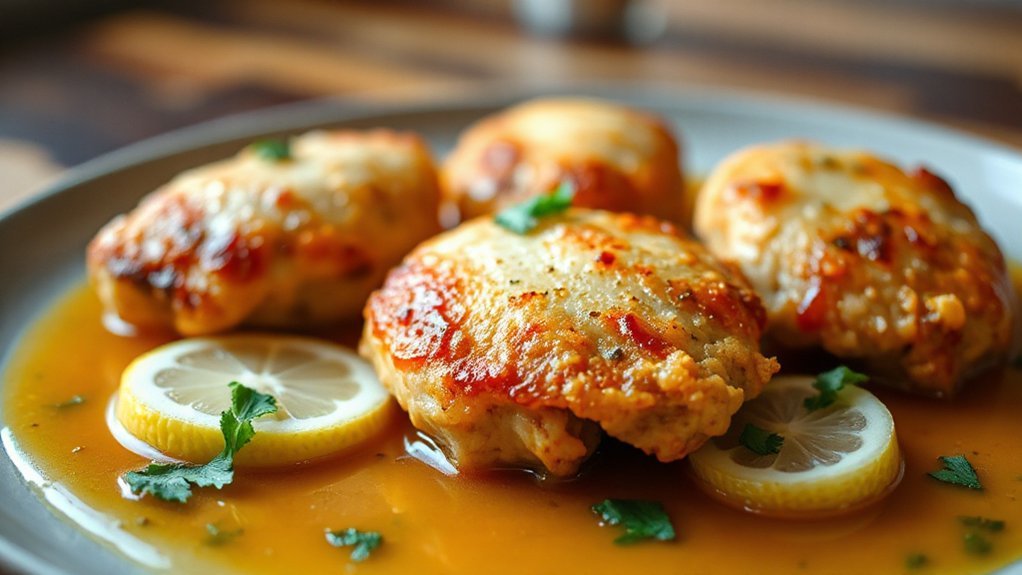
Marinating brings moisture and flavor—start with an acid (lemon juice, lime, or a splash of vinegar), a neutral oil to help carry fat-soluble flavors, fresh aromatics like crushed garlic and chopped herbs, and a savory binder such as soy sauce or Worcestershire to deepen umami. You’ll want an acid balance so the chicken tenderizes without turning mushy: aim for a tablespoon per cup oil. Add umami enhancers—miso, fish sauce, or a bit of tomato paste—for depth. Keep salt moderate; you can always adjust later. Let thighs sit at least 30 minutes. Picture the mix: bright, oily, garlicky and savory, clinging to skin and seeping into meat.
- Lemon, olive oil, crushed garlic
- Soy sauce, honey, rosemary
- Miso, black pepper, splash of vinegar
Quick Brine for Peak Juiciness
To lock in juiciness, you can follow a simple salt guide—use about 1 tablespoon kosher salt per cup of water (or 3/4 teaspoon table salt). For timing, brine bone-in thighs 30–60 minutes and boneless 15–30 minutes so you get flavor without excess salt. Rinse lightly and pat dry before seasoning and air frying, and you’ll get a crisp, moist finish.
Salt Concentration Guide
A simple 5% salt solution (about 50 g salt per liter of water, roughly 3 tsp per cup) reliably boosts juiciness and seasoning without making the skin overly salty. You’ll mix salt and water, taste a small spoonful to confirm balance, and remember that a little extra aromatics won’t affect salinity. For safety and consistency, check Health thresholds on sodium intake and follow Label regulations when using packaged brine mixes. Keep measurements precise: volume scales beat vague “pinch” guesses.
- Visual: clear salt dissolved, no grit.
- Sensation: lightly seasoned, not bracing.
- Practical: measure with kitchen scale or measuring spoons.
This concentration gives dependable results for quick brines before air frying. It’s ideal for most recipes and scales easily for larger batches every time reliably.
Brine Time Tips
If you’re using the 5% brine above, stick to short windows—about 30 minutes for boneless thighs and 1–2 hours for bone-in, skin-on pieces—to get juicy meat without oversalting or mushy texture. Plan brine scheduling around when you’ll cook: marinate right before work for a quick dinner, or reserve an evening slot for bone-in pieces. If time’s tight, 30–45 minutes still improves moisture and seasoning. Use Overnight flexibility only when you reduce salt to 2–3% and rinse before cooking; that gives deep flavor without excess salt. Always pat thighs dry, chill briefly to tighten skin, and bring to room temp before air frying. Trust the timing and adjust slightly for personal preference and variables.
Seasoning and Flavor Variations
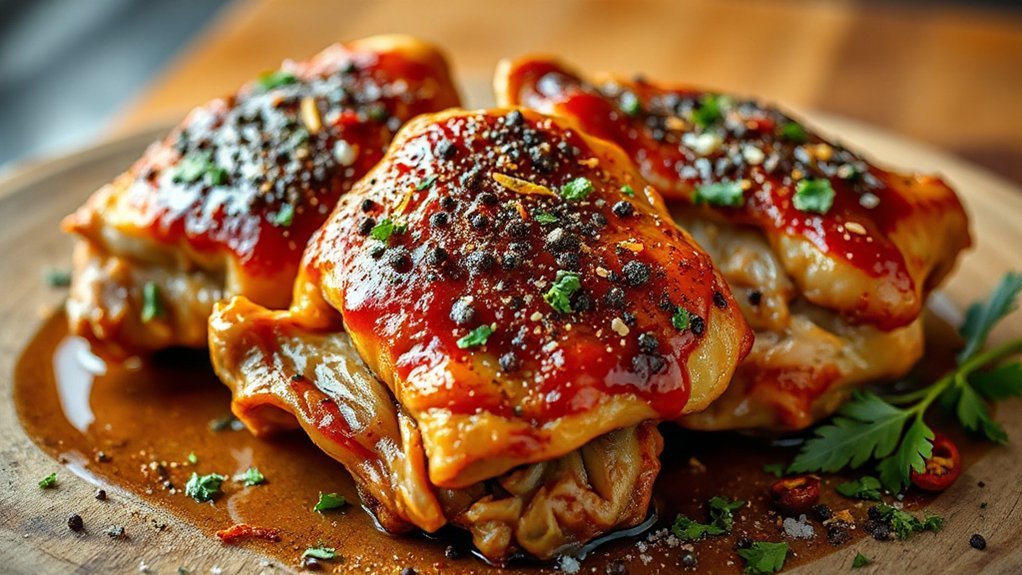


When you’re aiming for big flavor with little fuss, start by patting the thighs dry, rubbing a thin coat of oil, and seasoning generously with salt and pepper—then build from there. You’ll want a strategy: pick a base profile, add aromatics or acidity, and use heat layering so each bite has contrast. Think Mediterranean herbs, smoky paprika blends, or sticky sweet-glazed Asian notes; swap ingredients for seasonal swaps like citrus in summer or maple in fall. Don’t overload — keep balance between salt, acid, fat, and spice. Use a light brush of glaze in the last few minutes so sugars caramelize without burning.
Pat thighs dry, oil and salt, pick a flavor base, layer heat, finish with a light glaze.
- Herb-forward: rosemary, thyme, lemon zest, garlic.
- Smoky-heat: smoked paprika, cayenne, brown sugar, black pepper.
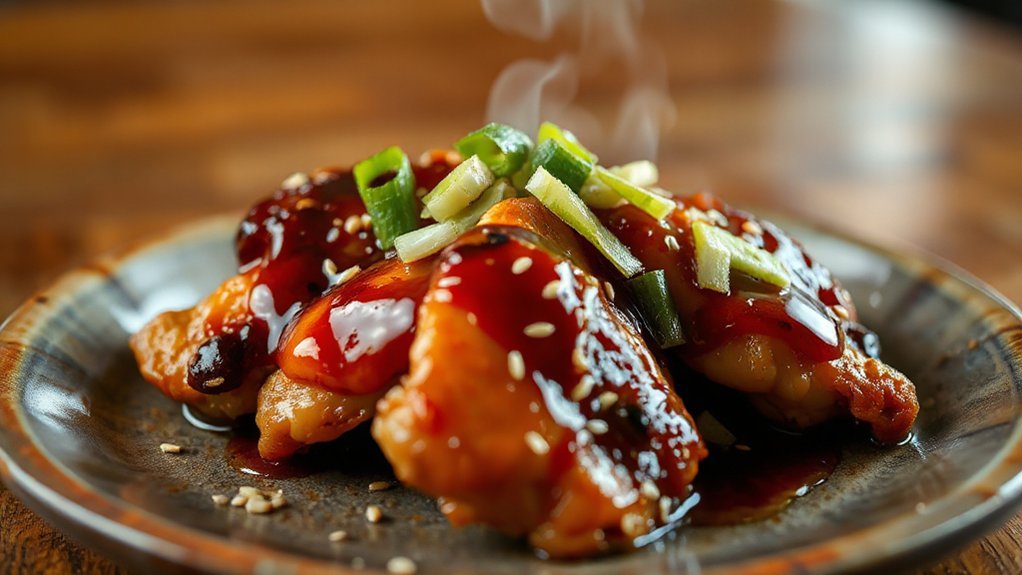
- Sweet-umami: hoisin, honey, soy, toasted sesame.
Taste as you go and adjust; confident seasoning makes your thighs sing. Start simple, iterate, and trust your palate to guide final tweaks today.
Prep Steps: Trim, Dry, and Score
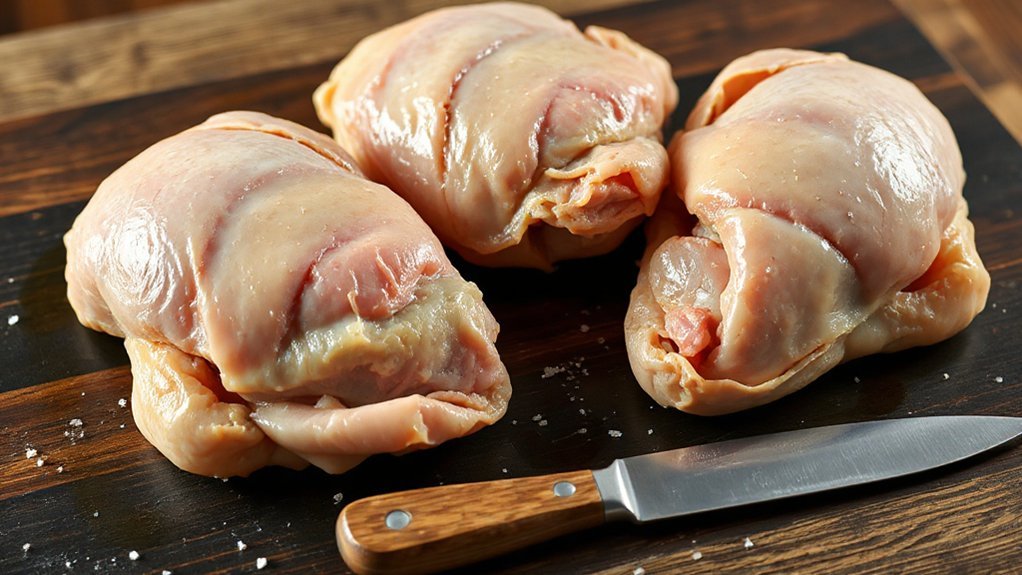
Trimming, drying, and scoring the thighs sets you up for crisp skin and even cooking: trim excess fat and any loose bits of skin, pat each piece thoroughly dry with paper towels (wet skin steams, dry skin crisps), and make shallow 1/4-inch cuts through the skin—not the flesh—so fat renders faster and seasonings penetrate. Next, pick the right tool: a small, sharp paring or boning knife speeds precise trimming; good knife selection reduces tearing and keeps portions tidy. Keep everything clean—wipe surfaces, change towels, and wash hands between handling raw and seasoned meat—simple hygiene practices prevent cross-contamination. When scoring, work with the skin taut, spacing cuts about half an inch apart. Pat again after trimming to remove moisture pulled out during handling. Finally, season into the scores so flavors hug the meat. These few prep minutes make a noticeable difference in texture and flavor without fuss every time.
Air Fryer Setup and Temperature Guide
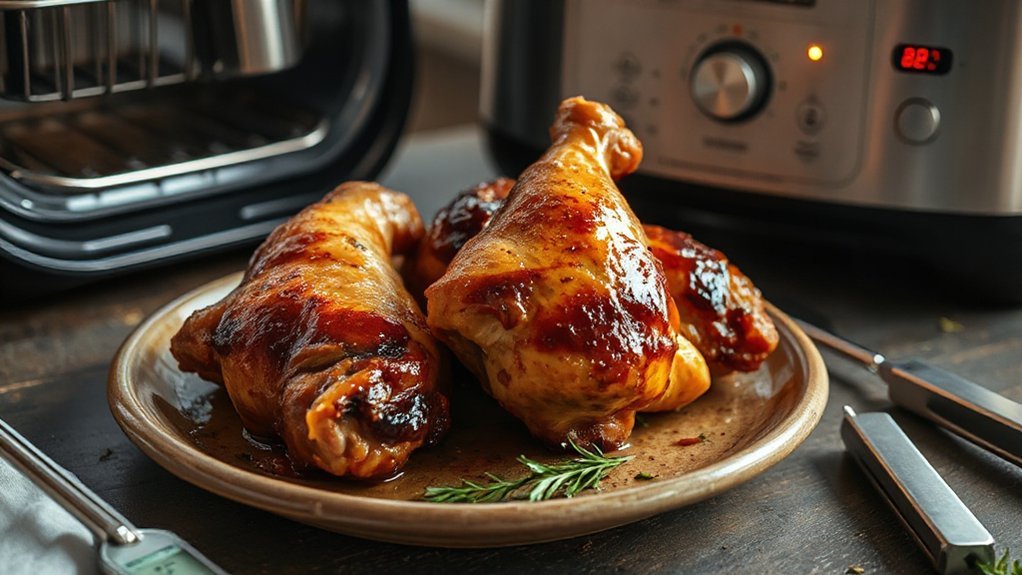
Now that your thighs are trimmed, dried, and scored, set up the air fryer so hot air can do its work: position the rack or basket for maximum airflow, preheat to about 380°F (193°C) for skin-on thighs to get a fast, high-heat crisp, or 360°F (182°C) if you prefer gentler fat rendering. You’ll want clear rack placement so air circulates around each piece; don’t overcrowd. Mind preheat timing — give the fryer a few minutes to reach that target so the skin starts crisping immediately.
- Place the rack or basket in the middle for even circulation.
- Leave visible gaps between thighs; air needs to move.
- Use a quick preheat cycle and an oven mitt-safe check.
These tweaks are practical and simple, and they set you up to get that crackling skin and steady fat rendering without fuss. Follow them and your thighs will finish beautifully every single time.
Step-by-Step Cooking Process
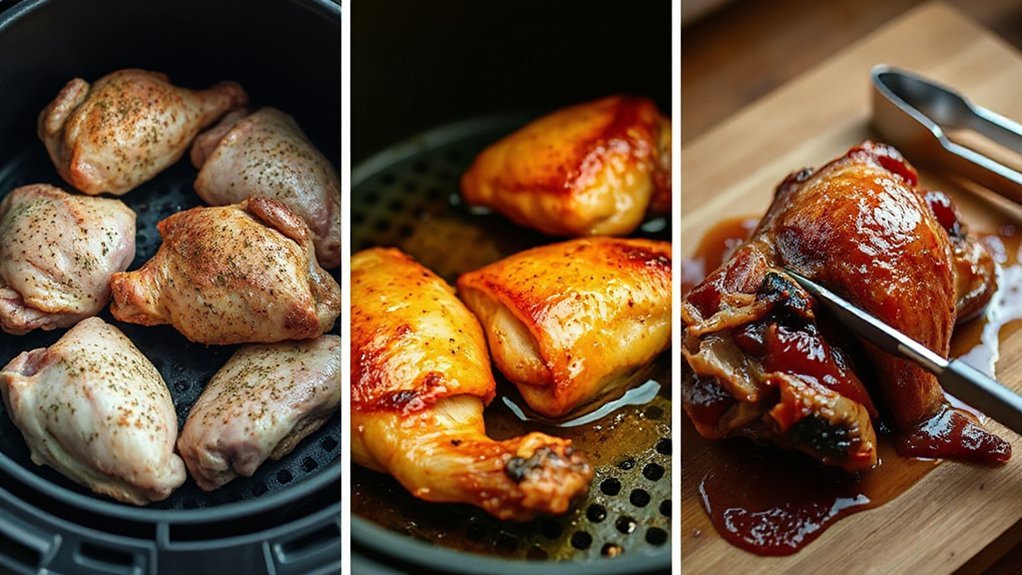
Start by arranging the thighs in a single layer with space between each piece, then slide the basket into the preheated fryer and set the temp to your chosen heat (380°F for a fast crisp or 360°F for gentler rendering). Cook for 12 minutes, flip each thigh with tongs, then continue for another 8–12 minutes depending on thickness and desired crust. Use a timer and your Workflow Timing plan: stagger batches if needed, and prep sides while thighs cook so everything finishes together. Check periodically through the basket; avoid constant peeking that drops temperature. When you remove thighs, transfer to a tray to keep the air fryer free for a second batch. For Cleanup Strategy, line the drawer with foil or use removable liner, soak the basket immediately with warm soapy water, and wipe the base after it cools. These quick steps keep cooking efficient and cleanup minimal.
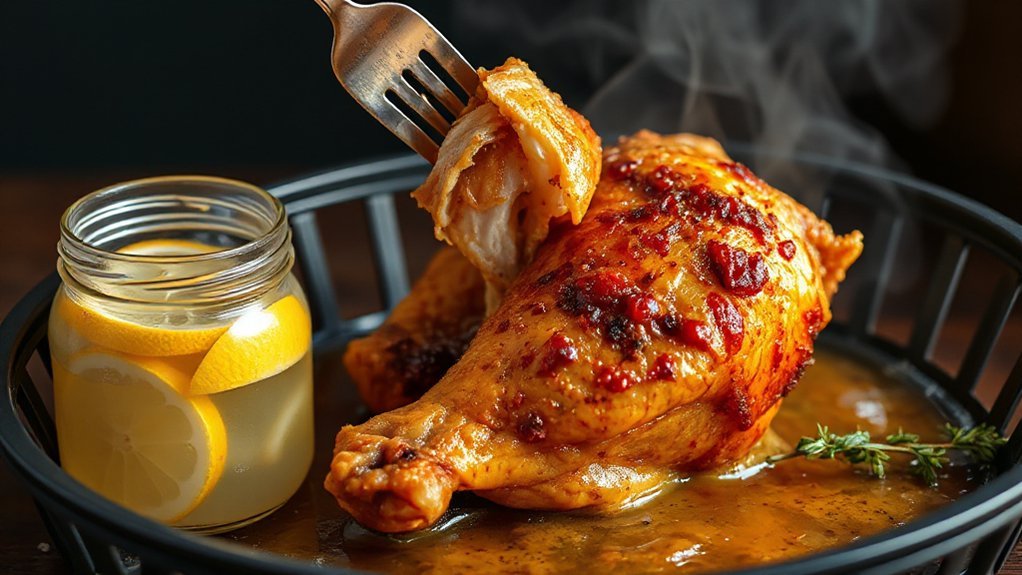
How to Check Doneness and Rest Properly
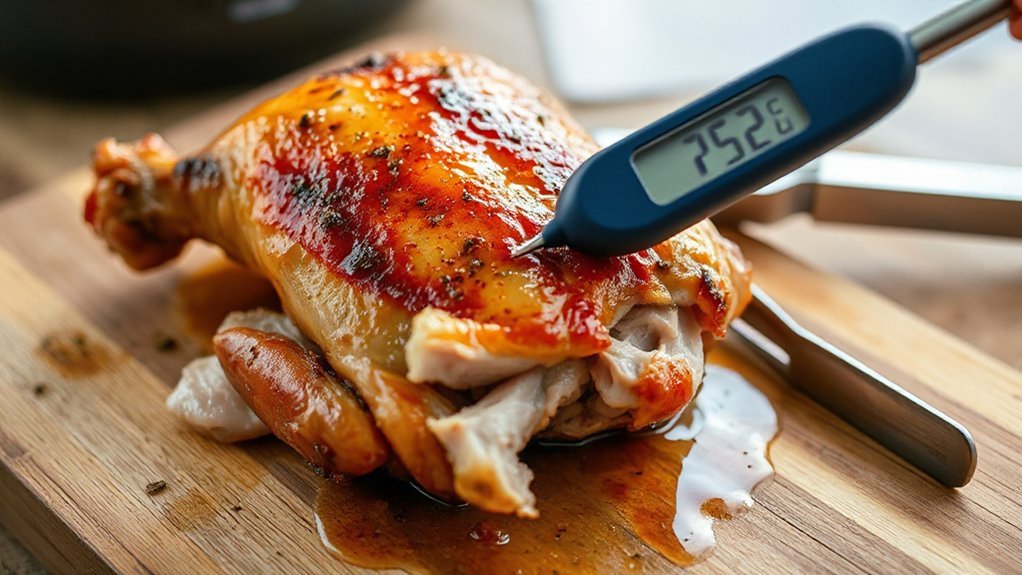
How do you know the thighs are truly done? Use a digital thermometer—insert into the thickest part without touching bone; 165°F (74°C) is safe, but for fall-off-the-bone tenderness aim for 175–185°F. Watch the juices: when you press the meat lightly, Juice Clarity matters—clear juices mean done; pink or cloudy means keep cooking a bit. After pulling from the air fryer, don’t skip rest.
Use a digital thermometer: 165°F safe, 175–185°F for tender thighs; rest 8–12 minutes.
Tent Timing helps the meat relax and redistribute juices. Loosely tent with foil for 8–12 minutes; shorter for smaller thighs, longer for larger ones. Rest also firms the meat slightly so slices hold together.
Quick checklist to visualize doneness:
- Thermometer reading in the thickest part, not touching bone.
- Press test: clear juices and slight bounce back.
- Tent Timing: foil tent for 8–12 minutes before cutting.
You’ll get juicy, safe, easy-to-slice thighs every time. Trust these signs and you’ll avoid overcooking or undercooking tonight, always confidently.
Serving Ideas and Side Pairings
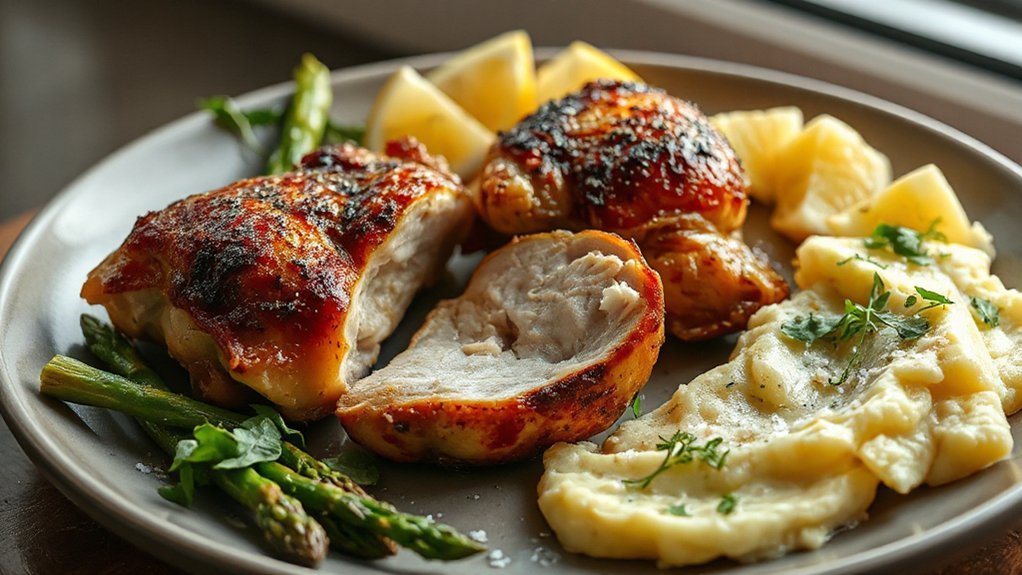
When you’re picking sides, aim for balance—pair the crispy, savory thighs with something bright (like a lemony salad or quick cucumber slaw) and a comforting starch (roasted potatoes, garlic rice, or buttered couscous) so every bite sings. Choose seasonal salads for freshness: a fennel-orange mix in winter, heirloom tomato and basil in summer, or shaved Brussels with mustard vinaigrette in fall. Add a green vegetable that gets a quick char or steam—asparagus, broccolini, or green beans—to keep texture contrast. For quick weeknights, toss a garlicky spinach and spoon thighs over creamy polenta. If you want to impress, plate with a herby chimichurri or lemon-garlic yogurt drizzle and sprinkle toasted nuts or herbs. Consider wine pairings: a chilled rosé or unoaked Chardonnay for lighter herbs, or a medium-bodied red like Grenache if your seasoning is smoky. Keep portions simple and colorful so the chicken stays star of the plate.
Storage, Reheating, and Meal-Prep Tips
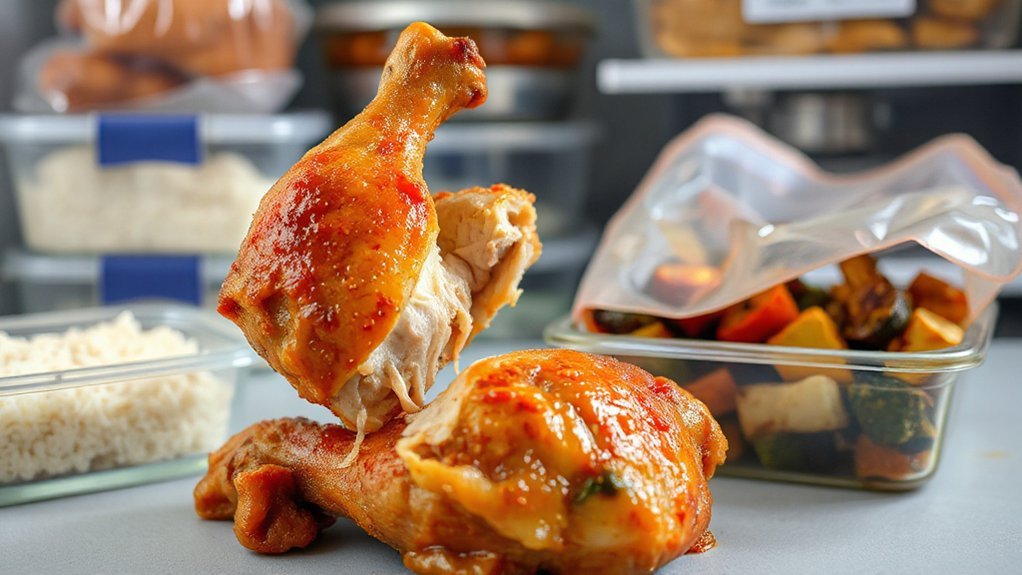
With sides sorted, you’ll want a simple plan for holding onto that crisp skin and juicy interior. Cool thighs completely on a rack, then portion for meals: keep two per lunch or one for light meals. For short-term, refrigerate in airtight containers up to four days; for long-term, freeze on a tray then bag. Labeling matters—use freezer labeling with date and portions noted so you avoid mystery dinners. Reheat at 350°F in the air fryer for six to ten minutes from thawed, flipping once, or crisp from frozen at 375°F for twelve to sixteen minutes. For meal-prep, build bowls with grains and roasted veg, or shred chilled thighs for salads and sandwiches. Practice portion planning when packing lunches so you grab the right protein. Quick tips keep texture and flavor consistent, save time, and make weekday meals feel effortless. Freeze single portions; reheat later without overnight thawing now.
Conclusion
After all that precise brining, scoring, and timing, you’ll be relieved—because the air fryer does most of the drama for you. You’ll still need to trim, pat, and season, but then you get to pretend it was effortless when guests swoon over juicy, fall-off-the-bone thighs. Don’t tell them about your secret shortcut; let them marvel while you enjoy the applause and an almost-guilt-free kitchen win and maybe take one extra bite before serving—quietly smug.