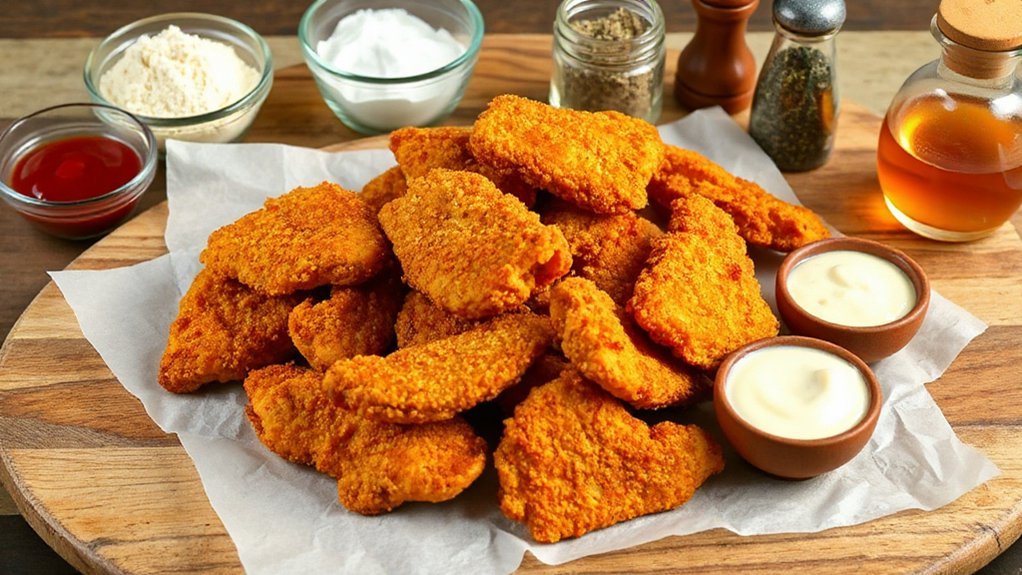
You can make crispy, kid‑approved air fryer chicken strips in about 25 minutes using simple pantry staples: chicken, flour, eggs and panko. Trim and slice evenly, dredge through seasoned flour, egg wash and panko, then air fry at 400°F, flipping once until 165°F. Serve with quick honey‑mustard, BBQ‑yogurt and creamy sweet‑chili dips that kids love. They’re great for lunches, snacks or batch meal prep—keep going for full tips, timing, storage tricks and safety pointers.
Ingredients and Pantry Staples
You don’t need a long grocery list to make crispy air fryer chicken strips—just a few pantry staples and fresh chicken will do the trick. Start with boneless, skinless chicken breasts or thighs, eggs for a simple binder, and plain breadcrumbs or panko for crunch. Keep a small jar each of flour, salt, pepper, garlic powder, and paprika; they’ll cover basic seasoning. If you like extra flavor, toss in grated Parmesan or chopped herbs. For dipping sauces, stock ketchup, mustard, and mayo—or make quick honey-mustard with pantry honey. When you shop, practice label reading to pick lower-sodium or whole-ingredient options, and compare unit prices during budget shopping to stretch your dollars. Frozen corn or peas make easy sides, and a loaf of crusty bread fills kids up. With these basics on hand, you’ll whip up a kid-approved batch without fuss. Serve warm and watch them disappear fast today.
Equipment and Air Fryer Setup

When prepping your air fryer, grab a few simple tools so you’ll breeze through cooking: a mid-sized air fryer with a removable basket or tray, heatproof tongs, a silicone brush or mister for light oiling, and a probe thermometer to check doneness. Set your fryer on a stable, heat-resistant surface and leave room around it for Ventilation clearance — at least several inches on all sides. Always check the power cord and outlet to confirm Electrical safety: no frays, secure connections, and avoid daisy-chaining extension cords. Dry baskets prevent smoking and sticking; wash parts before use. Use parchment or a light spray of oil sparingly to keep breading crisp, and choose a basket size that lets air circulate for even browning. Keep a timer and a trivet or plate nearby for resting finished strips. These prep steps make cooking smoother and safer, so you’ll get consistent, kid-approved results.
Step-by-Step Cooking Instructions
First, you’ll prepare and cut the chicken into even strips so they cook through. Then you’ll season and bread them for a crisp, flavorful coating. Finally, you’ll air fry at the right temp and finish with a quick rest or toss in your favorite sauce before serving.
Prepare and Cut Chicken
Trim the chicken of any excess fat and pat the breasts dry to help the breading stick, then slice into even strips about 3/4-inch thick so they’ll cook quickly and evenly—thinner pieces crisp faster, thicker ones stay juicier. Check for bone removal and do any skin scoring if present; those steps help the texture and safety as you cut. Use a sharp knife and hand, slicing against the grain for tenderness. Aim for uniform pieces so cooking time stays predictable.
- You’ll feel proud when every strip looks the same.
- Kids light up at golden, evenly cooked pieces.
- You’ll relax knowing there are no hidden bones.
Pat strips more, rearrange on a tray, and keep them cold until you’re ready to proceed.
Breading and Seasoning
Coating the strips is where flavor and crunch come together, so set up a three-bowl station: seasoned flour (salt, pepper, a little paprika), whisked eggs with a splash of milk, and panko mixed with grated Parmesan and a pinch of cayenne. Pat each strip dry, dredge in flour, shake off excess, dip in egg, then press into panko so crumbs adhere. Let coated pieces rest briefly on a rack; this helps the coating set. Use your hands to compact panko for even browning and to apply consistent pressure. Think about Crispiness science: particle size, fat surface contact, and an even moisture barrier. For Flavor layering, season each stage—add garlic powder to flour, a dash of hot sauce to eggs, and extra herbs to panko.
Air Frying and Finishing


Before you load the basket, preheat your air fryer to 400°F (200°C) so the coating starts crisping the moment the strips hit the heat; you’ll get a noticeably crunchier result. Arrange strips in a single layer, don’t overcrowd, and spray lightly with oil to encourage surface browning. Cook 6–8 minutes, flip once halfway, checking for golden color and 165°F internal temp. Rest briefly to allow moisture retention and let coatings set.
- Joy — that first crunchy bite.
- Pride — you nailed perfect color.
- Cheers — kids clapping for more.
If strips vary in size, adjust time slightly; smaller pieces finish faster while thicker ones need extra minutes at times. Finish with a quick squeeze of lemon or extra seasoning. Serve immediately for best texture.
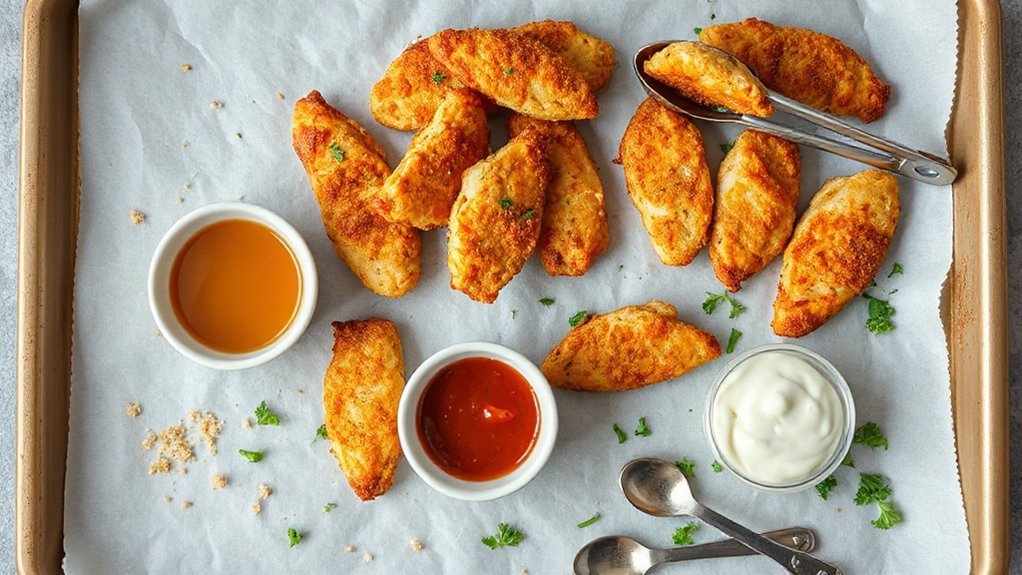
Three Kid-Approved Dipping Sauces
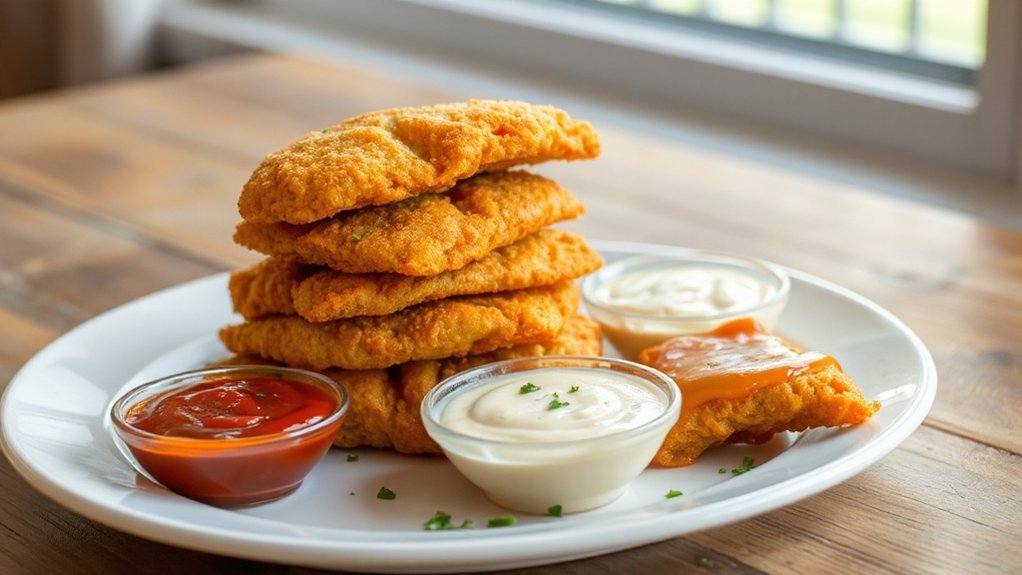
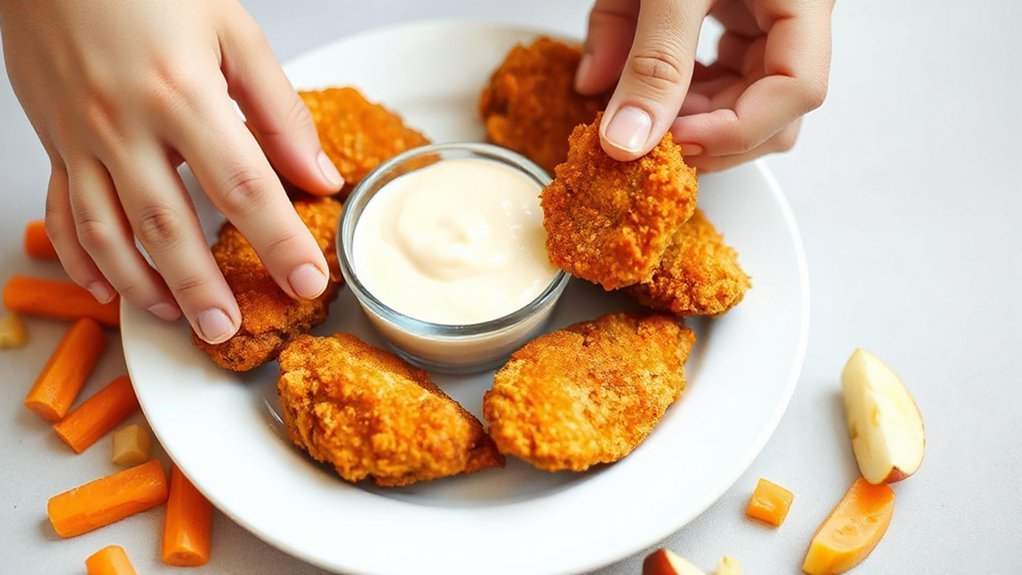
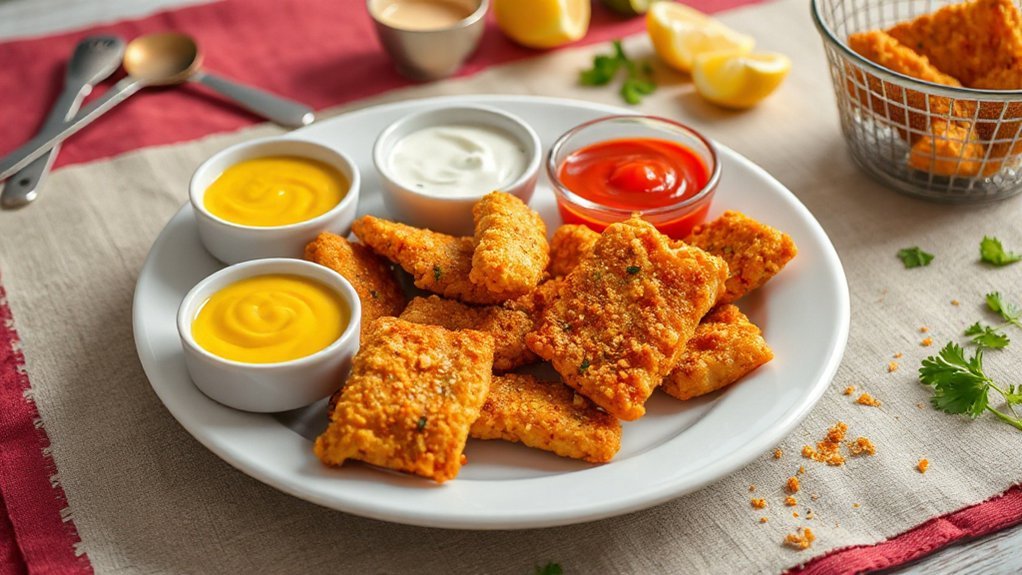
How about three simple, kid-approved dipping sauces that’ll make your air-fried chicken strips disappear fast? You’ll love these: tangy honey-mustard, smoky barbecue-yogurt, and creamy sweet chili. Each sauce comes together in minutes with pantry staples, so you can turn Taste Testing into a fun Mealtime Rituals moment—let kids dip and vote. For honey-mustard, stir equal parts honey and Dijon with a splash of lemon. For barbecue-yogurt, mix plain Greek yogurt with a few tablespoons of your favorite BBQ sauce for tang and creaminess. For sweet chili, blend sweet chili sauce with a touch of mayo to tame the heat for little mouths. Serve all three warm or chilled, and arrange them in small bowls for quick grabbing. You’ll create variety without fuss, and those crispy strips will vanish as kids dip, taste, and ask for seconds. Keep extra sauce on hand for dipping and casual after-school snacking, too.
Tips, Swaps, and Dietary Tweaks
Although the basic recipe works great as written, you can tweak it easily to suit allergies, preferences, or pantry limits. You’ll keep crunchy, juicy results while adjusting coatings, spices, or timing so picky kids or dietary needs don’t derail dinner. For gluten-free swaps, use almond or oat flour and certified gluten-free panko; for dairy-free, swap plant milk for the egg wash. Use budget strategies—buy bulk chicken, freeze portions, and rotate cheaper spices—to feed hungry households without stress. Mind feeding schedules when you plan so crispness lines up with kids’ appetites. Small swaps keep flavor bold: smoked paprika for warmth, lemon zest for brightness, a touch of honey for sticky smiles. Pick what fits your family and confidence—start small, taste, and adjust.
Tweak coatings and spices for allergies, budgets, and picky eaters—small swaps, big smiles.
- Delight: kids rave and ask for seconds.
- Relief: less waste, more predictable dinners.
- Pride: you nailed a healthier, happy meal. Enjoy.
Serving, Storage, and Meal Prep

Portion your chicken strips into meal-sized batches and plate them with favorite dipping sauces and quick sides so you can serve fast. Let them cool briefly on a wire rack, then refrigerate in shallow, airtight containers to chill quickly and stay safe. For make-ahead meals, reheat in the air fryer to restore crunch and pack into grab-and-go containers for busy days.
Portioning and Serving Tips
When you’re serving air fryer chicken strips, aim for even pieces so they reheat uniformly and look appealing on the plate. Think about kid preferences and clear allergy labeling—write names on containers and call out nuts or dairy so everyone feels safe and excited. Portion by appetite: smaller hands get three to four strips, teens and adults get five to seven. Use colorful platters and small bowls for the three sauces to make dipping fun.
- Share — make it playful: pass plates family-style to spark smiles.
- Surprise — add a crunchy veggie stick or two for contrast.
- Celebrate — label each sauce and let kids pick favorites.
Serve immediately and watch happy faces. Prep extras for easy weeknight wins and smiles.
Cooling and Refrigeration
After cooking, let your strips cool briefly on a rack so steam can escape, then get them into the fridge within two hours (one hour if it’s hot out) to keep bacteria at bay. Pack strips in shallow, airtight containers so they chill quickly; temperature monitoring matters—aim for refrigerator temps below 40°F (4°C). Label containers with date and time so you use them within 3–4 days. For Odor control, seal sauces separately and tuck a small baking soda box or an odor-absorbing packet in the fridge, and avoid overstacking containers which traps heat and smells. Reheat only the portion you’ll eat, and check for odd smells or sliminess before warming. If anything seems off, err on the side of safety and toss it immediately.
Make-Ahead Meal Prep
Batch-cooking chicken strips lets you grab quick, tasty meals all week without scrambling at dinnertime. You’ll cook once, portion, and use Weekly Planning to map lunches, dinners, and snacks. Cool strips, then refrigerate up to 4 days or freeze for 2 months. Reheat in the air fryer to revive crispiness.
- Save time: Time Batching your prep frees evenings and reduces stress.
- Kid joy: Portable strips make smiles and fewer food fights.
- Flex meals: Mix sauces, salads, or wraps for variety.
Label containers with dates and serving sizes. Pack school lunches the night before. With smart storage and simple reheating, you’ll serve hot, crunchy chicken strips that feel freshly made every time. Rotate menus weekly to keep everyone excited and always satisfied.
Conclusion
You’ll love how easy these air fryer chicken strips and three kid-approved sauces make weeknight dinners. You’ll get crispy, juicy strips with minimal oil, and the dips—honey mustard, BBQ ranch, and tangy yogurt—keep picky eaters happy. Picture your kiddo proudly dipping a golden strip at dinner and asking for seconds; we see that at our house every Friday. Keep leftovers for lunches, and you’ll thank yourself every time.