You’ll get juicy, crackling-skinned drumsticks in about 25 minutes using just a tablespoon of high‑smoke‑point oil, a light dusting of cornstarch or baking powder, and a simple salt‑pepper‑paprika‑garlic rub. Preheat your air fryer to 400°F (200°C), give the drumsticks space in a single layer, flip once at 10–12 minutes, and pull at 165°F (74°C). Rest 5 minutes, serve with a squeeze of lemon, and keep going to pick up pro tips and helpful storage tricks.
Why Use an Air Fryer for Drumsticks
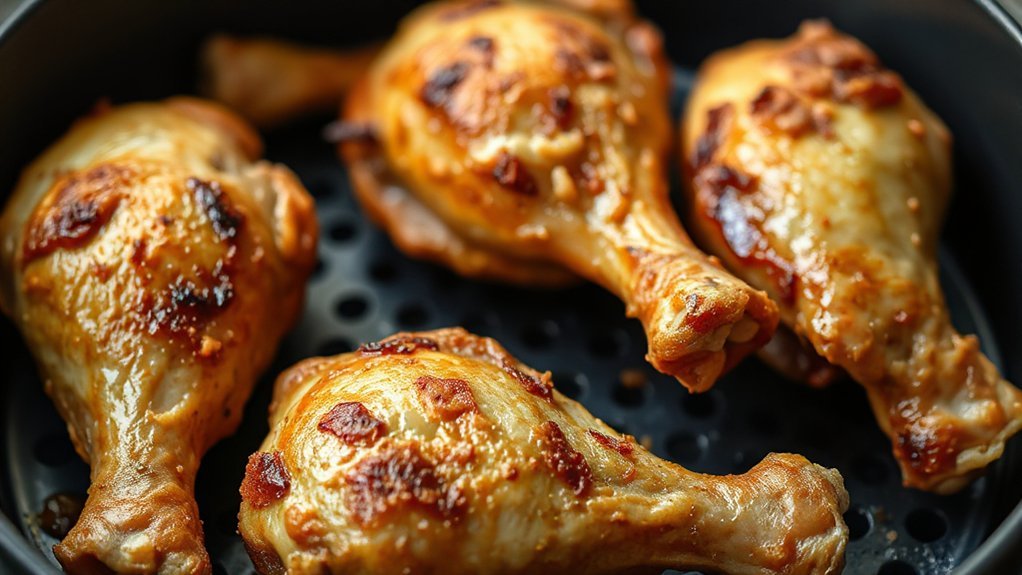
Crisping chicken drumsticks in an air fryer gives you juicy meat and crackling skin without deep-frying. You’ll get consistent results fast: the circulating hot air browns skin evenly and seals juices, so every bite’s satisfying. An air fryer uses less oil and less energy than traditional ovens and deep fryers, which means lower bills and a smaller carbon footprint—Energy efficiency that matters if you cook often. You’ll save time, too: preheat quickly, cook in one pan, and flip once or not at all. Cleanup takes minutes because removable baskets and nonstick surfaces wipe clean—Quick cleanup that keeps weeknight cooking doable. The unit’s compact size keeps heat in one spot, so your kitchen stays comfortable. You can scale batches, experiment with spices, and trust timing guides without babysitting. Overall, an air fryer makes drumsticks a practical, reliable option when you want crunchy skin, tender meat, and minimal fuss today.
Ingredients You’ll Need

You’ll need a batch of drumsticks (about 6–8 for a standard air fryer), a tablespoon of oil, and basic seasonings—salt and pepper—plus a few flavor boosters like paprika, garlic powder, and a pinch of baking powder if you want extra-crispy skin; optional add-ins include cayenne or smoked paprika for heat, dried herbs for earthiness, and a squeeze of lemon or a quick BBQ glaze to finish. Beyond those, you’ll want a neutral oil with a high smoke point (canola, vegetable, or avocado), a small bowl of cornstarch for extra texture, and paper towels for patting the skin dry. All items are pantry staples or easy to grab on a budget. If you’re missing something, I’ll note substitution options: use onion powder for garlic powder, regular paprika instead of smoked, or omit baking powder and accept slightly less-crisp skin. Simple, flexible, and grocery-friendly. Ready to shop and get cooking.
Preparing and Seasoning the Drumsticks
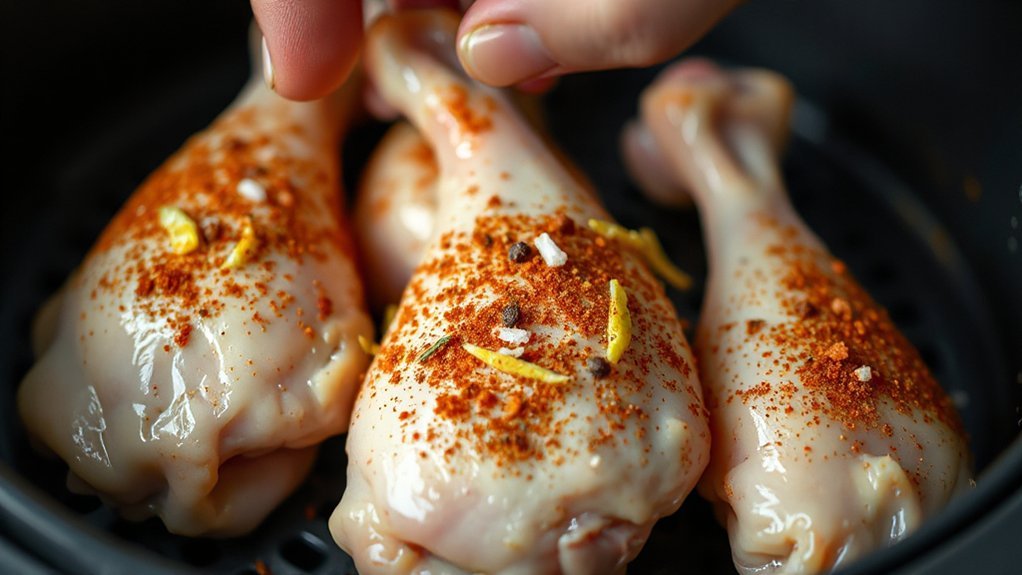
Pat the drumsticks dry with paper towels so the skin crisps up in the air fryer. Then rub them with a little oil so the spices stick evenly. Try a simple blend of salt, pepper, garlic powder and paprika, or switch it up with cayenne, brown sugar and smoked paprika for a spicy-sweet kick.
Pat Dry First

Removing excess moisture helps the skin get crispy and lets seasoning stick better, so grab some paper towels or a clean kitchen towel and press each drumstick dry. Pat firmly but gently, turning pieces so you remove surface water from all sides; this moisture removal step is quick and dramatic. Lay drumsticks on a wire rack or a plate while you work to avoid pooling. Change towels if they get soaked to maintain good kitchen hygiene and prevent cross-contamination. If you have extra time, chill the drumsticks uncovered in the fridge for 15–30 minutes to further dry the skin. When they’re dry, they’ll brown faster and crisp up inside the air fryer, giving you reliably crunchy results every time. You’re all set to cook.
Seasoning Blend Ideas
How bold do you want the flavor? Start simple: toss drumsticks with oil, salt, pepper, and a straight-forward rub—paprika, garlic powder, onion powder, and a pinch of brown sugar—for everyday comfort. If you crave herbal tang, use a Za’atar Mix with lemon zest and olive oil; press it into skin for a fragrant crust. For heat and island flair, coat with a Jerk Blend, lime juice, and a touch of honey to balance spice. For crisp skin, don’t overload with wet marinades; pat dry after marinating and let rest briefly at room temperature. Mix and match small batches to discover favorites, then scale up. Label blends so you repeat winners without guessing. Keep staples on hand: smoked paprika, cumin, thyme, chili flakes, and salt.
Air Fryer Cooking Steps
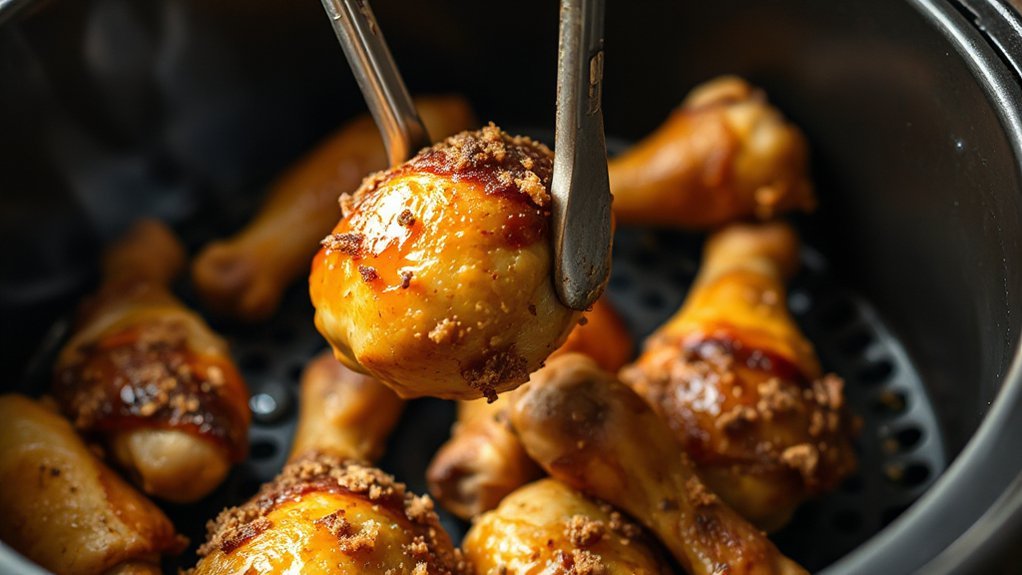
Preheat your air fryer to 400°F (200°C) so the drumsticks get a crisp, golden skin from the start. Pat the drumsticks dry, rub them with your seasoning blend, and let them sit five minutes while the basket heats—this Preheat timing gives a head start. Arrange drumsticks in a single layer without overcrowding so air circulates.
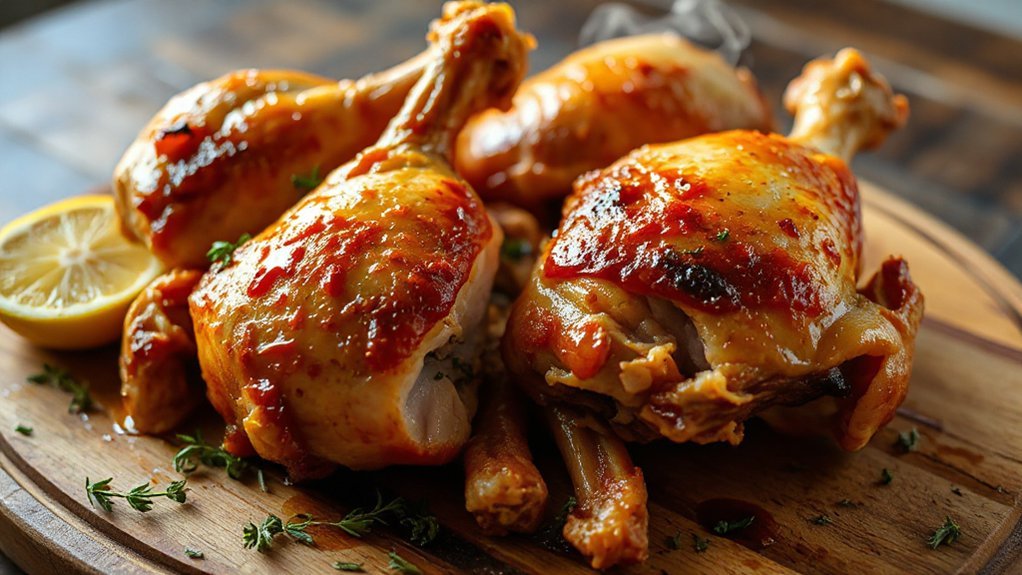
Set the timer for 22–25 minutes. At about 10 minutes, open the basket and flip each drumstick—maintain a consistent Flip frequency of once halfway through for even color. Close the basket and finish cooking; check internal temperature at the thickest part, aiming for 165°F (74°C).
If some pieces finish early, remove them and let the rest continue. Let the drumsticks rest five minutes before serving to redistribute juices. Serve hot with your favorite sides. You’ll adjust cook time slightly for larger or smaller drumsticks, but always rely on a thermometer for safety, first.
Tips for Extra Crispy Skin
When you want restaurant‑worthy crunch, focus on three simple things: get the skin as dry as possible, coat it lightly with oil (or a high‑smoke-point spray), and toss in a pinch of baking powder to encourage browning and extra crisp. Pat the drumsticks dry with paper towels and let them air in the fridge uncovered for 30–60 minutes when you can; that concentrates flavor and promotes a crisp finish. Use a neutral oil with a high smoke point and evenly rub or mist so heat distributes. The baking powder raises pH slightly and speeds the Maillard reaction for deeper color. Space pieces in the basket so hot air circulates; don’t crowd. Flip once midway to crisp both sides. Think about Texture psychology: a crunchy exterior and juicy interior make eating feel satisfying. Taste and adjust seasoning after cooking, not before, to avoid drawing moisture and enjoy immediately, confidently.
Serving Ideas and Storage Guidelines
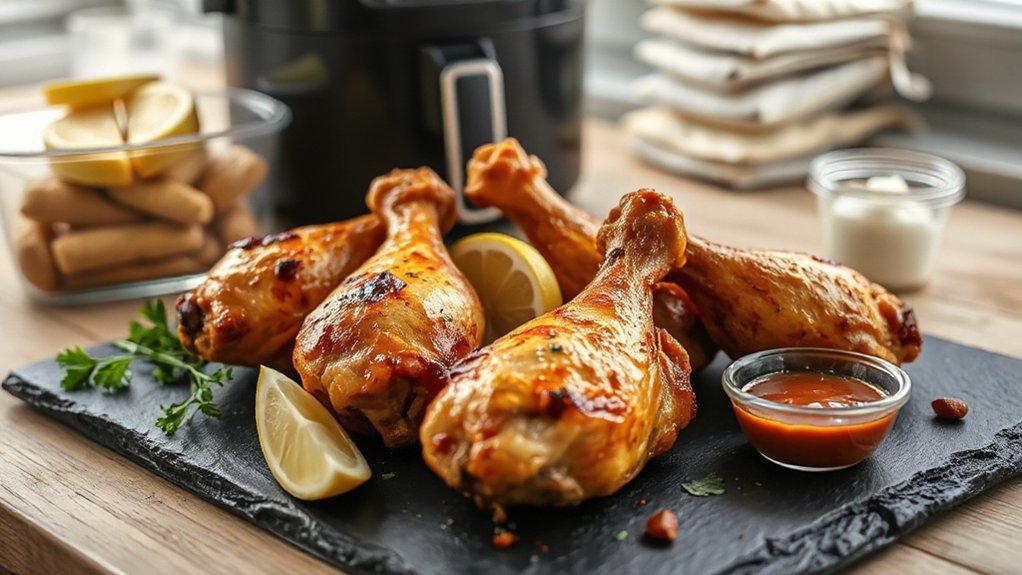
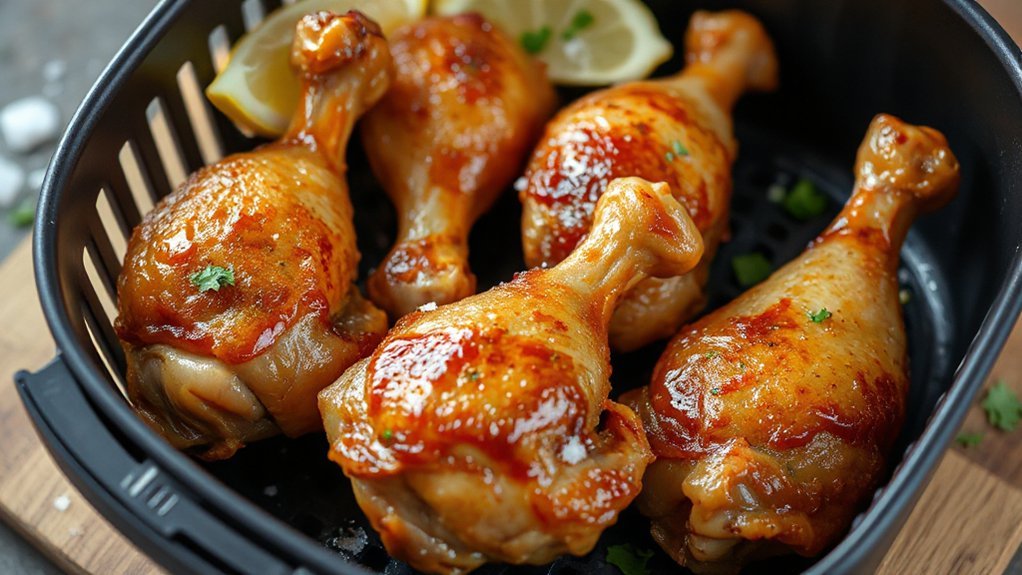
Because you’ve got crispy, juicy drumsticks, pairing them right and storing leftovers smartly makes all the difference: serve them with fresh sides like a zesty slaw, roasted veggies, or garlic mashed potatoes, offer dipping sauces (hot honey, ranch, or chimichurri), and finish with a squeeze of lemon and chopped herbs for brightness; if you’ve got extras, cool them to room temperature, refrigerate in an airtight container within two hours, and reheat in the air fryer at 350°F (175°C) for 5–8 minutes to restore crispness. Keep portions simple: two drumsticks per person with a salad or rice. For guests, arrange on a platter with lemon and herbs—plating suggestions that pop. Offer sauces for dipping. For leftovers, slice or store whole, label containers and follow refrigeration timelines: use within 3–4 days or freeze up to 2 months. Reheat in the air fryer at 350°F (175°C) until 165°F (74°C) for safety.
Conclusion
You’re ready to turn simple drumsticks into crispy, budget-friendly dinners that feel a bit like discovering gold. With an air fryer and these straightforward steps, you’ll nail golden skin and juicy meat every time, no fuss. Keep the seasonings bold, the temp high, and don’t crowd the basket. Serve hot, stash leftovers smartly, and enjoy praise for food that’s quick, cheap, and dangerously delicious—like a kitchen Midas touch. You’ll be everyone’s weeknight hero for sure.