
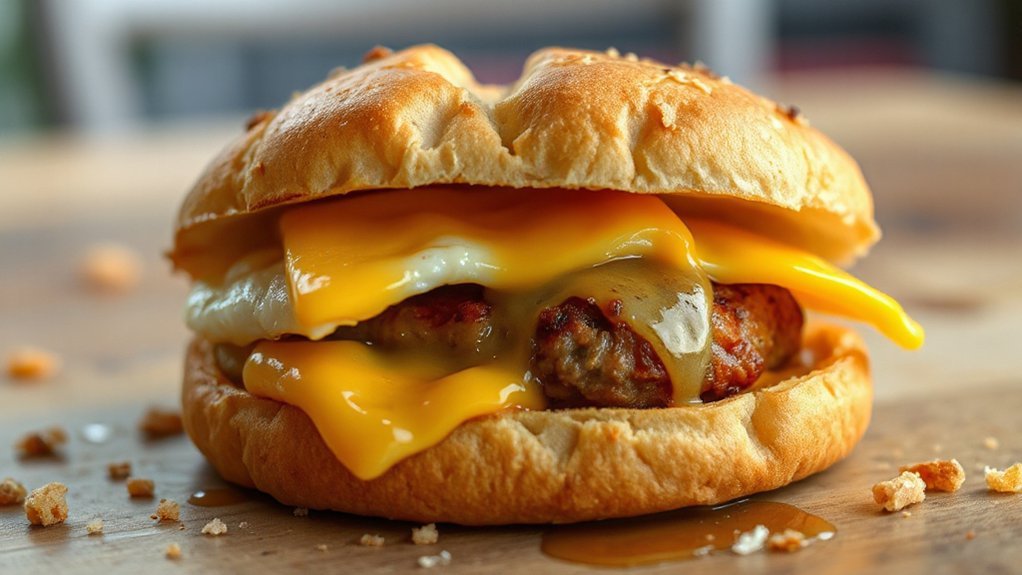
You can make an air-fryer breakfast sandwich that crisps like a pro and beats McDonald’s: toast a buttered English muffin, cook an egg in a ring for perfect shape, add melty cheese and crisp breakfast meat, then air-fry briefly at 350°F to meld and re-crisp. Use thin condiment layers, pre-toast bread, and keep wet ingredients separate until assembly to avoid sogginess. Stick with these steps and you’ll want this every morning—keep going for more tips.
Ingredients You’ll Need
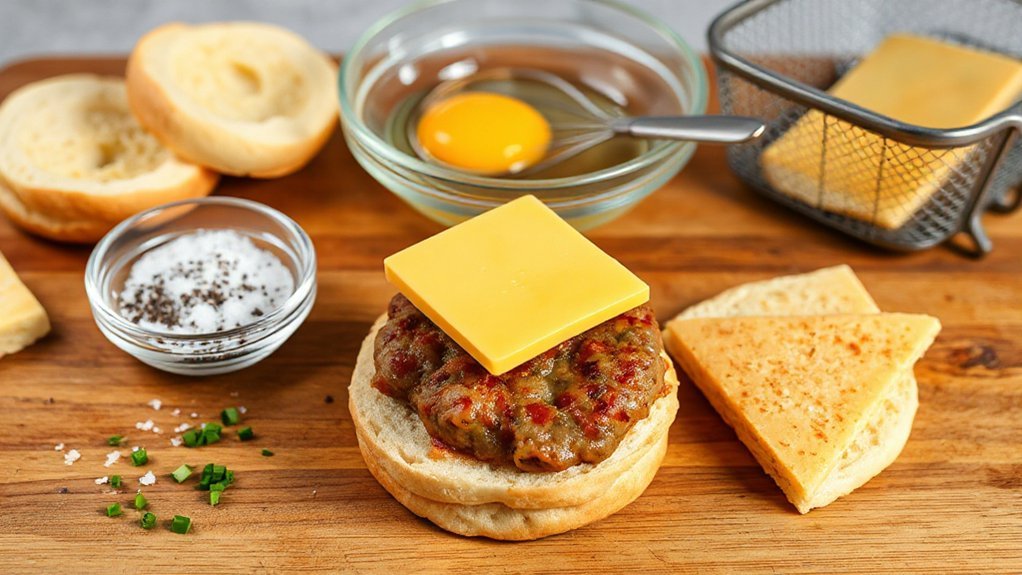
Pantry check: you’ll need a few simple staples to make this sandwich come together—English muffins (or bagels), eggs, your favorite cheese, and cooked breakfast meat like bacon or sausage. Add a few extras: butter or mayo, a pinch of salt and pepper, and an optional slice of tomato or spinach for freshness. For cheese, pick a melty variety—American, cheddar, or pepper jack—so it gooey-ifies in the air fryer. Buy quality cooked meat or cook and chill it ahead; frozen patties work too. When you shop, think ingredient sourcing: local markets and trustworthy brands make a difference in flavor and safety. Check dates and packaging to confirm shelf stability for items you won’t use immediately, like English muffins and sealed meats. Keep perishable items refrigerated. With these ingredients on hand, you’ll build a faster, tastier breakfast sandwich than any drive-thru. You’ll save money and customize every bite with ease.
Equipment and Prep

Now that you’ve got your ingredients, grab a handful of simple tools so breakfast comes together fast: an air fryer (obviously), a small bowl and whisk or fork for beating eggs, a silicone egg ring or ramekin if you want perfectly shaped eggs, tongs or a spatula for flipping, a butter knife, and a plate for assembling. Clear a Workspace layout: keep the air fryer at the center, bowl and utensils on one side, plate and bread on the other, and condiments nearby. Run a quick Safety checklist before you start: check the fryer basket is dry, plug is secure, handles aren’t loose, and heatproof mitts are ready. Pre-measure spices, slice cheese, and butter your bread so you’re not scrambling mid-cook. Line a small towel under the plate to absorb spills. You’ll move smoothly, avoid burns, and finish assembly in record time. Then set a timer and relax.
Cooking the Perfect Egg

You’ll pick your egg—fried, scrambled, or folded—based on the texture you want and how it’ll stack in the sandwich. Season simply with salt and pepper, and toss in cheese or herbs if you’re feeling fancy. In the air fryer, eggs usually cook at 325–350°F for about 6–10 minutes depending on style and doneness, so tweak time for runny yolks or firmer whites.
Egg Type Choices
The egg you pick sets the whole sandwich’s personality, so choose wisely. You can go classic with a fried-over-easy for a runny center, over-medium for a slightly set yolk, or fully set if you like no mess. Scrambled gives pillowy texture that grabs cheese; folded omelet-style keeps things neat. Consider yolk firmness when planning bite dynamics—soft yolks add sauce-like richness, firm yolks hold up with crispier bread. Think about egg sourcing too: farm-fresh or pasture-raised eggs often have brighter flavor and sturdier whites, which helps in quick air-fryer timing. Try a few types to match your bread and fillings, then stick with the combo that balances texture, richness, and clean assembly. You’ll nail your signature sandwich every time with minimal fuss and maximum flavor.
Seasoning and Salt
If you want reliably flavorful eggs, think about salt like a timing tool as much as seasoning: for scrambled or beaten eggs, salt them while you whisk (about 1/8–1/4 teaspoon per two eggs) so the proteins relax and the curds stay tender; for fried, poached, or sandwich-ready set eggs, salt right toward the end so you don’t draw out moisture and make whites rubbery. You’ll also play with pepper, a pinch of smoked paprika, or a whisper of chive to layer flavor without overpowering. Understand basic salt chemistry — it alters protein structure and flavor perception — and don’t obsess over iodized controversy; use what you like, but taste as you go. Trust your palate and adjust before assembly. Small tweaks make every sandwich sing with confidence.
Cooking Times & Temps


Because eggs respond to heat more than time, you’ll want to think in temperature bands rather than a single fixed minute count: low-and-slow (around 300–325°F) gives tender, custardy scrambled or gently set sandwich eggs in about 6–10 minutes; mid-range (about 350°F) firms whites and yolks more quickly in 4–6 minutes for reliably portable, sliceable rounds; and high heat (375–400°F) speeds things up but risks tight, rubbery whites unless you watch closely and pull a bit early. You’ll use residual heat to finish carryover cooking—reduce air fryer time and rest 30–60s. Also account for altitude adjustments: higher elevations need higher temperature or longer time. Tips:
- Low temp: gentle, custardy eggs.
- Mid temp: dependable, sliceable rounds.
- High temp: fast, watch for rubbery whites.
Toasting the English Muffin

Toasting your English muffin in the air fryer gives you a quick, even crunch that keeps the inside soft — and you’ll love how fast it browns. Split the muffin, then use a light scoring pattern on the cut sides to expose more surface area; that helps predictable browning and better crumb control so crumbs don’t blow around the basket. Brush each half with a touch of butter or oil for flavor and shine, but don’t soak them. Preheat the air fryer to 375°F (190°C) for a minute, then place the halves cut-side up for 3–4 minutes, checking at 2:30 to avoid overbrowning. For extra crispness flip them halfway through for 1 minute. You’ll get uniform color and tiny toasted pockets that hold sauces or egg juices later. Let the muffins rest briefly; they finish crisping as they cool. Serve promptly for best texture and warm, satisfying bites.
Building and Air Frying the Sandwich
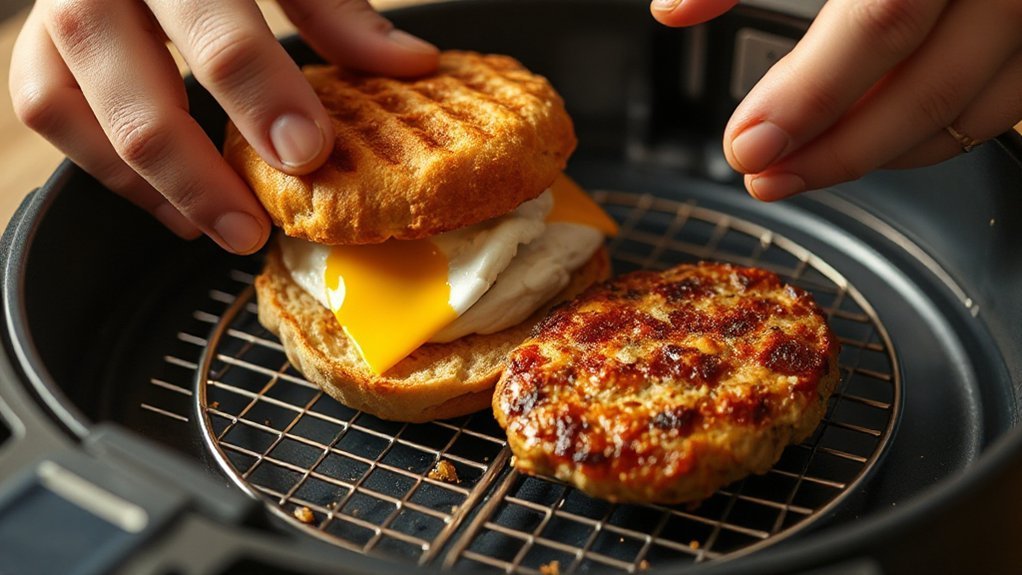
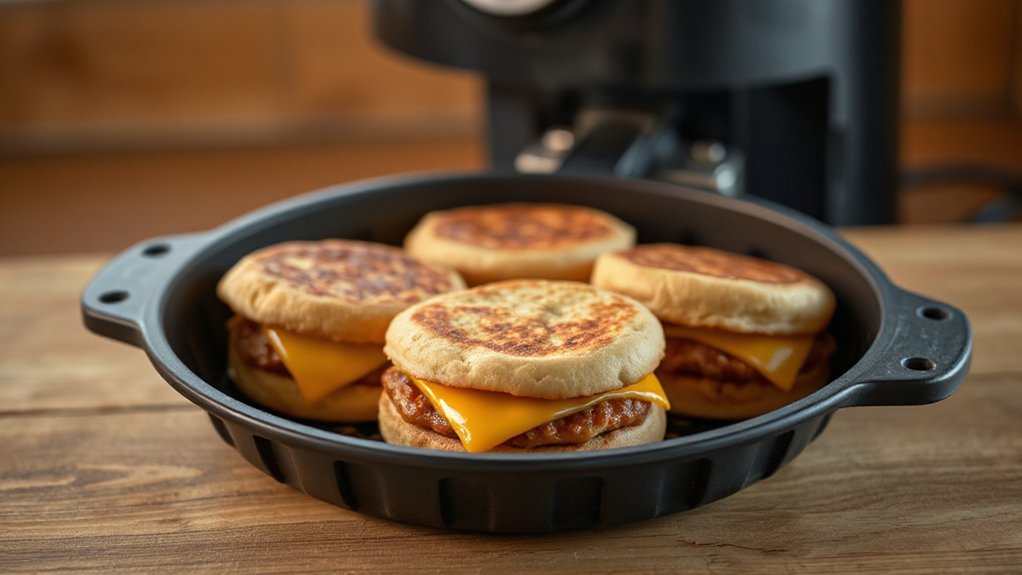
Grab your toasted muffin halves and lay everything out so assembly goes fast — a smear of sauce, a slice of cheese, your hot egg and meat, then the top muffin. You’ll follow a clear stacking sequence: sauce, cheese, egg, meat, top. Keep builds compact so they heat evenly. Slide sandwiches into the air fryer with the same intentional basket arrangement you used for toasting; snug but not crowded. Set 350°F for 4–6 minutes, checking at the 3-minute mark so cheese melts and egg finishes without overbrowning.
- Assemble with the cheese directly on the warm egg for best melt.
- Place meat slightly offset to avoid steam pockets.
- Leave a little gap between sandwiches for airflow.
When you remove them, let them rest 30–60 seconds — the fillings settle and slicing is cleaner. Serve immediately and enjoy that restaurant-style bite you made at home. You’re going to love it.
Tips for Crispy, Non-Soggy Bread
Want a crunchy, non-soggy breakfast sandwich? Toast your bread before assembling to create a moisture barrier and give it extra crisp. Pat wet fillings (like tomatoes or runny eggs) dry and you’re better off spreading a thin layer of butter or mayo to help seal in that crunch.
Toast Before Assembling
If you want a sandwich with crisp, non-soggy bread, give the slices a quick pre-toast in the air fryer so they form a dry, golden shell that stands up to eggs, cheese, and sauce. You’ll crisp both sides for better Flavor development and superior Presentation aesthetics; the toasty barrier keeps textures distinct and adds a nutty note. Set the air fryer to 350°F (175°C) and toast 2–4 minutes per side until lightly golden. Don’t overbrown — you want a shell that resists steam without tasting burnt. After toasting, let slices rest on a rack for a minute so residual heat won’t create sogginess. Assemble right before serving to keep crunch.
- Butter lightly for browning
- Toast from frozen always
- Cool on a rack, stay crisp
Avoid Wet Fillings
After you’ve crisped the bread, protect that crunch by keeping wet ingredients off the slices until the last moment. You’ll layer smart: spread sauces on inner faces of top pieces or use a thin smear so they don’t soak through. Use condiments sparingly and think about condiment containment — a small dollop in the middle won’t run like a slathered edge. Add structural barriers: a slice of cheese, a lettuce leaf, or even a thin tomato slice pat-dried with paper towel will block moisture. Assemble just before eating so steam from eggs or sausage won’t soften the toast. If you prep ahead, keep wet components separate and pack them in small containers. Quick assembly preserves texture and keeps your air fryer breakfast sandwich crisp.
Make-Ahead and Meal-Prep Strategies

Because mornings are chaotic, prepping components ahead lets you grab a hot, tasty sandwich in minutes—cook and chill eggs in a batch, toast or par-bake buns so they crisp quickly, portion out cooked bacon or sausage, and keep cheese slices ready; assemble same-day or wrap fully for freezing and reheat in the air fryer for best texture. Use Batch Freezing to store individual sandwiches or components on a tray, then bag them; a simple Labeling System (date, contents, cook time) saves guesswork and prevents freezer mystery meals. When you’re ready, pop frozen sandwiches straight into the air fryer at moderate heat until heated through and the bun re-crisps. Keep components in the fridge 3–4 days; freeze up to 3 months. Quick tips:
- Layer items separately when freezing to maintain texture.
- Portion proteins for faster assembly.
- Reheat from frozen in the air fryer for best results.
Variations and Flavor Boosters

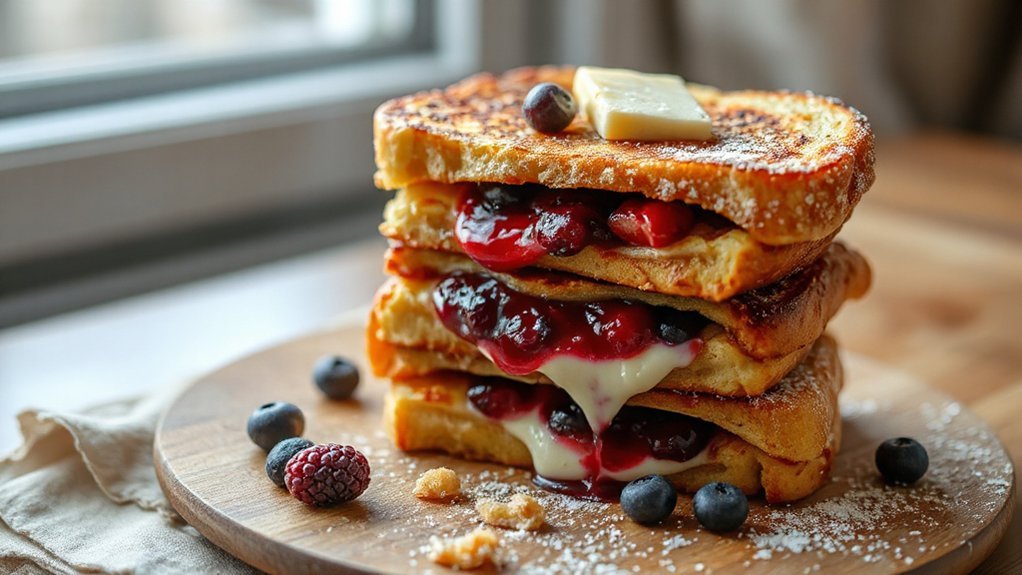
How do you take a great breakfast sandwich and make it unforgettable? Start by swapping proteins: turkey sausage, spicy chorizo, smoked salmon, or a miso-glazed tofu patty elevate texture and flavor. Use Global inspirations—kimchi for heat and crunch, za’atar for herbaceous notes, or curry mayo to brighten each bite. Play with cheeses: aged cheddar for tang, halloumi for chew, or a silky brie slice. Don’t forget Sweet pairings like apple butter, fig jam, or maple-drizzled bacon to create contrast. Toast or butter the bun in the air fryer for crisp edges, and finish with a sprinkle of flaky salt, fresh herbs, or pickled onions. You can build breakfast bowls from the same components or turn leftovers into a loaded breakfast burrito. Keep toppings separate if you’re meal-prepping, and mix combos fast on busy mornings. Experiment boldly—you’ll discover combos that beat fast food every time. Enjoy creative mornings ahead.
Conclusion
You’ll finish knowing you can beat fast food every morning: one flip in the air fryer and you’re rewarded with a golden, melty sandwich that’s faster and fresher than drive‑thru. I once made one for a friend who declared it ‘better than Sunday brunch’; like a 68% study showing people prefer homemade, that moment felt like a tiny sunrise—bright, guaranteed, and worth getting up for. Every bite trains your kitchen confidence — you’ll savor each morning.


