We’re fixin’ to make your weeknight cooking easier—no fuss, no guesswork. We’ll show how a compact countertop cooker moves hot air faster than a conventional oven, so you drop the temperature about 25°F and shave roughly 20% off the time.
That means juicier chicken, crispier veggies, and cookies that don’t burn on the edges. A quick rule of thumb helps you shift oven recipes to your basket with confidence. We’ll give clear pairs of temps and minutes so you can glance, set, and go.
We’ll also explain why small units crisp quicker and when a convection oven can stand in. Little tips—preheat, single layer, check doneness early—make a big difference. Stick with us and you’ll cook smarter, faster, and tastier.
Key Takeaways
- Lower oven temp about 25°F and cut cooking time by ~20%.
- Small units crisp faster—use a single layer for best results.
- Preheat and check doneness early to avoid overcooking.
- Use the paired temp/time examples as quick guides for recipes.
- Convection ovens can mimic results with raised or perforated trays.
Why convert oven recipes for air frying today
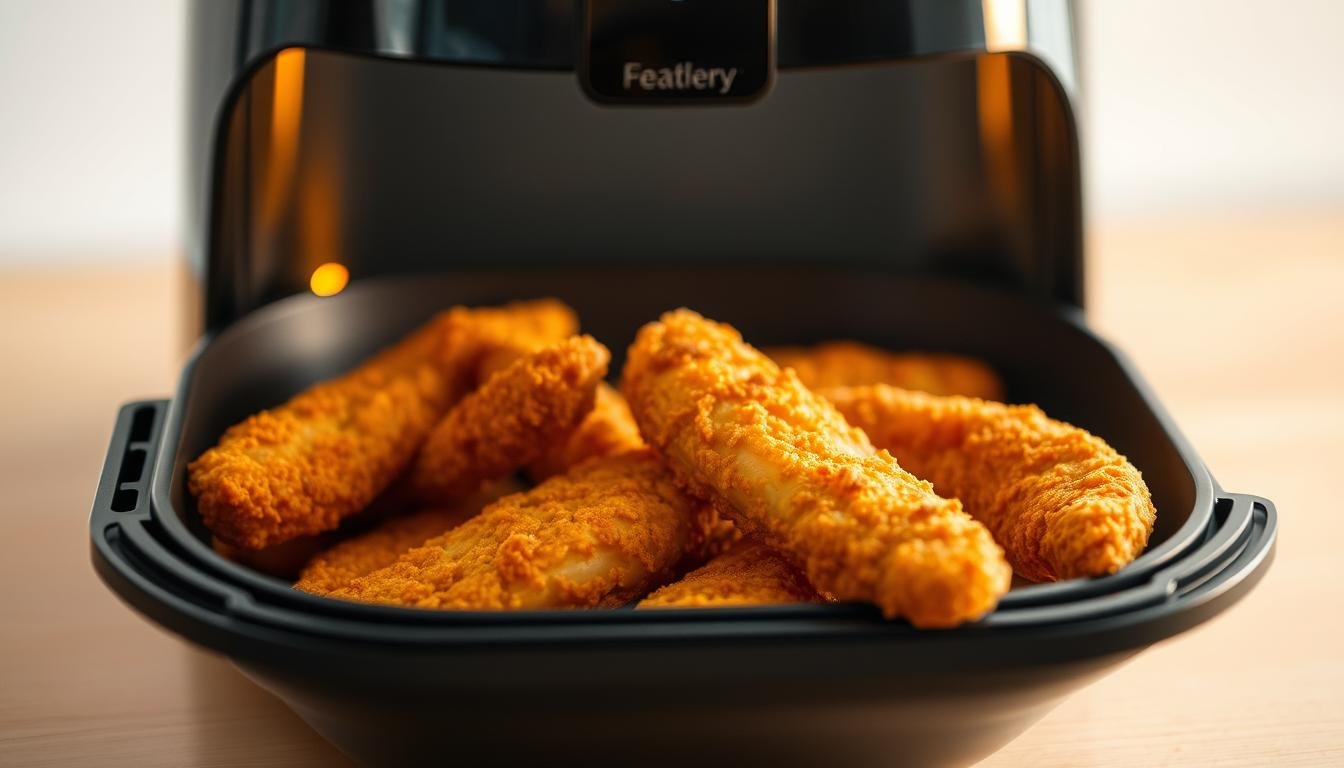
Let’s talk about why so many folks are shifting oven recipes to that little countertop workhorse. We love how a compact air fryer moves hot air fast, giving crisp edges and tender centers with very little oil.
Faster cooking is the big win. You’ll notice shorter preheat and cook times, which means dinner on the table sooner. For busy nights, that matters — more time to sit and chew, less time babysitting the stove.
Health and cleanup are winners, too. A light spray does the job for tasty crunch and fewer calories. No splattering grease, fewer pans, and safer than deep frying.
- Versatile: meats, veggies, and even baked goods hit their stride.
- Efficient: uses less energy than a large oven for small batches.
- Safe: no open flames or popping oil to worry about.
Pro tip from the Instant Vortex crew: drop the temperature a bit and shave 15–20% off the time. Always preheat, don’t overcrowd, and check doneness early so your chicken stays juicy and your fries get crisp.
air fryer conversion chart
Here’s a simple rule to shift oven recipes over so your meals finish faster and crisp up right.
The general rule of thumb: reduce temperature by 25°F (15–20°C)
Drop the oven temperature about 25°F (roughly 15–20°C). That move keeps the outside from overbrowning while the center cooks through.
Cut oven cooking time by about 20–25%
Trim the original cooking time by roughly 20%. For a 30-minute bake, start checking around 24 minutes. For longer bakes, like an hour, expect about 48 minutes.
Quick reference: common oven-to-air pairs
Memorize a couple of swaps: 375°F oven ≈ 350°F in the basket; 400°F oven ≈ 375°F. In Celsius, 175°C often maps to 165°C and 205°C to 190°C.
“Drop the temp, shave the time, and check early — that’s our go-to.”
| Oven (°F / °C) | Basket (°F / °C) | Oven Time → Basket Time |
|---|---|---|
| 300°F / 150°C | 275°F / 135°C | 60 → 48 min |
| 330°F / 165°C | 300°F / 150°C | 45 → 36 min |
| 350°F / 175°C | 330°F / 165°C | 30 → 24 min |
| 425°F / 220°C | 400°F / 205°C | 10 → 8 min |

- Use this as a baseline, then tweak for basket size and how full it is.
- Start checking a few minutes early—better safe than overdone.
How to use an air fryer instead of a conventional oven
Ready to swap your oven routine for a faster, crunchier method that still keeps the middle juicy? We’ll walk you through the simple steps to set up your unit and get reliable results every time.
Convert temperature first, then set your air fryer
Drop oven temp about 25°F before you set air temps. For example, a 205°C oven bake for 15 minutes becomes roughly 190°C for 12 minutes in the basket. Manufacturers recommend lowering the oven temp by ~10–15°C and trimming time by 15–20%.
Preheat the unit — it’s quick and helps with even browning.
Adjust cooking time and start checking early
Cut the original cooking time by about 20% and peek a few minutes early. Single layers crisp best, so avoid crowding. Give wet batters a parchment liner or a solid pan that fits your basket.
Lightly mist with oil and shake or flip halfway for even color.
Verify doneness and crispness before serving
Use a thermometer for proteins and a toothpick for baked goods—trust but verify! If the outside browns too fast, lower the temperature a notch and add a few minutes. For larger convection setups, a perforated or raised tray helps keep hot air moving under the food.

Air fryer cooking times by food type
Let’s pin down practical times for common foods so dinner shows up on schedule and tastes great.
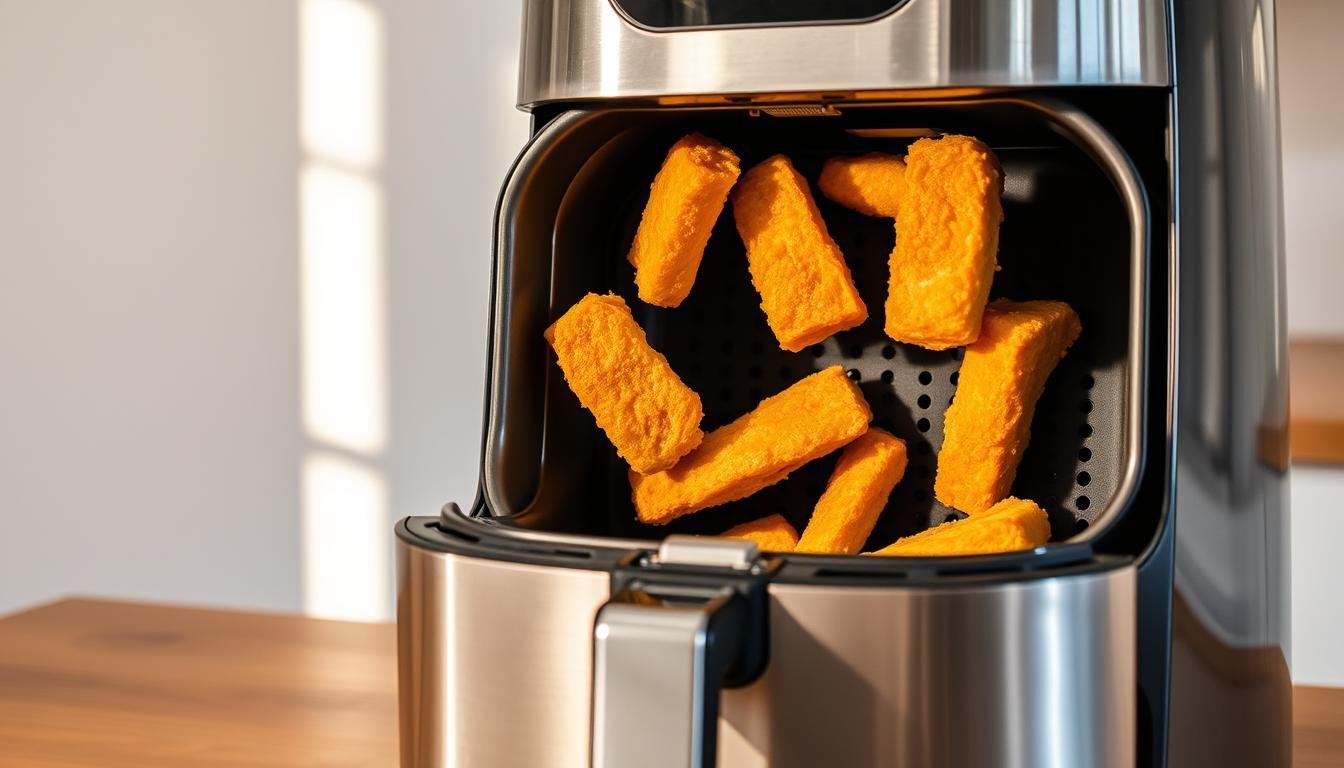
Vegetables, fries, and frozen sides
Veggies and fries do best in a single layer. Toss with a teaspoon of oil, heat, and shake once or twice for even browning.
Frozen sides go straight in — no thawing. Add a couple minutes and listen for that sizzle.
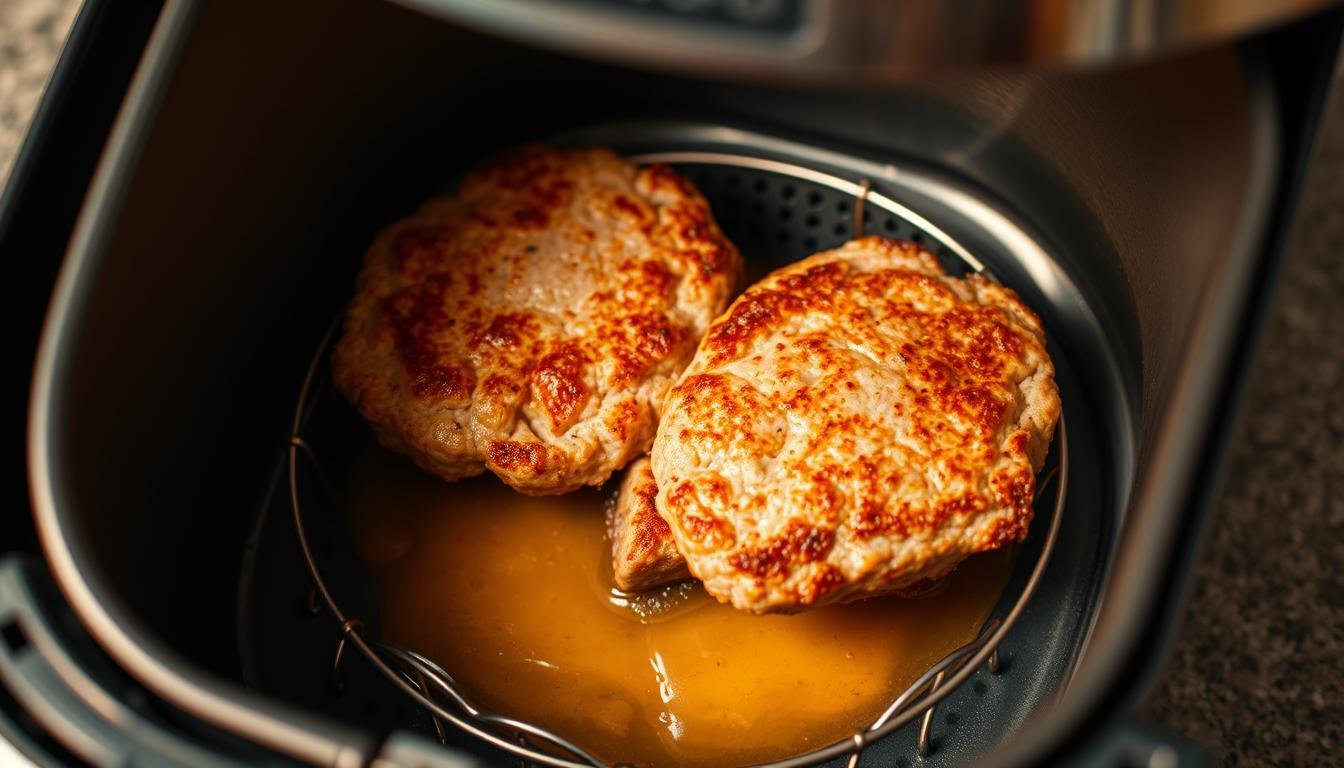
Chicken, pork, and other proteins
Size matters. Cutlets, wings, and tenders finish faster than roasts. Use a thermometer to hit safe, juicy temps.
For larger roasts, reduce the oven time by about 20% and check early. Flip halfway for even color.
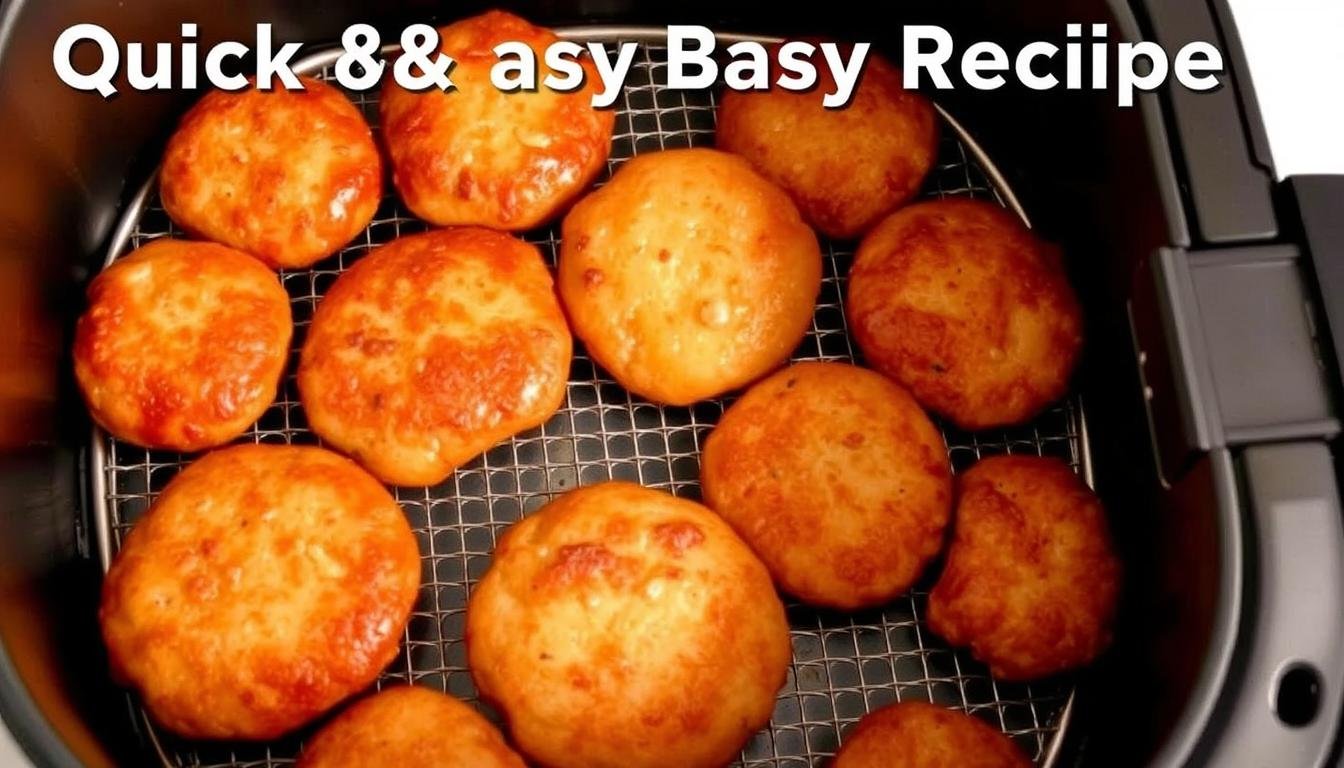
Baked goods and delicate items
Baked treats need gentler heat. Drop the temperature a notch and check a touch early so edges don’t over-brown.
Delicate foods — hand pies, stuffed mushrooms — do best in small batches with space around each piece. Parchment saves cleanup and stops bottoms from scorching.

- Start with our recommended shift, then tweak for your model and basket fullness.
- Keep notes — your own recipe playbook makes repeat cooks foolproof!
Baking in an air fryer: cookies and cakes the right way
Baking in a compact unit calls for a few tweaks so cookies and cakes come out tender and browned just right. We keep things simple — lower the temperature, watch the time, and don’t crowd the basket.
Cookies: Preheat to 350°F (180°C) about 5 minutes. Line the tray with parchment and scoop dough with space to spread. Bake small batches 6–8 minutes until edges are lightly browned, then cool on a rack.
Tips: keep batches small, use a dab of butter or parchment to stop sticking, and if edges brown too fast, lower the temperature a notch and add a minute.
Sponge and chiffon cakes: Use a taller metal pan that fits the basket. Tent batter with foil and poke a few holes so steam can escape. Bake covered, then remove the foil and bake about 5 minutes more to set the top.
Check doneness with a knife or tester — clean means done. Let cakes cool before frosting. For best results, follow Instant Vortex advice: reduce oven temperature by 10–15°C and cut baking time by 15–20% when you set air fryer temps.

- Write down pan size, position, and minutes so your next run is flawless.
Pro tips for consistent results: single layer, a little oil, and airflow

Good gear and a few small habits make every batch turn out the same—crisp, juicy, and on time. We keep things simple so you can cook with confidence and less fuss.
Single layer, shake or flip for even cooking
Cook in a single layer whenever you can. Give foods room so hot air can move all around each piece.
Shake the basket or flip halfway. That tiny move evens color and boosts crispness in less time.
Preheat, use a light oil spray, and avoid overcrowding
Preheat the unit for a few minutes—consistency starts there. A light mist of oil helps with browning without drowning the dish.
Don’t crowd the basket. Too much in one go blocks airflow and steals crisp from your food.
Basket capacity, safe cookware, and regular cleaning
Know your basket capacity. Two small batches beat one jam-packed cook every time.
Use safe metal or silicone pans that fit. Clean baskets and trays often so flavors stay bright and performance stays strong.
- If things brown too fast: lower the temperature a smidge and add a minute or two.
- Write notes: jot temps and time for your favorite fryer recipes — you’ll thank us later!
Oven air fryer vs convection oven: what’s different and when to use each
When you’re choosing between a compact basket unit and a roomy fan oven, the difference isn’t just size — it’s how that hot air hits your food.
Crispness and speed in compact units vs space and versatility
Compact air fryer units push heated air tight around pieces, so edges brown fast and crunch comes quick. That makes them perfect for weeknight snacks and small batches.
Convection ovens give you more room. Big pans and multiple racks fit, so you can cook large roasts or several trays at once. They’re kinder to tall cakes and roomy bakes.
Use perforated or raised trays and adjust time in convection ovens
For the crispiest results in a fan oven, pop foods on a perforated or raised tray so air moves under and around each piece. Keep a single layer — airflow matters everywhere.
Expect slightly reduced time when using convection mode versus a standard bake. A touch of oil helps browning in both appliances. If a recipe calls for an oven, you can switch — lower the temperature a notch and check early.
“Pick the tool that fits your night — quick, crispy bites in the basket or big-family roasts in the oven.”
Air fryer conversion in practice: examples and a calculator you can use
We’ll walk through concrete examples so you can convert an oven recipe without sweat. Keep the general rule handy: drop the temperature about 25°F and trim roughly 20% of the time.
From 375°F oven to 350°F air fryer: timing reduction explained
Let’s put numbers to work. A 375°F oven bake usually becomes about 350°F in the basket.
For a 25-minute oven recipe, shave off about 5 minutes and start checking early. That little check saves overcooking and keeps things juicy.
Turn 60-minute oven recipes into faster air fryer cooks
A 60-minute roast drops to roughly 48 minutes using our rule. Thicker pieces or crowded baskets need a few extra minutes.
Tip: marinated or wet foods may need 1–2 extra minutes for that final crisp. A light spray of oil helps color develop quicker—watch closely and pull when it looks right to you.
- Write quick notes: temps one side, minutes the other—kitchen gold.
- Want precision? A simple calculator that factors temp and duration will fine-tune settings.
“Drop 25°F, cut time by ~20%, and check early — simple wins every time.”
Conclusion
Quick recap: a few small tweaks turn old oven recipes into fast, crispy wins. Use the strong, simple rule — drop temp about 25°F and trim roughly 20% of the time.
Keep airflow in mind. Cook in a single layer, give things a quick shake, and use a touch of oil for color and crunch.
Lean on the conversion chart when you’re in a hurry — glance, set, and go. Check doneness early the first time, then save your best settings so future cooks are foolproof.
We’ve got your back — try these tips tonight and watch your weeknight meals become weekend-worthy in no time!