You’ll get perfectly crispy, golden Mrs. T’s frozen pierogies in about ten to twelve minutes in your air fryer when you preheat to 375°F, arrange them single‑layer with space, and flip once halfway. A light mist of oil helps browning; check at eight minutes and add time if needed. For pillowy centers, lower temp slightly and finish gentle. Try buttered onions and sour cream for topping, keep going for sides, textures and simple troubleshooting tips.
Why Choose Mrs. T’s Frozen Pierogies
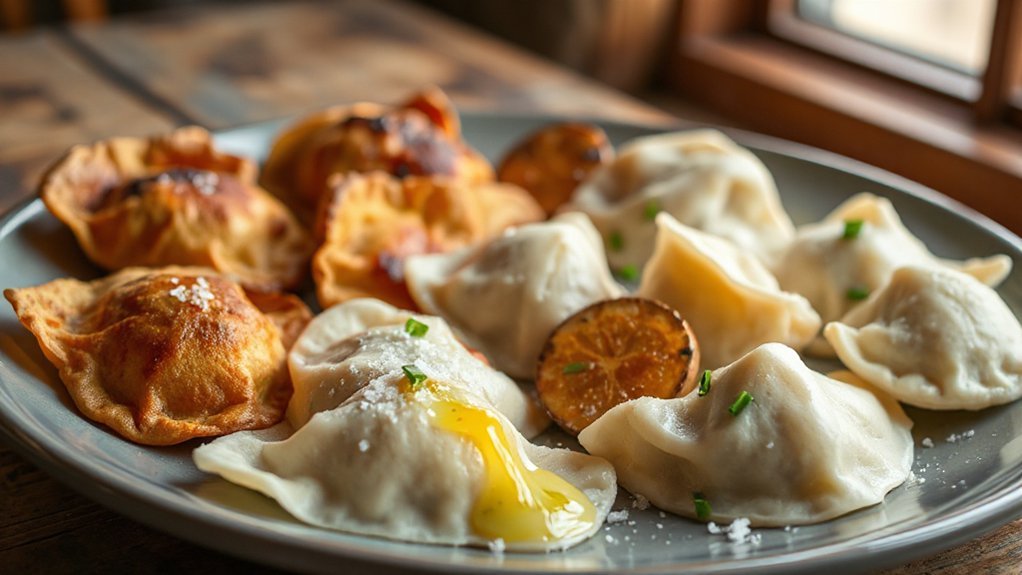
If you want a quick, satisfying meal that still tastes homemade, Mrs. T’s frozen pierogies give you comfort without fuss. You’ll appreciate the brand heritage that shows in recipes handed down and refined for consistency, so flavor feels authentic every time. You get choices—classic potato, cheesy blends, and seasonal varieties—each made with attention to ingredient quality like real potatoes, farm-style cheeses, and simple dough. That focus means fewer surprises and a dependable pantry staple for busy weeknights or relaxed weekends. You’ll like how they cook evenly and hold fillings, delivering the texture you expect without complicated prep. Serving’s flexible: toss them with butter and onions, crisp them for a snack, or pair with soup for a heartier plate. Overall, Mrs. T’s gives you a reliable shortcut to Polish comfort food that respects tradition and uses ingredients you can trust, so meals feel both easy and genuine and satisfying.
Air Fryer Basics for Pierogies
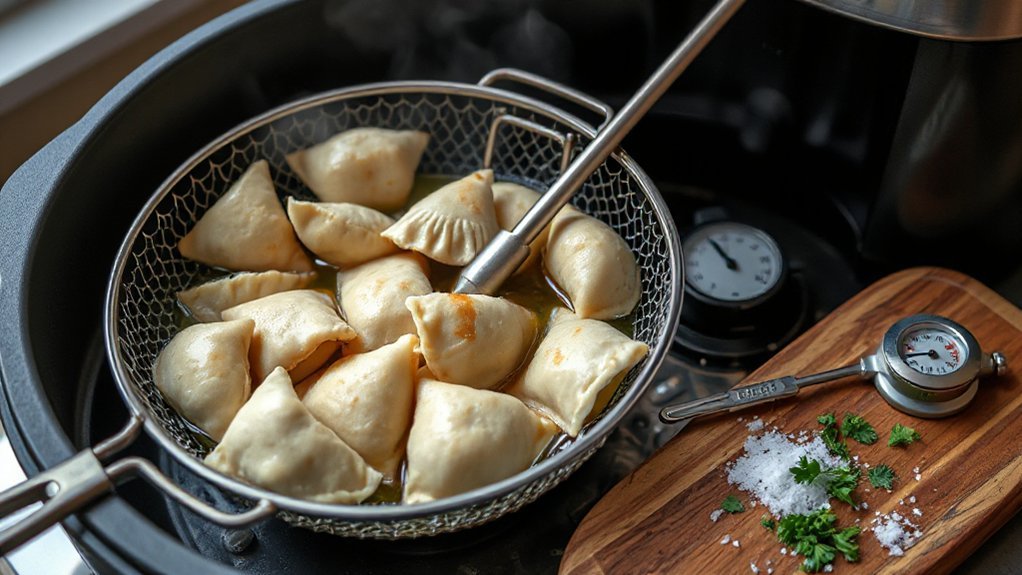
You’ll want to preheat your air fryer to about 375°F so frozen pierogies cook evenly and get crisp. Plan on 10–12 minutes total, shaking or flipping halfway through to achieve golden edges. Don’t overcrowd the basket—leave a little space between each pierogie for proper airflow.
Preheat and Temp Settings
Although air fryers heat fast, preheating for 3–5 minutes at 375°F (190°C) gives frozen pierogies the best chance to crisp evenly right from the start. You’ll set a reliable baseline temperature so each piece hits the same initial heat. Check your unit’s Thermostat Accuracy — some run hotter or cooler than labeled — and adjust the setting if you know yours leans off. Give the basket a quick shake after loading to restore airflow, and avoid overcrowding so hot air reaches every surface. Be mindful of Thermal Recovery: when you open the fryer to add pierogies, it drops temperature, so let the fryer stabilize before expecting full crisp. You’ll thank yourself for always consistent golden edges.
Cooking Time Guidelines
When cooking frozen pierogies in an air fryer, plan on about 10–14 minutes at 375°F (190°C), shaking the basket once or twice to promote even browning. You’ll check for a golden exterior and hot filling around the 10-minute mark, then adjust time by a minute or two as needed. Thicker or denser fillings may require extra time; consider filling density when judging doneness. If you’re at high elevation, make small altitude adjustments — add a minute or two and monitor closely since air fryers can run hotter. Conversely, lower elevations usually stick to the baseline. Always use a quick knife check for steam and center temperature if you’re unsure. These guidelines get you reliably crisp, tender pierogies every batch. Enjoy them hot and fresh.
Flipping and Spacing Tips
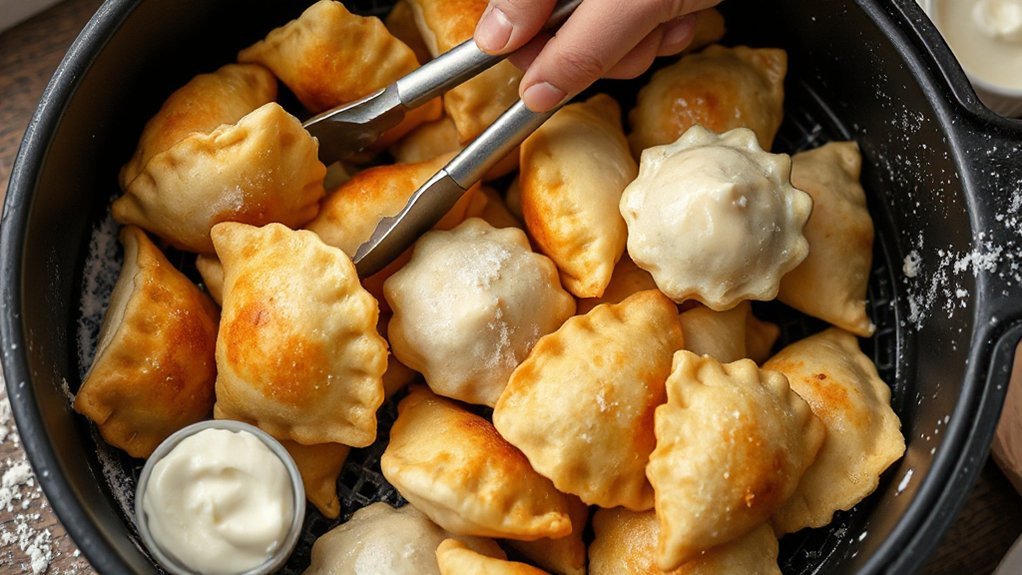
If you want evenly crisp, golden pierogies, give them room to breathe in the basket and flip them once halfway through cooking. You’ll learn quick habits that make a big difference: aim for a single flip rather than constant fussing. That modest turning frequency prevents breakage and keeps filling intact while promoting even browning. Space pieces at least a fingertip apart so hot air circulates; don’t cram a single layer unless you want soggy spots. If you must cook more, do batches, it’s faster overall than rescuing a crowded batch. Use tongs or a spatula for gentle flips and check spacing before starting. These small steps, mindful flip timing and avoiding crowding impact, give you consistent, restaurant-style pierogies every time. Enjoy perfectly crisp results.
Step-by-Step Air Fryer Method
Start by preheating your air fryer so it reaches the right temperature before the pierogies go in. Arrange the frozen pierogies in a single layer with a little space between them so air can circulate. Cook until they’re puffed and golden, shaking or flipping once for even browning.
Preheat Air Fryer
Before you toss the frozen pierogies in, preheat your air fryer to 375°F (190°C) so they’ll crisp evenly. Give the unit a few minutes to reach temperature; many models display indicator signals or beep when ready. Preheating reduces total cooking time and improves texture, and it’ll help you avoid overcrowding or uneven results later. It also optimizes Energy usage by avoiding repeated heating cycles—so you save time and power. If your fryer lacks a preheat function, run it empty for 3–5 minutes at 375°F, watching the indicator light or timer. Stay nearby, follow the manual’s safety notes, and you’ll be set to move on confidently to the next step. This simple prep step makes a noticeable difference in final crispness and consistency every time.
Arrange Pierogies Evenly
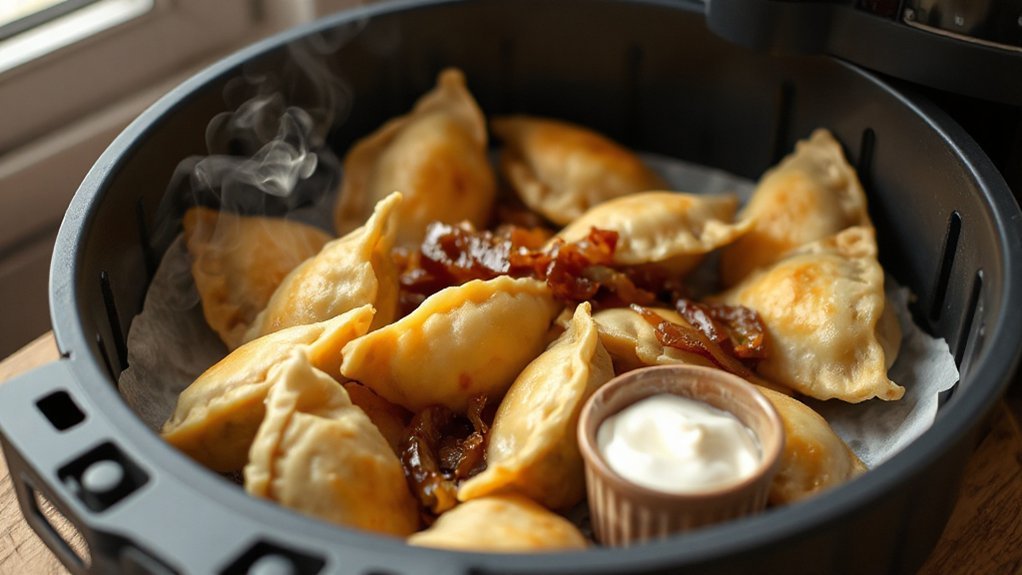
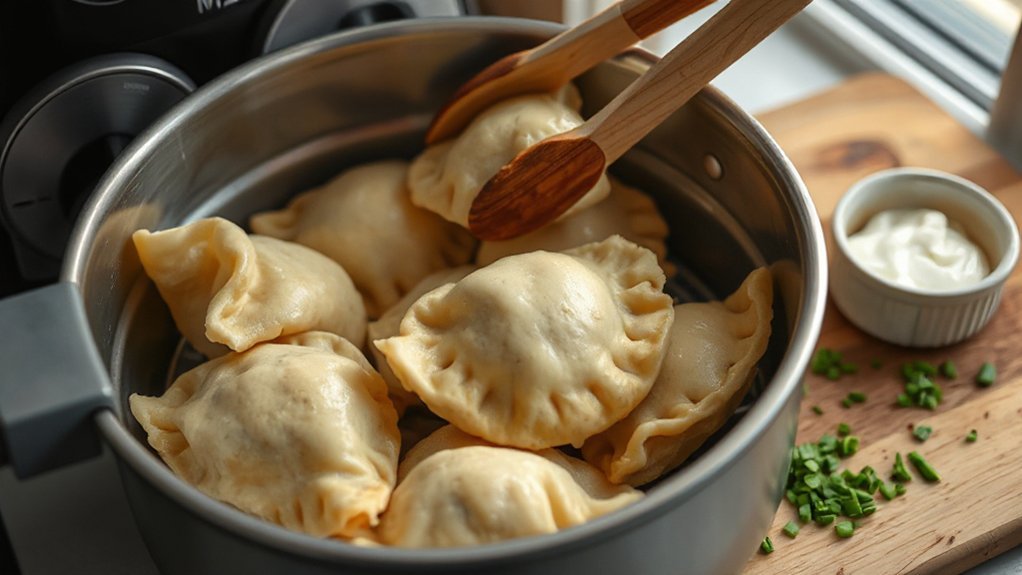
With the air fryer hot, you’ll want to place the frozen pierogies in a single layer so hot air can circulate around each one. Arrange them with a bit of space—crowding traps steam and makes them soggy. If you’re aiming for a catering display or simple weeknight dinner, think of the basket like a tiny stage where each dumpling shines. Use tongs to nudge any that touch and avoid overlapping. You can also rotate midway if your model has cold spots. Make this small effort and you’ll notice better texture and evenness. Little details turn frozen convenience into something close to food art and make serving feel intentional.
- Anticipation: the crispness promises comfort
- Pride: they look plated, not thrown
- Joy: satisfying
Cook Until Golden
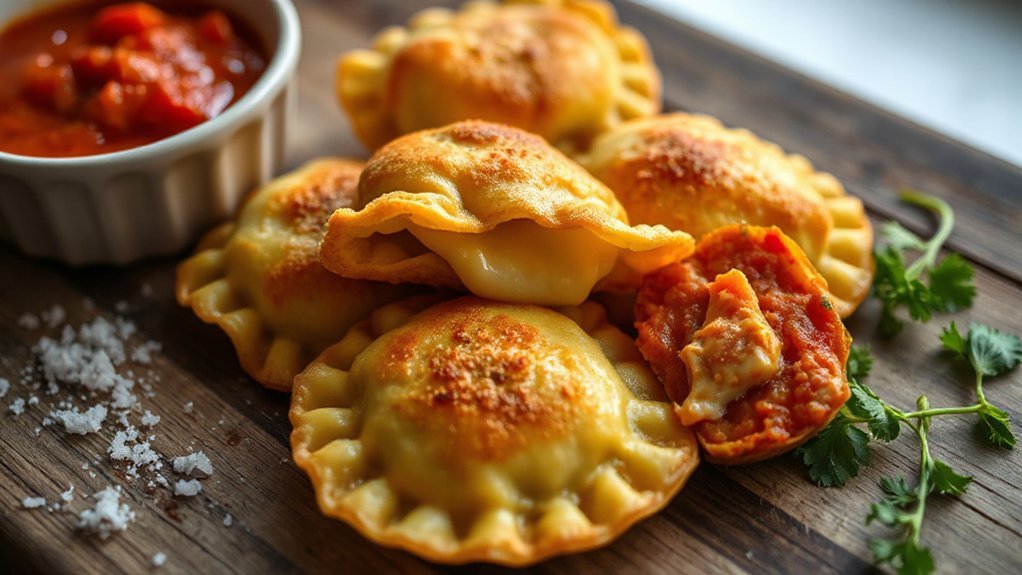
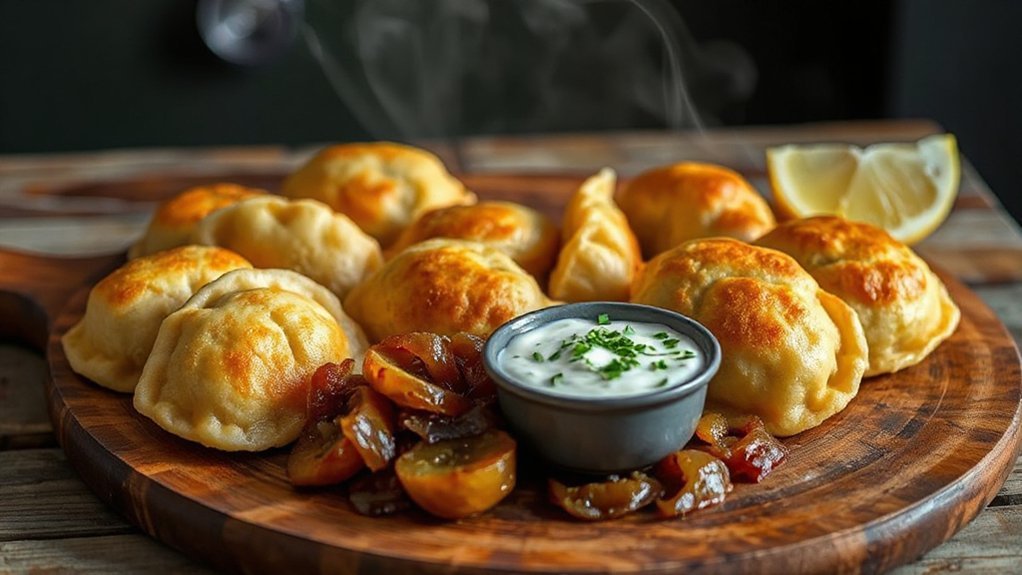
Slide the basket back in and set the timer—you’re aiming for a short, hot cook that turns the pierogies golden and crisp without drying them out. Give them about 8–10 minutes at 400°F, shaking halfway to promote even browning. Watch for visual cues: bubbling edges, a light puff, and small blisters on the dough. Use simple color benchmarks—pale gold for tender centers, deeper amber for extra crunch—so you stop cooking before they toughen. If you like them softer, pull at the lower end of the range; for crispier outsides, add 1–2 minutes. Let them rest a minute in the basket; carryover heat finishes them. Top with sautéed onions and sour cream for authentic Polish comfort and flavor.
Timing and Temperature Guide

If you want reliably crispy, golden pierogies, aim for about 375°F (190°C) and 10–12 minutes in the air fryer, shaking or flipping halfway through for even browning. You’ll find that small tweaks matter: Seasonal Variations like colder kitchens or humid summer air can change cook time by a minute or two, and Altitude Adjustments may call for slightly longer cycles. Trust your senses.
Aim for 375°F and 10–12 minutes in the air fryer, flip halfway—trust your senses.
- Relish the sizzle when they first brown — it feels like a mini celebration.
- Savor the aroma as a signal they’re nearly done.
- Smile when you see uniform color; it means you nailed the timing.
Start at the recommended temp, check at 8 minutes, and add short bursts of 1–2 minutes until golden. If you prefer softer insides, lower temperature by 10°F and add time. Keep a thin layer of oil for crisping; it helps without masking filling flavor, and enjoy immediately.
Crispy vs. Pillowy: Texture Tips
Deciding between a crunchy exterior and a soft, pillowy inside comes down to three things: temperature, oil, and timing. You’ll get pillowy centers by using moderate heat (350°F–370°F) and a brief steam time; don’t overcook or the filling moisture will escape. For crunchy edges, crank temperature toward 400°F for last 3–5 minutes and mist oil to create crisp coatings.
| Goal | Temp range | Tip |
|---|---|---|
| Pillowy | 350–370°F | Preheat, flip once |
| Crispy | 390–400°F | Light oil mist |
| Balanced | 370–385°F | Start low, finish high |
Check halfway, shake the basket, and space pierogies so hot air circulates. You’ll control texture by adjusting those three variables; small changes make big differences, so experiment a couple times to find your favorite balance. Note that thinner skins brown faster, and frozen-to-frozen batches may vary, so track appearance and timing for consistent results. Adjust oil amount to suit preference always.
Topping and Serving Ideas
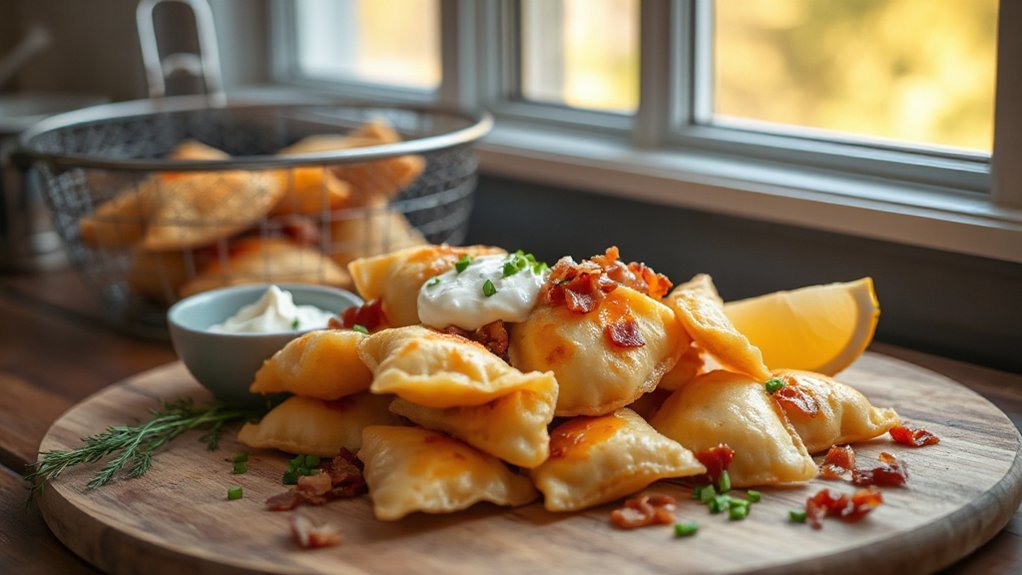
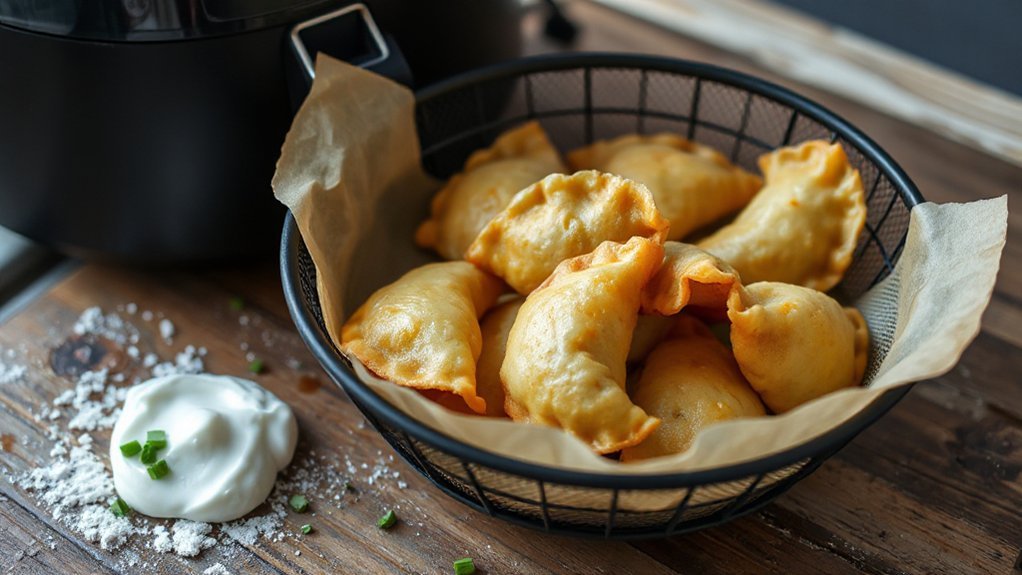
When you pull hot pierogies from the air fryer, you’ll want toppings that add contrast—think tangy sour cream, crisp fried onions, or a bright herb salsa—so each bite sings. Keep it simple: balance creamy, crunchy, and acidic elements. Offer Sauce Samplers in small ramekins so guests can mix and match:
Serve hot air-fryer pierogies with tangy sour cream, crunchy onions, and a bright herb salsa—simplicity and contrast win
- Garlic crema
- Spicy mustard
- Chive butter
For quick crunch, toss sliced scallions or pickle chips over the top; they snap against soft dough. Use Presentation Tips like staggered rows on warm platter, a sprinkle of smoked paprika, and fresh parsley to make them pop. If you’re serving a crowd, label sauces and stack pierogies on skewers for easy grabbing. Let textures and colors do the talking: golden edges, glossy sauces, and herb flecks invite people to dig in. You’ll create a welcoming, playful spread that turns simple frozen pierogies into a memorable bite. Enjoy every hearty, cheesy mouthful.
Sides and Pairings
After you’ve topped your pierogies, pick sides that echo or contrast those flavors to make the meal feel complete. Choose bright Garden Salads with crisp lettuce, cherry tomatoes, cucumbers, and a tangy vinaigrette to cut through rich fillings. Roasted or braised cabbage complements potato and cheese pierogies, while sautéed mushrooms add an earthy counterpoint. For heartier plates, serve steamed green beans or a simple beet salad for a sweet, acidic lift.
Think about Beverage Pairings to round the experience: a dry Riesling or a crisp lager balances creaminess, while a tart kombucha or sparkling water highlights savory edges. If you want comfort, pair with a malty brown ale or warm herbal tea. Finish with a small platter of pickles or applesauce for texture contrast. Mix and match based on your toppings and appetite, and you’ll have balanced, flavorful meals every time. Enjoy sharing this cozy, quick feast often.
Storage and Reheating Tips
If you want your leftover pierogies to stay crisp and tasty, store them in an airtight container in the fridge for up to 3–4 days or freeze them for 2–3 months—separate layers with parchment or flash-freeze on a tray first so they don’t stick together. For longer life, consider vacuum sealing before freezing; it prevents freezer burn and keeps flavor bright. When you’re ready to eat, reheat straight from the fridge in your air fryer at 350°F for 5–7 minutes to restore that golden crisp. If you’re short on time, microwave reheating works—cover with a damp paper towel and zap 30–60 seconds, then crisp quickly in a skillet or air fryer for a minute.
- Joy of reheated comfort in minutes.
- Satisfaction of a crisp, buttery bite.
- Peace knowing you won’t waste good food.
Store sauces separately, label containers, and only freeze once for best texture.
Troubleshooting Common Issues
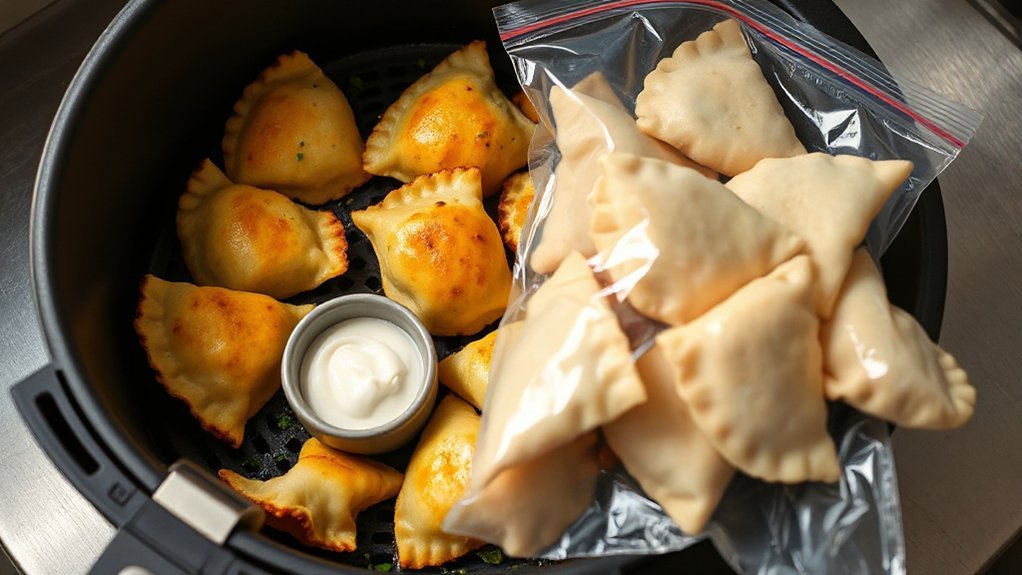
Why are your pierogies turning out soggy, uneven, or stuck to the basket? Check overcrowding, ice crystals, or low heat. Shake basket halfway and spray light oil; don’t thaw first. If bottoms stick, lift with silicone spatula and reduce spray.
| Problem | Fix |
|---|---|
| Soggy | Increase temp, add 2–3 minutes |
| Sticking | Light oil, single layer |
Always inspect packaging damage before cooking; torn seals can cause freezer burn and uneven texture. If you have allergen concerns, read labels—Mrs. T’s versions list common allergens and cross-contact warnings. Clean basket between batches to stop residue buildup. Use consistent batch sizes and preheat for crisp edges. When in doubt, test one pierogi to tweak time. You’ll get golden, tender results by adjusting heat, spacing, and simple prep. Also rotate flavors and brands to learn timing differences, and note that filling type affects cook time—cheese, potato, or meat take slightly different minutes for best results.
Conclusion
You’ll love how Mrs. T’s frozen pierogies transform in your air fryer — crispy outsides and pillowy insides, simple convenience versus homemade charm. You’ll flip expectations: frozen to fabulous, fast to comforting. Try different toppings, swap sides, and you’ll see how a tiny appliance makes big memories. Keep it playful, tweak timing for your favorite crunch, and enjoy Polish comfort food that’s as easy as it is satisfying. Serve immediately and watch smiles multiply around your table.