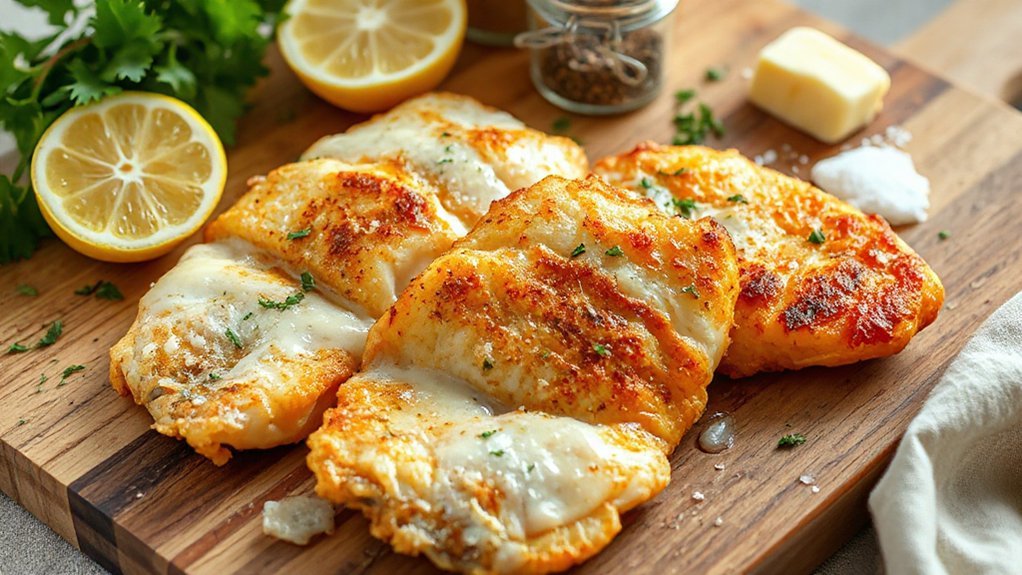
You can turn inexpensive tilapia into flaky, restaurant-style fillets in under 10 minutes using your air fryer and a bright lemon‑butter finish. Pat the fillets dry, brush lightly with oil, season with salt, pepper, garlic powder and paprika, then air‑fry at 400°F for 6–8 minutes, flipping once. Finish with melted butter, fresh lemon juice and zest for a glossy, bright glaze. Try the quick tips ahead to get perfectly moist, crisp results every time easily.
Why This Recipe Works

Because the air fryer blasts hot, circulating air, it gives tilapia a lightly crisp exterior while keeping the flesh flaky and moist. You’ll love how the device’s fast cooking locks in juices so you get tender fillets in minutes. Seasonings hit the surface, and efficient heat promotes superior flavor extraction from herbs, citrus, and butter without overworking the fish. You don’t need complex techniques; pat the fillets dry, brush lightly with oil or melted butter, and season. The basket’s airflow delivers even browning, so each bite has a delicate crust and consistent doneness. You’ll finish with a bright, buttery finish that feels restaurant-level but takes a fraction of the time. Cleanup stays simple, and leftovers reheat well. Overall, this method is honest, quick, and reliable—you’ll make it a go-to for weeknights and easy entertaining. You can tweak seasonings easily to suit tastes without risking dried-out fish every time.
Pantry-Friendly Ingredients
Pantry staples make this recipe effortless—olive oil or melted butter, salt and pepper, garlic powder and paprika, a squeeze of lemon or a pinch of lemon zest, and a few dried herbs like parsley or oregano will take you a long way. You don’t need fancy groceries; shelf stable staples let you throw together a bright, flaky dinner any night. Keep a little jar of breadcrumbs or panko for texture, and toss in crushed red pepper if you like heat. Those budget seasonings — garlic powder, paprika, dried herbs — pack flavor without breaking the bank. Measure simply: a light brush of oil, a sprinkle of seasonings, and the lemon finish. If you buy store brands and replenish basics, you’ll always have what this recipe asks for. It’s practical, fast, and forgiving, so you’ll feel confident turning simple pantry items into a restaurant-quality tilapia dinner every single time.
Equipment and Smart Swaps


If you’ve stocked good seasonings, the right gear makes cooking tilapia even easier and more consistent. You’ll want an air fryer with a roomy basket, a digital thermometer, and a small silicone brush for butter. If you lack an air fryer, countertop alternatives like a convection toaster oven work well; just watch time and temp. Nonstick liners cut clean up and keep delicate fillets intact, or use lightly oiled parchment for crisp edges. A metal spatula with a thin edge helps flip without tearing. For budget kitchens, prioritize tools that pull double duty: tongs, a baking sheet, and oven mitts. Here’s a quick cheat-sheet to help you swap smartly.
| Tool | Smart Swap |
|---|---|
| Air fryer | Convection toaster oven |
| Nonstick liners | Parchment or silicone mat |
| Digital thermometer | Instant-read probe |
| Silicone brush | Spoon or oil spray |
These swaps keep costs down and speed prep without sacrificing flaky, flavorful results every time.
Step-by-Step Cooking Instructions
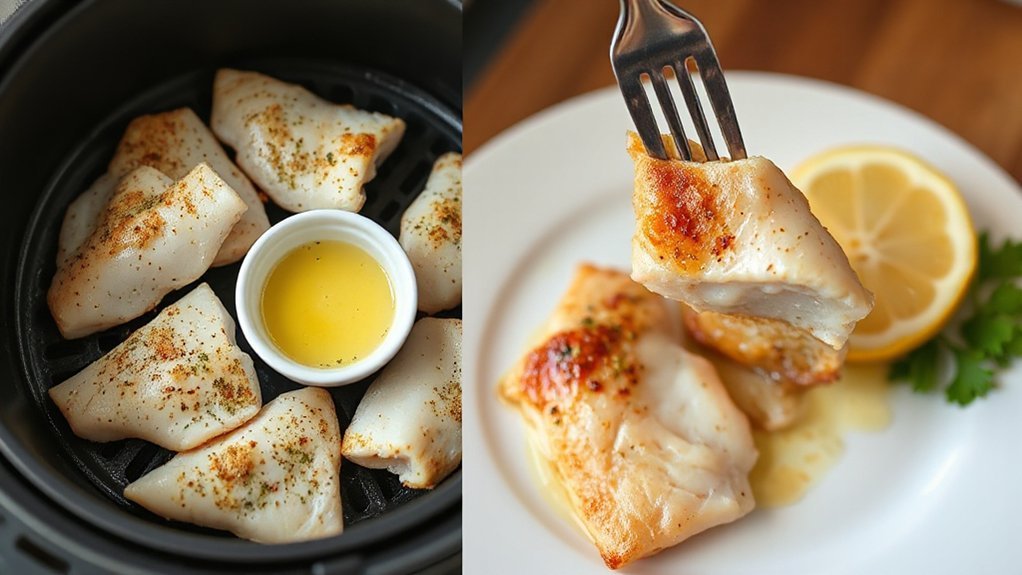
Preheat your air fryer to 400°F, then pat the tilapia dry, brush or spray lightly with oil, and season both sides so the flavor sticks. Arrange fillets in a single layer, giving space for hot air to circulate. Follow the preheat sequence, don’t skip warming the basket, to guarantee crisp edges. Cook for six to eight minutes depending on thickness, checking at the lower end. Use a thin spatula to lift gently; if the fillet releases easily, it’s ready. For even browning, note the flip timing: flip once halfway through cooking, around three to four minutes in. Return fillets to the basket and finish until the internal temperature reads one forty five degrees Fahrenheit and flakes with a fork. Remove immediately to avoid carryover overcooking. Let rest briefly on a plate while you prepare the next step. Clean the basket promptly to keep your air fryer performing well.
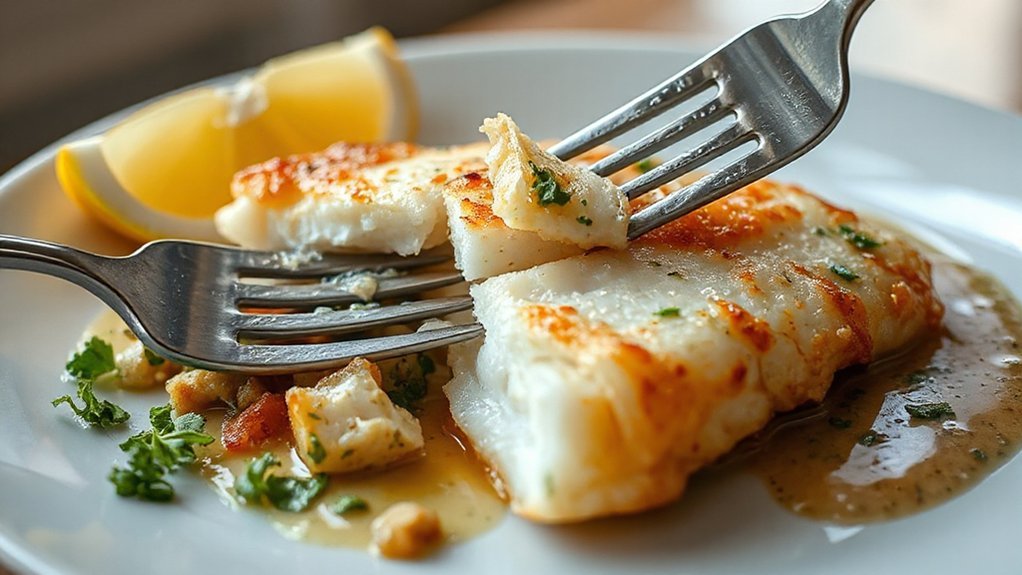
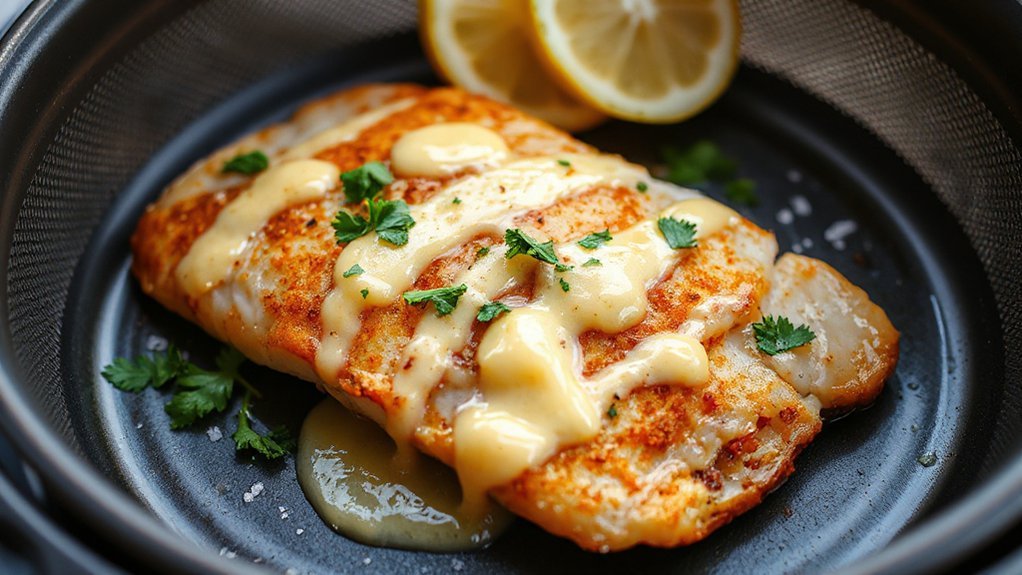
Lemon Butter Finishing Touch
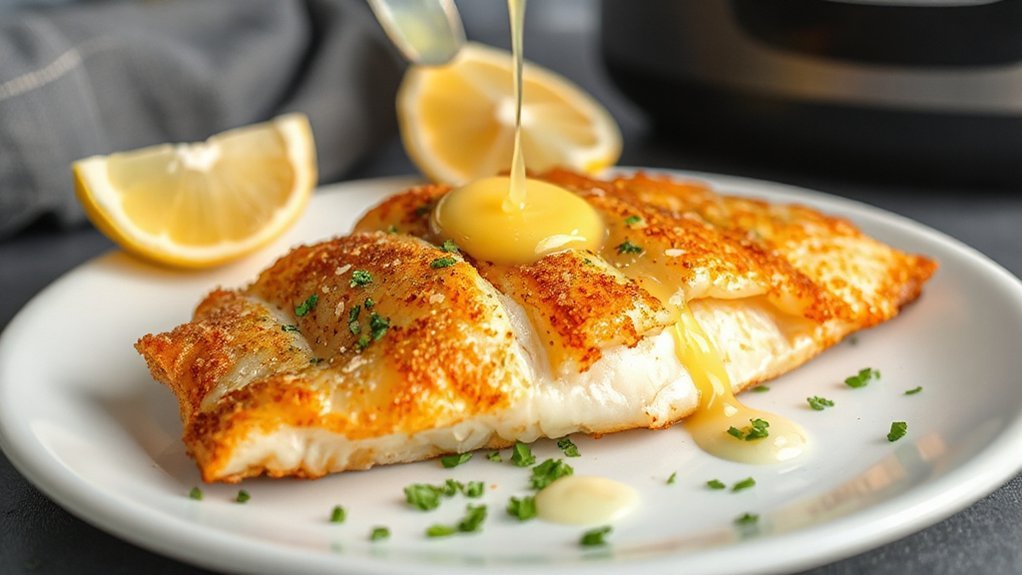
When you melt a few tablespoons of butter and stir in fresh lemon juice, a bit of zest, and a pinch of salt, you’ll create a bright sauce that takes your air-fried tilapia from good to restaurant-ready. Let it rest briefly so the butter smooths and the flavors marry. Taste for zest balance — if it’s too sharp, add a dab more butter; too flat, squeeze a touch more lemon. Spoon the warm lemon butter over each fillet, aiming for even coverage and an appealing sauce sheen that makes the fish look as good as it tastes. Finish with a quick sprinkle of chopped herbs if you like. Enjoy the bright finish.
- Spoon sauce over hot tilapia immediately.
- Tilt the pan to collect butter for a glossy pour.
- Adjust lemon or butter for perfect zest balance.
- Serve promptly to preserve sauce sheen and flakiness.
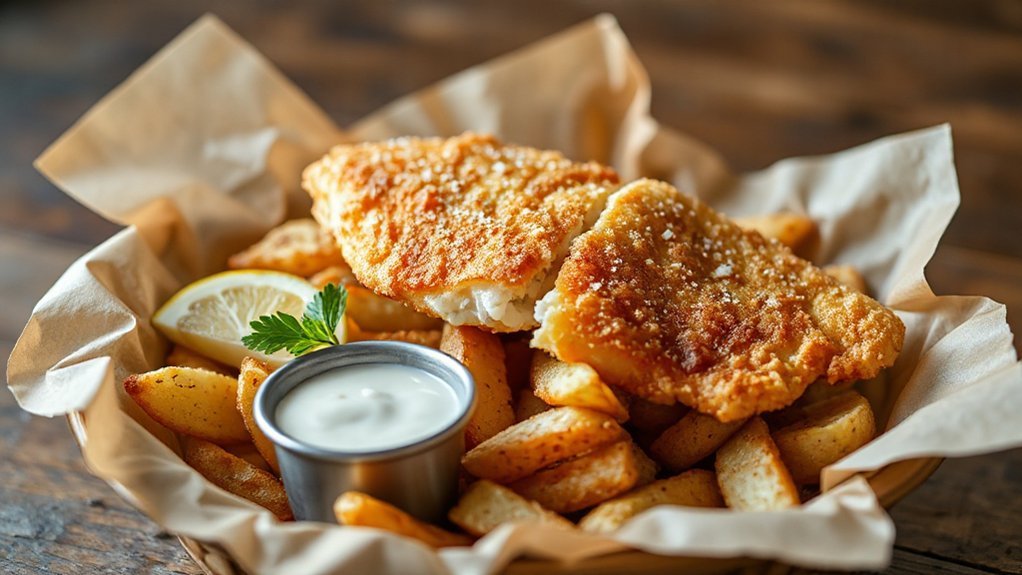
Serving Suggestions and Sides
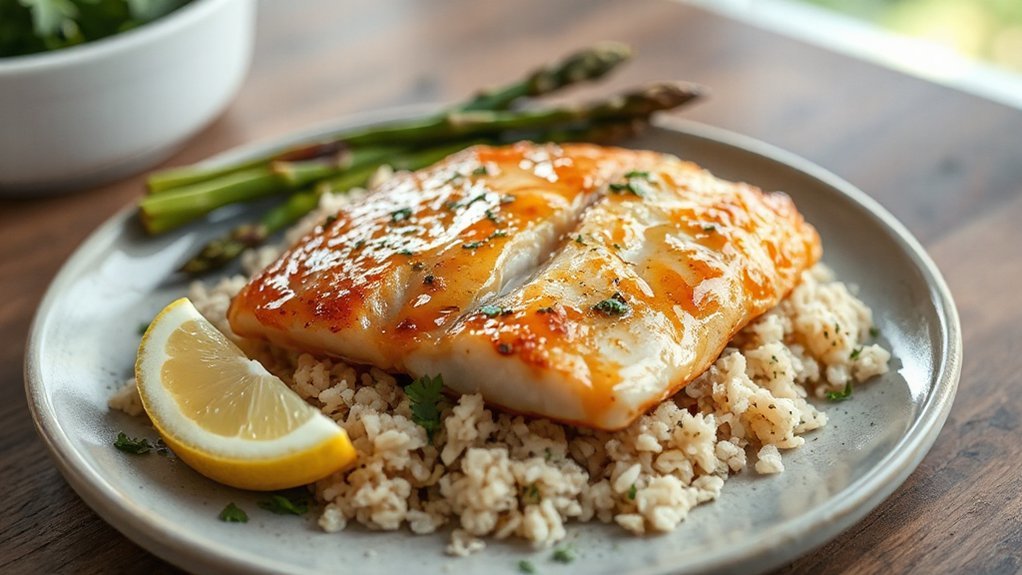
How about pairing the bright lemon-butter tilapia with quick, fresh sides that soak up the sauce and keep the plate light? You’ll love a zesty Citrus salad, with thin orange and grapefruit segments, baby greens, a drizzle of olive oil and a pinch of flaky salt, because it echoes the lemon butter without overpowering the fish. Pair with Herbed quinoa for substance: fluff it, fold in chopped parsley, dill, a squeeze of lemon, and a little olive oil so every forkful mingles with the sauce. Add a steamed green like broccoli or sugar snap peas for snap, or roast asparagus with a touch of garlic for depth. Offer crusty bread or toasted baguette slices to sop up any extra butter. Finish with lemon wedges and a shower of chopped herbs. These combos are fast, budget-friendly, and make your plate look and feel restaurant-ready without fuss. Serve right away.
Tips for Flaky, Moist Tilapia
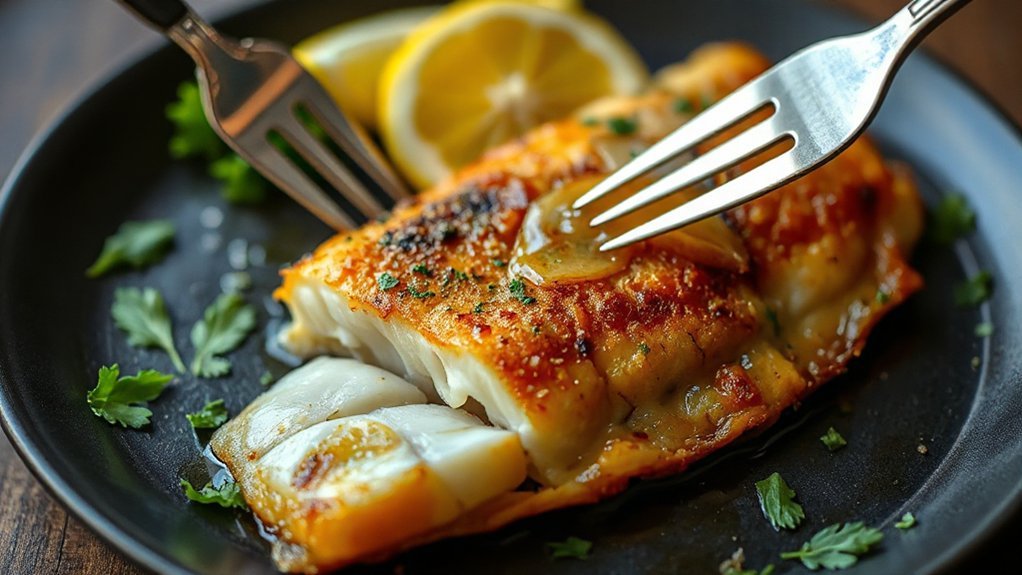
Before you serve that bright plate, remember the way you cook tilapia matters as much as the sides—little tweaks keep the fillets flaky and moist instead of dry. You’ll want to start with quality fish: check freshness indicators like mild sea scent, firm flesh, and clear eyes or intact packaging if bought frozen. Thaw properly and mind basic freezer handling to avoid waterlogged fillets. Preheat the air fryer, pat fillets dry, and lightly oil or butter them for golden edges. Cook quickly at high heat and pull when flakes separate easily.
- Don’t overcrowd the basket — air needs to circulate.
- Use a thermometer — 135–140°F gives tender, done fish.
- Flip once gently at midcook for even browning.
- Rest briefly after cooking; juices redistribute.
These steps keep your tilapia juicy, flaky, and ready for lemon butter. Serve immediately and enjoy every flavorful, budget-friendly bite today.
Conclusion
You’ll love how easy and budget-friendly this flaky air fryer tilapia is — you’ll get tender, lemony fillets in minutes. Try it for weeknight dinners: imagine Sarah, a busy teacher, tossing frozen fillets in the air fryer after work, finishing them with lemon butter, and serving them with rice — dinner’s ready in 20 minutes and everyone asks for seconds. Keep ingredients simple, follow the steps, and you’ll nail moist, flaky fish every time with confidence tonight.