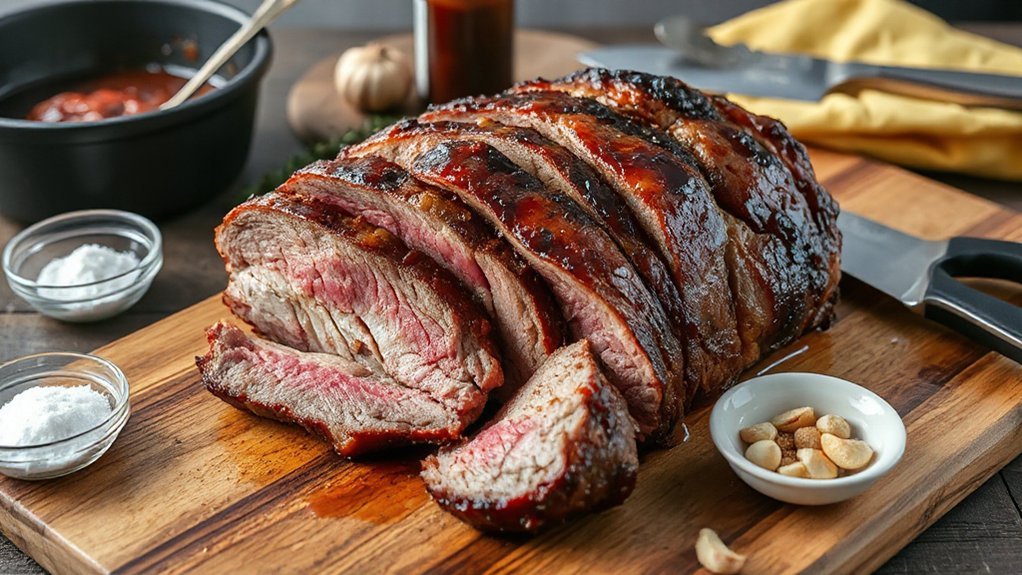
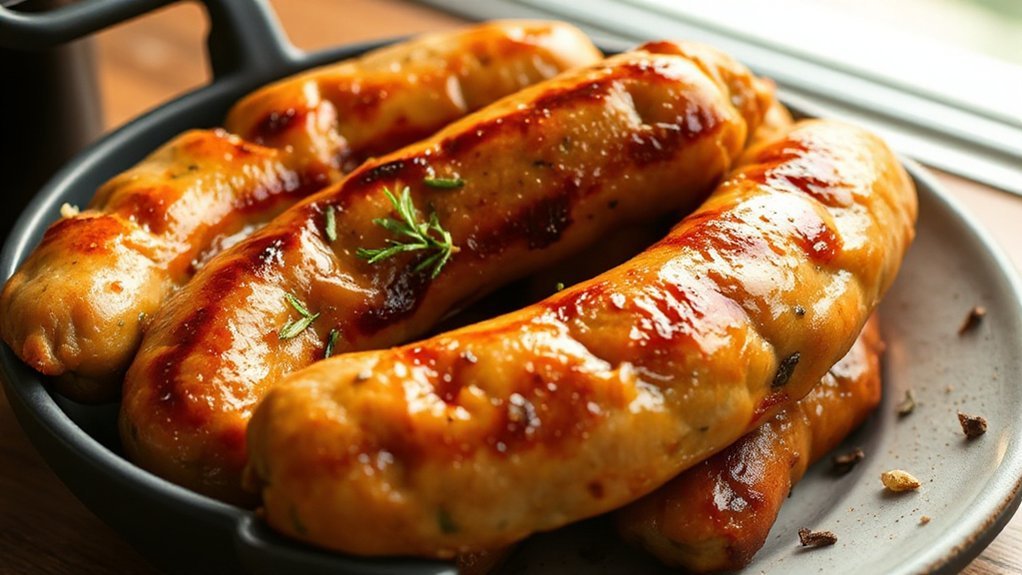
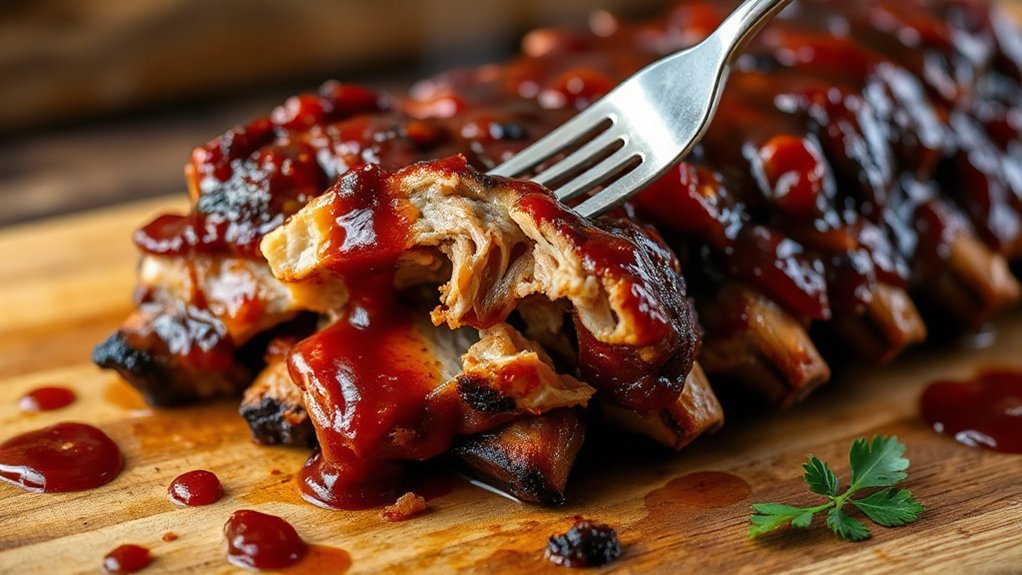
You’ll turn a well-trimmed brisket into tender, bark-crusted slices using your air fryer: pat dry, trim to 1/4″ fat, bind with mustard, press on a brown-sugar-paprika-salt-pepper rub, then air fry low and slow at about 300–325°F, flipping once and probing to 195–205°F for fall-apart tenderness. Rest loosely tented 30–60 minutes, slice against the grain, and reheat gently. Follow the full steps and tips to lock in flavor, texture, and perfect bark for complete success now.
Ingredients and Equipment
You’ll need just a few straightforward ingredients and the right gear to get a tender, flavorful brisket in the air fryer. Start with a well-marbled brisket flat or point, kosher salt, freshly ground black pepper, garlic powder, and a touch of brown sugar for balance. For serving, pick a bold mustard or your favorite BBQ sauce. Pay attention to Ingredient sourcing: buy brisket from a trusted butcher or reputable grocery, check for marbling and a recent harvest date, and choose quality spices. Equipment matters too—pick an air fryer large enough to hold the cut with some air circulation, a reliable meat thermometer, sturdy tongs, and a sheet pan for resting. Keep Equipment maintenance in mind: clean grease traps after each cook, wipe racks, and descale if recommended so performance stays consistent. With the right buys and upkeep, you’ll set yourself up for success without fuss and happy grilling.
Preparing the Brisket
Now that your ingredients and gear are ready, get hands-on with the brisket. You’ll start by patting the meat dry, which helps any later coatings stick and creates a better crust. Inspect the point and flat; use a sharp knife to trim fat, leaving about a quarter inch for flavor and moisture. Remove any silver skin or excessively thick caps so the heat penetrates evenly. If your brisket is uneven, consider tying it with butcher’s twine to encourage uniform cooking.
For binder application, choose a light coating such as mustard, oil, or a thin paste, and spread it evenly over the surface so subsequent layers adhere without pooling. Don’t overdo it; a thin, consistent film is all you need. Finally, let the brisket sit at room temperature for twenty to thirty minutes so it cooks evenly when it hits the air fryer. You’re ready for seasoning and cooking.
Dry Rub and Seasoning

A bold dry rub makes all the difference—combine brown sugar, smoked paprika, coarse salt, cracked black pepper, garlic powder and a pinch of cayenne to balance sweetness, smoke and heat. Rub that mix into the brisket, pressing to form a crust that locks in juices and carries seasoning deep. Use mustard or a light oil first if you want better adhesion. Explore Flavor Pairings: add onion powder for savory depth, cumin for earthiness, or a touch of espresso for richness; each tweak shifts the profile without overpowering beef. Think about Spice Origins too — smoked paprika brings Spanish warmth, black pepper gives classic bite, and cayenne adds New World heat — let those stories guide your choices. Let the rub rest on the meat for at least an hour or refrigerate overnight for stronger flavor. You’ll get consistent seasoning and a flavorful bark that complements slicing and serving.
Air Fryer Cooking Technique
While the air fryer won’t mimic a smoker’s low-and-slow exactly, it gives you a fast, foolproof way to build a crisp bark and tender interior—preheat the unit to about 300–325°F, lay the rubbed brisket fat-side up in a single layer without crowding, and let the convection do the work. You’ll want even airflow dynamics, so leave space around the meat; rotate the brisket halfway if your model has hot spots. Use foil or a drip tray for cleanup, but avoid sealing the meat—steam will soften the bark. Keep basket placement centered and low to capture steady circulation. Monitor color, not just time, and tweak temps by 10°F if bark forms too quickly.
| Step | Action |
|---|---|
| 1 | Preheat to 300–325°F |
| 2 | Single-layer, fat-side up |
| 3 | Rotate halfway |
You’ll finish when the bark is deep brown and juices run; adjust airflow dynamics with minor basket placement shifts to refine results today.
Resting and Internal Temperature Tips
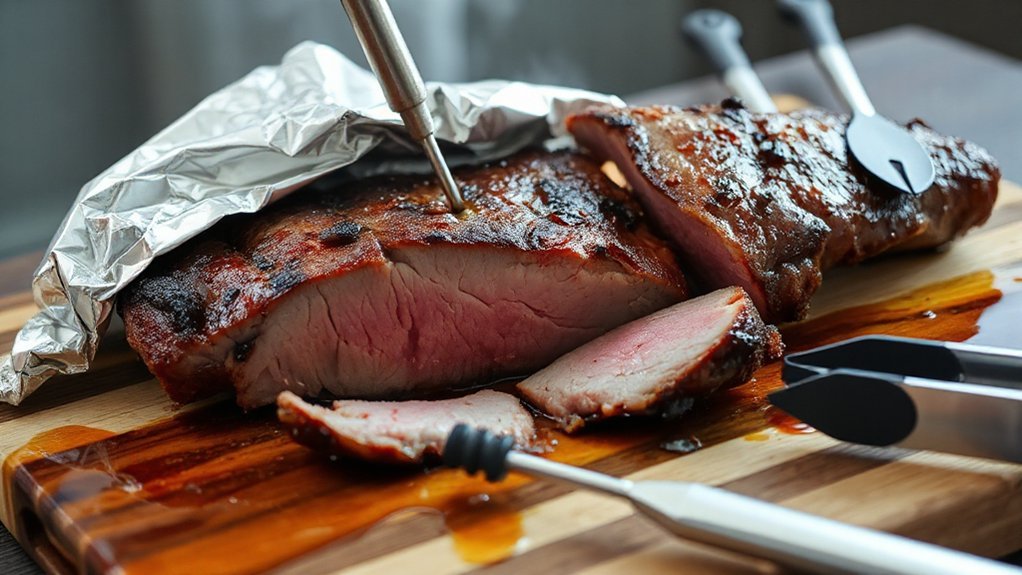
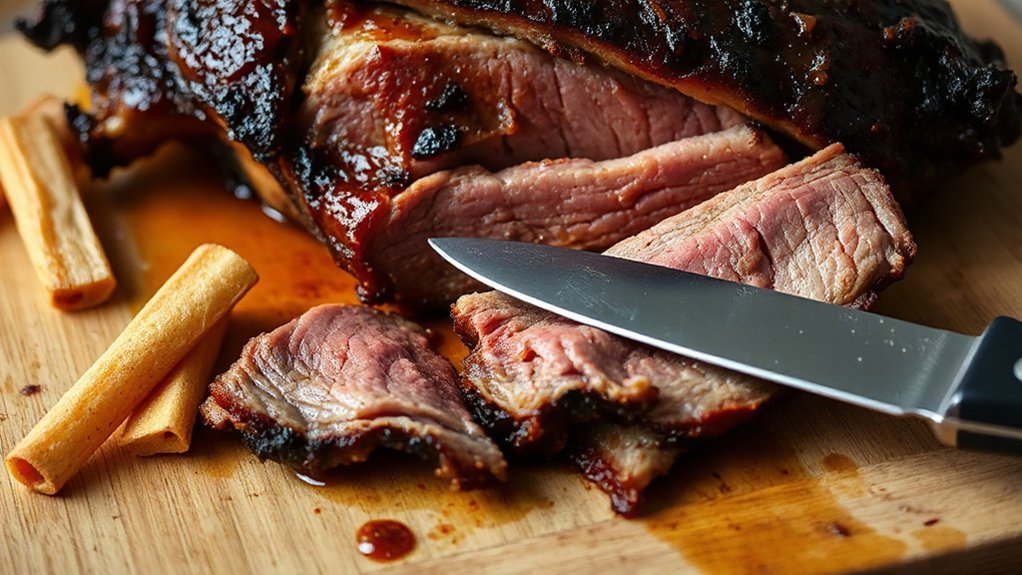
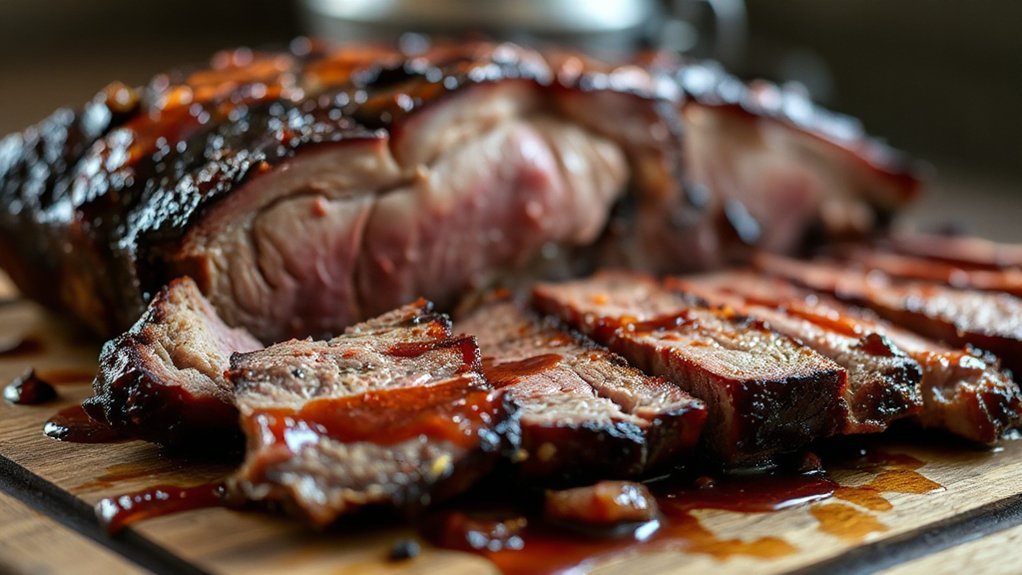
You should aim for about 195–205°F internal for tender brisket, but you can pull it a few degrees lower to account for carryover. Carryover cooking means the meat keeps rising in temperature after you take it out, so plan for a 5–10°F increase. Rest the brisket loosely tented for 20–30 minutes (up to an hour for larger cuts) so juices redistribute and the cooking finishes evenly.
Target Internal Temperature
How hot should your brisket be? Aim for precise Probe Placement: insert the probe into the thickest part, avoiding fat and bone, so you read the meat, not the filler. Target internal temperature depends on texture you want. For slicing, follow Doneness Ranges: 195–205°F gives tender, sliceable brisket; 180–190°F feels firmer if you prefer a slice with more chew. Use an instant-read to verify at several spots, especially the flat and point. When it hits your chosen number, rest it loosely tented for at least 20 to 30 minutes to redistribute juices. Keep a log of temps and results so you dial in your sweet spot next time. Adjust slightly for brisket size and personal tenderness preferences always.
Carryover Cooking Explained
After your brisket hits the probe target, it keeps cooking from the inside out — carryover heat typically raises the internal temperature by 5–15°F depending on size, fat, and how tightly you wrap it. You’ll notice the temperature climb even after it’s off the heat because Heat Redistribution moves hot core energy into cooler outer tissue. That late rise completes Protein Denaturation, transforming connective tissue into tender, sliceable goodness. Don’t panic when the readout creeps up; plan your probe target below final desired temp to account for carryover. When you tent or wrap, you’re controlling how quickly heat equalizes, which affects the final texture. Trust the science, feel the lift when you slice, and enjoy brisket that’s rested, evenly cooked, and perfectly tender today.
Resting Time Guidelines
Because carryover heat keeps working, plan to rest your brisket 30–60 minutes so its internal temperature evens out and collagen finishes converting; for larger whole flats or untrimmed briskets, stretch that to 1–2 hours. You’ll see juices redistribute, the slice holds together, and the texture evolution is real—don’t rush. Ignore common resting myths that tell you shorter waits are fine; they cost tenderness.
- Tent loosely with foil to retain heat without steaming.
- Use an instant-read thermometer: pull when temp peaks then rest.
- Slice against the grain after resting to maximize juiciness.
Follow this and you’ll serve brisket that’s reliably tender, evenly cooked, and satisfying every time. Trust the rest; it transforms tough cuts into sliceable perfection with maximum flavor and minimal fuss every meal.
Slicing, Serving, and Storage Suggestions
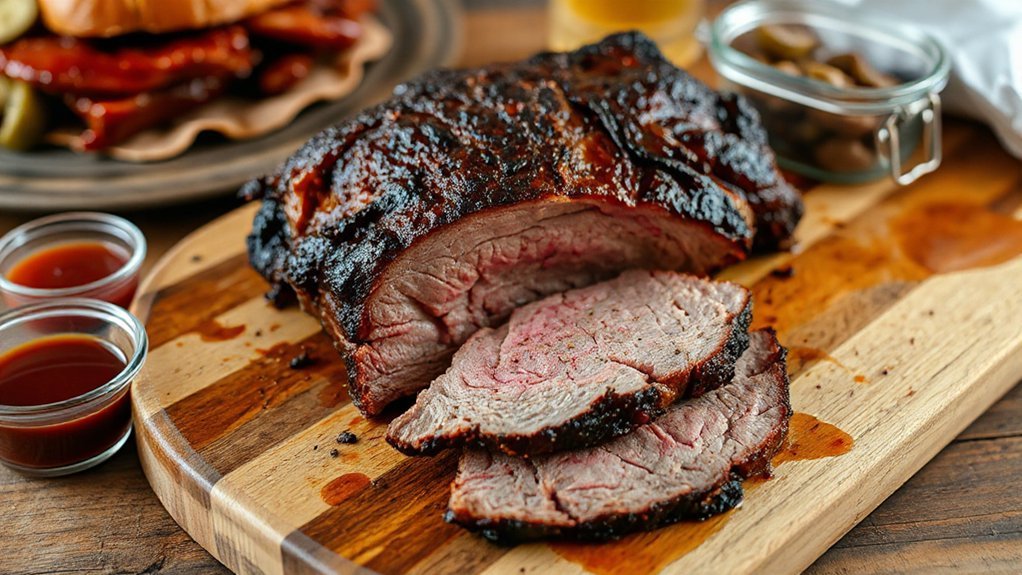
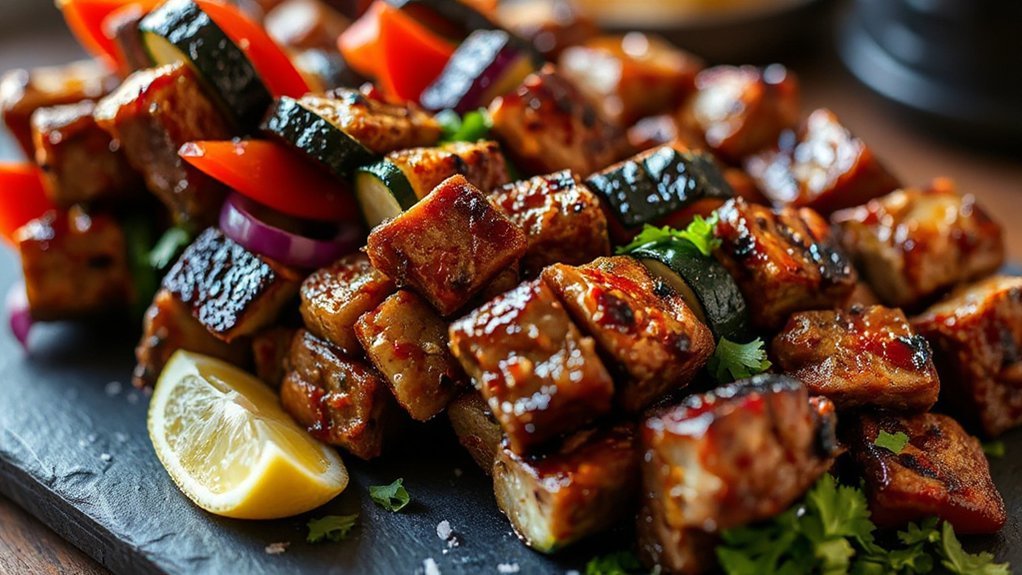
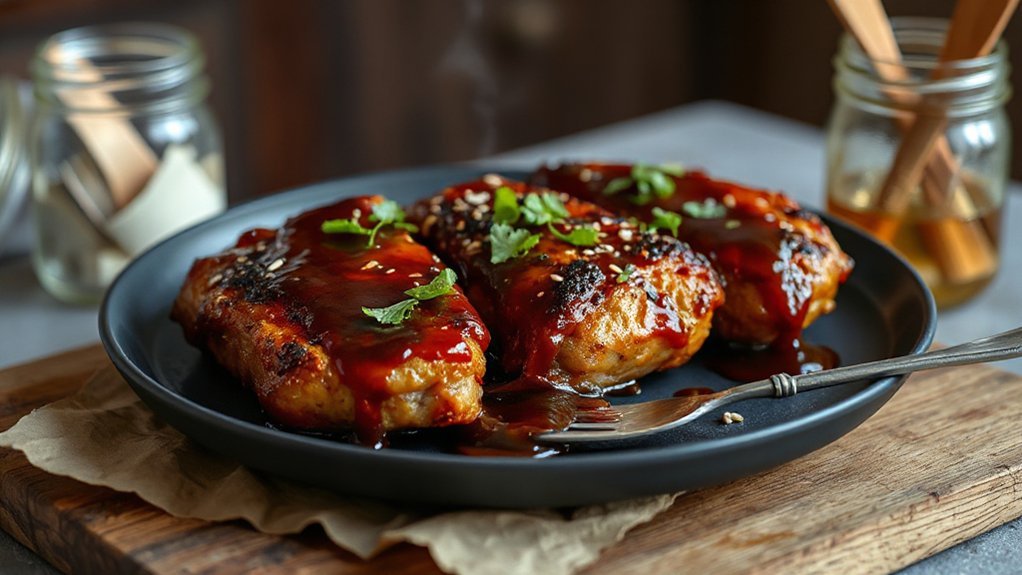
Letting the brisket rest for 15–20 minutes lets juices redistribute, so you’ll slice cleaner and get juicier bites. Use a sharp slicing knife and slice against the grain in thin even strokes; that keeps each bite tender and easy to chew. For serving, arrange slices on a warm platter and offer sauce pairings on the side — pick a tangy BBQ, peppery chimichurri, and a mustard sauce to suit tastes. Add pickles, sliced onions, and rolls if you want sandwiches. For leftovers, portion brisket into meal-sized packs, cool to temperature no longer than two hours, then refrigerate up to four days. If freezing, wrap tightly in foil and a freezer bag, date and note contents for freezer labeling; freeze up to three months. Reheat in a low oven with a splash of beef broth to maintain moisture. Enjoy—this brisket stays flavorful and versatile when you handle it right.
Conclusion
You’ll love how this air fryer brisket turns basic ingredients into a juicy, tender masterpiece. You follow the simple rub, crisp edges form like caramel on a sundae, and the air fryer works fast while you relax. Let the meat rest so juices settle, then slice against the grain and serve hot. Store leftovers properly and they’ll reheat beautifully. You’re ready to impress friends and family with sliced perfection every time and savor every bite.