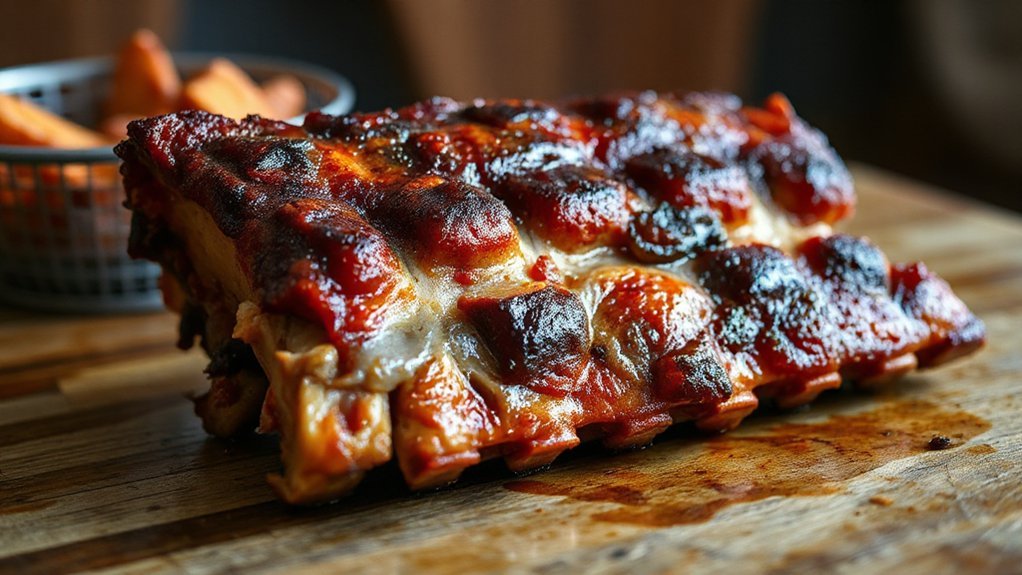
You can get fall-off-the-bone country-style pork ribs in the air fryer by trimming, dry-brining, and using hot-air circulation to seal juices and crisp edges. Season in three steps with salt, spices and brown sugar, refrigerate a few hours, then cook at 300°F for 45–55 minutes (or 375°F for 20–25 minutes) and glaze briefly with BBQ sauce to finish. Rest ten minutes, slice against the grain, and see extra useful tips for timing, glaze, and reheating.
Why Air Frying Is Perfect for Country-Style Pork Ribs
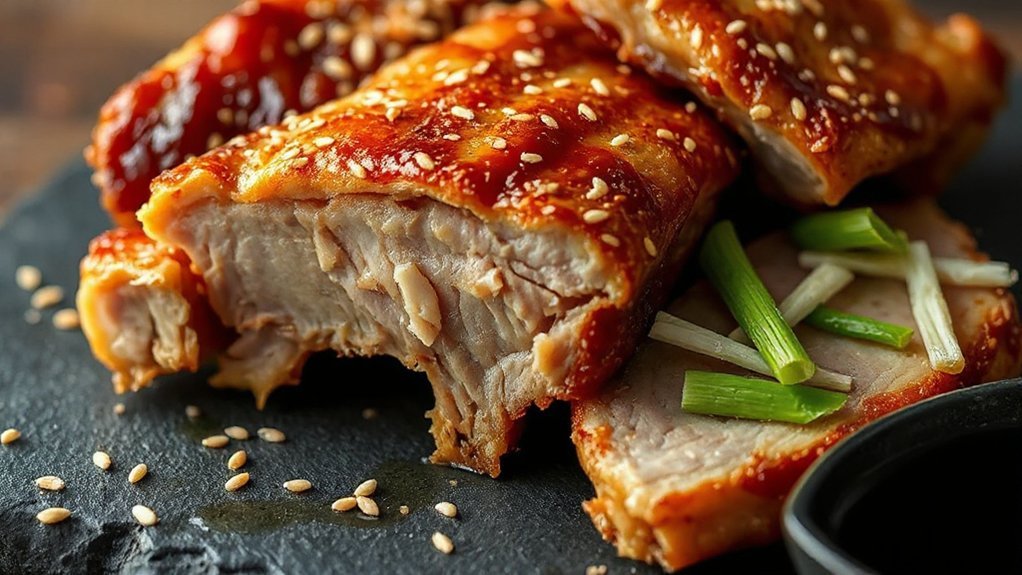
Because you want tender, flavorful ribs without hours of babysitting, air frying is ideal for country-style pork ribs. You’ll get fall-off-the-bone meat with a surprising Crisp texture on the outside, thanks to rapid hot air circulation that seals juices while browning surfaces. You won’t have to tend a smoker or manage long oven sessions; the air fryer shortens cook time and concentrates heat so flavors develop faster. That means you save time and energy—Energy efficiency comes from shorter run times and compact heating, so your kitchen stays cooler and your bills don’t spike. You can tweak temperature and time to match your taste, getting silky interior meat and caramelized edges every batch. Whether you’re feeding a few or meal-prepping, air frying makes the process simple, reliable, and a little bit fun. Try it and you’ll wonder why you didn’t switch sooner. You’ll impress friends with minimal effort today.
Ingredients and Equipment Needed
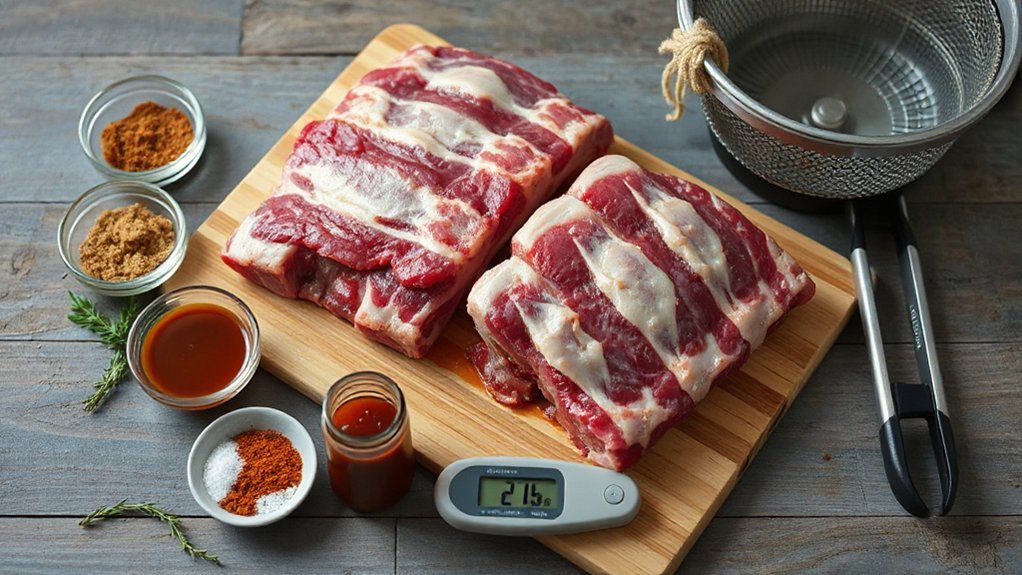
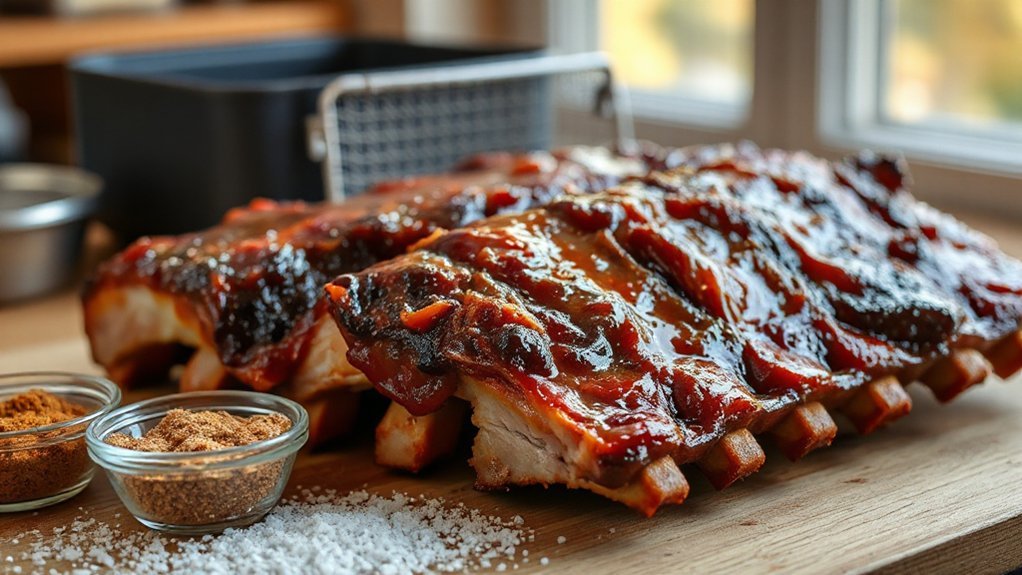
You’ll need a handful of essential ingredients—country-style pork ribs, your favorite BBQ rub or sauce, salt, pepper, a touch of oil, and optional brown sugar and garlic powder. For equipment, have an air fryer that fits the rack, tongs, a small bowl for mixing the rub, and a reliable meat thermometer. With those on hand, you’re ready to season, air-fry, and finish the ribs with confidence.
Essential Ingredients
A few simple ingredients and the right tools get these ribs tender and smoky in your air fryer. You’ll want a two to three pound portion of country style pork ribs, and when possible pick meat from ethical sourcing for better taste and transparency. Make a dry rub with brown sugar, smoked paprika, garlic powder, onion powder, cumin, salt, and black pepper to create balanced BBQ notes; this is where flavor chemistry turns seasoning into juicy crust. Add a splash of apple cider vinegar or Worcestershire for brightness and a little oil so the rub sticks. Finish with your favorite barbecue sauce for glazing and serving. Measure ingredients confidently, taste as you go, and adjust seasoning to match your smoky, sweet barbecue goals now.
Required Equipment
Grab a roomy air fryer basket that’ll fit a 2–3 lb portion without crowding the ribs, plus a reliable instant-read thermometer so you hit the right internal temperature every time. You’ll also want a pair of tongs, a basting brush, and a shallow pan or foil to catch drippings. If your Air Fryer Models include rotisserie or multi level racks, use them to maximize space and airflow. Choose silicone or heatproof utensils to avoid scratching nonstick surfaces. Keep a spray bottle for quick oiling and oven mitts for safety. Finally, have Cleaning Tools handy: a soft brush, non abrasive sponge, and mild detergent to remove grease without damaging the basket. With these, you’re set for easy, delicious ribs every single time, guaranteed. Really enjoy.
Preparing and Trimming the Ribs
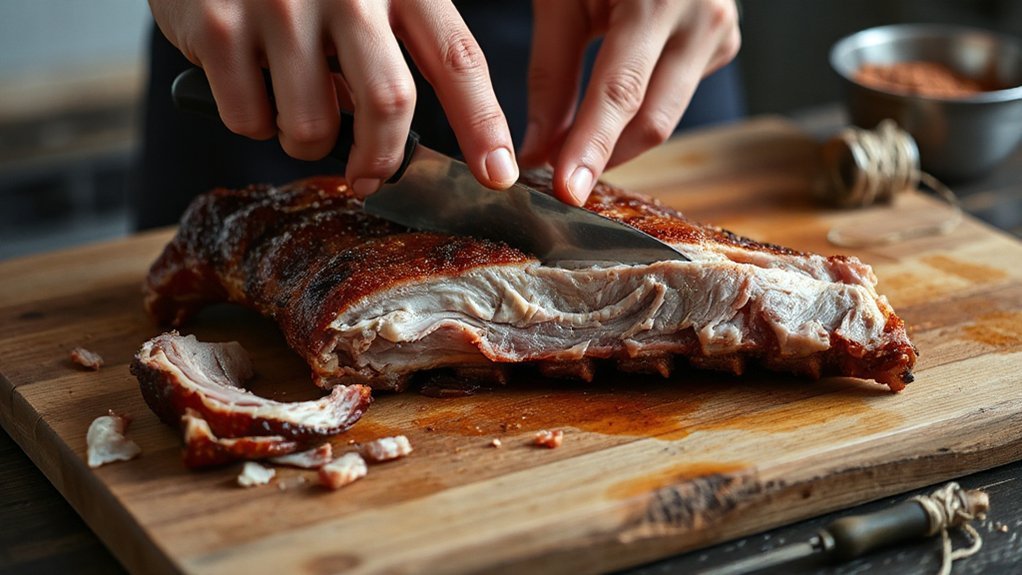

Trimming the ribs properly sets you up for tender, evenly cooked meat, so let’s get the membrane and excess fat off quickly and neatly. Start by patting the slabs dry, then flip them bone-side up. Slide a butter knife under the silver skin at one end to loosen the membrane, grab it with a paper towel, and pull steadily—membrane removal prevents chewy spots. Check for large pockets of fat and trim them away with a sharp knife; controlled fat trimming helps prevent flare-ups and uneven cooking in the air fryer. Don’t worry about removing every bit of fat—leave a thin layer for flavor. Square the ends and remove any ragged bits so the ribs sit flat. Rinse only if needed and re-pat dry. Now your slabs are ready for whatever rub or technique comes next; you’ve set the stage for consistent, fall-off-the-bone results. You’ll thank yourself later, promise.
The 3-Step Seasoning and Dry-Brine Method
You’ll follow a simple 3-step rub so every layer of flavor gets in—start with a savory base, layer in spices, then finish with a touch of sugar and smoke. I’ll walk you through exact amounts and the order to apply them so your rub works every time. Then you’ll get dry-brine timing tips—how long to rest for deeper flavor and juicier meat without over-salting.
Step-by-Step Rub Guide
Layering flavors in three clear steps—base rub, flavor booster, and a finishing dry-brine—locks in moisture and builds that deep, savory BBQ punch. Start by patting ribs dry, then press a coarse base rub of kosher salt, black pepper, paprika, and garlic into the meat; you’ll create a savory backbone that honors Rub History while staying simple. Next, add a flavor booster: brown sugar, smoked paprika, cumin, and a pinch of cayenne to balance sweet, smoke, and heat—adjust for Regional Variations. Rub thoroughly but gently so the mix adheres. Finish by applying the dry-brine step to concentrate those flavors. Letting it rest transforms surface seasoning into deep seasoning, so you get fall-off-the-bone flavor with concentrated crust and savory depth. You’ll impress friends and family easily.
Dry-Brine Timing Tips
When you dry-brine, timing is everything: give the salt time to pull moisture out and then reabsorb so flavors go beyond the surface. Start with a light, even coating right after trimming; refrigerate uncovered for at least 2 hours to kick off salt chemistry, or up to 24 for deeper penetration. For quick weeknight ribs, 4–6 hours hits a sweet spot: flavors meld, bark forms, and moisture stays locked. If you plan ahead, 12–24 hours lets the salt fully migrate and transforms the meat’s structure, driving ideal texture evolution. Don’t overdo it—48 hours can dry edges. Always bring ribs to near fridge temperature before air frying so cooking’s even and your timing pays off. Trust the clock, and you’ll reward yourself with perfect ribs.
Air Fryer Cooking Timeline and Temperature Guide
Choose 375°F for quicker, slightly firmer ribs (about 20–25 minutes, flipping once) or 300°F for a low-and-slow finish (45–55 minutes, foil-wrap halfway); in either case, aim for an internal temp of 195–203°F for tender, fall-off-the-bone results. Preheat the air fryer and arrange ribs in a single layer with space for airflow. At 375°F you’ll get a faster crust and shorter cook; at 300°F you’ll let connective tissue melt over time. Use a probe thermometer to track internal temp and rely on clear Doneness Indicators: meat pulling back from the bone, probe yield, and ease of separation. When you hit 195–203°F, remove ribs and rest 10–15 minutes to let Carryover Cooking finish and juices redistribute. During the rest, tent loosely with foil. If ribs need slight extra tenderness, return to 275°F for 10 minutes. Follow this timeline and you’ll control texture and consistency every time, and enjoy confidently today.
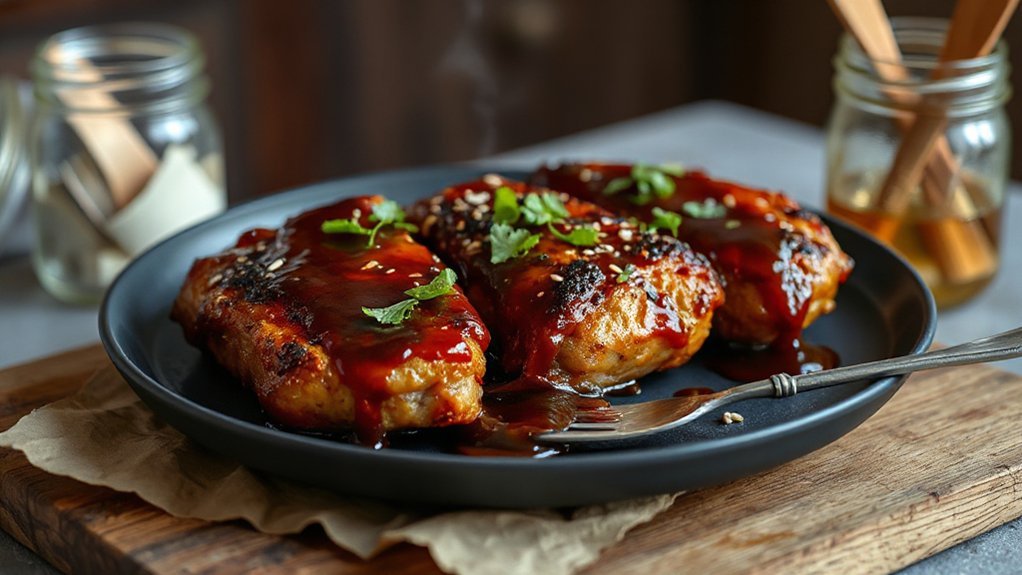
Glazing and Caramelizing With BBQ Sauce
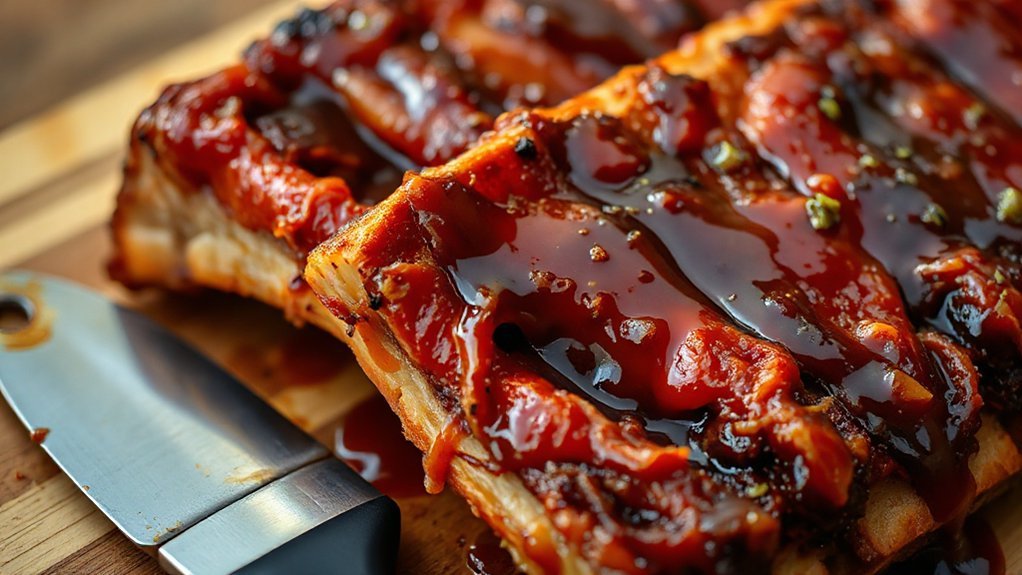
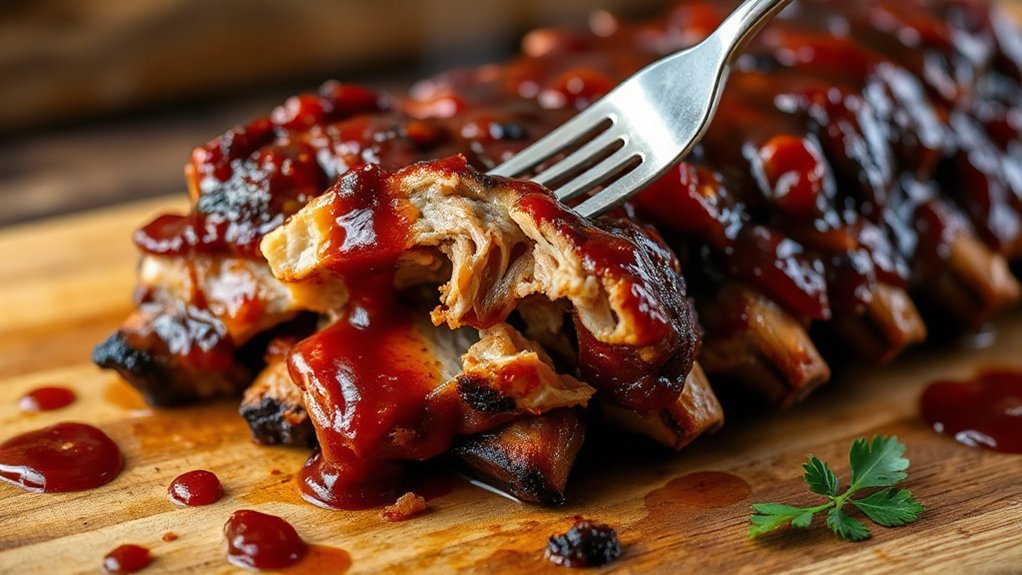
After your ribs have hit 195–203°F and rested, you’ll want to add the BBQ sauce in the final stage to build flavor and a sticky, caramelized finish. Brush a thin, even coat so sugars don’t pool; that first layer soaks into the meat and begins the Sugar Breakdown that creates depth. Pop the ribs back into the air fryer on high for short bursts—30–90 seconds at a time—watching closely so the sauce glosses without burning. Repeat thin layers, letting each tack up briefly, and you’ll speed Gloss Development while controlling char. Use a sauce with balanced sweet and acid components; too much sugar will scorch, too little won’t lacquer. If you like smoke, add a final sprinkle of smoked paprika or a quick spray of liquid smoke before the last glaze. You’ll end up with shiny, sticky ribs with a lively sweet-savory snap that’s worth the attention truly.
Resting, Serving Suggestions, and Storage Tips
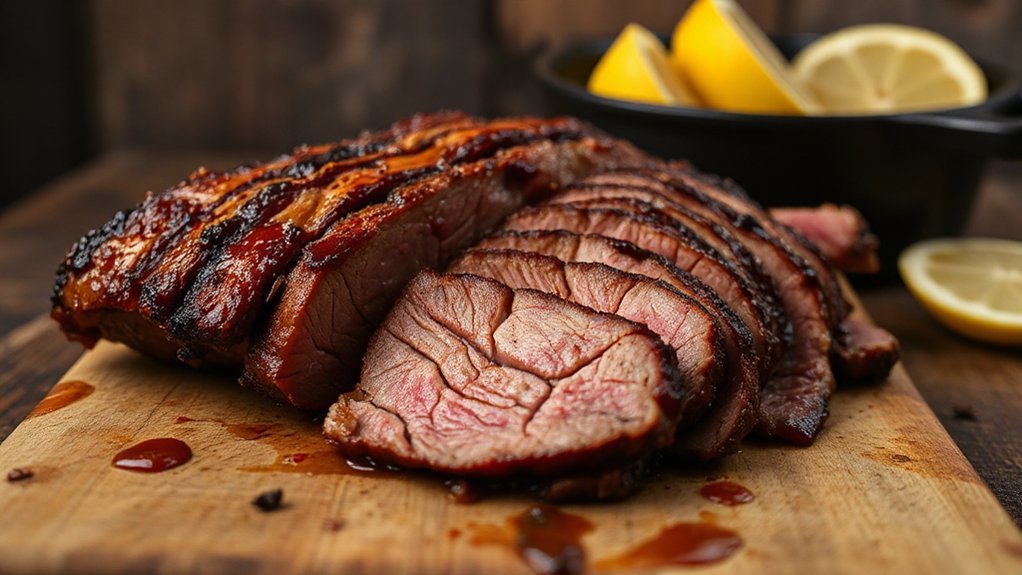
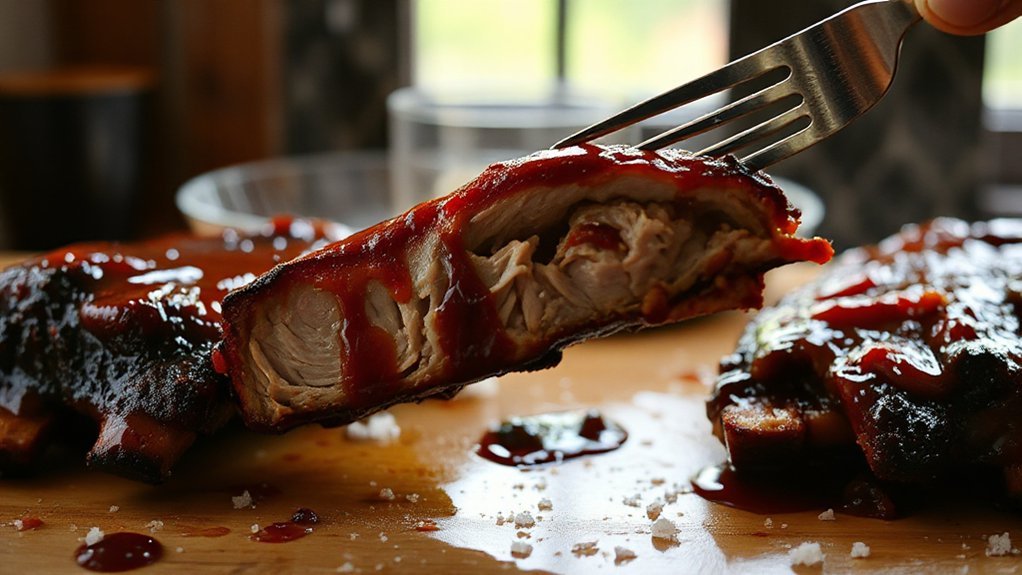
Although you’ve already hit the target temp, let the ribs rest 10–15 minutes so juices redistribute and the meat relaxes; that makes slicing cleaner and keeps every bite juicy. During this resting duration, tent ribs loosely to retain warmth without steaming the crust. When you slice, cut against the grain for tender portions.
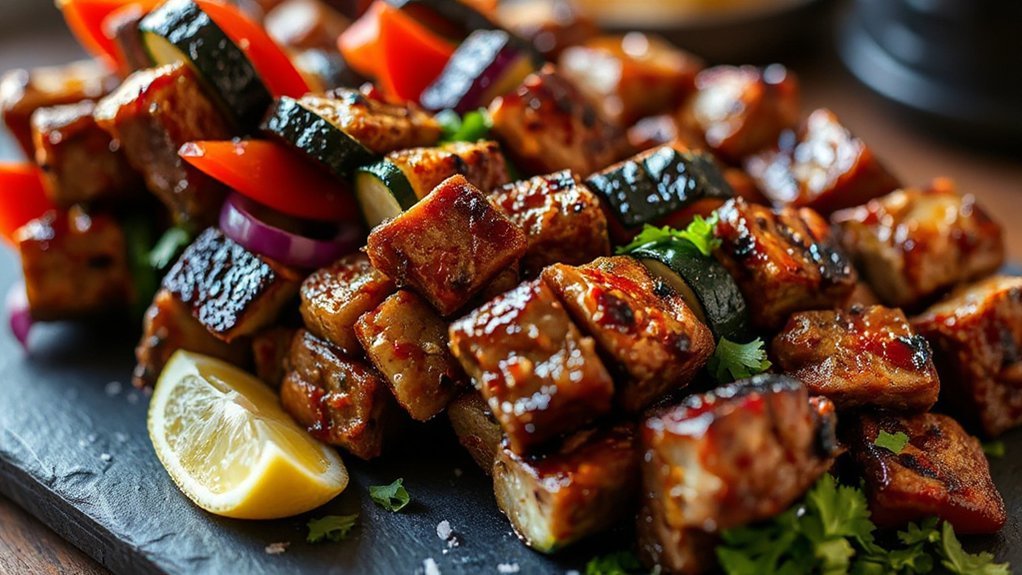
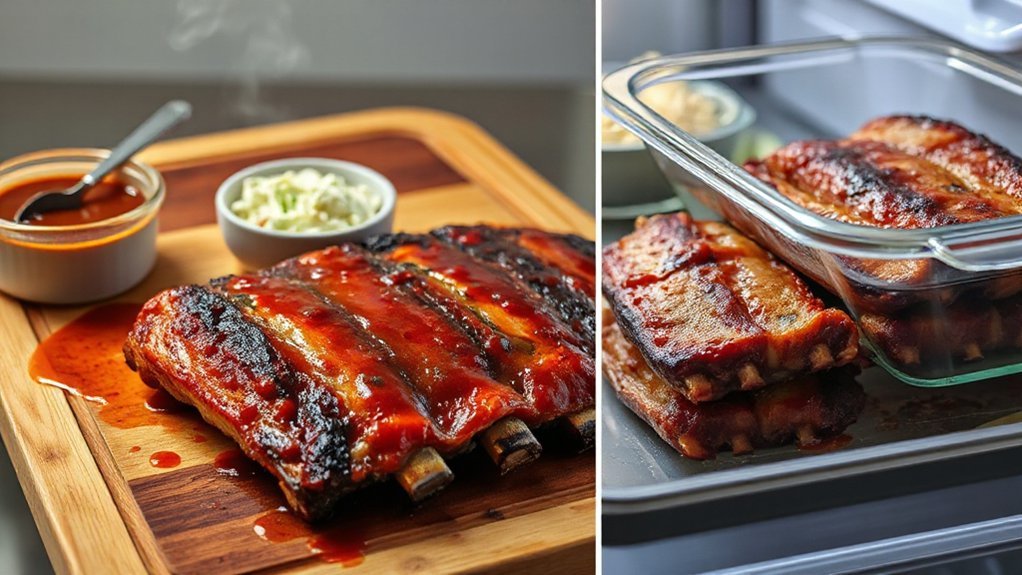
For serving pairings, keep flavors bright textural: tangy coleslaw, grilled corn, crisp pickles, or a salad balance the richness. Offer extra warmed sauce on the side so guests can control glaze levels. Serve with plates and knives — the ribs are fall-off-the-bone but still benefit from cuts.
To store, cool ribs to room temperature within two hours, refrigerate in an airtight container for up to four days or freeze for three months. Reheat gently in a low oven or air fryer with a splash of broth to revive moisture. Label containers with dates for easy rotation.
Conclusion
You’re wrapping up a meal that’s been gently coaxed into surrender by heat and care—these ribs didn’t just cook, they relaxed into bliss. You’ve seasoned, timed, and glazed with patience, and now you’re rewarded with tender, saucy comfort that’ll make conversations linger. Invite people close, forgive the mess, and let forks do the talking. Enjoy the cozy hush that follows—it’s less about food and more about the warmth you shared and memories made, savor them.