
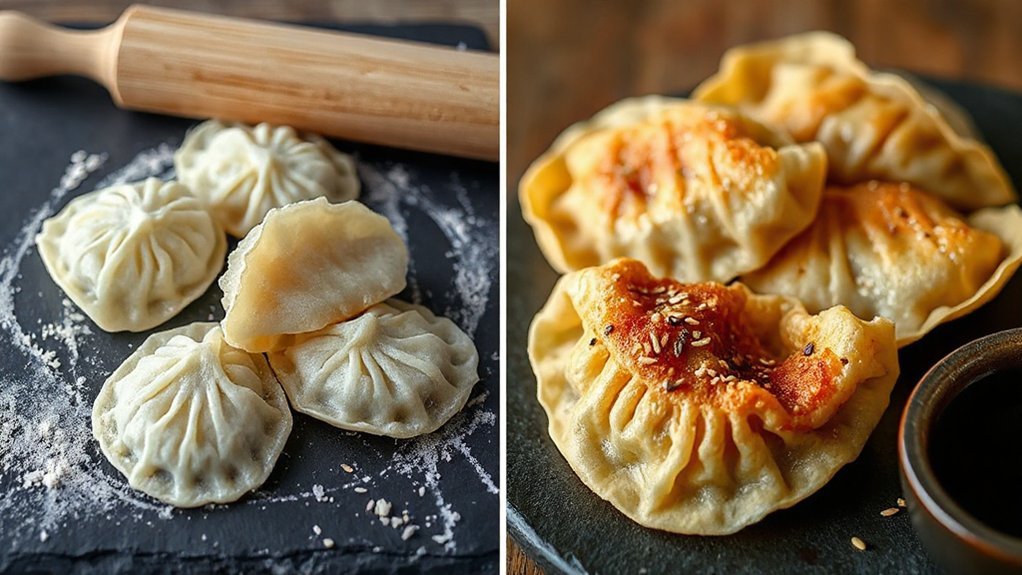
You can get restaurant‑style, ultra‑crisp potsticker bottoms in minutes with an air fryer, whether frozen or fresh. Use a quick steam‑then‑crisp method: steam briefly to set filling and seal wrappers, pat dry, then air fry at 375–400°F (190–205°C) until golden, flipping once. Don’t crowd the basket; give dumplings space and use a light oil mist for color. Keep them warm and serve with dipping sauces— and stick around for tips on timing, prep, and troubleshooting.
Ingredients and Equipment

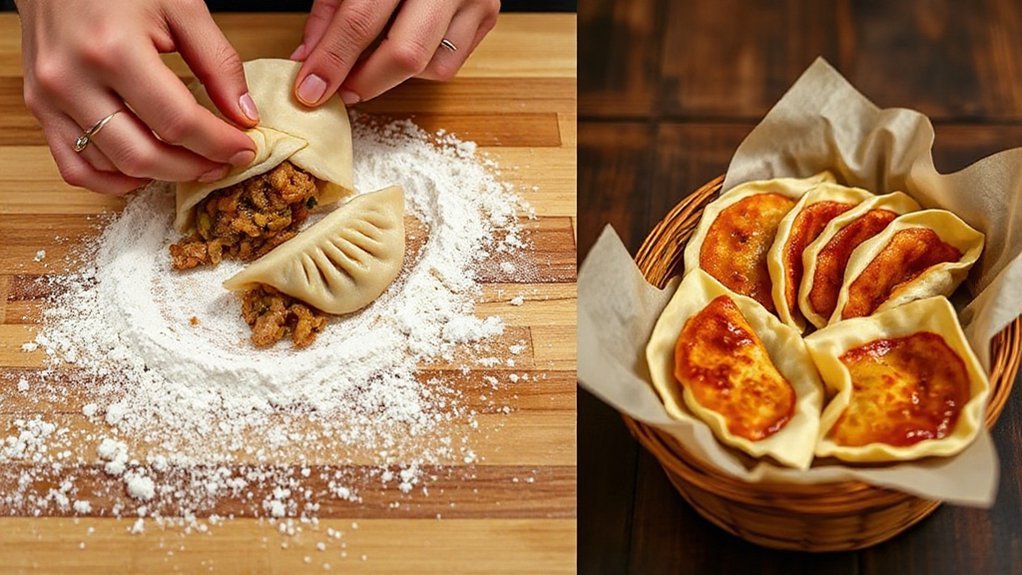
You’ll need simple pantry staples and a few basic tools: ground pork or chicken (or tofu), finely chopped napa cabbage, scallions, garlic, ginger, soy sauce, sesame oil, a little cornstarch and salt and pepper, plus store-bought potsticker wrappers. Gather everything before you start so ingredient sourcing is quick: shop local markets for fresher produce and compare labels for sauces. For equipment, you’ll want an air fryer, mixing bowl, spatula, rolling surface, and a small brush for oil. Keep things efficient—measure fillings, stack wrappers, and have a damp towel to prevent drying. Don’t skip tool sanitation: wipe surfaces, sanitize knives and bowls after handling raw meat, and wash hands frequently. If you’re using tofu, press it well and crumble; if using pork, keep it cold. With smart prep and clean tools you’ll move through assembly fast and end up with uniformly filled potstickers that crisp in the air fryer.
Choosing Between Frozen and Fresh Potstickers
Now that your fillings and tools are ready, you’ve got to decide whether to make fresh potstickers or grab frozen ones from the freezer aisle. You’ll weigh time, texture and budget: fresh gives crisp edges and control over fillings, while frozen saves prep time and reduces guesswork. Consider a clear cost comparison—bulk frozen packs often cost less per dumpling, but homemade lets you choose premium ingredients. Think about day-of convenience; frozen ones go straight from freezer to air fryer, which is perfect when you’re rushed. Don’t forget Packaging impact: excessive plastic or cardboard adds waste, so look for minimal or recyclable packaging if that matters. Also factor freezer space and how often you’ll cook them—occasional indulgence favors fresh, frequent snacking points to frozen. Pick what fits your schedule, palate and values; both crisp up nicely in the air fryer, so you can’t really go wrong every single time.
Prepping and Pleating for Best Results
You’ll learn how the right filling amount and balance keeps potstickers from bursting or turning gummy. Handle wrappers gently and keep them covered so they stay pliable and don’t tear. Then you’ll see simple pleating styles and seals that hold up in the air fryer and look great.
Filling Amount and Balance
While a generous filling might seem tempting, don’t overstuff—aim for a balance of about 1 to 1 1/2 teaspoons for small wrappers or 2 teaspoons to 1 tablespoon for larger ones so the dumpling holds its shape without bursting. Use Ratio Guidelines to portion consistently; you’ll get even cooking and neat pleats. Think texture and Flavor Balance: mix meat, veg, and fat so the filling isn’t dry or soupy. Test one potsticker, tweak seasoning, then fill the rest.
- Keep fillings compact, not bulky
- Avoid excess moisture; drain and squeeze
- Use a small scoop or teaspoon measure
- Seal tightly and press edges to release air
You’ll work faster and get crisp, intact potstickers every time with consistent practice and tiny adjustments.
Wrapper Handling and Care
If your wrappers dry out they’ll tear, so keep the stack covered with a damp cloth and work quickly, taking one at a time. You’ll pat each wrapper gently, check edges, and use a small bowl of water to reseal any cracked spots. Good humidity control means not soaking wrappers—mist lightly or rest under cloth between batches. For frozen sheets, thaw fully on the counter inside a sealed bag to avoid uneven moisture loss. Elasticity maintenance is about gentle handling: don’t stretch aggressively; press and fold with soft, confident movements so the dough springs back. Keep unused sheets layered with parchment or plastic to preserve moisture. These simple steps let you prep consistently for crisp, well-cooked potstickers. You’ll save time and waste, too, regularly.
Pleating Styles and Seals
When you master a few basic pleat styles and sealing moves, your potstickers will look neat and stay intact through air-frying. You’ll learn three classic pleats and simple seals that hold juices and crisp bottoms. Try these techniques, respect regional traditions and even their symbolic meanings when serving. Practice makes fast, tidy folds. Quick tips:
- Basic pinch seal: press edges together, remove air.
- Crescent pleat: fold edge in small overlapping pleats.
- Flower pleat: gather many tiny pleats around top for a decorative seal.
- Tape-style seal: use a water edge and press flat for extra crunch.
You’ll seal confidently, keep fillings secure, and finish with restaurant-worthy results every batch. Practice these seals before air-frying and you’ll avoid leaks while creating appealing, consistent results each time.
Air Fryer Settings, Temperature, and Timing
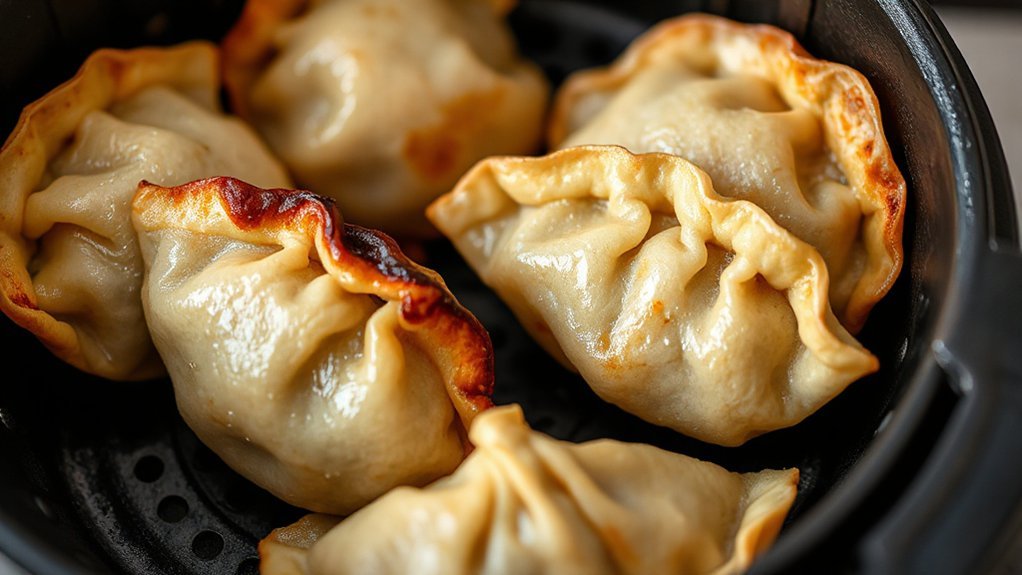


Adjusting your air fryer settings is the quickest way to get potstickers crisp outside and tender inside—you’ll usually want 375°F (190°C) for best results. Set the fan speed to medium if your fryer allows it so circulation’s steady without blasting fragile wrappers; higher fan speeds can dry them too fast. For fresh potstickers, aim for 6–8 minutes, checking at the 5-minute mark; frozen ones typically need 10–12 minutes, shaken gently halfway for even browning. If you’re at high elevation, make simple altitude adjustments: increase temperature by 5–10°F or add 1–2 minutes, since drier air and lower pressure speed evaporation. Always preheat for 2–3 minutes, use a single layer with space between dumplings, and rely on visual cues—golden edges and plump centers—more than strict time alone. These settings give you a reliable baseline; tweak slightly based on your model and filling. Adjustments are small but impact final texture noticeably.
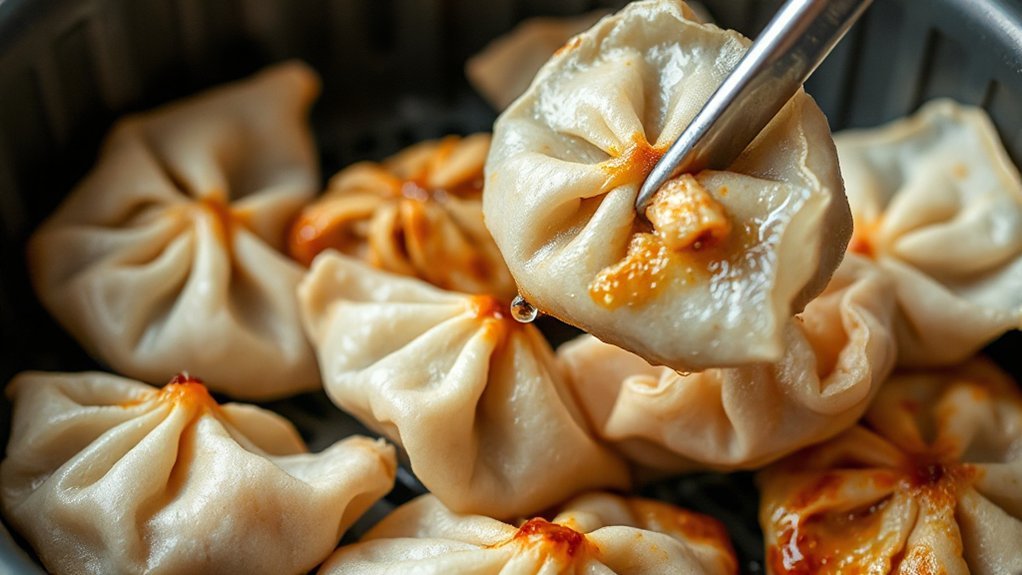
Cooking Techniques for Extra-Crisp Bottoms
You’ll get the crispiest bottoms if you preheat your air fryer so it starts searing the wrappers the moment they go in. Make sure the wrappers are completely dry — any extra moisture will keep them soggy and stop them from browning. Give them a quick steam to set the filling, then finish in the hot fryer to crisp the bottoms golden.
Preheat Air Fryer
Preheat your air fryer to 375–400°F for 3–5 minutes before you add the potstickers; that short warm-up gives the bottoms a head start toward a golden, extra-crisp finish. You’ll improve texture by respecting Preheat timing and watching Indicator lights or the timer so you don’t overheat. When the unit signals readiness, quickly arrange potstickers in a single layer and avoid crowding.
- Use 375°F for delicate wrappers.
- Use 400°F for frozen or sturdier dumplings.
- Watch indicator lights and adjust time.
- Let the basket sit if it breathed steam.
This quick ritual makes a big difference: crisp bottoms without burning, and consistent results every batch. If your model has a preheat mode use it, but always confirm with Indicator lights and quick checks to avoid overheating.
Dry Wrappers Thoroughly
Because excess moisture turns into steam and keeps the bottoms soggy, blot and air-dry your wrappers before they hit the basket so they’ll crisp up fast. Pat each wrapper lightly with a paper towel after filling, then let them rest on a rack for a few minutes; you’ll remove surface dampness that ruins browning. If your kitchen humidity is high, extend the drying time and use a fan pointed across the rack—airflow drying speeds evaporation. Don’t stack wet potstickers; separate them so air circulates. You can lightly dust with cornstarch to absorb lingering damp spots. When the skins feel tack-free and cool, they’re ready. This simple step takes seconds but makes a noticeable difference in crisp, golden bottoms. Don’t skip it; crispy rewards await.
Steam Then Crisp
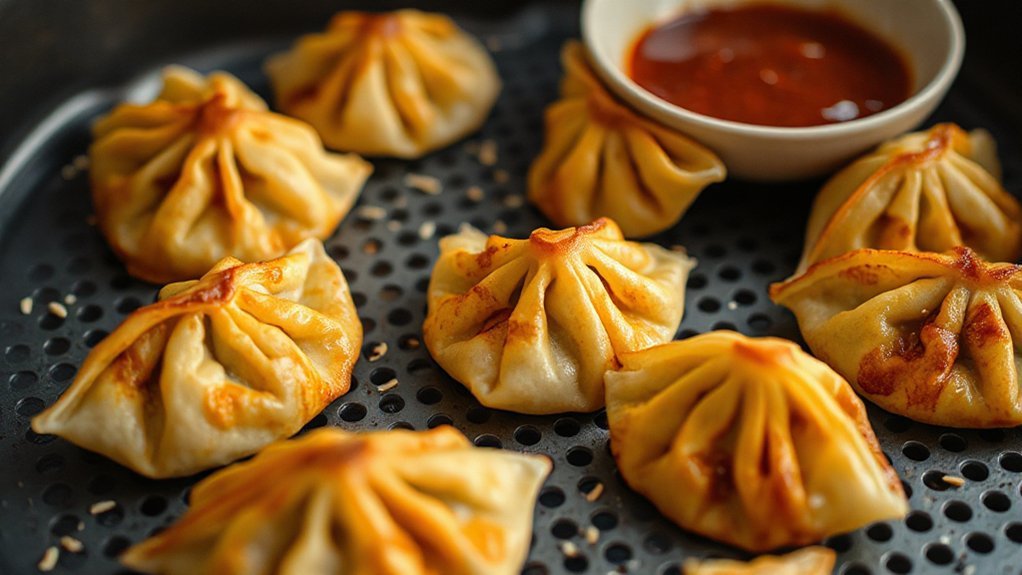
If you want extra-crisp bottoms, use a two-step “steam then crisp” approach: steam briefly to cook the filling and seal the wrapper, then finish in the air fryer to render the bottom golden and crunchy. You’ll love the Layered Textures and lively Sensory Contrast—soft top, chewy pleats, ultra-crisp base. Steam just long enough to set the filling, then pat dry any moisture so the air fryer can do its job. Arrange potstickers with space, and spray a little oil on bottoms for color. Tip: frozen ones need slightly longer crisping.
- Brief steam to set filling
- Pat and dry wrappers
- Air fry at high heat briefly
- Finish with a light oil mist
You’ll notice immediate crunch and a fuller flavor too.
Serving Suggestions and Dipping Sauces
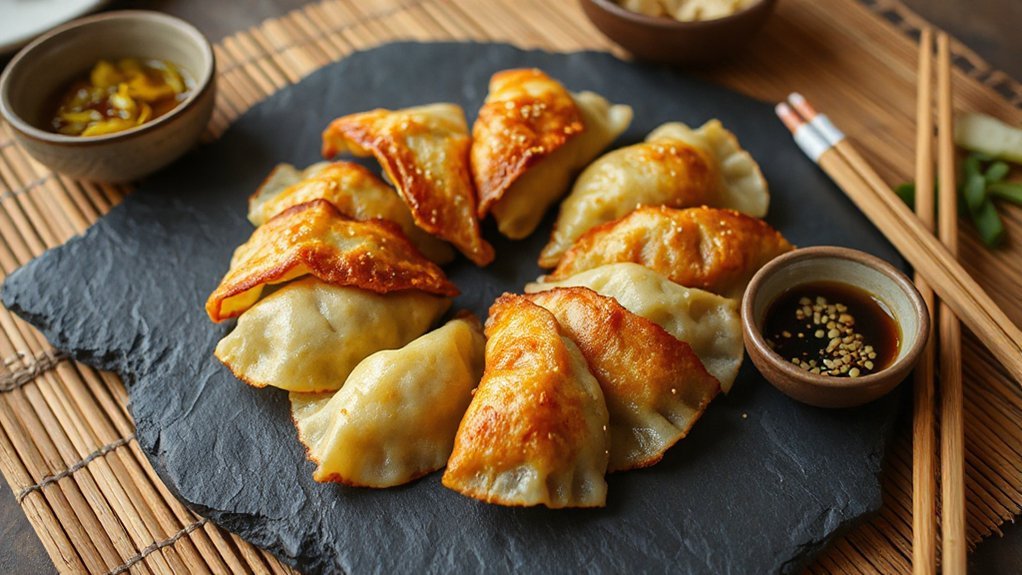
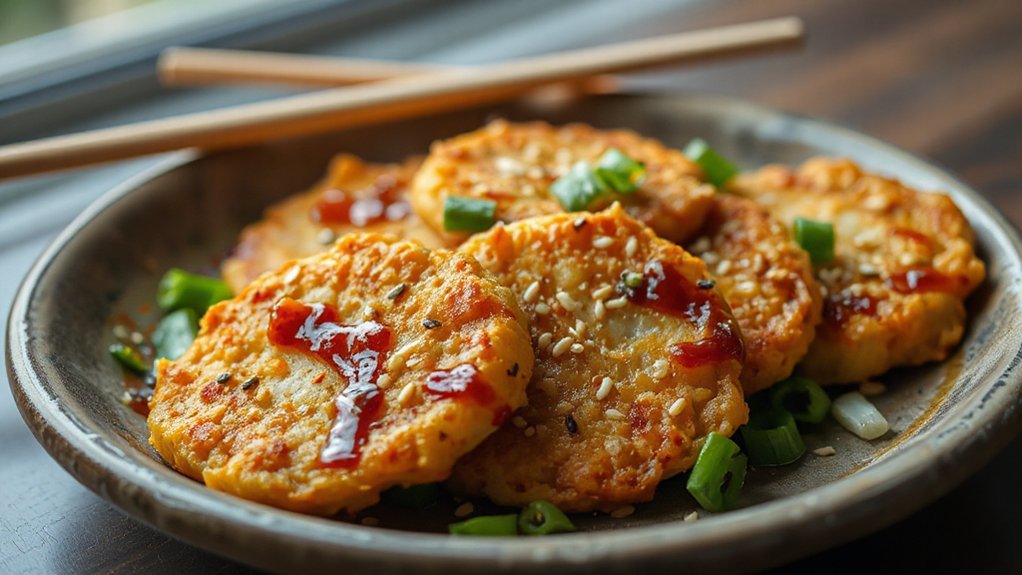
When you’ve got a basket of crispy air-fried potstickers, pair them with bold dipping sauces and a few simple sides that let the filling shine. Start with classic Sauce Pairings: soy sauce mixed with rice vinegar and sesame oil, spicy chili oil with a splash of honey, and a tangy ponzu. Offer a neutral, cooling yogurt-cilantro dip if fillings are extra spicy. Keep sides minimal—steamed jasmine rice, quick cucumber salad, or blanched bok choy—to balance textures.
For Garnish Ideas, sprinkle toasted sesame seeds, thinly sliced scallions, and a few cilantro leaves for brightness. Serve sauces in small bowls so guests can mix and match. Provide chopsticks and small plates to encourage sharing. If you’re hosting, label sauces (mild, spicy, citrus) and set napkins nearby. These simple touches focus attention on the potstickers’ crisp exterior and savory filling, making every bite more satisfying. Enjoy hot, shareable bites with friends.
Troubleshooting Common Potsticker Problems
Although air fryers simplify cooking, you can still end up with soggy, burnt, or torn potstickers—here’s how to fix the most common problems and prevent them next time. If they’re soggy, raise the temp 25°F and give them a few extra minutes, flipping halfway for even crisping. If edges split, don’t overfill and seal with a dab of water. Burnt bottoms? Lower temp and shake basket often. Want to keep flavors pure? Clean the basket between runs to avoid odor transfer and avoid cross contamination by using separate utensils for raw and cooked dumplings.
- Soggy: increase temp, extend time, flip
- Tears: don’t overfill, press seals firmly
- Burnt: lower temp, shake/rotate basket
- Safety: clean basket, separate utensils
Follow these quick fixes and you’ll get reliably golden, intact potstickers every time. Tweak time and temp each batch until you find the perfect combo for your fryer.
Storage, Freezing, and Reheating Tips
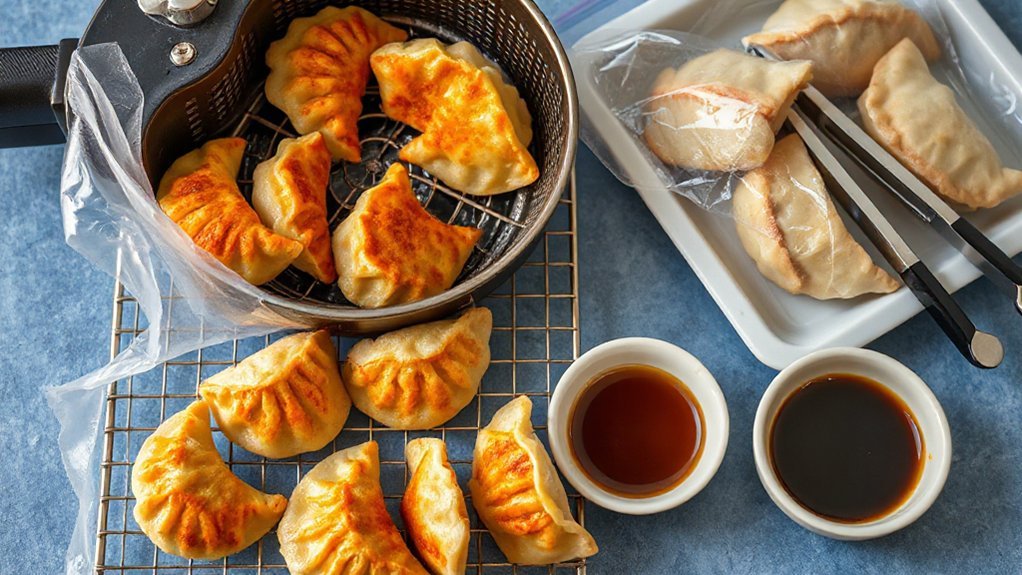
Letting potstickers cool before you pack them helps prevent steam buildup and soggy skins, so give them 10–15 minutes on a rack before storing. Once cool, choose airtight containers or a single layer on parchment to freeze; if you make batches often, consider Vacuum Sealing to block freezer burn and keep flavors bright. Label packages with date and contents, then track everything in a simple Freezer Inventory—list on fridge or app—so you’ll use older packs first. To reheat from frozen, air fry at 370°F 8–10 minutes, flip halfway, until crisp and hot throughout; fresh potstickers need 5–7 minutes. For stovetop revival, add a splash of water, cover to steam, then uncover to crisp. Thawing in the fridge overnight works but reheating from frozen locks texture better. Avoid microwaving unless you want soggy skins; use it only for warming with a paper towel to absorb moisture for best results.
Conclusion
You’ll love how the air fryer turns your potstickers into little golden moons, sizzling and crackling as steam escapes when you bite in. You’ll nail crisp bottoms and tender filling every time with the simple tips here, and you’ll enjoy dipping them into tangy sauce while friends crowd the table. Keep practicing—each batch teaches you something—so you can pull perfect, crunchy dumplings from the basket with confident, happy hands and savor the moment every time.


