
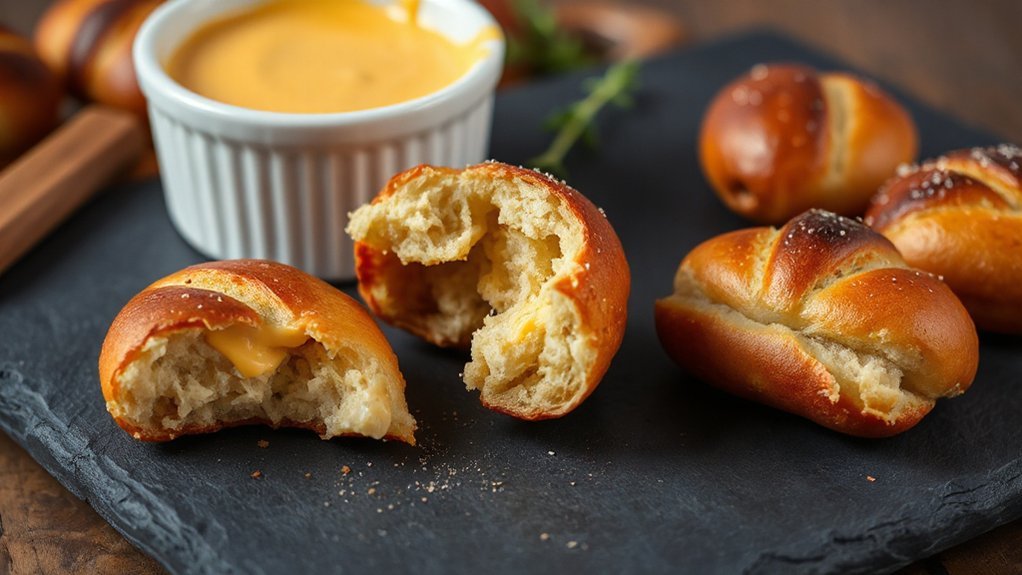
You’ll love how easy it is to make mall‑style soft pretzel bites in your air fryer: mix a simple yeast dough, proof until puffy, roll into ropes, cut into bites, brush with a baking‑soda wash for that glossy crust, then air‑fry until bronzed and chewy. Whip a low‑and‑slow cheddar dip stabilized with a bit of cream cheese or cornstarch for silky results. Try them warm with mustard or pickles—and keep going for tips, timing, fixes.
Why You’ll Love These Pretzel Bites
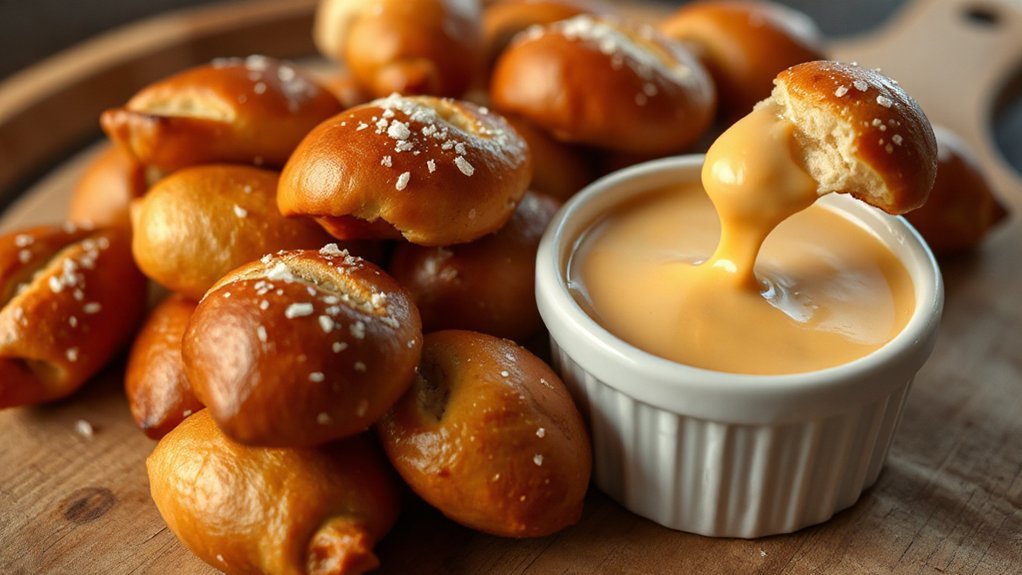
Because they’re ridiculously easy to pull together and taste like a warm bakery bite in minutes, you’ll reach for these pretzel bites again and again. You’ll love how they shortcut mall-food craving into something you can make between errands, delivering that chewy exterior and soft, doughy interior without a huge time sink. They trigger family nostalgia—those Saturday trips and sticky fingers—while feeling fresh and homemade. You won’t need a PhD in baking: simple technique, quick proofing, and your air fryer do the heavy lifting. They’re ideal for weeknight snacks, game-day plates, and last-minute guests, so they behave like a true crowd pleaser wherever you set them down. Pair them with melty cheese dip or let people dunk and chat; the result’s always social, tactile, and satisfying. You’ll keep the recipe in rotation because it’s fast, foolproof, and genuinely fun to share every single time, no fuss, pure joy.
Ingredients You’ll Need
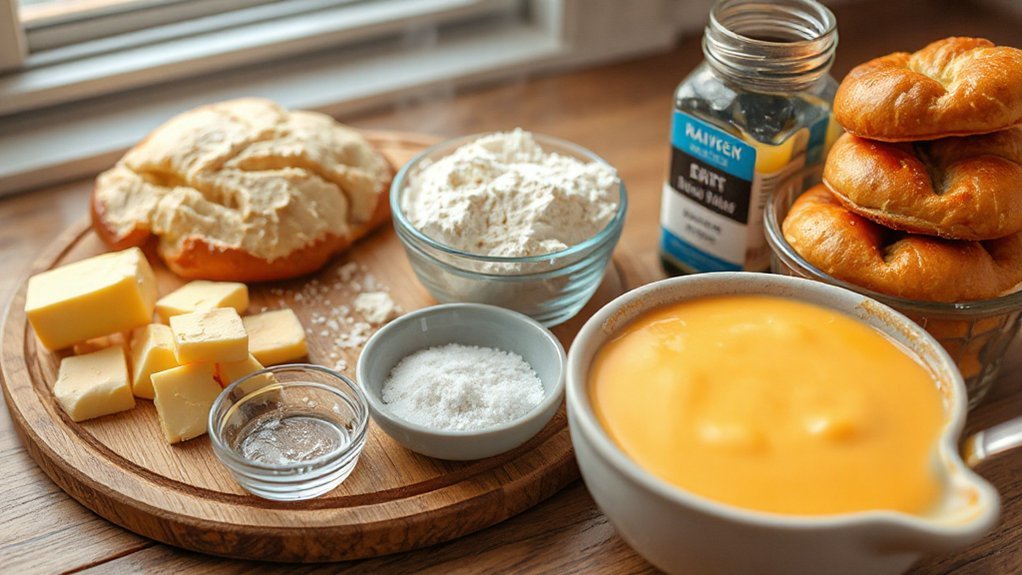
You’ll gather simple dry ingredients — flour, yeast, salt, and a touch of sugar — to form the dough. Then mix in wet ingredients like warm water and melted butter (and an egg if you like) to bring everything together. Finally, whip up the cheese dip with shredded cheddar, a splash of milk or cream, and a pinch of mustard and paprika for extra flavor.
Dry Ingredients
A few pantry staples will do the trick: all-purpose flour, instant (or active dry) yeast, granulated sugar and kosher salt — plus baking soda for the alkaline bath and a bit of extra flour or cornmeal for dusting. You’ll want about four cups of flour; if your brand lists protein percentages note mill variations, since that changes chew. Measure yeast and sugar precisely so bites rise reliably. Kosher salt seasons without overpowering; use flaky finishing salt after baking if you like contrast. Baking soda creates that pretzel tang and glossy crust in the alkaline soak, so don’t skimp. Keep an eye on packaging impact — airtight bags keep flour fresher and prevent moisture. That’s all the dry stuff you need to nail texture and flavor.
Wet Ingredients
With the dry ingredients sorted, gather the wet ones: warm water (about 1–1¼ cups at 105–115°F) to proof the yeast, melted unsalted butter for richness, and one egg (plus a splash of water) for the glossy egg wash. You’ll also want a touch of honey or sugar to wake the yeast — optional, but helpful — and a bit more melted butter to brush the finished bites. Choose ingredients with sustainable sourcing in mind: pick butter and eggs from trusted producers, and practice label reading to avoid additives. Measure carefully; yeast likes consistent temperatures. Keep everything at hand and slightly warmed so the dough proofs quickly, and you’ll be ready to move on to shaping and air frying. Have fun — these steps set you up.
Cheese Dip Components
Grab sharp cheddar, cream cheese, and a splash of milk or cream to form the base of a creamy, melty dip — then add butter, a little garlic (fresh or powder), Dijon or yellow mustard, and Worcestershire for depth. You’ll want to finish with grated Parmesan or a touch of blue for complexity and stir until smooth. Taste as you go: lemon juice or a few drops of vinegar gives acid balance, cutting richness. Salt carefully and include cracked black pepper. For savory lift, toss in umami boosters like a dash of soy sauce, miso, or a sprinkle of smoked paprika. Keep consistency spoonable; warm gently before serving so the flavors meld and the texture stays silky. You’ll dunk every bite and grin loudly.
Equipment and Prep Tips
Line up your essentials: an air fryer that fits at least a single cookie-sheet worth of bites, a rolling pin or bottle, a sharp knife or bench scraper, a silicone brush, and a kitchen scale for consistent dough. Set your Workstation Setup near the fryer so you can transfer trays quickly, and practice strict Tool Sanitization on surfaces and utensils. Keep bowls, measuring spoons, and a timer within reach. Chill the butter and water when recipe calls for it; room temperature ingredients follow later.
| Item | Purpose |
|---|---|
| Air fryer | Crisp bites without deep oil |
| Scale | Accurate dough consistency |
| Silicone brush | Egg wash and oil control |
| Bench scraper | Even cuts, tidy work |
Organize a trash bowl and parchment-lined tray for staging. Preheat the air fryer and label bowls for wet/dry to speed the process. You’ll stay calm and efficient, and the bites will thank you. Enjoy the process and share.
Step-by-Step Dough Preparation
Now that your station’s set, it’s time to make the dough: measure your flour, active dry yeast, salt, and sugar on the scale, then whisk the dry mix so it’s evenly combined. Warm water activates yeast—aim for 100–110°F (38–43°C) to respect temperature control; cooler slows, hotter kills. Combine water and oil, pour into the dry bowl, and stir until a shaggy mass forms. Knead on a lightly floured surface 6–8 minutes until smooth and elastic; you’ll feel gluten develop. Quick reminders:
- Measure precisely
- Watch hydration ratios
- Keep temperature control
Place dough in a lightly oiled bowl, cover, and proof until doubled—usually 60–90 minutes depending on room temp. Punch down gently, rest 10 minutes before shaping. This builds structure, creates predictable texture, and helps your bites bake evenly and stay soft inside and taste great while the cheese dip warms gently and you preheat the air fryer for cooking.
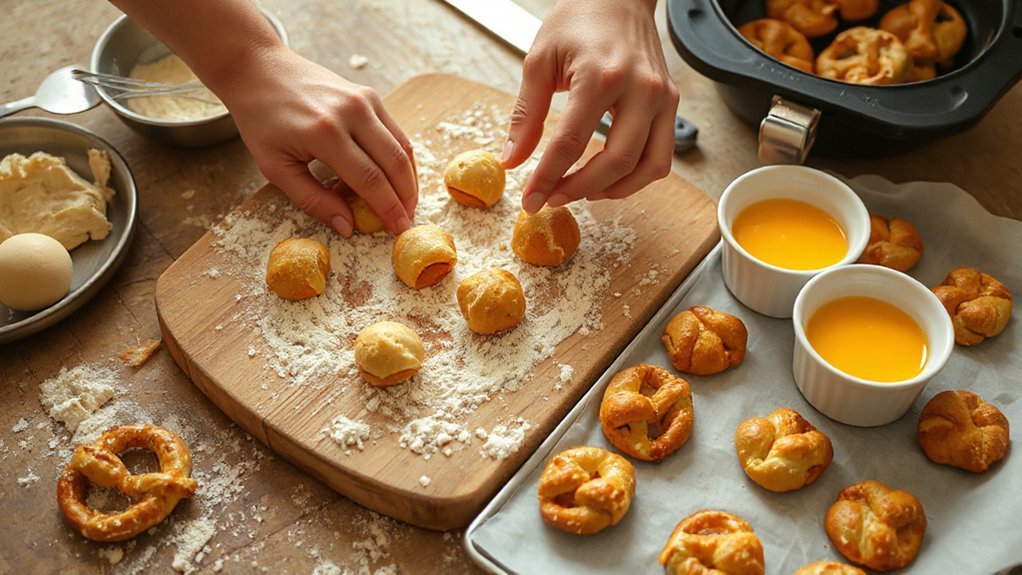
Shaping, Cutting, and Rolling the Bites
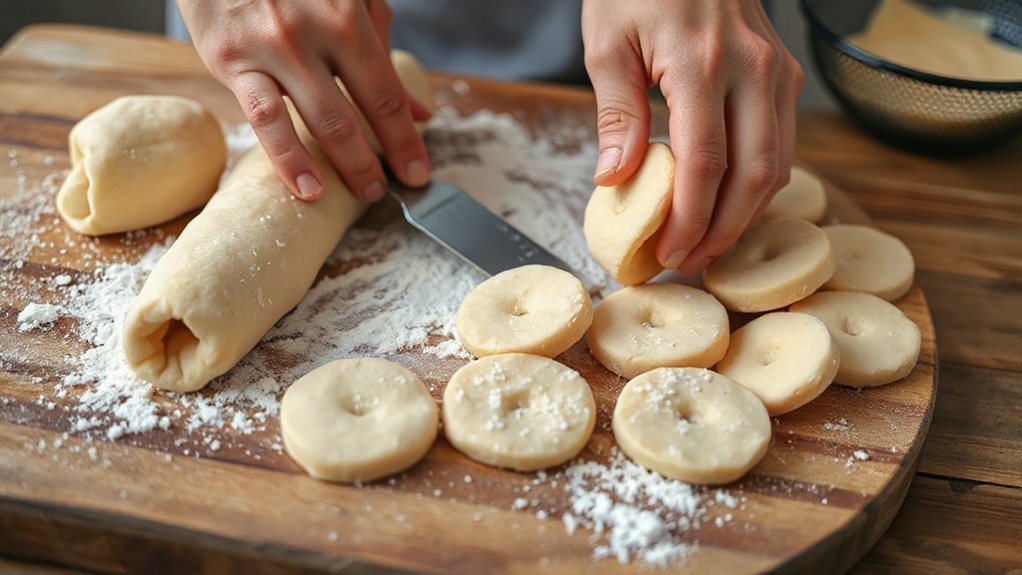
Rolling your dough into even ropes makes the rest easy: lightly flour your work surface, press the dough into a rectangle, then roll it into ropes about 1/2 inch thick (aim for consistent thickness so bites cook evenly). Use short, confident strokes and let your wrist mechanics guide the motion—you’ll use a gentle flick and a steady forward roll to keep ropes uniform. Pause to feel the dough; tactile feedback tells you if it’s sticky or dry, so add tiny flour dustings or a splash of water as needed. When ropes are ready, slice with a sharp bench knife or unfloured cutter into roughly 1-inch segments. Tuck each piece under slightly with a fingertip to form a smooth top, or squeeze ends together for mini knots. Arrange bites on a lightly oiled tray, spaced apart so they puff without squashing. You’ll get rhythm; practice makes perfect.
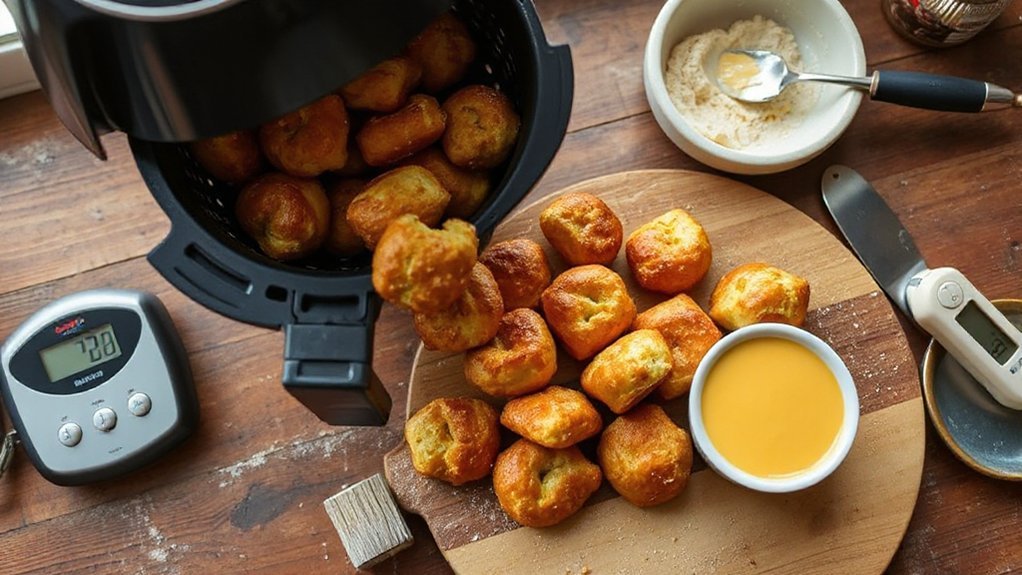
Air Fryer Time, Temperature, and Technique


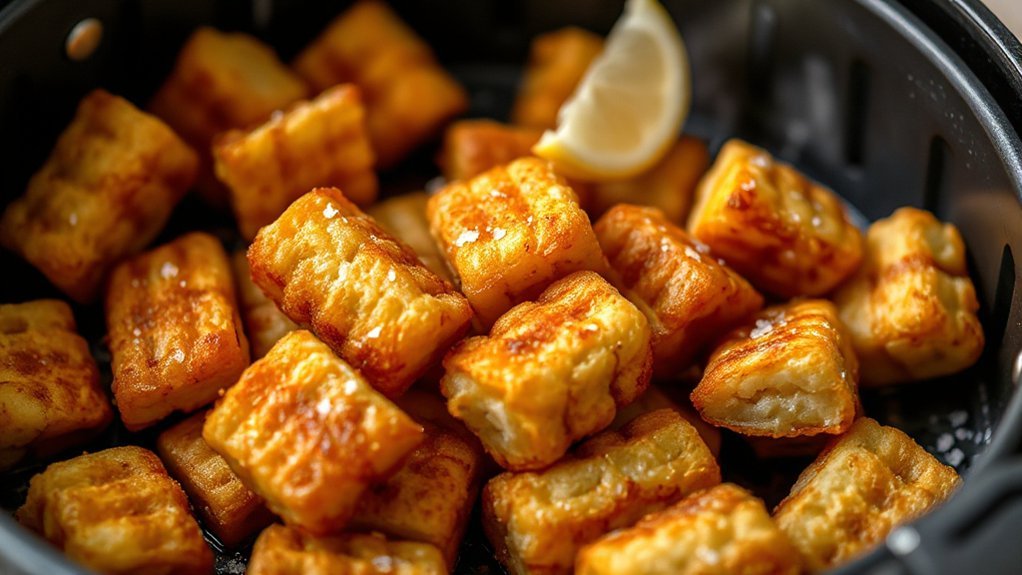

Once your bites are shaped and arranged, you’ll shift to the air fryer where quick, hot air gives them that golden, puffy finish. Preheat to 375°F to balance browning and oven-style rise; you’ll see Temperature variance between models, so start checking at 8 minutes. Use Airflow mapping — don’t crowd the basket — so heat circulates evenly and every bite puffs. Flip once halfway for uniform color. For a standard 1-inch bite, aim for 9–11 minutes total, adjusting for size.
- Monitor: check at 8 minutes, then every 1–2 minutes until done.
- Space: leave gaps; overlapping causes uneven cooking despite high temps.
- Adjust: drop 10–15°F if outsides brown too fast; raise if dough remains pale.
You’ll learn your fryer’s quirks quickly; with this timing and technique you’ll get consistent, mall-style soft pretzel bites at home. Taste and tweak each batch until you nail your perfect bite.
Brushing, Salting, and Achieving the Glossy Crust
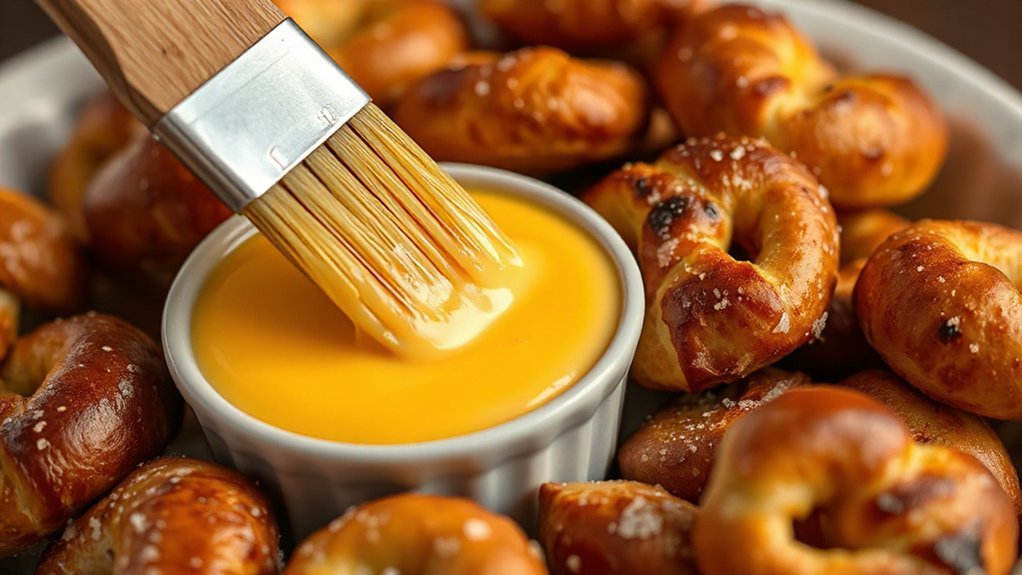
Brushing a quick baking-soda wash gives your bites that shiny, mahogany crust and helps coarse salt cling—so paint each piece evenly, avoid puddles, and work fast so the wash stays on the surface.
| Step | Tool | Tip |
|---|---|---|
| Brush | Pastry brush | Quick strokes |
| Salt | Fingers/sieve | Light scatter |
You’ll time your brush timing to hit each batch just before the air fryer; if you wait too long the wash soaks in and browning suffers. For salt placement, sprinkle right after brushing so granules stick, but don’t overload—aim for a light, even scatter. Use a small sieve or your fingers for control. After brushing and salting, give pieces space on the basket for even airflow; crowded bites steam instead of crisp. Flip once halfway for uniform color. Let the pretzels rest a minute before serving so the crust sets. Happy baking—these steps make that irresistible glossy, salted finish every time. Enjoy them.
Velvety Cheese Dip Recipe
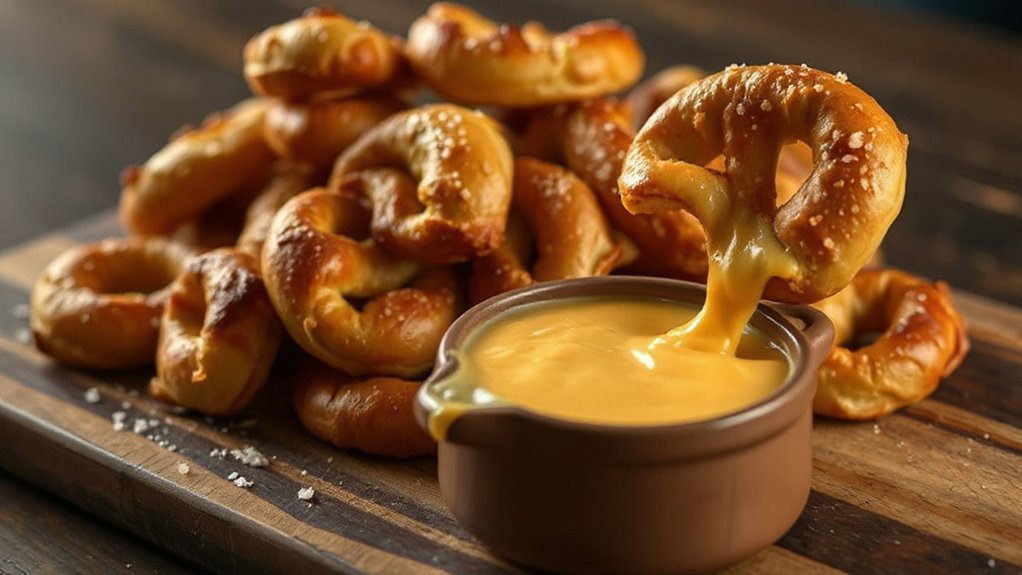
Pick a base cheese—sharp cheddar for tang, Gruyère for nuttiness, or melty American for classic stretch—to set the flavor tone. You’ll get a velvety texture by warming gently, whisking in a splash of milk or cream, and stabilizing with a cornstarch slurry or a bit of cream cheese. Finish with mustard, paprika, or chiles for kick, and serve hot with pretzel bites, pickles, or sliced sausages.
Base Cheese Choices
Foundation matters: pick a smooth, meltable base—like sharp cheddar for bold flavor, American or Velveeta for ultra-silky texture, or Gruyère for a nutty, sophisticated note—then use small amounts of cream cheese or mascarpone to stabilize and add creaminess. You’ll choose based on Melting behavior and Fat content: sharp cheddar gives bold taste but can separate; American or Velveeta deliver ultra-silky, consistent melt; Gruyère offers a nutty, elegant profile. Keep additions minimal so the base shines.
- Flavor impact: sharp vs. mild choices define bite.
- Melt reliability: higher fat and processed cheeses trustably flow.
- Texture balance: combine for stretch without greasiness.
Trust your palate and experiment: small swaps change melt, taste, and mouthfeel quickly. Start with one swap per batch for clear comparison.
Creaminess Technique
Building a velvety cheese dip is all about controlling heat, emulsification, and a few simple stabilizers so your sauce stays shiny and smooth instead of grainy or greasy. You’ll melt cheese low and slow, whisking in a warm dairy base to create a stable emulsion; sudden high heat breaks proteins and makes grit. Add a touch of starch or cream cheese as a stabilizer to bind water and fat, and a splash of acid to brighten without breaking the sauce. Stir constantly and cool gently to avoid fat crystallization that leads to grainy texture. Think of mouthfeel science: glossy, cohesive sauce comes from balanced fat-to-water ratios and patient technique. You’ll get creamy, clingy dip every time. Reheat slowly, whisking, and always enjoy controlled silkiness.
Serving & Pairings
Now that you’ve got a silky, stable cheese dip, think about how to showcase it: air-fried pretzel bites are the obvious star, but it also sings with crisp breadsticks, warm soft pretzels, or rustic sourdough cubes.
- Air-fried pretzel bites and breadsticks for dunking.
- Veggie sticks and sourdough cubes for balance.
- Curated Beverage Flights—lagers, ciders, unoaked whites.
Serve in a shallow bowl with a small ladle, add pickles and toasted nuts for texture, tie pairings to Holiday Themes, and keep napkins nearby—and enjoy. Encourage guests to mix elements, spoon dip over fries, and swap bites across the platter for playful variety. This setup suits casual parties, themed Holiday Themes, and pairs beautifully when you design Beverage Flights around salt and fat. Delight.
Serving Suggestions and Storage
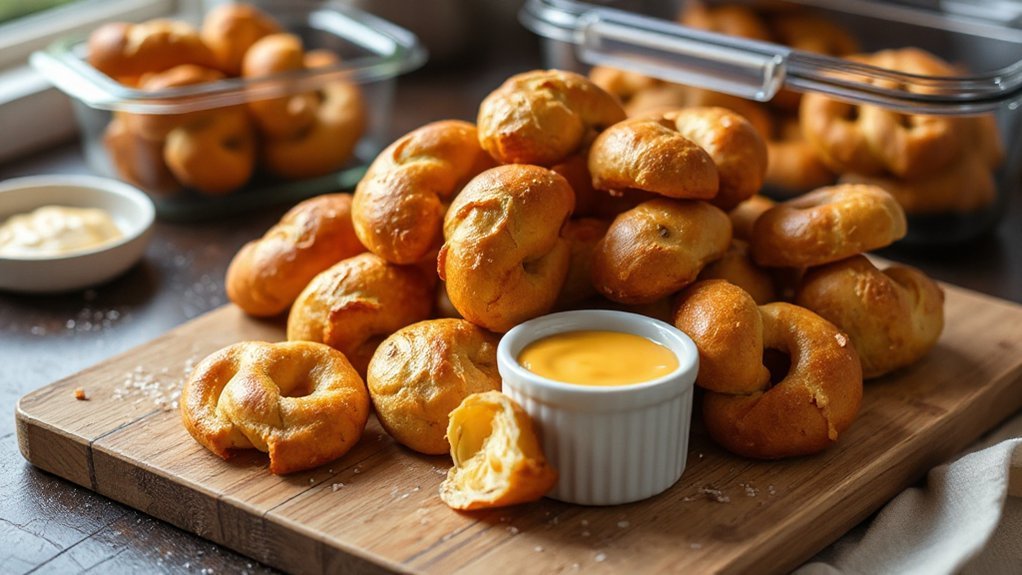
When you’re ready to serve, pile the warm pretzel bites on a platter with the cheese dip in the center and a few extra dippers—mustard, honey mustard, or a garlic-herb butter—so everyone can customize their bites. Toss in pickles or sliced apples for contrast, and offer a cold beer or sparkling cider. For a party, keep extras warm in a low oven or insulated carrier so guests can grab fresh batches. Practice Storage Rotation and Labeling Dates to keep track.
When you store leftovers, cool bites completely, then use shallow airtight containers. Reheat gently in the air fryer for crispness, or microwave briefly and finish in a skillet. Consume within 3–4 days, or freeze for up to 2 months, thawing overnight in the fridge before reheating. Then enjoy immediately! If serving for kids, cut pieces small and offer napkins and wet wipes on the side.
Troubleshooting Common Pretzel Problems
Why did your pretzel bites come out dense, pale, or soggy? You likely rushed proofs, skipped a proper boil, or overcrowded the air fryer. Check dough hydration and warm rise; under-proofed dough stays dense. A quick baking soda dip gives color and chew; don’t skip it. Air fry in batches for crispness—Batch Scaling matters.
- Underproofing: let dough double; gentle poke springs back slowly.
- Skipping the boil: dip briefly in baking soda bath for Maillard color.
- Overcrowding: give pieces room to crisp; work in smaller batches.
If you have dietary concerns, label swaps and cross-contact steps help with Allergen Avoidance—use dedicated tools and surfaces. Taste and texture improve with small adjustments, so tweak timing, temp, and batch size until your bites pop with that golden, soft interior and snappy exterior. Keep notes; you’ll master texture and timing after a few runs for sure.
Conclusion
You nailed these soft air fryer pretzel bites — you’ll wow friends and family with minimal fuss and maximum flavor. Keep practicing the twist; soon you’ll pull off mall-quality bites faster than a mixtape swap at a 90s sleepover. Store leftovers in an airtight container, reheat briefly in the air fryer, and dunk into that velvety cheese dip. Enjoy every warm, salty bite today, and don’t forget to share (or not — your secret’s safe, too).


