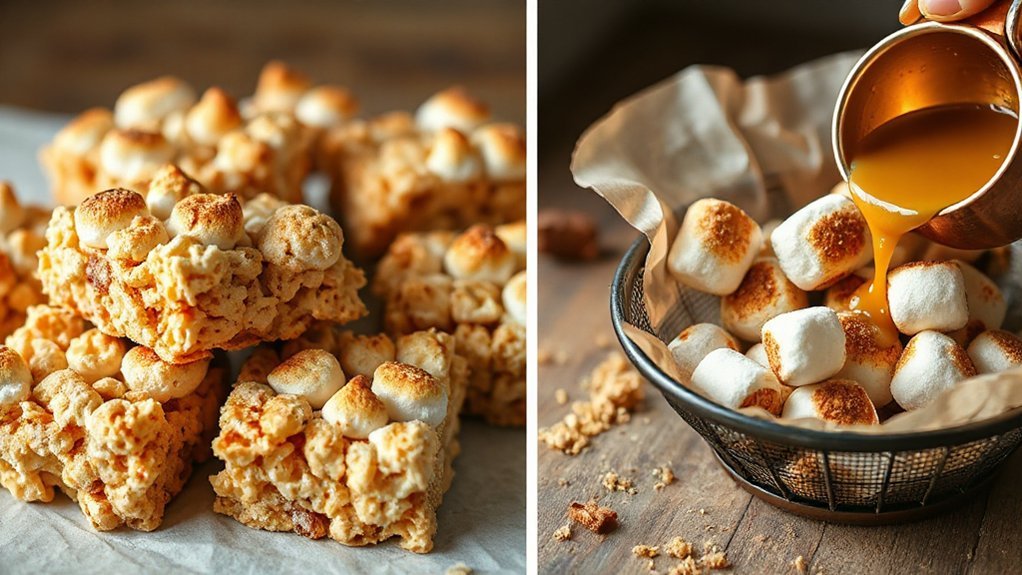
You can make nostalgic, crispy-chewy Rice Krispie treats in an air fryer fast: brown 6 tbsp butter until nutty, melt about 10 oz marshmallows with the butter, stir in 6 cups cereal, press into a greased 6–8″ pan and air-fry at 300°F for 3–5 minutes to set and crisp edges. Cool briefly, cut with an oiled knife, right away, and add dips or sprinkles. Keep them airtight; scroll on to get exact tips and timings.
Ingredients
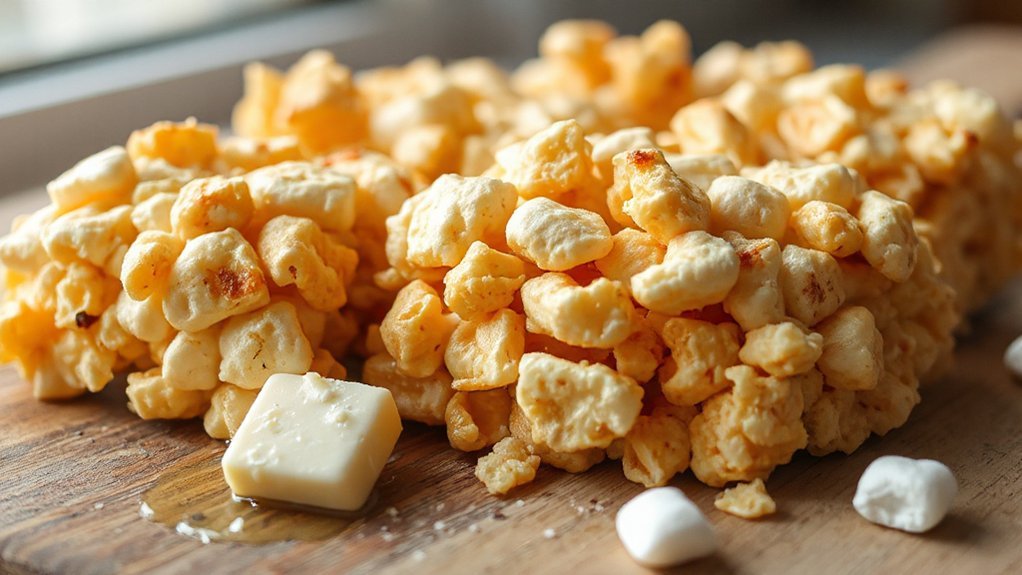
A few simple ingredients are all you need: butter, marshmallows, and Rice Krispies cereal form the base, with a splash of vanilla and a pinch of salt to boost flavor. You’ll gather 3 tablespoons butter, about 4 cups mini marshmallows (or 10 ounces chopped), and 6 cups cereal for a sturdy, chewy batch. Add vanilla and salt, and optionally fold in mix-ins like chopped nuts, dried fruit, or seasonal ingredients such as pumpkin spice chips in fall or zesty candied peel in summer. If you want eco-friendly choices, look for sustainably sourced butter and cereals with transparent supply chains — sustainable sourcing matters for flavor and conscience. For texture, lightly toast the cereal before combining, or press the mixture firmly into the pan for compact bars. You’ll keep measurements simple, swap ingredients confidently, and still capture that nostalgic chewiness with bright, fresh flavor. Enjoy every gooey, crispy bite.
Equipment Needed
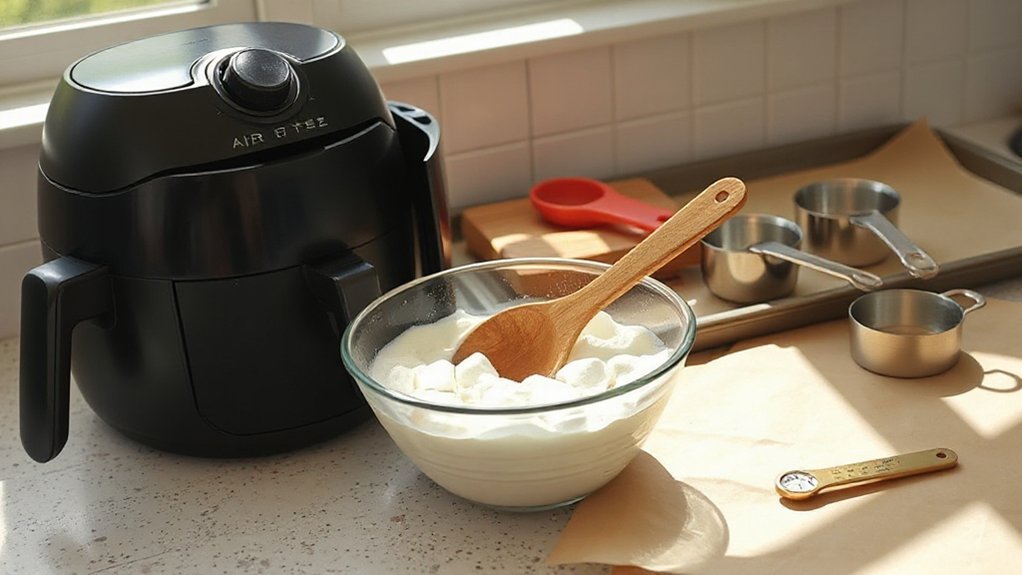
You’ll need a compact set of tools to make these in your air fryer: an air fryer with a removable basket or tray that fits a small heatproof pan, a small saucepan or microwave-safe bowl for melting butter and marshmallows, and a heatproof spatula or wooden spoon for stirring. Add a 6- to 8-inch heatproof pan or cake tin that fits snugly in the basket, and bring parchment liners to ease removal and cleanup. You’ll want a silicone spatula for folding in cereal without scratching the pan and for getting every sticky bit out.
Also gather a kitchen scale or measuring cups, an oven mitt or silicone gloves for safe handling, and a sharp knife for portioning. A small sheet of foil can help stabilize the pan in older baskets. Nothing fancy—just durable, easy-to-clean pieces so you can move fast, avoid mess, and get perfectly crisp, nostalgic treats.
Browned Butter Method
You’ll follow a tight step-by-step for browned butter: melt, let it foam, watch the milk solids turn golden, and be ready to stop immediately. Timing and heat control matter—keep the flame medium-low, stir or swirl constantly, and remove the pan the moment the bits hit a chestnut brown. That nutty, caramelized finish deepens the marshmallow flavor and crisps the edges, giving your Rice Krispie treats a richer, more complex bite.
Brown Butter Step-by-Step
Step 1: melt 6 tablespoons of unsalted butter in a light-colored skillet over medium heat, stirring or swirling constantly so it doesn’t scorch. You’ll watch the foaming, then the milk solids brown and smell nutty; that aroma tells you it’s done. As you work, mind safety considerations—hot butter splatters and handles get hot, so use mitts and have a bowl ready. Remove the skillet from heat and transfer the butter to a cool dish to stop cooking, scraping browned bits with a spatula so nothing’s wasted. Use the brown butter right away in your marshmallow mix for warm, toasty flavor. Note cultural variations: some swaps (ghee, browned coconut oil) echo similar richness in different cuisines. Taste and adjust other ingredients to complement it nicely.
Timing and Heat Control
Because butter keeps cooking after you pull it off the heat, watch it closely as it browns: keep the skillet over medium to medium-low heat so the foam rises and the milk solids toast slowly, and expect the whole process to take about 4–8 minutes depending on your stove and pan. You’ll want to nudge heat down the moment you see amber flecks; that prevents overshoot with carryover cooking. Use a timer but trust sight and smell. If you need to pause, remove the pan from direct heat—thermal ramping continues, so don’t set it on a hot burner. When it’s pale gold with nutty aroma, transfer immediately to your mixing bowl. That tight control keeps texture consistent and saves the batch. You’ll thank yourself later, seriously.
Flavor Effects on Treats
When you brown the butter before folding it into the cereal, the treats pick up warm, toasty, almost caramel-like notes that lift the whole bite and cut through cloying sweetness. You’ll notice a deeper flavor profile: nutty edges, a hint of savory, and a rounded finish that keeps each bite interesting. Browned butter alters texture subtly, making edges slightly crisper without changing chew. Use small batches and watch the pan; those Maillard aromas develop fast and reward attention. Pay attention to Sensory Memory—these scents stick with people—and plan serving timing to maximize Aroma Interaction between butter, marshmallow, and cereal. Practically, start with less butter, taste, and adjust next batch. You’ll get reliable, nostalgic results every time. Share immediately for best contrast and smiles today.
Marshmallow Melting Tips
Melting marshmallows properly makes or breaks your Rice Krispie treats, so you’ll want to heat them gently and stir constantly to get a smooth, glossy mixture. You’ll use low heat and a wide pan so the marshmallows melt evenly; that matters for texture science and to avoid sugar crystallization. Keep spatula contact continuous, scraping sides to prevent graininess. If microwaveing, stop early and stir, repeat short bursts. Add butter first so fat coats sugars, improving flow. Don’t overheat — bubbling vigorously destroys chew. If a few lumps remain, residual heat will finish them; resist adding liquid. Cool slightly before handling to keep structure. Use this quick reference:
| Tip | Why it helps |
|---|---|
| Low heat | Even melting |
| Stir constantly | Prevents crystals |
| Add butter first | Coats sugars |
Follow these steps and your batch will be glossy, smooth, and reliably chewy. Keep practice short; timing and heat control make perfect results consistently.
Assembling the Treats
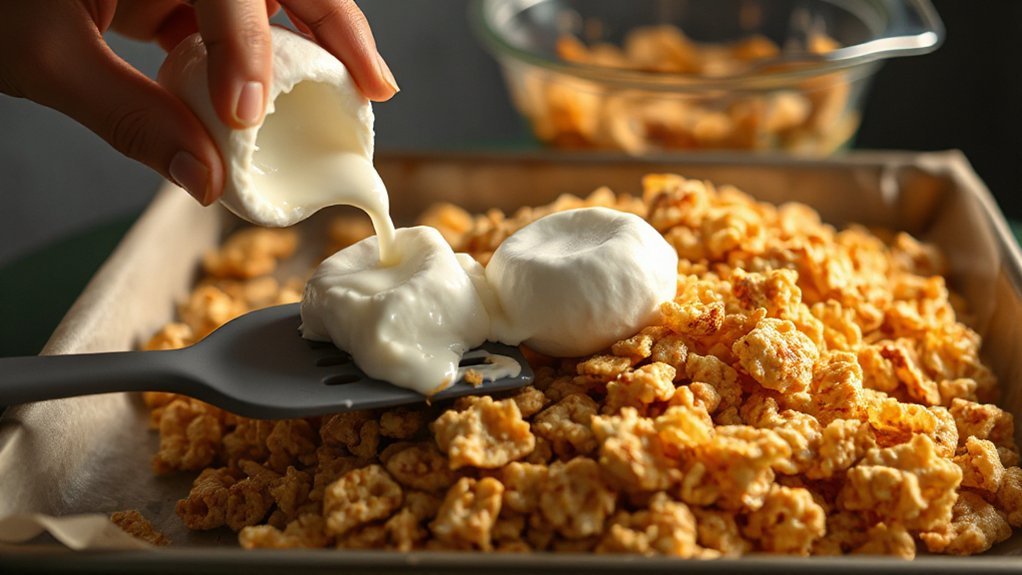


First, grease your pan well so the treats release cleanly. Press the hot marshmallow–rice mixture evenly with a buttered spatula or a piece of wax paper to get uniform thickness. Once cooled, cut into squares and serve immediately or store airtight for later.
Greasing the Pan
Greasing your pan keeps the treats from sticking and makes lifting them out a snap, so don’t skimp—coat the bottom and sides with butter or a nonstick spray. You’ll want an even, thin layer so marshmallow mixture won’t cling to pan textures or fight your release mechanisms. If you prefer, line with parchment after greasing for extra confidence. Quick tips to streamline:
- Use a paper towel to spread softened butter into corners for full coverage.
- Spray a light, even mist of oil spray for metal pans with smooth surfaces.
- Grease then parchment for rough or cast pans to combine textures and release mechanisms.
Greased properly, you’ll save time and avoid ruined edges. Let it cool slightly before handling so pieces hold their shape firmly.
Pressing Mixture Evenly
Pressing the mixture evenly will give you clean edges and uniform pieces, so work while the marshmallow is still warm and pliable but not scorching. Use a piece of greased parchment and a lightly oiled spatula or your hands to shape quickly. Think of pressure mapping: press more along corners and edges, easing off in the center to avoid doming. Establish a consistent compression pattern — strokes in one direction, then crosswise — to compact without crushing the crisp rice. Keep movements decisive and don’t rework cooled spots; reheating briefly in the air fryer for a few seconds can rescue firmness. Check thickness visually and by touch so every bar bakes with the same density and texture. Clean edges come from steady, even pressure.
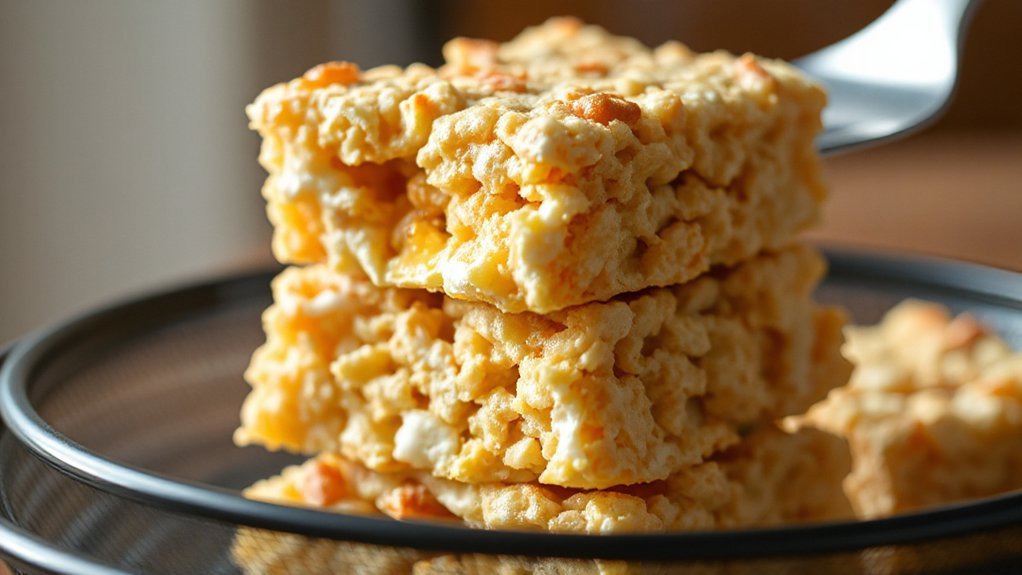
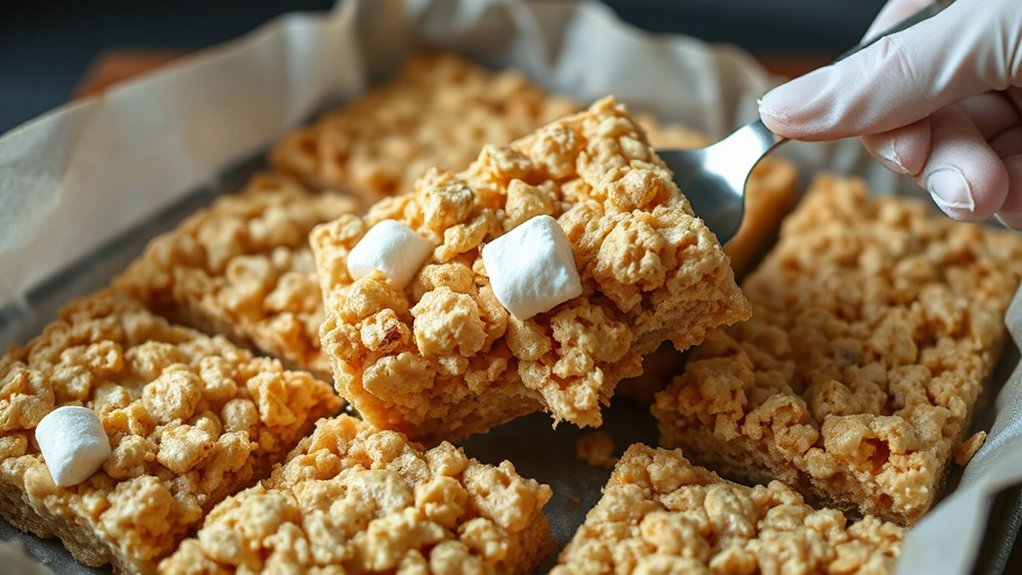
Cutting and Serving
Once the slab has set enough to hold but is still slightly warm, lift it on the parchment and score even lines with a sharp, lightly oiled knife so you get uniform bars. You’ll finish cutting after a brief rest, using gentle pressure to avoid crumbly edges. For tidy, clean cuts keep a damp towel nearby and wipe the blade between passes. Do basic knife maintenance: sharpen and oil lightly before big batches so slices stay precise. Serve on a platter or wrap bars individually for gifting.
- Slice slowly, wiping blade for clean cuts.
- Use straight, decisive strokes; don’t sawing.
- Store airtight to keep texture and shape.
Enjoy—these stay nostalgic and crisp, every time. Share warm bars with friends; they’ll be gone in minutes.
Air Fryer Settings and Timing
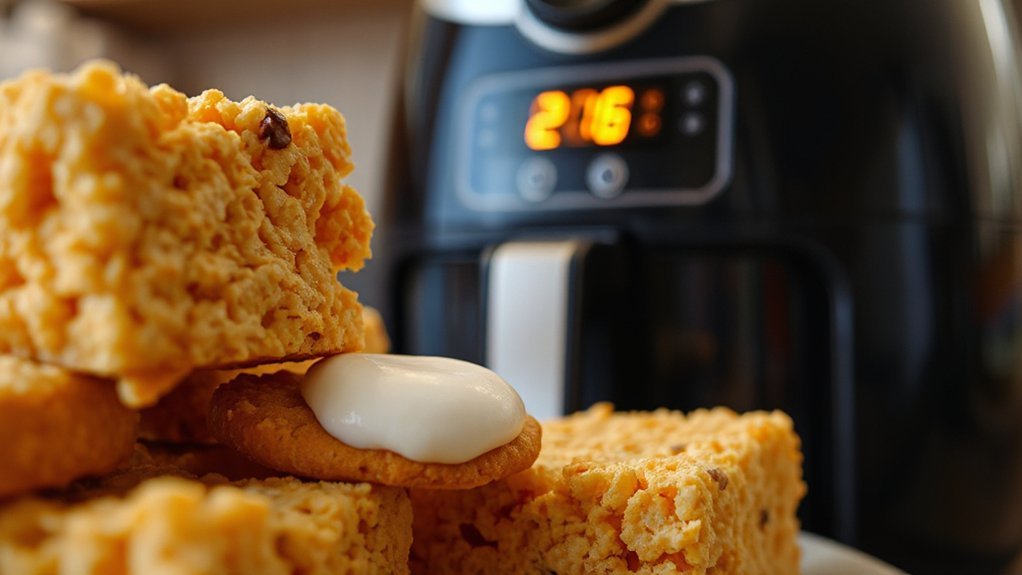
Set your air fryer to a low temperature—around 300°F (150°C)—and plan for a short cook time, usually 3–6 minutes, depending on batch size and your model. Start with 3 minutes for a small tray and add 30–60 second bursts if you want extra crisp edges; watch closely so marshmallow doesn’t brown too much. Flip or rotate pans halfway through for even crisping, and leave room around each piece for hot air circulation. If your machine offers presets, make a custom program for Rice Krispie batches to save time and energy efficiency. Use rack inserts sparingly; a single shallow layer cooks fastest. Preheating for one minute can stabilize temperature without overcooking. If your air fryer has app integration, set alerts and test remotely so you don’t overcook. Cool treats briefly before cutting to keep shape. Adjust timing by batch thickness and model quirks rather than guesswork for consistent results.
Serving Ideas and Variations

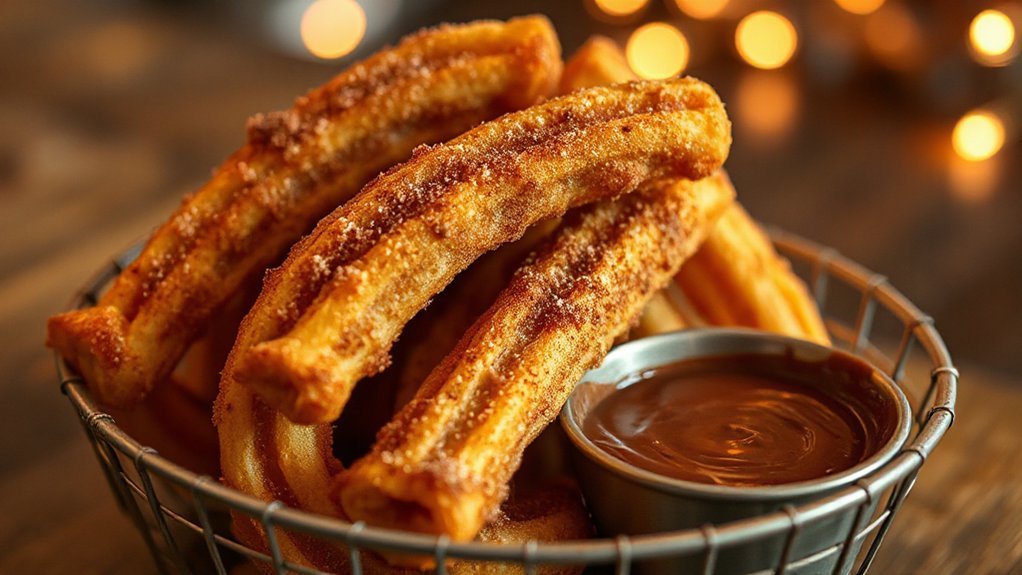
After you let your Rice Krispie treats cool to hold their shape, you can get creative with how you serve them. Cut into bars or fun shapes, then customize for occasions with seasonal toppings like chopped candied ginger in winter, toasted coconut in summer, or pumpkin spice drizzle in fall. For a party, think bright presentation ideas: stack on tiered trays, stick on skewers with fruit, or arrange on a platter with contrasting colors.
- Dip: Half-dip bars in melted dark or white chocolate, then sprinkle sea salt or crushed nuts.
- Layer: Press a thin layer of peanut butter or jam between two squares for a sandwich-style treat.
- Decorate: Use colored sprinkles, edible glitter, or small cookie cutters to make themed shapes.
You’ll find quick swaps keep these nostalgic treats fresh and fun, and each tweak stays simple so you can serve immediately. You’ll impress guests with minimal effort.
Storage and Reheating
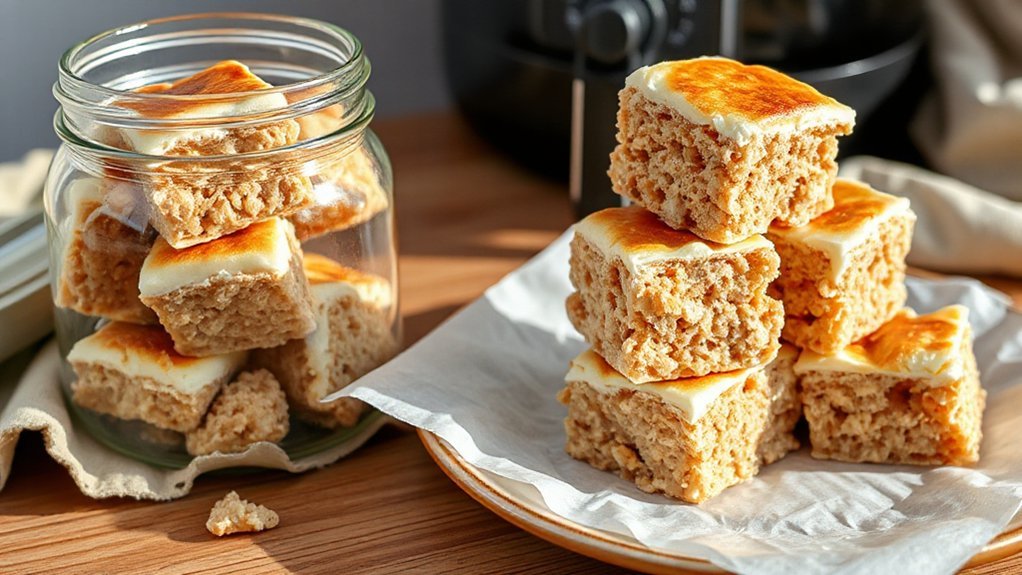
How long will they stay tasty? Store cooled Rice Krispie treats in Airtight Containers at room temperature for up to three days; they’ll stay crisp yet chewy if you keep them out of direct heat and humidity. For short-term sharing, stack pieces with parchment between layers so they don’t stick.
If you need longer life, use Freezer Storage: individually wrap pieces in plastic, then tuck them into a freezer-safe airtight container or resealable bag for up to three months. Thaw at room temperature for 30–60 minutes, unwrapped, so trapped steam doesn’t make them soggy. To refresh slightly crisp edges, pop a piece in the air fryer for 1–2 minutes at 300°F (150°C), watching closely. You’ll get that fresh-made snap without overcooking.
If you plan to pack lunches, keep treats separated from moist foods to preserve texture. Label containers with date so you use oldest first. Enjoy promptly. Always.
Troubleshooting and Tips
When your Rice Krispie treats turn out too hard, too soft, or sticky, don’t panic—you can usually troubleshoot them with a few simple fixes. Start by checking cook time and marshmallow ratio: too much heat or too little marshmallow makes bars hard; a touch more melted marshmallow or brief chill fixes softness. Consider Altitude adjustments—at high altitudes cut baking time slightly and add a teaspoon extra marshmallow or butter to maintain chewiness. For sticky tops, let them cool fully on a wire rack before cutting and press parchment to set shape.
- Reduce air fryer time by 10–15% and test a small batch.
- Adjust texture with extra toasted marshmallow or a dab of butter; press firmly to pack.
- Use Allergen substitutions like sunflower seed butter or dairy-free marshmallows—measure equally and monitor melting.
You’ll get consistent, crispy treats once you tweak these small variables and enjoy them.
Conclusion
You’ve just nailed a batch of crispy, nostalgic Rice Krispie treats in your air fryer, and you’re ready to dig in. Don’t overthink it — these gooey clouds of browned-butter bliss come together fast, clean up easier, and make weeknights feel like a celebration. Tweak mix-ins, toast edges slightly, and share with friends; you’ll see smiles spread like melted marshmallows. Keep experimenting — practice makes perfect, and snacking never tasted so good — enjoy every sticky, crunchy bite today!