You’ll make a silky, crack‑free cheesecake in your air fryer without a water bath by using room‑temperature full‑fat cream cheese, eggs added one at a time, and a bit of sour or heavy cream. Press a firm graham or almond crust, chill it, then bake at 300–325°F (150–163°C) until the center jiggles. Let it cool slowly in the turned‑off fryer, then chill overnight for best texture — keep going to learn simple tricks and timings.
Equipment You’ll Need
Before you begin, make sure you’ve got the right gear so the bake goes smoothly. You’ll want an air fryer with a thermostat and enough basket space for a 6- or 7-inch springform—consistency matters more than size. Grab a reliable springform pan that fits snugly and seals well; leaks ruin crusts. Use an oven thermometer to verify the air fryer’s internal temp; built-in dials can be off. A silicone liner or parchment rounds make cleanup effortless and help unmold the cheesecake. You’ll need a mixer—stand or hand—to beat the filling until smooth, and a flexible spatula to scrape the bowl. For presentation and documentation, include a small lighting kit and a camera tripod if you plan to photograph your cake for social media. Finally, keep a bench scraper and a cooling rack handy for finishing touches and even cooling. With these tools ready, you’ll breeze through the bake.
Ingredients and Substitutions
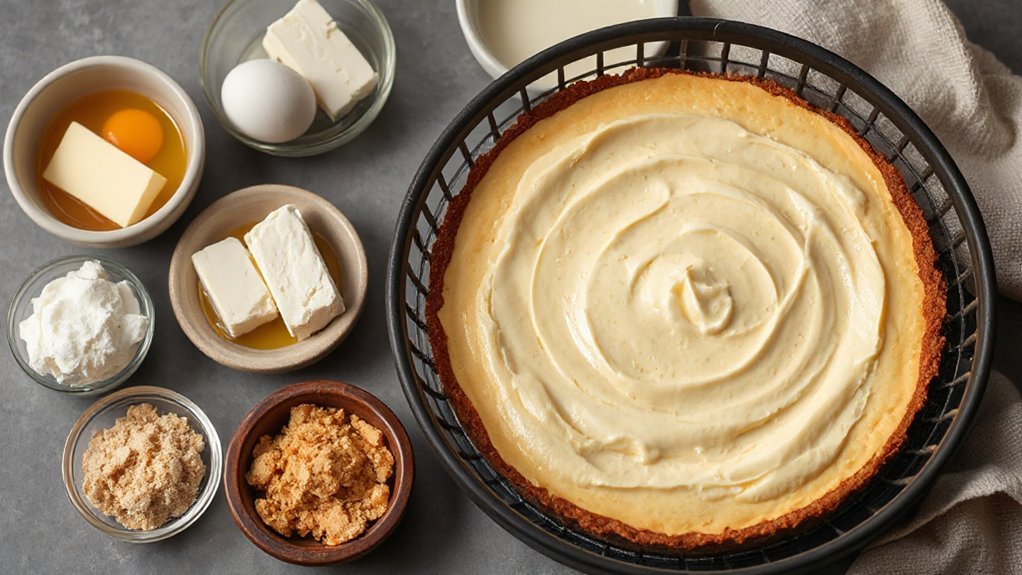
Now that your gear’s ready, gather the ingredients that make a silky cheesecake: full-fat cream cheese, eggs, granulated sugar, and a splash of vanilla, plus either sour cream or heavy cream for richness and creaminess. You’ll also want a simple crust—graham crumbs and melted butter—or go almond flour for a gluten-free base. Pay attention to ingredient ratios: typically 2 parts cream cheese to 1 part eggs and 1 part dairy by volume, adjusted for texture. For sweetness, keep sugar moderate so the tang shines. If you need allergen alternatives, swap dairy with full-fat coconut yogurt and use aquafaba or a flax-egg for binding; almond crust can be replaced by oat or rice flour mixes. Measure carefully, chill ingredients to room temperature before mixing, and choose quality vanilla. These choices keep the cheesecake creamy, stable in the air fryer, and friendly to various diets without collapsing or cracking often.
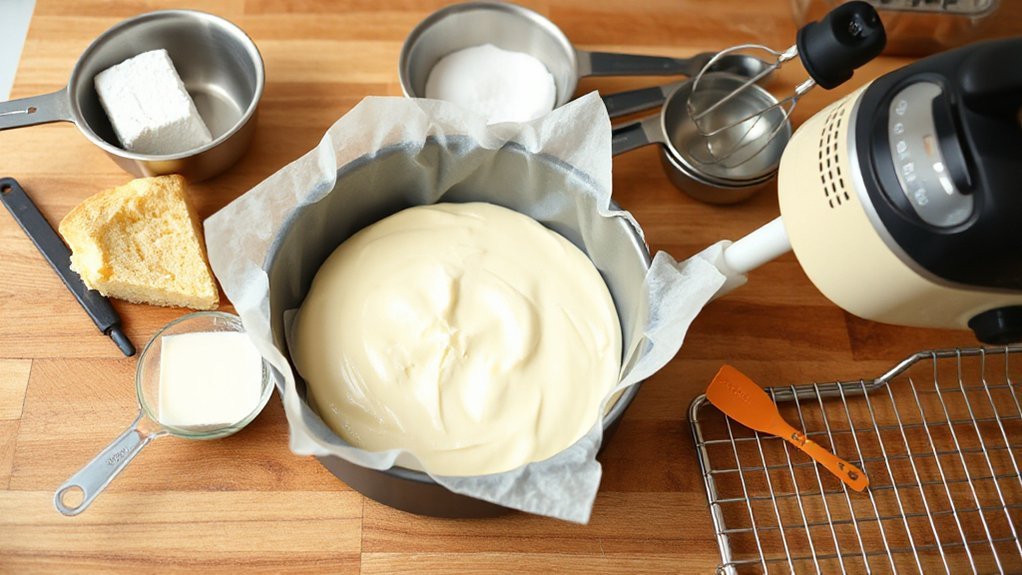
Step-by-Step Batter Preparation
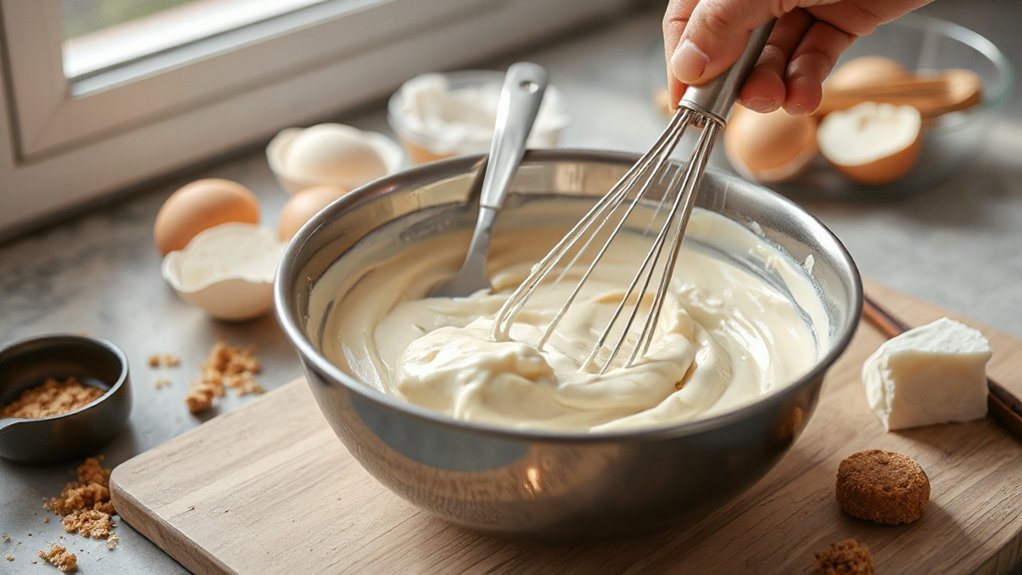
Make sure your cream cheese, eggs, and other dairy are at room temperature so they’ll blend smoothly. Start by creaming the softened cream cheese with sugar until silky, then add eggs one at a time for even incorporation. Gentle mixing and scraping the bowl will keep the batter aerated and lump-free for a perfect air fryer cheesecake.
Room-Temperature Ingredients
Because cold ingredients resist mixing, bring your cream cheese, eggs, and sour cream to room temperature — about an hour — so you’ll get a silky, lump-free batter. Let butter or melted crust components warm slightly too, but don’t let anything sweat. Use culinary rituals like setting items on the counter in a sunny spot or placing sealed eggs in warm water for ten to fifteen minutes; these historical practices speed equalization without risking spoilage. Patience pays: room-temp components incorporate evenly, reduce strain on your mixer, and help the air fryer bake consistently. If you’re short on time, cut cream cheese into cubes so it softens faster. Check by pressing—soft, not warm—then proceed confidently to the next stage and enjoy reliably smoother, creamier results every time.
Creaming and Mixing
Once your cream cheese’s smooth, you’ll beat it at medium speed until it’s silky, then gradually add the sugar so it dissolves and doesn’t splash—scrape the bowl’s sides often. Next add eggs one at a time, mixing just until combined; overmixing kills structure. Use a rubber spatula to fold in sour cream and vanilla, maintaining air from earlier aeration mechanics so the cake stays tender. Watch mixing kinetics: slow, steady motion prevents bubbles and guarantees even texture. If you see curdling, stop and scrape, then resume gently. Tap the pan to release large pockets of air, but don’t chase out all tiny ones. You’ll end up with a creamy, stable batter that bakes evenly in the air fryer. Trust the process and enjoy it.
Perfect Crust Every Time
How do you get a crisp, golden crust that won’t go soggy under creamy cheesecake? You start by choosing a dense crumb—graham crackers or digestive biscuits—then toast them briefly to boost Crunch retention. Press the crumbs firmly and evenly into the pan, focusing on Edge shaping so the filling stays contained and the rim bakes tidy. Chill the crust before filling to set fats.
Choose dense crumbs, toast briefly, press and chill firmly—secrets to a crisp, golden cheesecake crust
- Use coarse crumbs for texture.
- Pack firmly, especially along the sides.
- Chill until solid, about 15–20 minutes.
Avoid overbuttering; you want enough to bind but not saturate. A thin layer of melted chocolate or a light egg wash (if your recipe allows) creates a moisture barrier without altering flavor. When you pour the filling, do it gently to keep the crust intact. Let the cheesecake cool gradually on a rack to preserve crisp edges and maximize crunch. Serve with confidence today.
Air Fryer Baking Technique
You’ll get the creamiest cheesecake when your air fryer gives even heat distribution, so arrange pans and avoid overcrowding. Watch temperature and timing closely—slightly lower temps with a longer, gentle cook prevent cracks and overbrowning. Try simple tweaks to rack position and the clock, and you’ll see the difference.
Even Heat Distribution
Because an air fryer cooks by blasting hot air around a compact space, achieving even heat is essential when you’re baking a cheesecake—otherwise the edges can overcook while the center stays wobbly or cracks. You’ll want to do quick airflow mapping and note element placement so hot spots don’t surprise you; rotate the pan and use foil shields to tame edges. Aim for a low, steady convection of air and stable rack position. Try these simple tactics:
- Position pan centrally and avoid crowding the basket.
- Use a loose aluminum tent to protect rims.
- Rotate the pan halfway through for balanced browning.
These small actions keep your cake smooth, crack-free, and creamy without a water bath, and they work every time. You’ll love the results.
Temperature and Timing

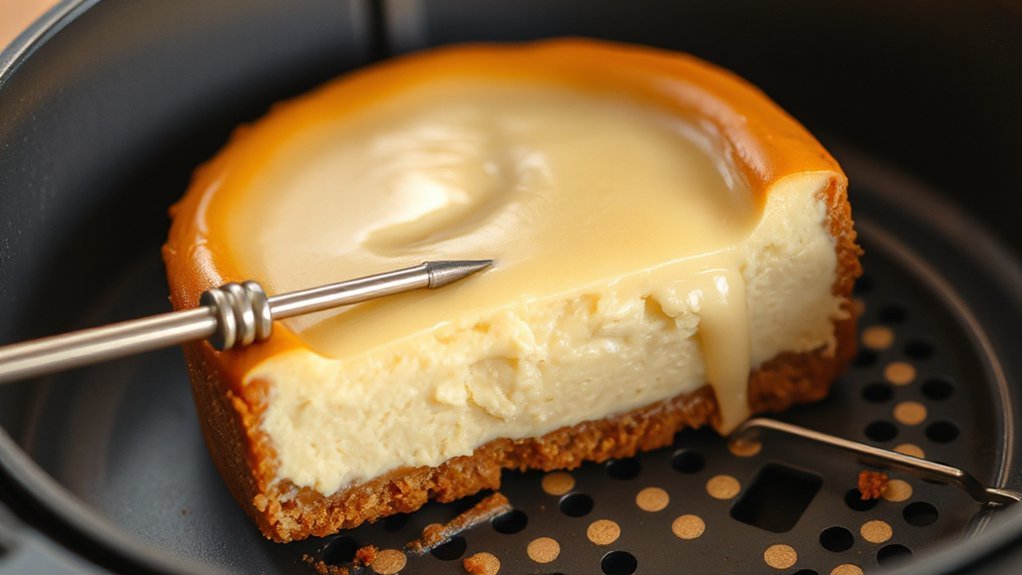
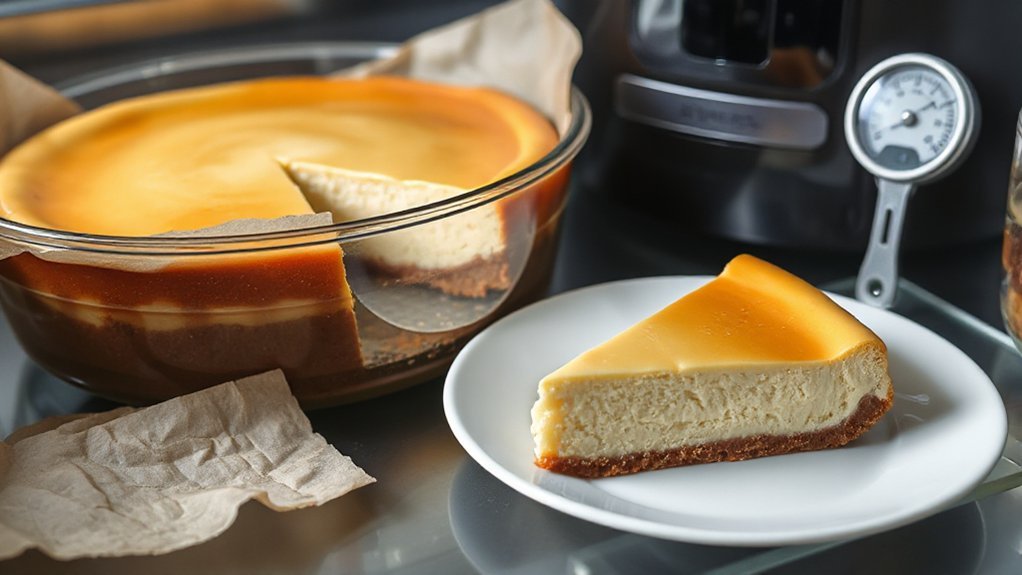
While air fryers deliver intense convection, you should bake cheesecakes at lower, steadier temperatures than in a conventional oven—aim for 300–325°F (150–163°C) to avoid cracking and overbrowning. Set the timer for 25–35 minutes for a 6–8 inch cheesecake, checking for a slight jiggle in the center; residual heat finishes it as it cools. If you’re using a larger springform, add 5–10 minutes. Make Altitude adjustments if you’re above 3,000 feet—slightly higher temp or longer time helps set the filling. Watch Humidity effects: very humid environments can increase baking time and moisture, so allow extra cooling and firming in the air fryer with the door ajar. Use a thermometer and a gentle hand; patience pays. Serve chilled for best texture and clean slices every time.
Temperature and Timing Tips
When you dial in the right temperature, your cheesecake will bake evenly and stay crack-free. You’ll want a steady low temp—usually 300°F (150°C) in most air fryers—and a slightly longer bake than an oven. Learn your machine: small baskets run hotter, so use Altitude adjustments if you’re high up, lowering temp by 5–10°F and extending time. Practice good Timer etiquette: avoid opening the basket early and reset the timer gently if you check.
- Start at a lower temp and add 5–10 minutes rather than jump temperature.
- Use an instant-read thermometer to hit 150–155°F internal.
- Rest the cake inside the off air fryer for 20 minutes to settle.
You’ll get consistent results by keeping temps steady, watching internal doneness, and adjusting minutes rather than cranking heat. Trust the process and note times for your specific unit. Write down what works and tweak for the next bake to build confidence.
How to Prevent Cracks
Start with room-temperature ingredients so your batter comes together smoothly and you don’t overwork it. After it’s done, cool the cheesecake slowly and evenly—leave it in the turned-off air fryer or move it to a draft-free spot to prevent sudden temperature changes. Those simple steps will dramatically reduce cracking and keep the top silky.
Room-Temperature Ingredients
Letting your cream cheese, eggs, and sour cream reach room temperature before you mix makes a huge difference in texture and cracking. When ingredients are warm, they blend smoothly so you’ll avoid overmixing and trapped air. Think about ingredient sourcing — fresher dairy warms predictably — and use sensory testing: touch, sight, and gentle stir to confirm pliability. If something feels cold, wait a bit; short patience prevents long-term disappointment.
- Warm to the touch, not soft or greasy
- No cold lumps when you whisk
- Uniform, silky batter before you pour
Work steadily, scrape the bowl, and keep mixes lump-free. You’ll get a glossy, even surface without dramatic techniques. Practice makes it easier; timing and feel become second nature quickly and consistent.
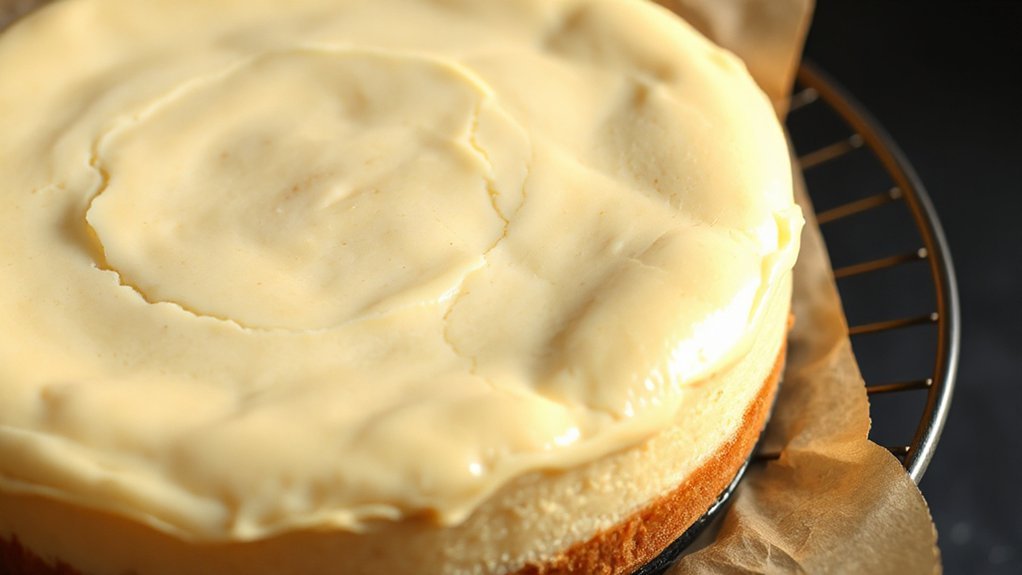
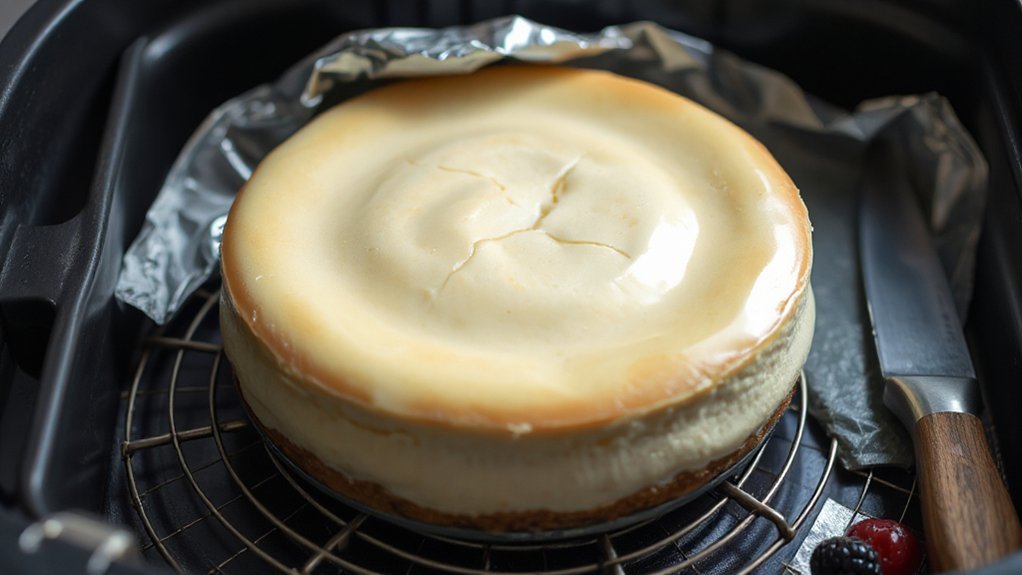
Slow, Even Cooling
Because rapid temperature changes make the cheesecake contract and crack, you’ll want to cool it slowly and evenly so the surface stays smooth. Pull the cake from the air fryer when its center still jiggles slightly, then leave it in the turned-off basket with the drawer ajar for 30–45 minutes to equalize. Transfer the springform to a wire rack; correct shelf placement prevents hot spots and encourages steady cooling. After it reaches near room temperature, refrigerate uncovered for an hour, then cover loosely to avoid condensation. Watch ambient humidity—high moisture can create beads that mar the top, so lower humidity or a dehumidifier helps. Take your time; slow cooling is the easiest trick to a crack-free, creamy finish, and improves texture and flavor overall.
Cooling and Chilling Methods
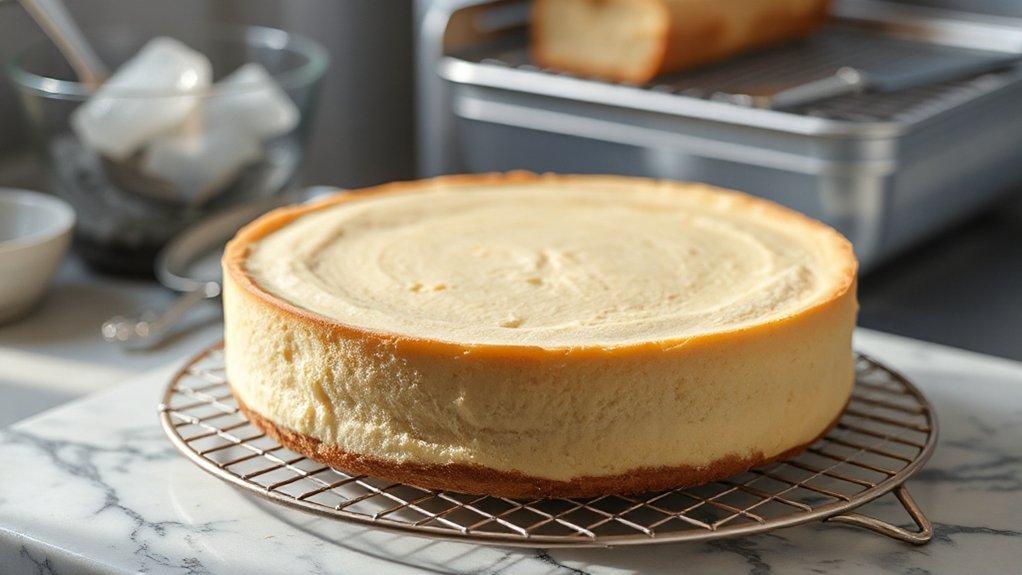
Once your cheesecake comes out of the air fryer, resist the urge to rush—cooling it gradually locks in a silky texture and helps prevent cracks. Let it sit on a wire rack at room temperature for 30 to 60 minutes so the residual heat dissipates evenly; this staged chilling step and basic humidity control keep the surface from sweating. Then transfer the cake to the fridge for firming.
Use these simple steps to chill confidently:
- Room-temperature rest for gradual cooling
- Crack-preventing staged chilling in the fridge
- Cover loosely then seal after an hour to control moisture
You’ll want to avoid drastic temperature changes, so don’t move it from hot to cold too fast. A few hours makes it sliceable; overnight is best. When you cover the cheesecake, use parchment or a loose tent before airtight sealing to maintain texture without trapping condensation and improve flavor over time too.
Serving and Garnish Ideas
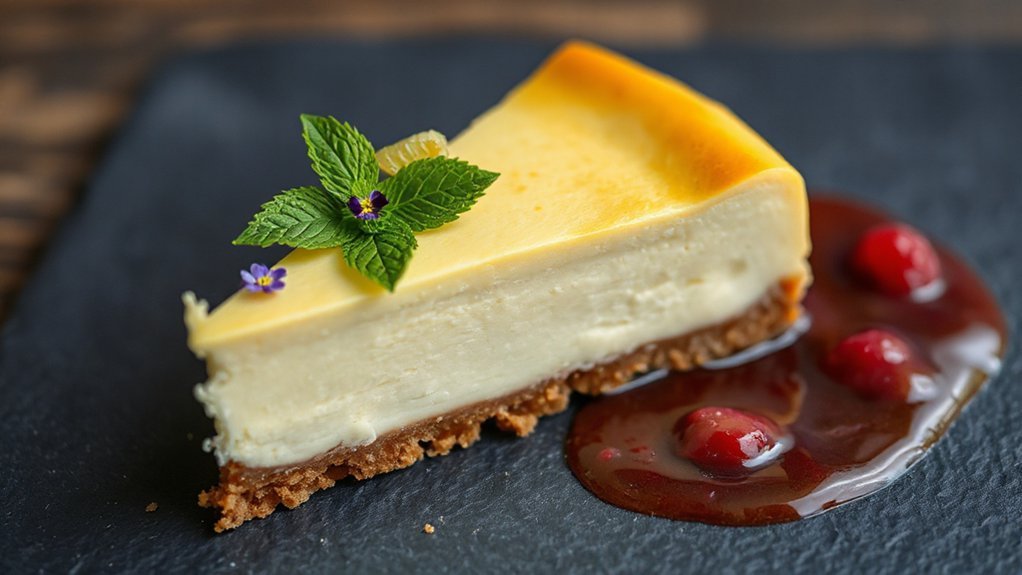
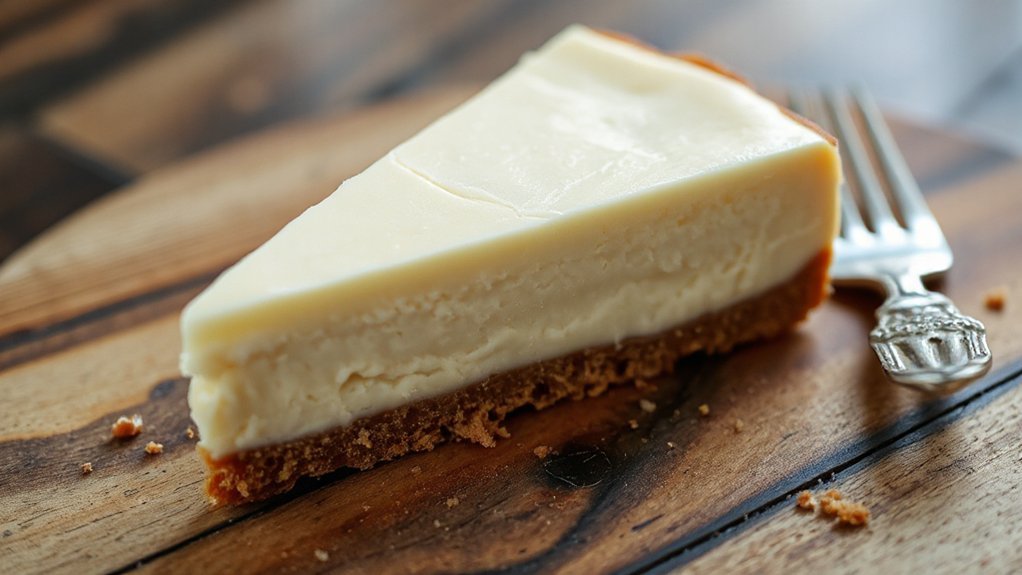
When serving, aim for contrast—rich, silky cheesecake pairs best with bright or crunchy complements, and you’ll want toppings that highlight its creaminess without overwhelming it. Slice cleanly with a hot knife, then add a few Citrus Accents: thin lemon or orange zest, a spoonful of marmalade, or a scattering of candied peel to cut richness. Fresh berries and a light fruit compote add juiciness without sogginess. For texture, sprinkle toasted nuts or a crisp cookie crumble.
Keep presentation simple: drizzle a glossy sauce, arrange fruit in a fan, or place petite Herb Sprigs like mint or thyme for aroma and color. If you’re serving slices to guests, plate with a contrasting element—acidic jam, crunchy praline, or a small quenelle of whipped cream. These touches make each bite pop and keep the focus on your creamy air fryer cheesecake. Don’t overcrowd the plate; let each element shine subtly too.
Storage and Reheating Instructions
Although cheesecake is best served chilled, you can store it safely and even gently warm slices without ruining the texture. Wrap leftover cheesecake tightly in plastic wrap, then place it in an airtight container; this minimizes air exposure and extends shelf life in the refrigerator to about four to five days. For freezing, double-wrap individual slices to prevent freezer burn and keep them up to two months for best flavor preservation.
When reheating, thaw frozen slices overnight in the fridge. Warm single slices in a 300°F air fryer or oven for four to six minutes just to take the chill off — don’t overheat or the filling will weep and become grainy. For a quick softening, let refrigerated slices sit at room temperature for 15–20 minutes.
Keep these tips in mind:
- Seal tightly to avoid odors
- Thaw slowly for texture
- Reheat briefly to preserve creaminess
and enjoy again.
Conclusion
You’ll love how this creamy air fryer cheesecake comes out — and funny enough, the first time you try it, you’ll realize you already had everything on hand: that forgotten block of cream cheese, the last graham cracker sleeve, even the peel of lemon you meant to use for dinner. You’ll be amazed at how easy it is, and you’ll find yourself making it again — and again — because it’s just that foolproof and easy.