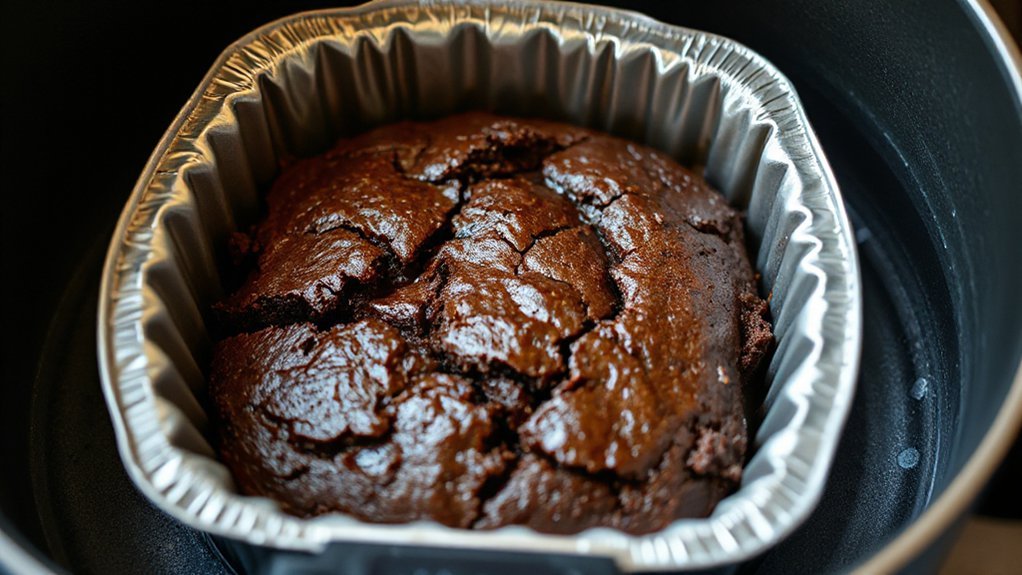
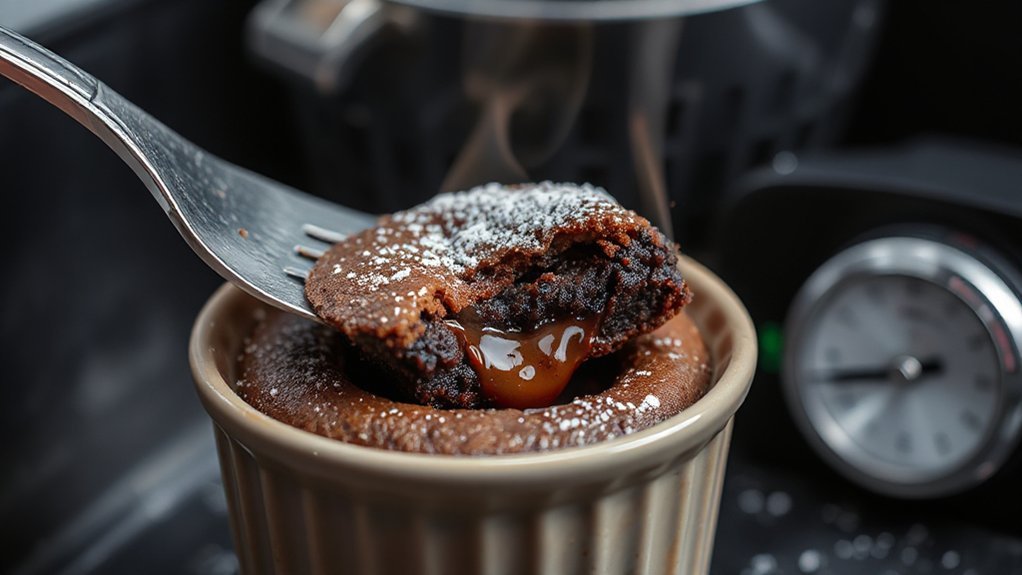
You’ll make ultra‑fudgy brownies in an air fryer in about 15 minutes using a small (6‑inch), shallow pan, melted chocolate and butter, and a burst method: preheat, pour batter, cook two 5‑minute intervals, 2–3 minute checks until a toothpick shows moist crumbs. The compact convection gives crisp edges and a very gooey center; tweak minutes for firmer slices. Keep them cool in the pan before slicing — follow on for exact ratios, temps, and troubleshooting.
Why Air Fryer Brownies Work

Because the air fryer circulates intense, focused hot air, you get crisp edges and a gooey center without overbaking the middle. You’ll notice that Heat Circulation is the secret: the compact chamber pushes hot air fast and evenly, so brownies set from the outside in while the middle stays tender. You don’t need long bake times; short, high heat forms a thin crust that locks flavor and traps steam. That’s where Moisture Retention comes in — the quick cook keeps internal moisture so crumbs stay fudgy instead of drying out. You can control texture by adjusting time and temperature: shave off minutes for extra goo, add a minute for firmer slices. Because the fryer’s convection is intense, you’ll get bakery-like edges in a fraction of oven time. In short, you’re using focused airflow to balance crust and fudginess, producing small-batch brownies that feel indulgent and never rubbery ever.
Ingredients You’ll Need
You’re going to gather two groups of ingredients: dry (flour, cocoa, sugar, salt) and wet (eggs, butter or oil, vanilla). You’ll learn what each does and how to measure them for perfect air fryer brownies. Keep everything at room temperature for best results.
Dry Ingredients
Pantry staples make the dry mix for these air fryer brownies simple but powerful. You’ll need unsweetened cocoa, all-purpose flour, granulated sugar, a pinch of salt and a touch of baking powder for lift. Use sifting and whisking for clumping prevention and light texture—these aeration techniques give brownies a tender crumb without fuss. Measure precisely, then combine: whisk in a wide bowl, breaking any pockets of cocoa. The dry mix should look even before you add wet ingredients. Below’s a quick reference table.
| Ingredient | Amount | Tip |
|---|---|---|
| Cocoa powder | 2 tbsp | Sift to avoid lumps |
| Flour | 3 tbsp | Whisk to aerate |
| Sugar & salt | 3 tbsp | Stir until uniform |
You’ll be ready to bake. Soon, seriously.
Wet Ingredients
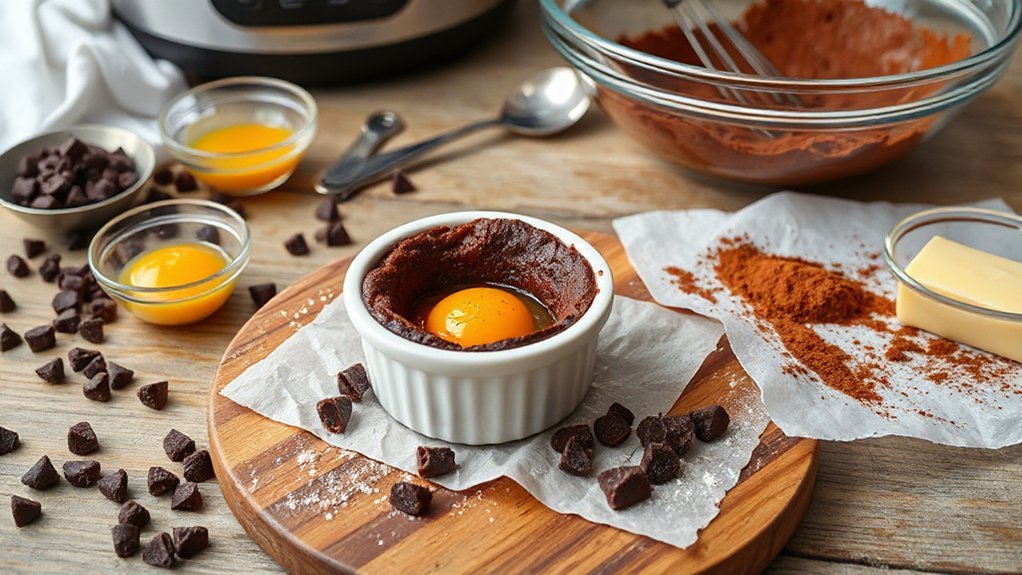
Now that your dry mix is airy and lump-free, gather the wet ingredients that bring fudgy richness: eggs (room temperature for better emulsification), melted butter or neutral oil, a splash of vanilla extract, and a tablespoon or two of milk, cream, or brewed coffee if you want extra depth. Whisk the eggs with sugar so you activate their binding functions, then stream in warm melted butter or oil while whisking to achieve a smooth emulsion. Note temperature effects: if the butter’s too hot you’ll scramble eggs, too cold and the batter will seize. Finish with vanilla and the liquid of choice, then fold briefly—overmixing ruins texture. You’re set to pour into the pan and air fry for about ten to twelve minutes, depending on settings.
Equipment and Pan Size
You’ll want to check your air fryer’s capacity before picking a pan so the dish fits without crowding. Use round, square, or loaf pans that match the basket size—thin metal or silicone give the most even browning. You’ll see how pan shape and size change baking time and texture so you can pick the right one.
Air Fryer Capacity
Many air fryers have limited space, so picking the right pan size makes the difference between perfectly baked brownies and a batter overflow. You’ll want to check your model’s basket capacity before you measure batter—crowding kills airflow and causes uneven set. Think small-batch: a 6- to 8-inch pan usually fits compact units, but verify depth too. Also respect wattage limits; higher-watt machines heat faster, so reduce time slightly to avoid overcooking edges. If your fryer runs on lower wattage, expect a bit more time and monitor with a toothpick. Finally, don’t jam the basket—leave clearance around the pan for circulation. Following these quick checks helps you nail fudgy brownies every time. Adjust quantities so batter sits below the rim and you’ll avoid drips altogether.
Pan Shape and Size
Since you already checked your fryer’s capacity, pick a pan shape and size that lets air circulate freely while matching how thick you want your brownies. You’ll want a shallow square for fudgy centers or a round pan for taller, more dramatic slices that boost visual impact. Rectangular pans give uniform bars for neat gift packaging. Test fit pans before heating so you don’t block airflow. Use thin metal for faster bake, ceramic for slower, gentler crust. Reduce batter depth for 10–15 minute timing; thicker depths need more time and risk uneven crumb. Here’s a quick reference:
| Pan type | Best for |
|---|---|
| 4-inch square | Fudgy, thin slices |
| 6-inch round | Taller, showy slices |
Pick what fits perfectly.
Step-by-Step Air Fryer Method
Preheat your air fryer and get a small square pan or cake pan that fits snugly inside — this method moves fast, so be ready. Mix batter, scrape it into the prepared pan and smooth the top. Place the pan in the basket and set the temperature. Use short cook intervals so you don’t overbake: start with two 5-minute bursts, then check for jiggle. Follow a simple rotation schedule — turn the pan 180 degrees at each check to promote even browning. After the initial bursts, reduce to 2–3 minute intervals, testing with a toothpick near the center; it should come out with moist crumbs. If edges are set but center needs time, add 1–2 minute intervals rather than one long stint. When done, let brownies rest in the pan a few minutes before slicing. You’ll get fudgy results without fuss when you keep an eye on timing.
Tips for Ultra-Fudgy Texture
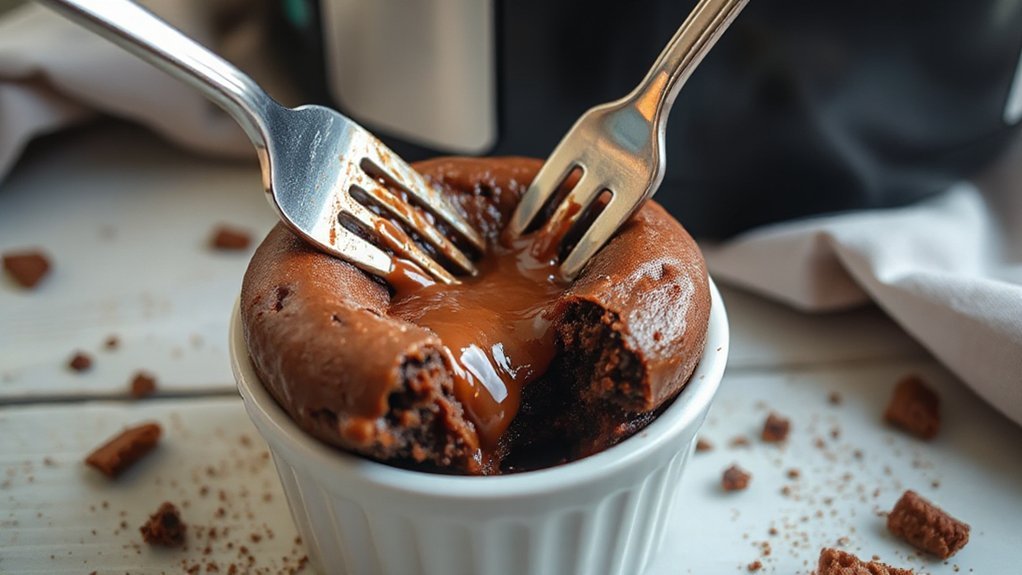
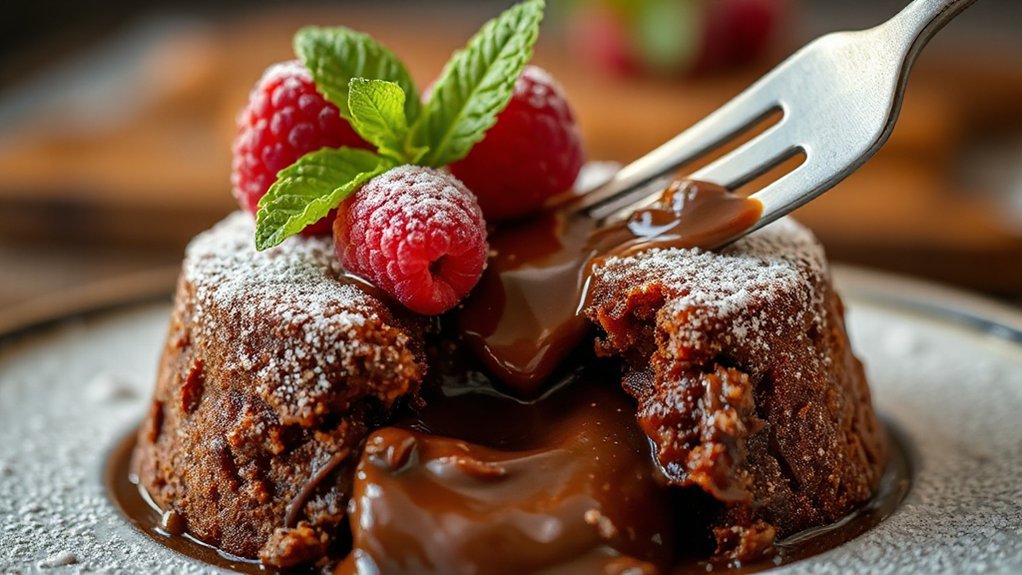
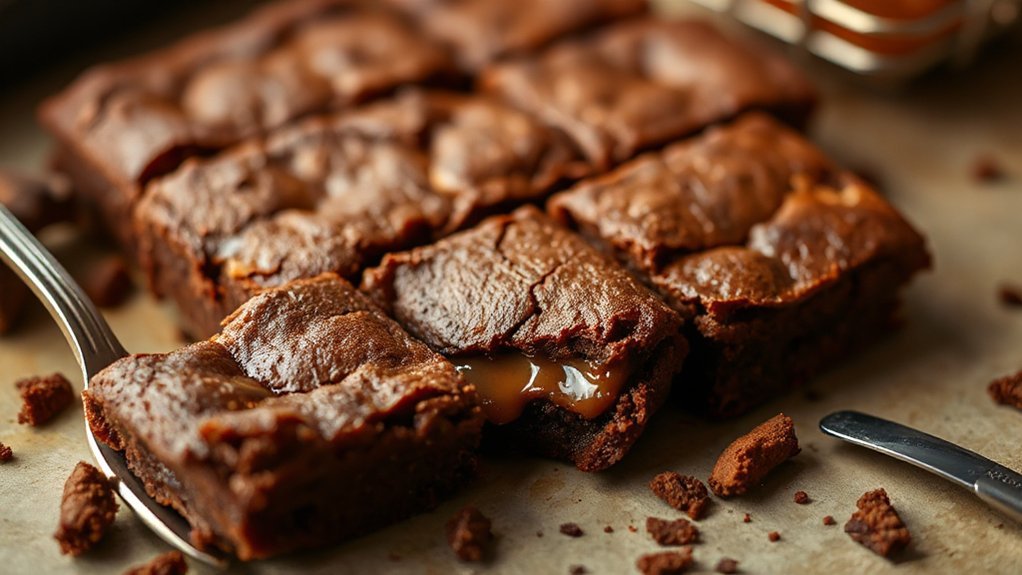
If you want brownies that stay irresistibly gooey, focus on a few simple tweaks to ingredients and timing. You’ll use slightly more fat and a touch less flour to under-structure the crumb, which helps fat crystallization occur in a way that keeps pockets of silkiness instead of drying out. Don’t overbeat the batter; aeration control matters — you want minimal incorporated air so the brownies collapse into fudgy density instead of rising light and cake-like. Melted chocolate plus butter gives a glossy, dense matrix; fold ingredients gently and stop when streaks disappear. Bake at a slightly lower temperature and check early; carryover will finish the center without turning it cakey. Cool completely in the pan to set the interior, then chill briefly if you need cleaner slices. Cut with a warm knife for neat edges. These small steps keep texture ultra-fudgy, balanced, and reliably indulgent every batch, always.
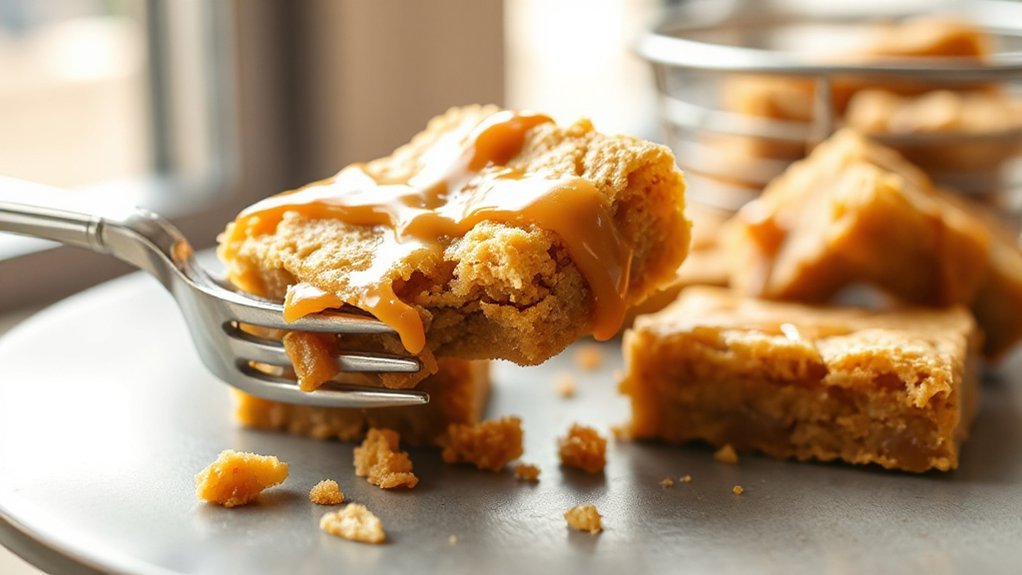
Flavor Variations and Add-Ins
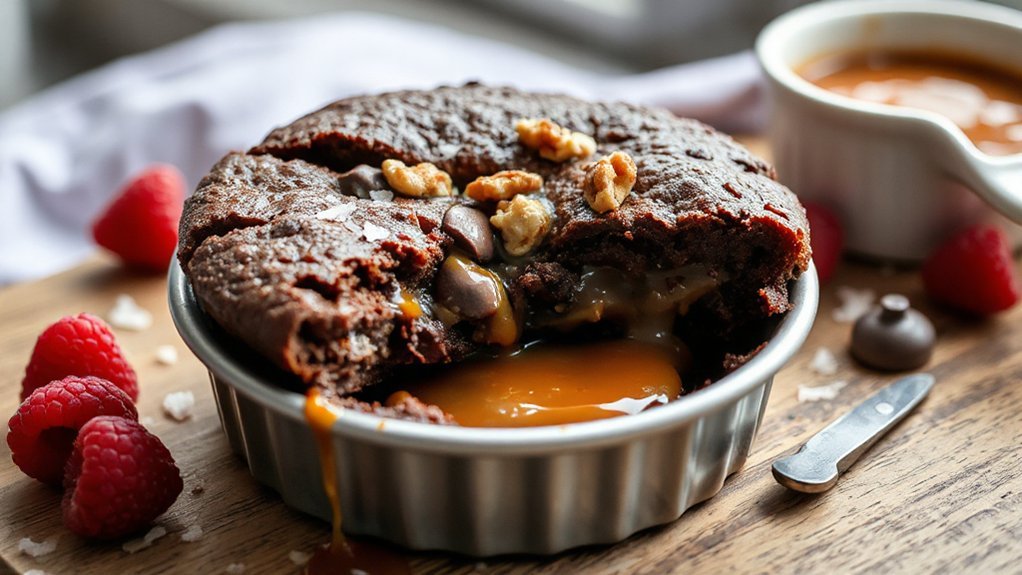
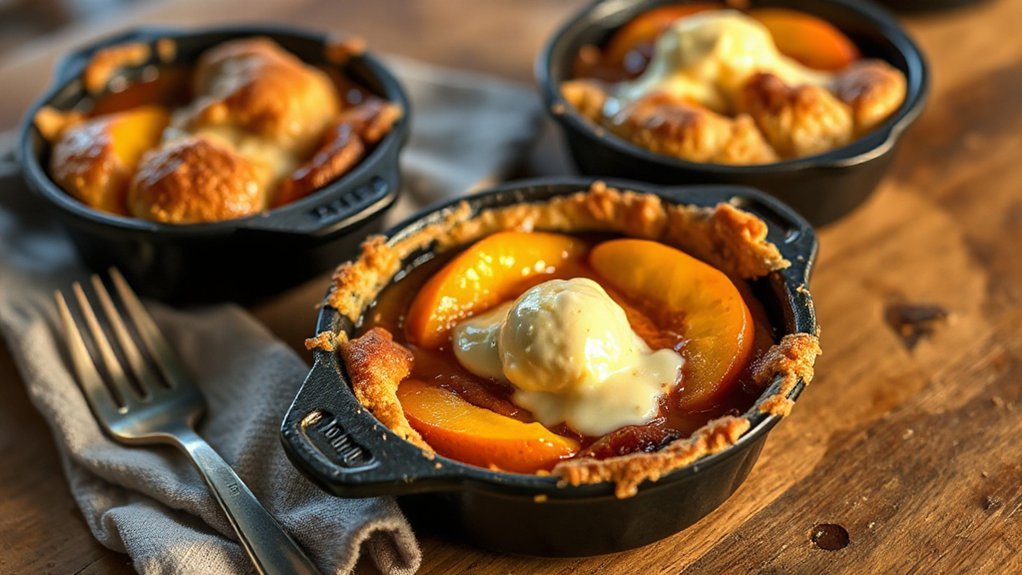
When you want to play with flavor, brownies are a perfect canvas—think bittersweet chocolate for depth, a shot of espresso to sharpen cocoa, or a few teaspoons of vanilla or orange zest to brighten the whole batch. You can fold in toasted nuts, swirl peanut butter, or sprinkle flaky salt. Try chopped chocolate, marshmallows and crushed candy for Holiday themes. For quick texture, stir in finely chopped toasted pecans or a handful of chocolate chips. Serve warm with ice cream pairings like vanilla bean or salted caramel. Below are easy combos to try.
| Add-In | Effect | Best With |
|---|---|---|
| Espresso | Intensifies chocolate | Dark chocolate |
| Orange zest | Brightens | Milk chocolate |
| Toffee bits | Crunch/sweet | Ice cream pairings |
Swap mix-ins modestly so the small batch cooks evenly, and note flavors you loved for fast repeats or festive twists later today.
Troubleshooting Common Issues
Because air fryers vary so much, you might see uneven cooking, dry edges, or a gooey center—but don’t worry, most problems have simple fixes. If the top browns too fast, lower rack or reduce temp by 10–20°F and add a minute or two; if edges dry, pull the tin sooner and shield sides with foil. For a gooey center, check doneness with a toothpick— it should come out with moist crumbs, not batter; add 1–2 minutes if needed.
If your unit has noisy operation, clean the fan housing and make sure the basket sits correctly; rattles often mean something’s loose. Uneven heat? Rotate the pan halfway and use a shallow, small tin for better circulation. If you experience a power outage mid-cycle, don’t panic: when power returns, resume at a slightly reduced temperature, checking every minute to avoid overbaking. These quick fixes will keep your brownies fudgy and reliable.
Storage and Reheating
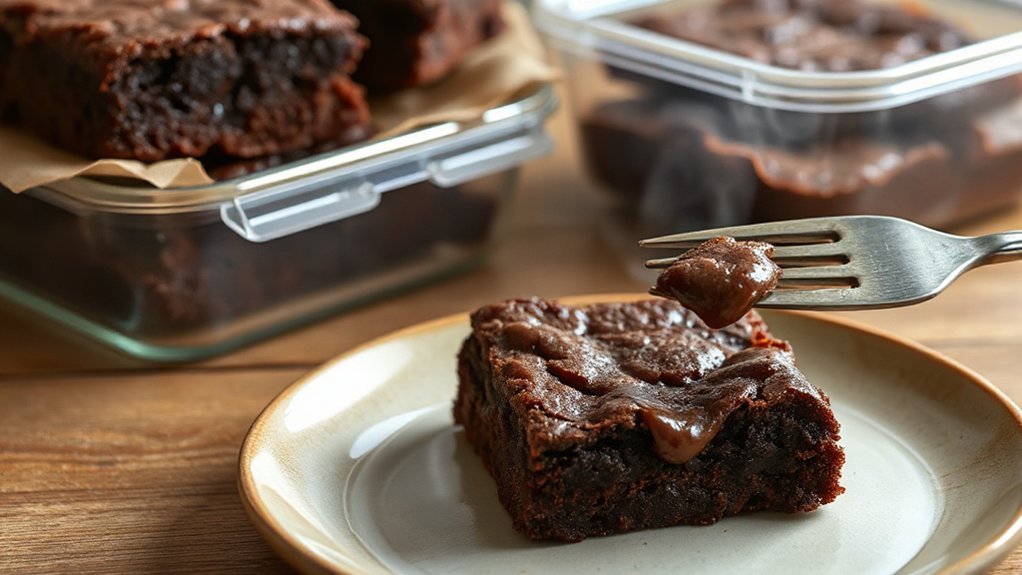
Storing your air fryer brownies right keeps them fudgy and tasty—wrap cooled pieces tightly in plastic wrap or tuck them into an airtight container at room temperature for up to 3 days, or refrigerate for up to a week to extend freshness. If you want longer, note the fridge lifespan: refrigerated brownies last about seven to ten days depending on ingredients, but for best texture eat within a week. To save time, freeze portions individually on a tray, then transfer to a freezer bag; frozen brownies keep well for two to three months. When reheating, let chilled brownies sit at room temperature 15–20 minutes, or warm single pieces in the air fryer at 300°F for 2–3 minutes to revive gooeyness. Microwaving 10–15 seconds works too—watch closely to avoid drying. Thaw frozen slices in the fridge overnight. Label containers with dates so you always know freshness and avoid surprises.
Conclusion
You’ll love how these air fryer brownies come together in minutes — they’re fudge-packed and utterly addictive. You can whip them up for one or two, and you won’t feel like you’re sacrificing flavor for speed. Follow the tips, poke once to check doneness, and you’ll get that gooey center every time. Let them cool a bit so they set, then dig in — like a little chocolate hug for your day. Trust me, it’s bliss indeed.