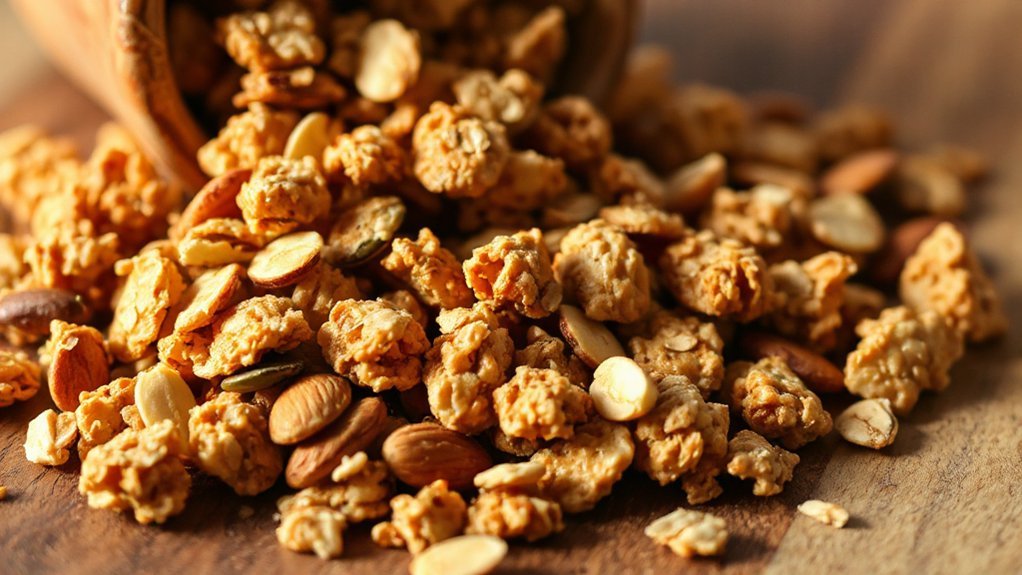
You’ll make really crunchy, lower‑sugar granola in your air fryer that beats store brands for texture. The convection heat crisps oats and toasts nuts fast with less oil, and batches give perfect clusters without overbrowning. Use rolled oats, a neutral oil, and a sticky binder like honey or allulose syrup, add nuts and seeds before toasting, fold in dried fruit after cooling, and try short, 5–8 minute intervals; keep going to learn tips and variations.
Why an Air Fryer Makes Better Granola
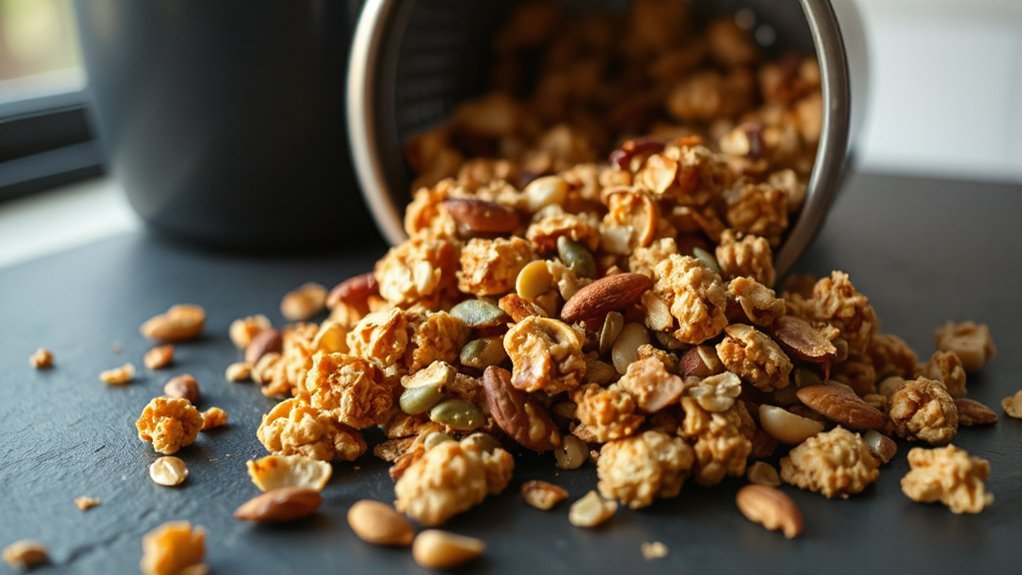
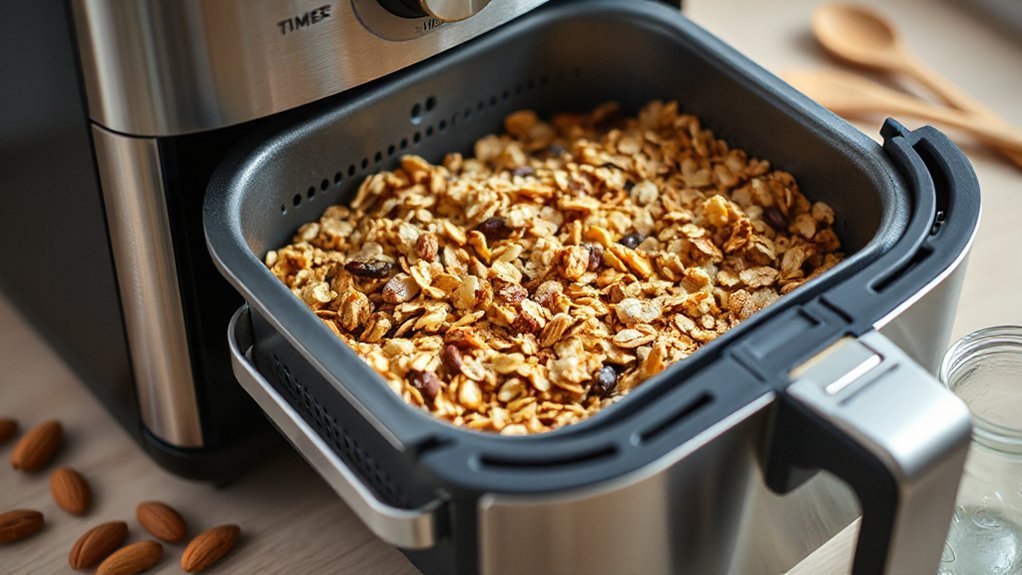
Because the air fryer circulates hot, dry air so efficiently, you’ll get crunchier, more evenly browned granola in a fraction of the time. You’ll notice how convection circulation keeps temperatures uniform, so oats brown evenly without hot spots. The appliance’s compact chamber and rapid dehydration mean moisture leaves fast, producing crisp clusters without long oven stints. You’ll use less oil and cut roasting time, and because batches are smaller you’ll watch progress closely and stop when color and aroma hit perfection. Flip or shake the basket once or twice for consistent crunch, and you’ll avoid the soggy centers that haunt oven-baked batches. Cleanup’s quick, too. If you want crunchy, reliable granola with minimal babysitting and better texture, the air fryer delivers — fast, predictable, and satisfying every time. You’ll find it perfect for on-the-go breakfasts, topping yogurt, or gifting in small jars to friends with minimal fuss and energy.
Essential Ingredients and Pantry Staples
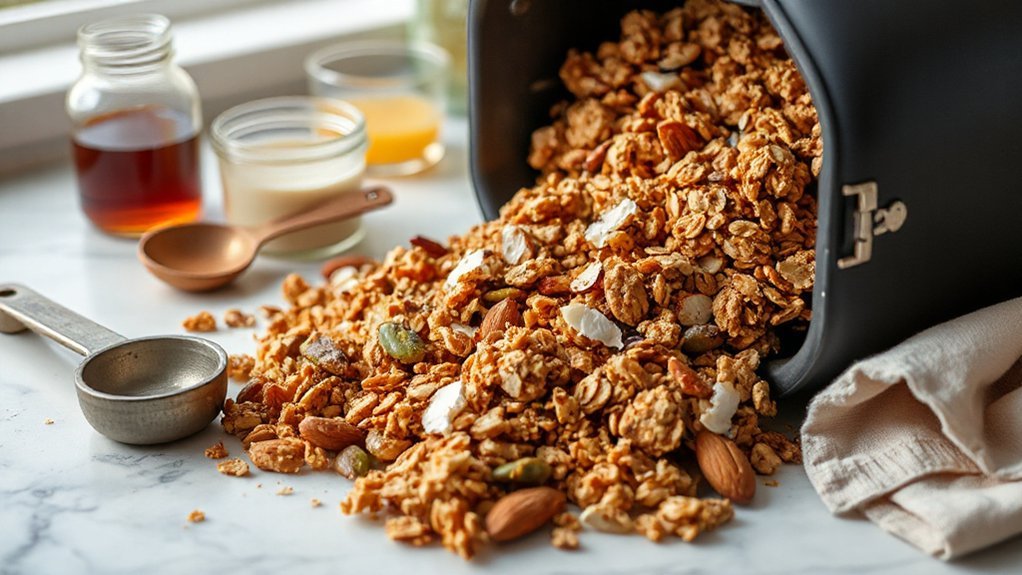
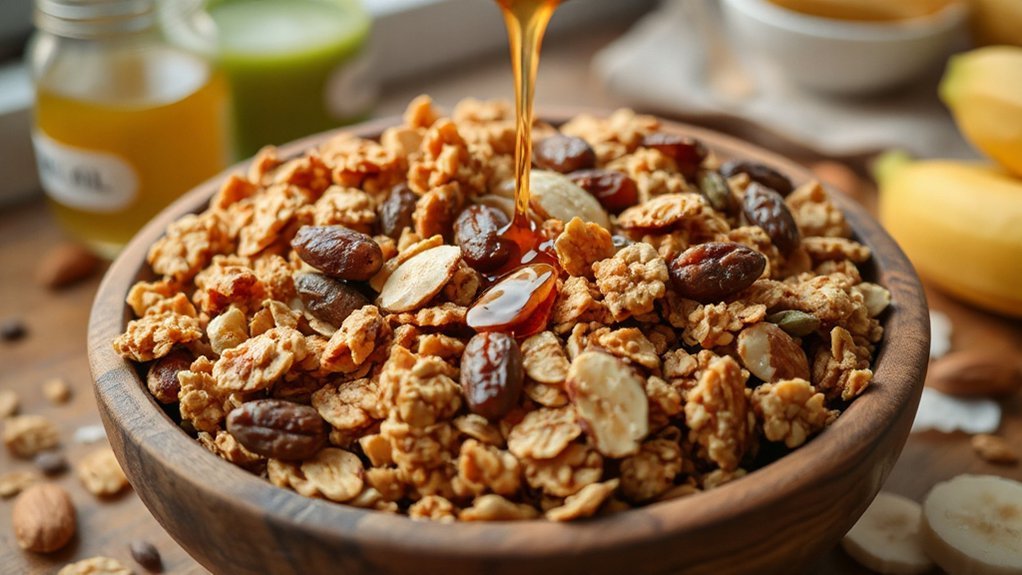
Now that you’ve seen how an air fryer makes perfect granola, stocking your pantry with a handful of reliable staples will keep you ready to mix up batches any time. Start with rolled oats—old-fashioned oats give the best texture—and pick a plain option so you control sweetness. Keep a jar of neutral oil (avocado, canola or light olive) and a sticky binder like honey or maple syrup. Add nuts and seeds (almonds, walnuts, pumpkin, chia) for crunch and protein; buy in bulk to save. Dried fruit is optional—toss it in after baking to avoid sogginess. Salt and vanilla transform flavor, and cinnamon or cocoa nibs add character. Practice label literacy: scan sugar content and ingredient lists so you’re not surprised by additives. For tighter budgets, use Budget substitutions like sunflower seeds for pricey nuts or brown sugar instead of maple syrup—swaps keep cost down without sacrificing crunch.
Equipment and Air Fryer Settings
Check your air fryer’s capacity so you don’t overcrowd the basket—smaller batches crisp more evenly. You’ll usually roast granola at 300–325°F, and adjust the time based on batch size and how chunky your mix is. You’ll also shake or stir halfway through to promote even browning and prevent burning.
Air Fryer Capacity
When you’re making granola in an air fryer, capacity really matters: baskets range from compact 2–3 quart models to roomy 8–10 quart units, and how much you can cook at once will change the texture and cooking time. Pick a basket volume that fits your usual batch size — small baskets suit single servings and quick experiments, larger ones let you scale up for meal prep or gifts. Don’t overfill: crowding prevents even airflow and leads to uneven clumps. Consider your batch capacity, how many trays or layers the unit allows, and whether stirring mid-cycle is practical. If you want crunchy, consistent granola every time, match your recipe to your air fryer’s real-world capacity and design. You’ll get better results when you respect that limit regularly.
Temperature and Time
How hot should you set your air fryer for perfect granola? Aim for 325°F (160°C) and shake or stir every 5–8 minutes so clusters brown evenly without burning. Total time runs 12–18 minutes depending on mix density and your unit’s power. If you like extra crunch, finish with a 2–3 minute blast at 350°F while watching closely. Make Altitude adjustments: at higher elevations, reduce temperature 10–15°F and extend time slightly to avoid over-browning. Pay attention to Ambient humidity — on humid days expect longer crisping and consider a lower temp with extra stirring. Use a thermometer if unsure, and always cool granola on a sheet to finish crisping. You’ll get consistent, crunchy results. Store completely cooled in an airtight jar to preserve crunch longer.
Step-by-Step Air Fryer Method
You’ll start by preheating the air fryer and greasing or lining the basket so the granola doesn’t stick. Then you’ll mix the wet ingredients with the dry until clusters form. Finally, air fry in a single layer at the recommended temp, stirring every 5–8 minutes until it’s golden and crisp.
Preheat and Prepare Basket
Preheat your air fryer to the recipe temperature so it’s hot and ready the moment you add the granola; a warmed basket helps the oats toast evenly and get crisp.
| Tip | Tool | Time |
|---|---|---|
| Wipe | Cloth | 10s |
| Oil | Brush | 5s |
| Paper | Perforated | – |
| Shake | Hands | 5s |
While it heats, wipe the basket for crumb removal and quick odor elimination — you want a clean surface. Spray or brush a thin layer of oil, or line with perforated parchment, so clusters won’t stick. Place basket back, let it reheat a minute, then add granola in an even layer. Check and shake at short intervals for even browning. Use a timer and keep an eye on color; air fryers vary. Enjoy the fast, crunchy results so wildly satisfying.
Mix Wet and Dry
Mixing the wet and dry ingredients is where the granola comes together, so measure your oats, nuts, and seeds into a bowl and whisk your oil, sweetener, and any extracts in a separate small cup. Pour the wet into the dry and use a spatula to fold; you want every cluster lightly coated, so employ a gentle coating technique and scrape the sides. Pay attention to ingredient temperature — room temp liquids blend faster and prevent clumping. Now do these simple steps:
- Add wet to dry in one go.
- Fold with a spatula until evenly moistened.
- Press clumps where you want clusters.
- Taste and adjust sweetness or salt.
You’ll end up with uniform granola, ready for the next step. It crisps beautifully for baking later.
Air Fry and Stir
Starting the air-frying step is quick and satisfying: spread the coated oats and nuts in an even, single layer in your air fryer basket (don’t overcrowd) and set a moderate temp so they toast without burning. Preheat for a few minutes, then air fry in 5 to 8 minute intervals, shaking or stirring between cycles to promote even browning. Use a sturdy silicone spatula and a flat, wide scoop — Utensil selection matters for quick, clean turns. Focus on Ergonomic handling: grip tools comfortably, keep your wrist neutral, and use two hands when lifting the basket. Watch closely the last minute; granola goes from golden to charred fast. Cool completely in the basket or on a tray to crisp up before storing for later.
Achieving Perfect Clusters and Crunch
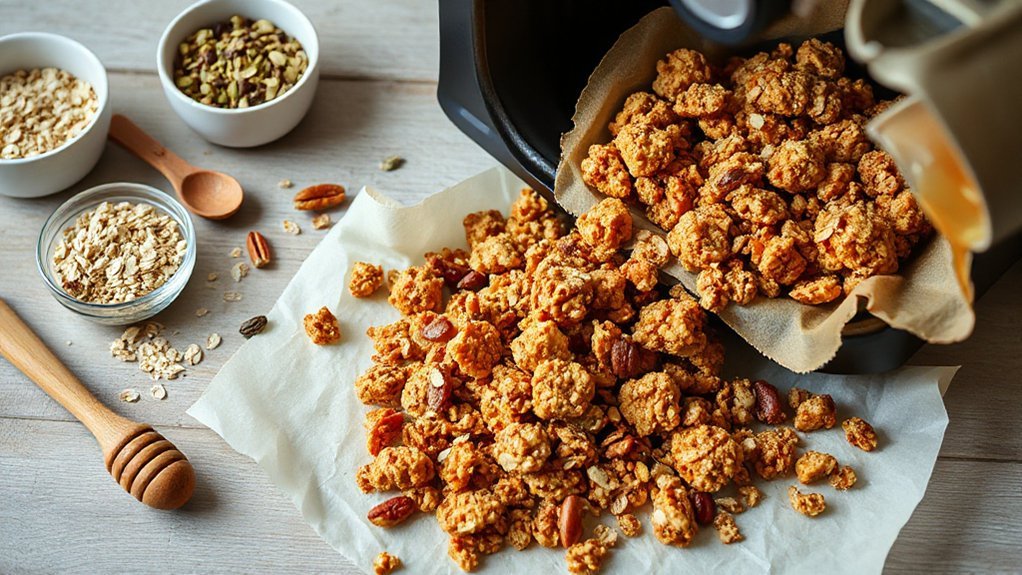
Nailing perfect clusters and crisp crunch in the air fryer comes down to a few small, intentional moves you can control: use a sticky binder like honey or brown sugar syrup, press the granola into a thin, even layer, and resist the urge to constantly stir so clusters can form. You’ll also think like an engineer — use Acoustic Profiling and Structural Mechanics concepts to gauge doneness by sound and the way clusters hold together. Let it cool fully; that’s when binding sets. Use a light spray of oil for shine, not sogginess. Follow these simple habits:
Use sticky binders, press tight, limit stirring, listen for crackle, and cool undisturbed for perfect crunchy clusters.
- Press mixture firmly into a uniform layer before cooking.
- Set short intervals, listening for a dry, crackling tone.
- Flip only once or twice to preserve seams that form clusters.
- Cool undisturbed on the tray to let sugar crystals harden.
Practice once and you’ll nail consistent, crunchy clusters.
Custom Mix-Ins and Flavor Variations
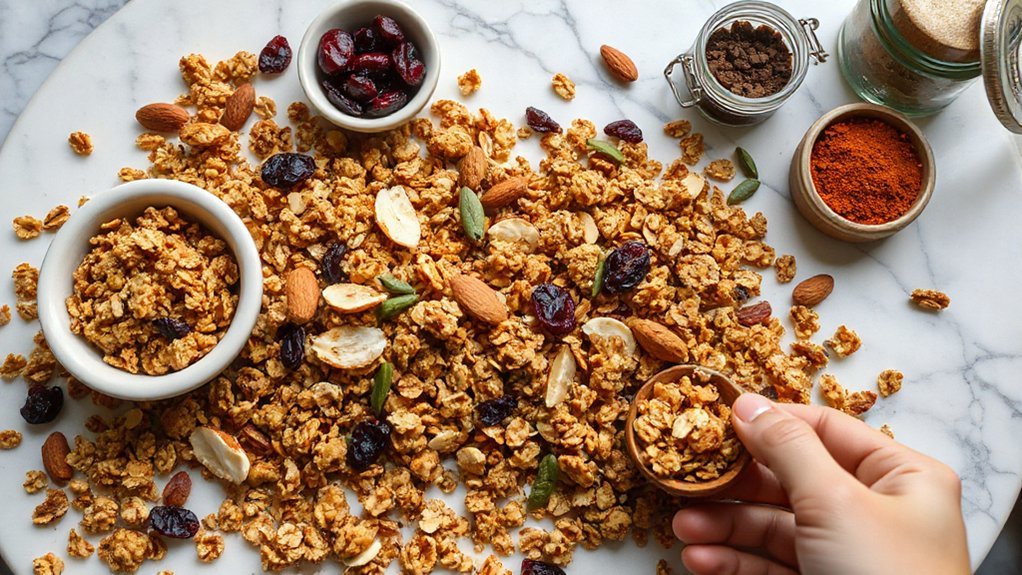
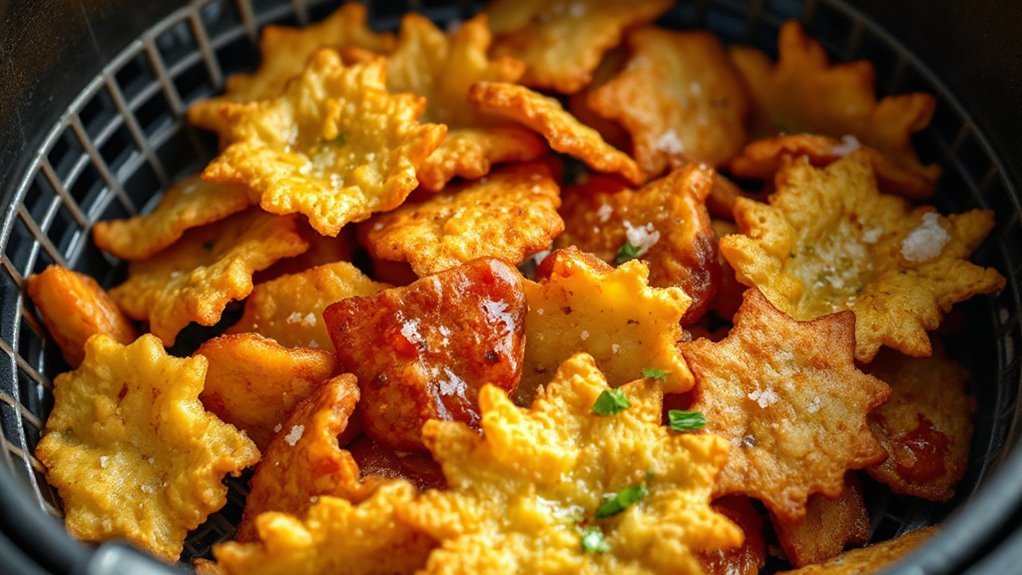
Experimenting with mix-ins lets you personalize granola fast — you’ll decide which ingredients go in before air-frying for toasty depth (nuts, seeds, coconut) and which to fold in afterward to preserve texture and freshness (dried fruit, chocolate, fragile herbs). Start with a base ratio: 3 cups oats to 1–1¼ cups nuts and seeds; add shredded coconut sparingly. For sweet profiles, toss in cinnamon, orange zest, or vanilla before air-frying; fold in chopped seasonal fruits like dried apricot or apple after cooling. For savory granola, swap maple for a light olive oil and add smoked paprika, rosemary, sesame, and sunflower seeds; fold in crunchy roasted chickpeas post-bake. Don’t overload your mix-ins — prioritize one dominant note plus a contrast element. Use small test batches to dial intensity, then scale. Store cooled granola airtight and fresh, and sprinkle over yogurt, salads, or scoop into snack jars for on-the-go variety and gift jars.
Healthier Sweetener and Oil Options
If you liked tweaking mix-ins, the next move is picking sweeteners and oils that give great flavor and crunch without excess sugar or heavy fats. You’ll want binders that glaze clusters and oils that toast oats without weighing them down. Try swapping half the honey for allulose syrup to cut calories and keep that sticky sheen; it browns nicely and won’t spike blood sugar as much. Choose neutral, high-smoke oils like avocado oil for its light mouthfeel and heart-healthy fats.
- Use a 2:1 ratio of oats to nuts with just enough allulose syrup to coat.
- Mix a tablespoon of avocado oil per 3 cups of dry mix for crisp toasting.
- Reduce liquid sweetener by 20% if you add dried fruit to avoid sogginess.
- Add a splash of vanilla and a pinch of salt to amplify flavor without sugar.
These swaps always keep your granola crunchy, flavorful, and healthier.
Storage, Shelf Life, and Recrisping Tips
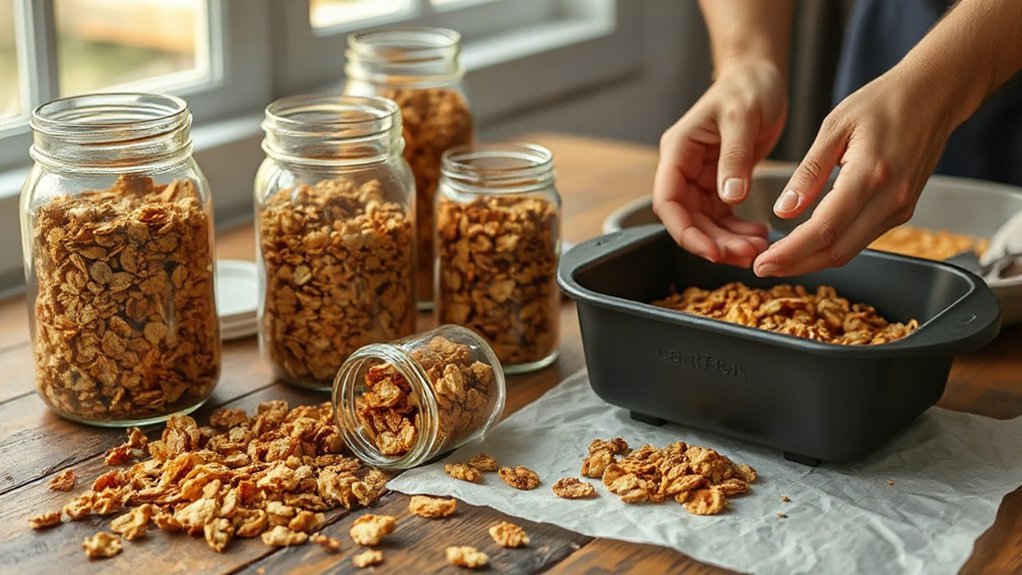
When you store granola right, it keeps its crunch for weeks and stays flavorful — but you’ll need to cool it completely, keep moisture out, and mind the oils. Once cooled, transfer to airtight containers to lock in texture and aroma; glass jars or BPA-free tubs work great. Keep granola in a cool, dark pantry away from heat and direct sunlight. For longer freshness, use freezer storage: portion into sealed bags or containers and freeze for up to three months. Thaw at room temperature before opening to prevent condensation. Check shelf life by sniffing and tasting a small bit—if it smells off or tastes rancid, toss it. To recrisp softened clusters, spread them on a tray and reheat in the air fryer at low heat (about 300°F/150°C) for a few minutes, shaking once, until crisp. Let cool fully before storing again to avoid trapping steam and enjoy immediately.
Serving Ideas and Recipe Pairings
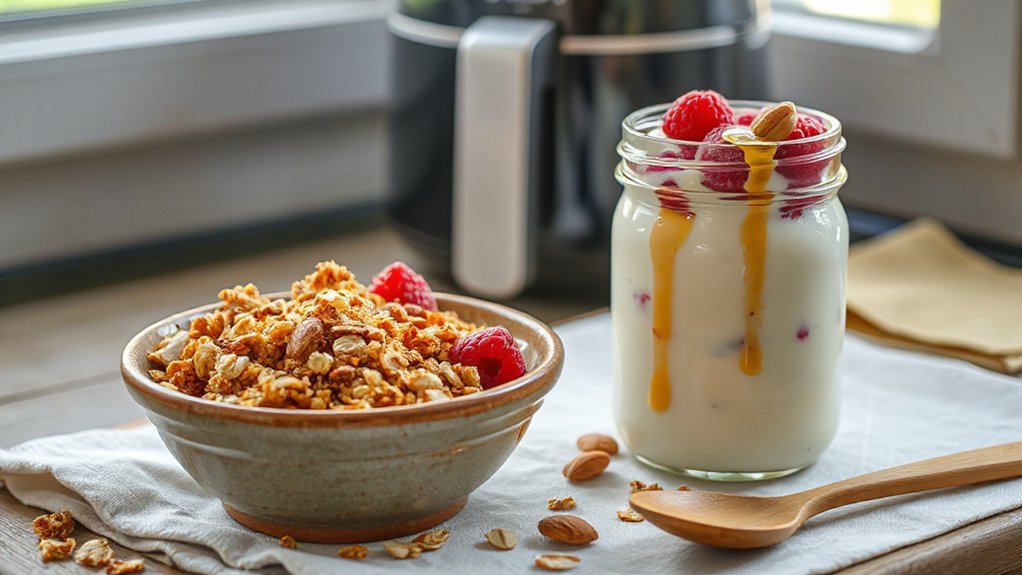
Pairing Air Fryer granola with bright, contrasting flavors turns it into a go-to crunchy topper or snack. You’ll toss a handful over yogurt, swirl it into smoothie bowls, or sprinkle it on fruit salads for instant texture and flavor contrast. For savory moments, try granola with tangy goat cheese and honey—unexpected but brilliant. Use it as a salad crunch, or press it into bars for portable breakfasts. Think about Yogurt Toppings that balance creaminess and acidity, and explore Cheese Pairings that add savory depth.
- Yogurt Toppings: Greek yogurt, berries, a drizzle of maple, plus granola for crunch.
- Smoothie bowls: banana base, spinach, frozen berries, then granola and seeds.
- Cheese Pairings: goat or ricotta, a smear, fruit, and a sprinkle of granola.
- Baking boost: fold granola into muffin batter or press into no-bake bars for texture.
Mix and match these ideas to suit your cravings daily.
Conclusion
You’ll probably think store-bought granola is easier, but now you’ve made air-fried clusters that prove convenience can be deceptive. You saved money, controlled sweetness, and unleashed a crunch that mocks supermarket flakes. Keep tweaking mix-ins like a blissfully messy kitchen scientist, and don’t be surprised when friends beg for your “secret.” Ironically, you’ll prefer homemade—and it was almost too easy to make. And yes, you’ve become that person quietly judging cereal aisles with smug delight.